Zero-Power Micro-Greenhouse & Daisy-Chained Capillary Irrigation System
by itslaadi7777 in Living > Gardening
23 Views, 0 Favorites, 0 Comments
Zero-Power Micro-Greenhouse & Daisy-Chained Capillary Irrigation System
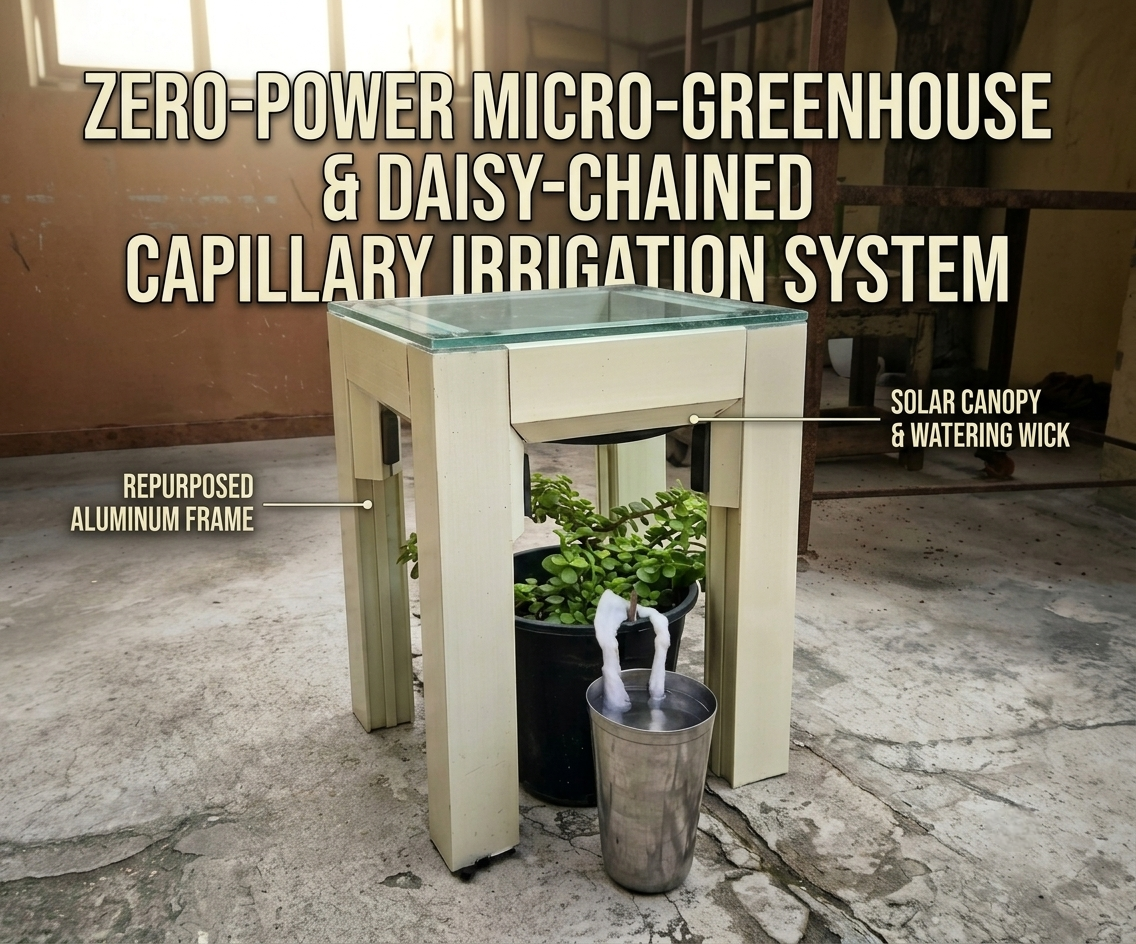
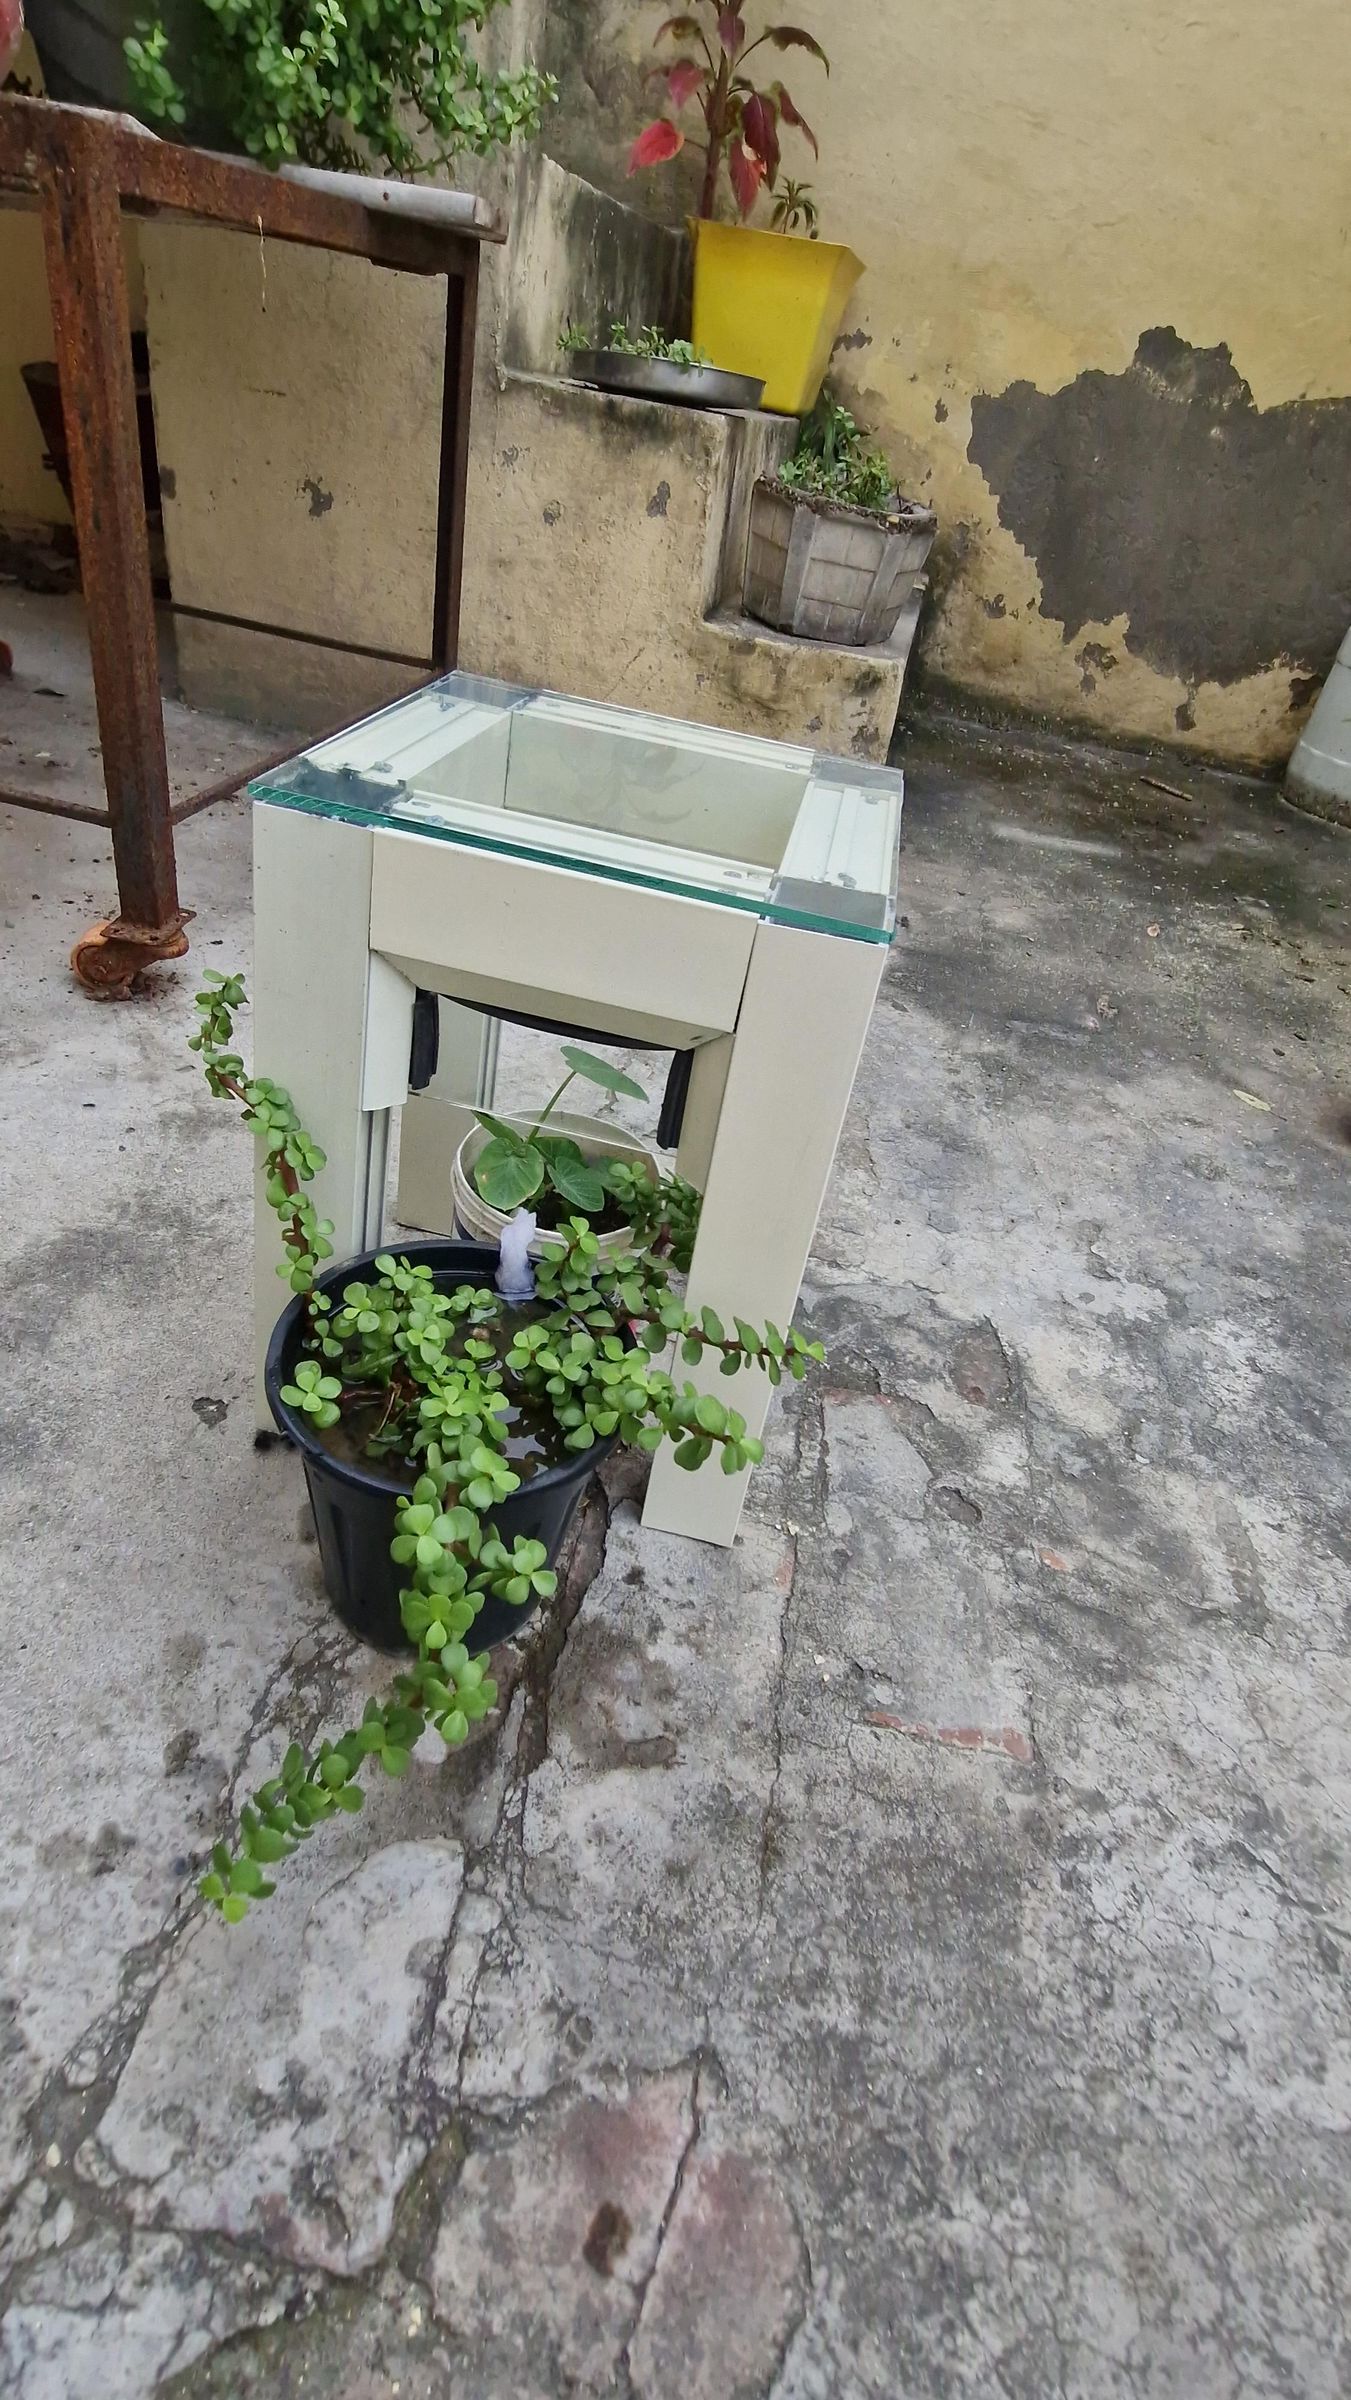
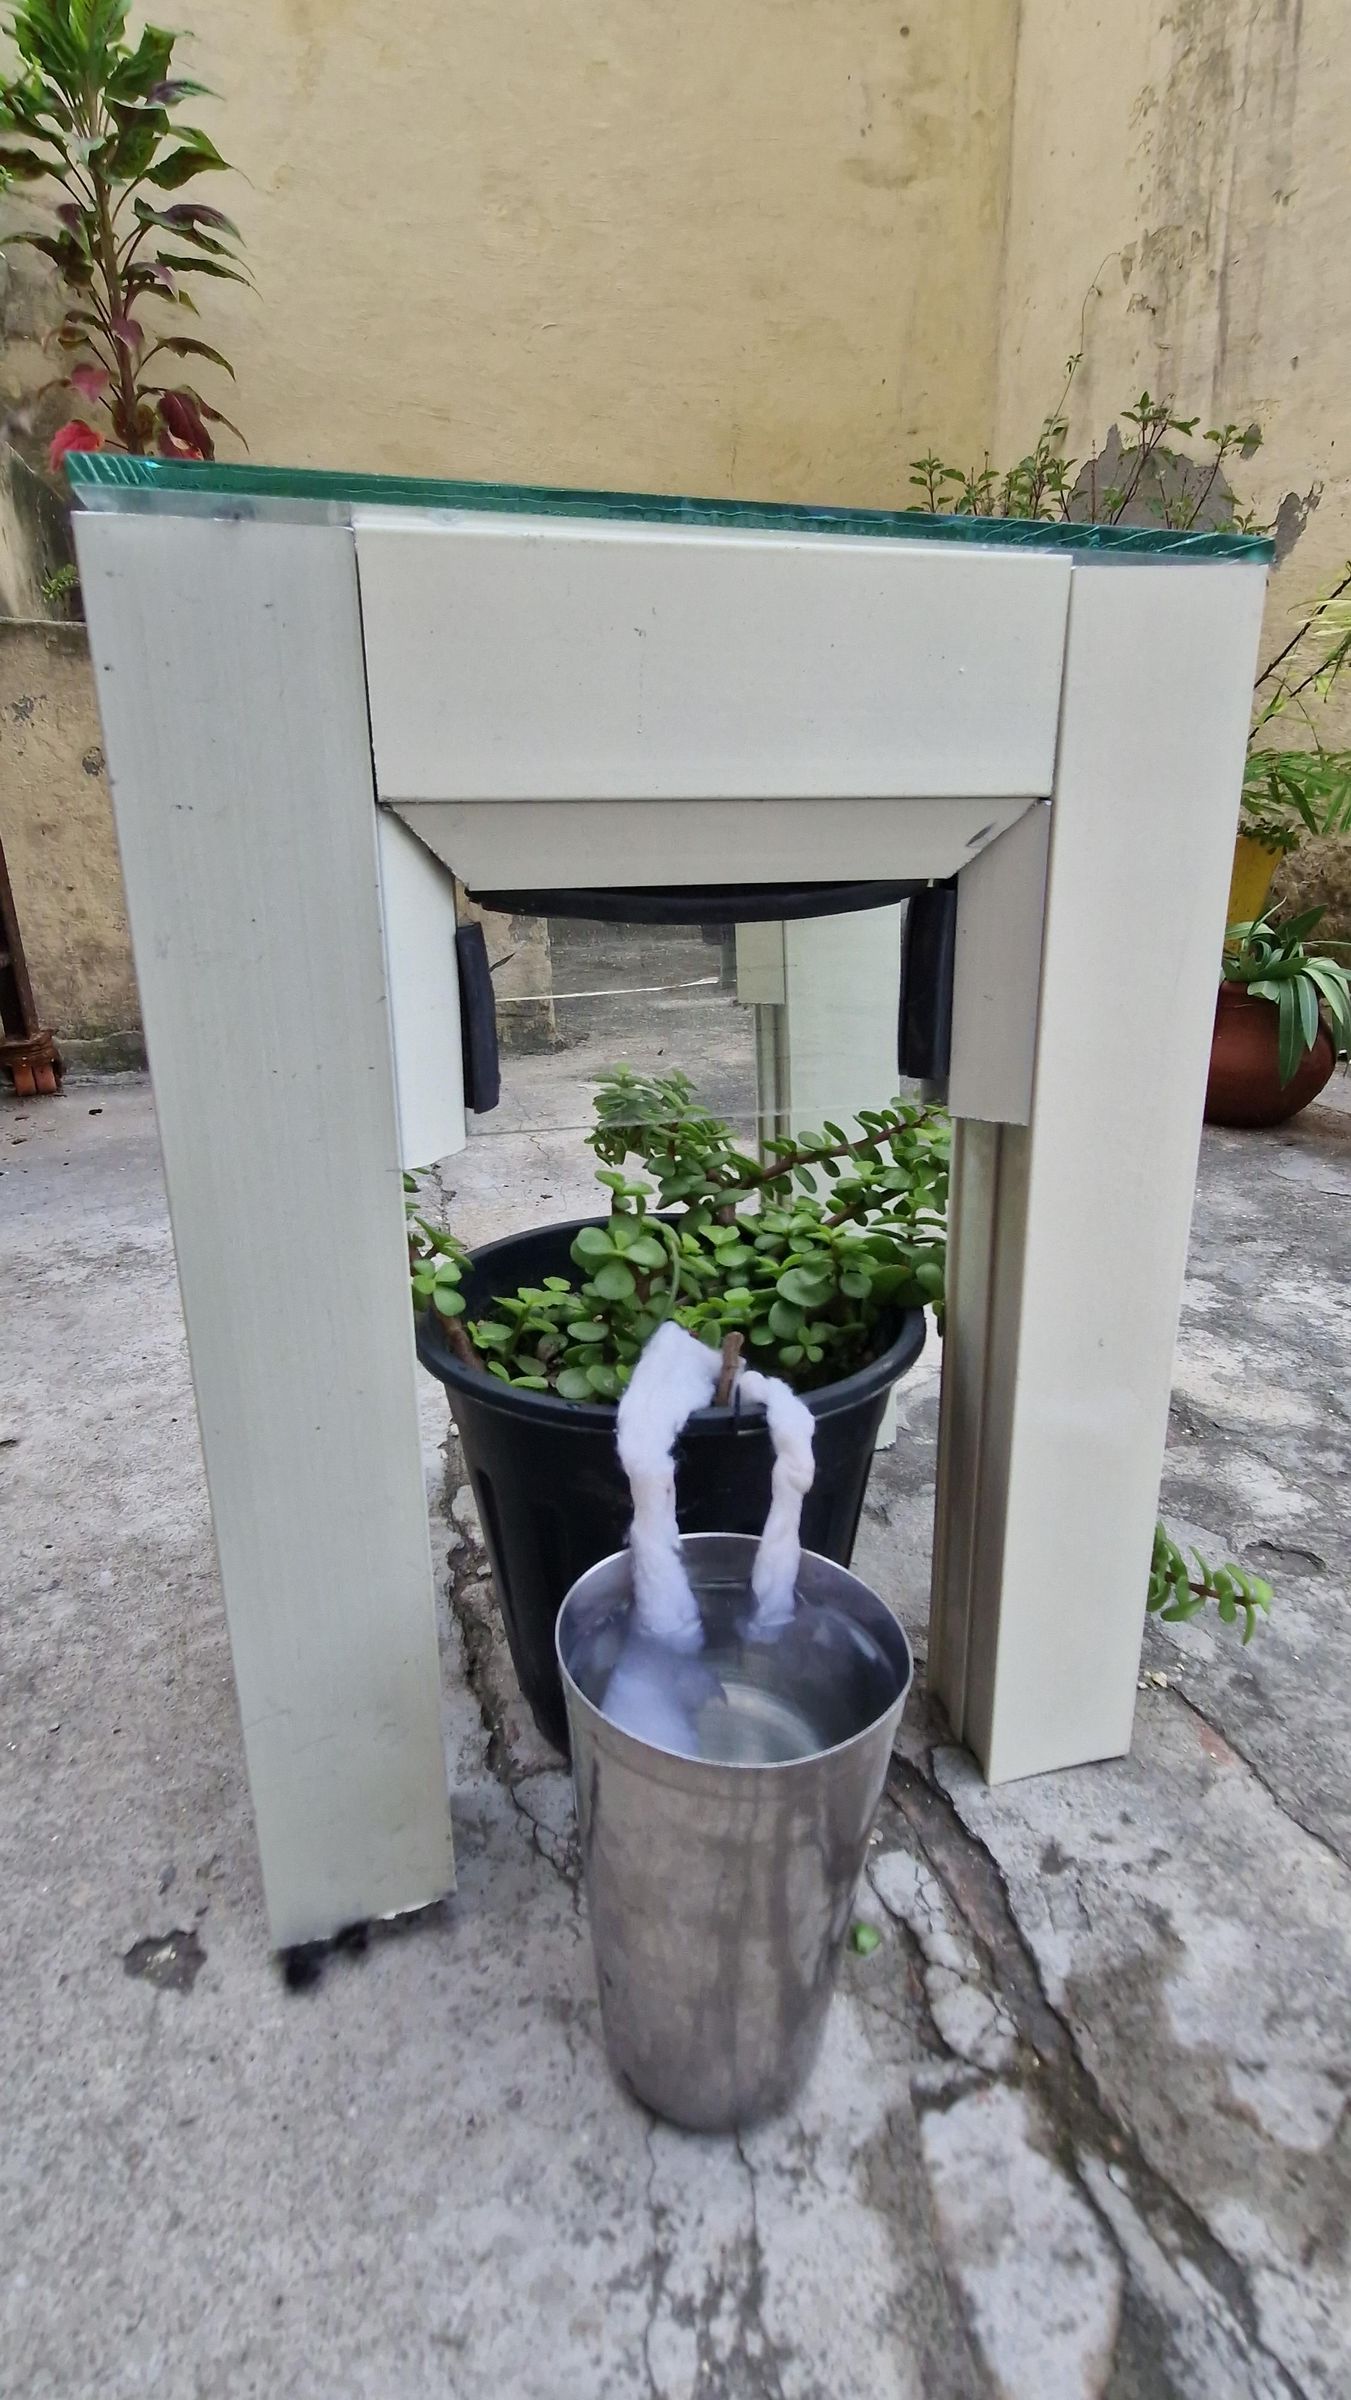
This project is a completely passive, zero-electricity micro-greenhouse and self-regulating plant irrigation system. Built by repurposing off-cut architectural aluminum sections, toughened glass, rubber sealing gaskets, and absorbent cotton wicking, it provides a resilient plant habitat with automated moisture distribution that operates entirely off the grid.
Supplies
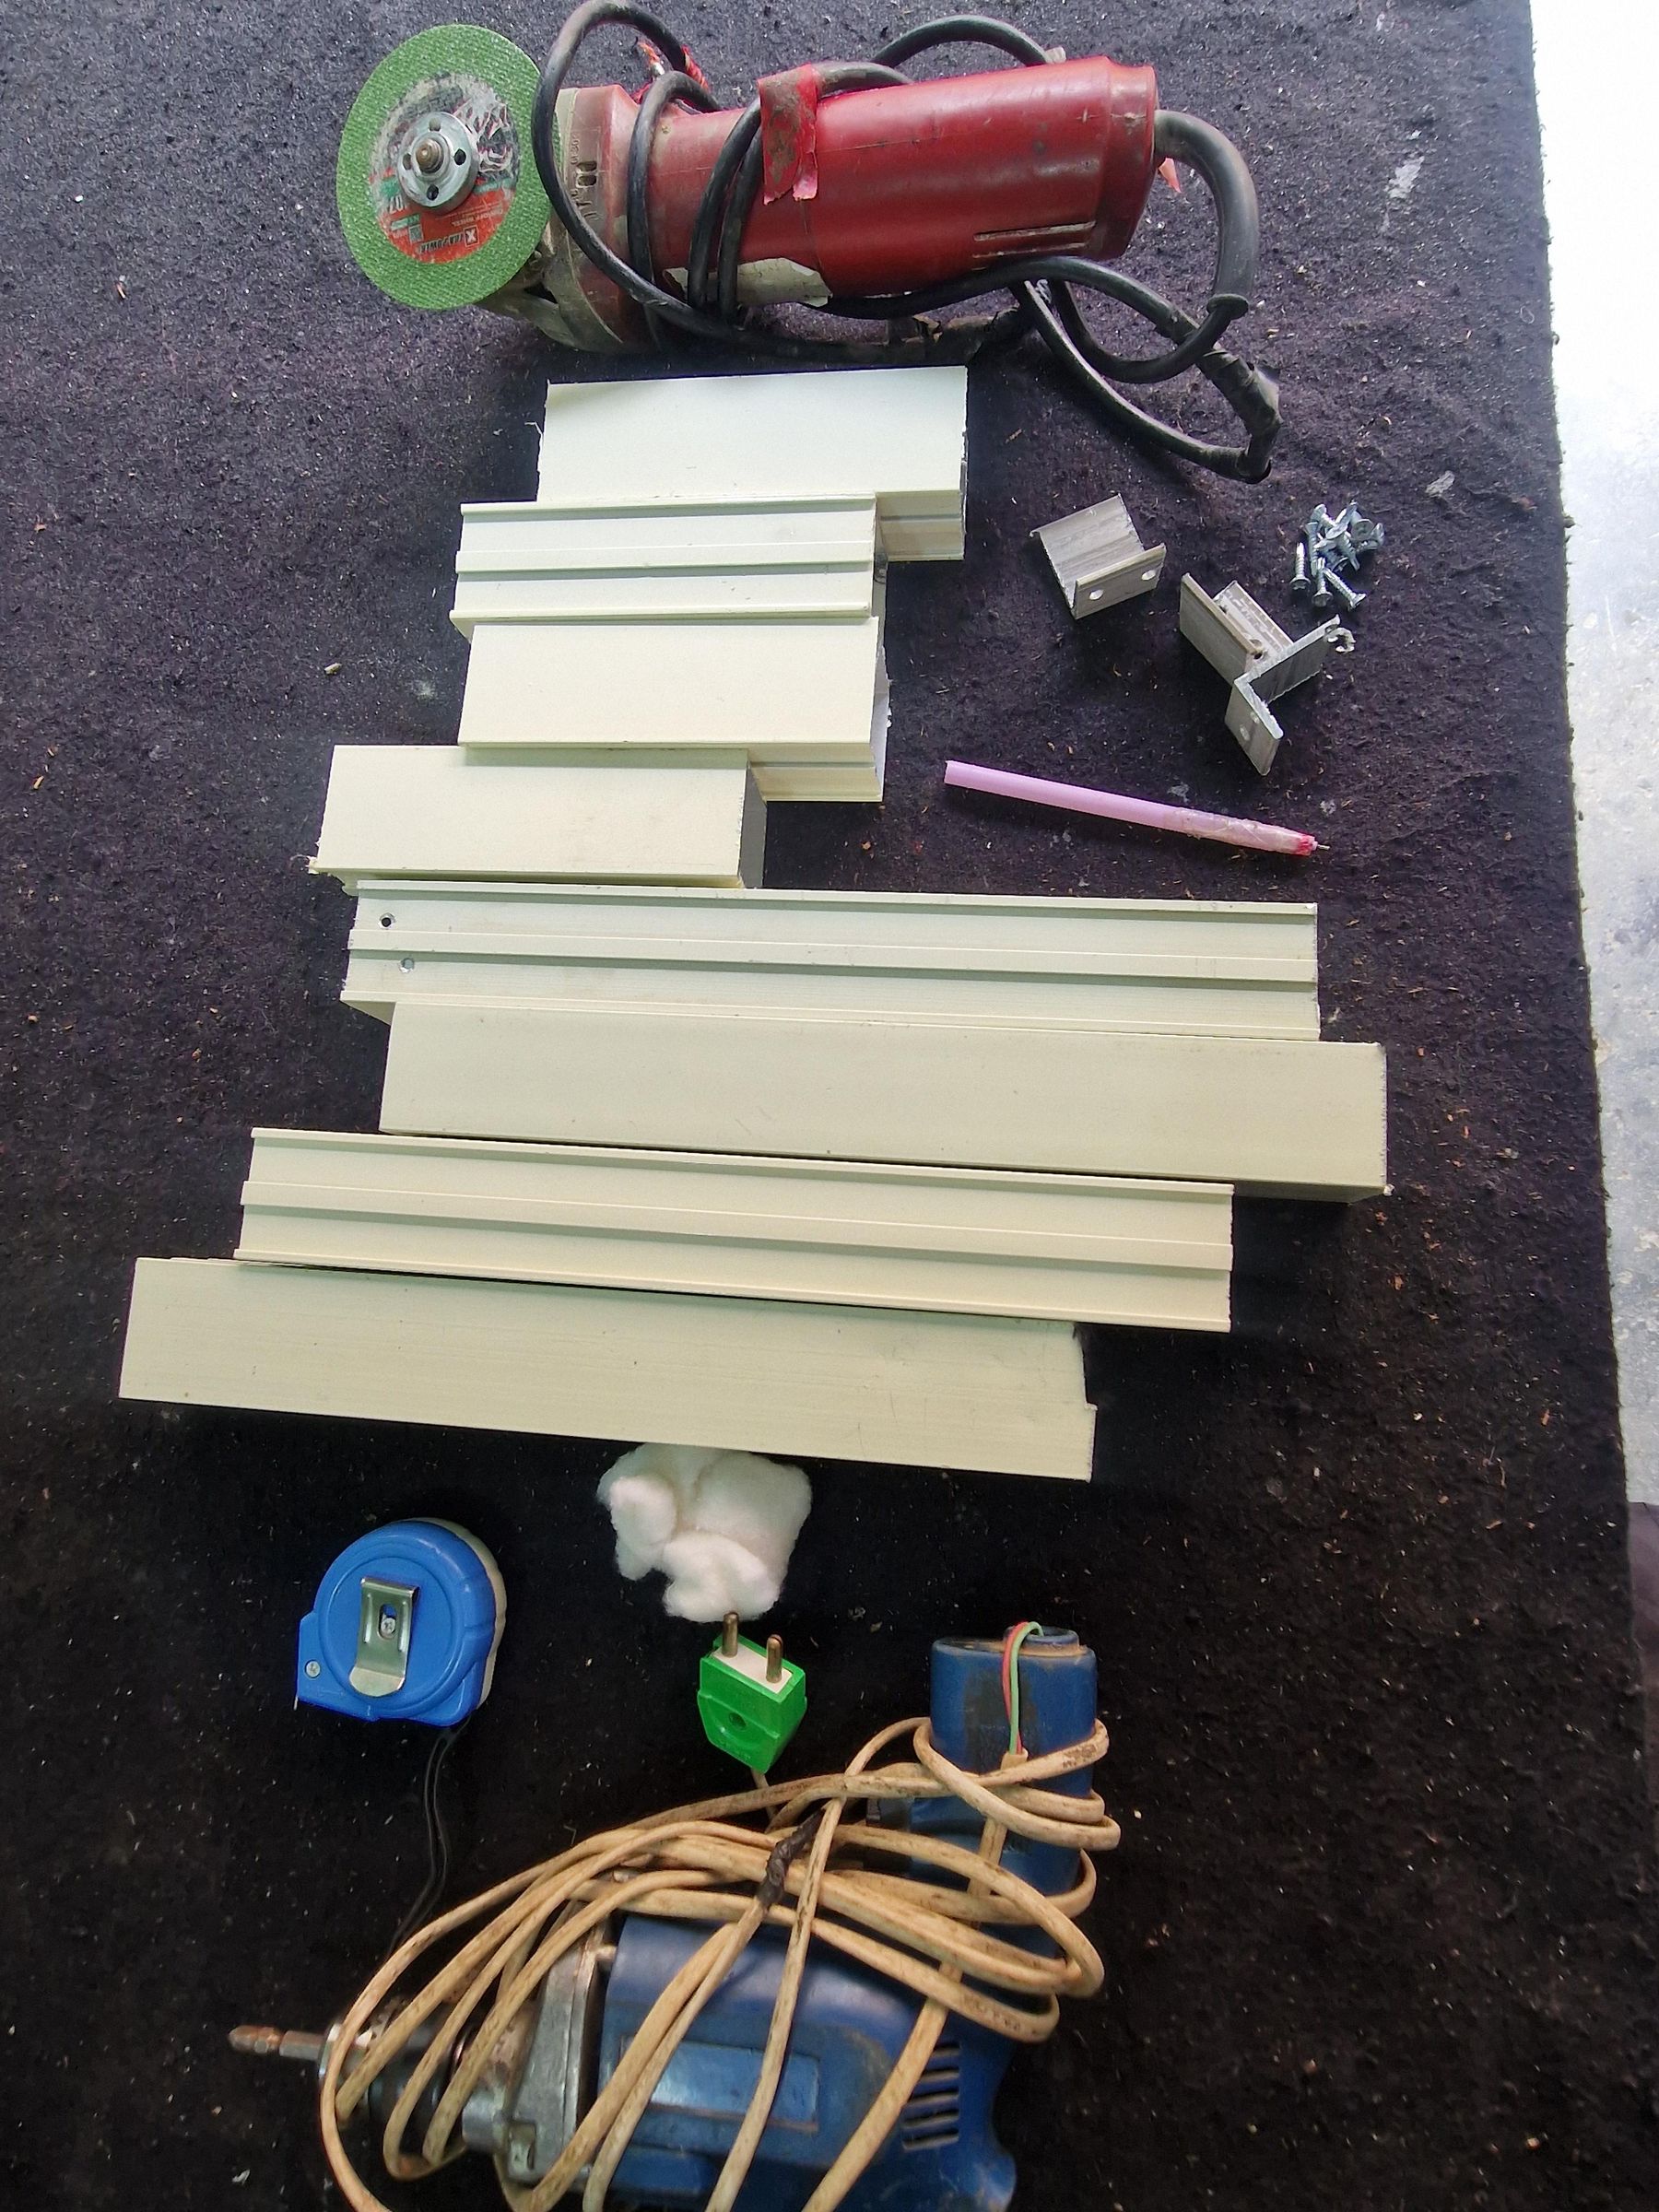
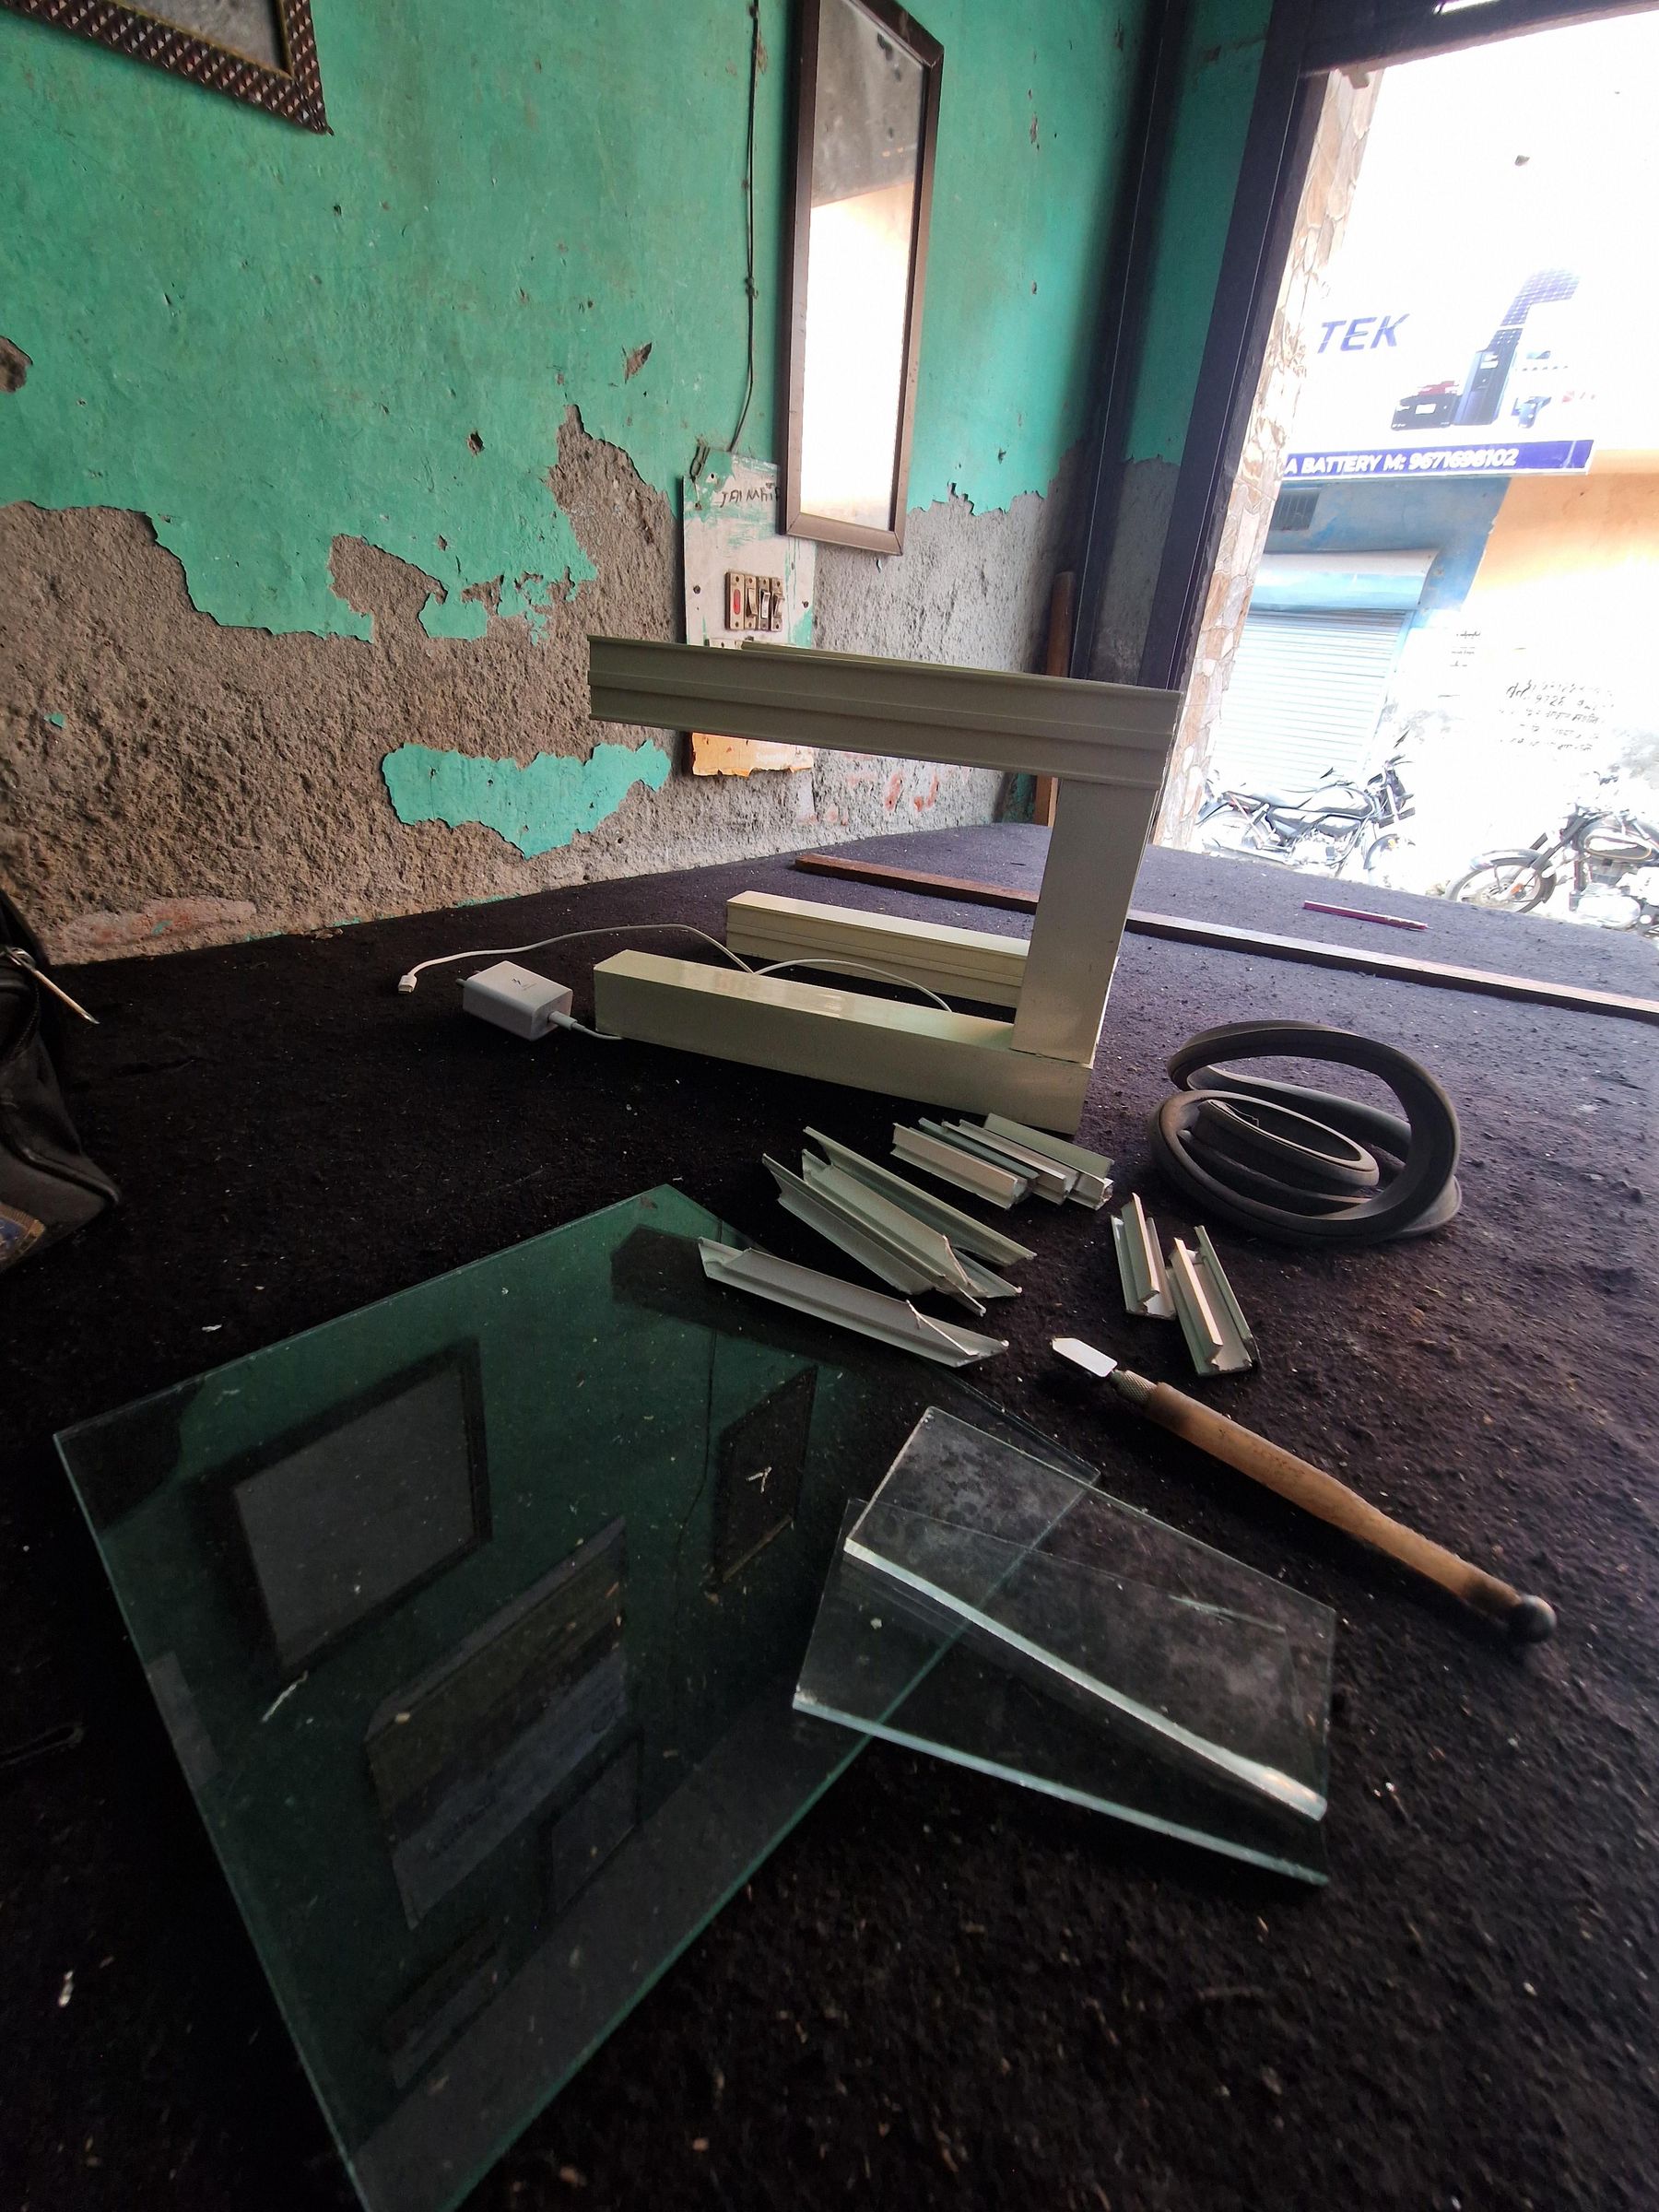
Hardware & Materials:
Upcycled Aluminum Extrusions: Off-cut powder-coated aluminum section channels (legs and horizontal framing rails)
Corner Brackets & Fasteners: 90° aluminum internal angle cleats with self-tapping screws
Glass Top: 1 pane of clear toughened glass
Rubber Gaskets: EPDM black rubber glazing spline/gaskets (for glass cushioning and vibration damping)
Wicking Element: High-grade raw absorbent cotton rope / braided cotton wicks
Reservoir: Stainless steel tumbler / container
Plant Containers: Potted Jade/succulent plant (primary) and adjacent plant pot (secondary)
Autodesk Tinkercad: 3D CAD modeling and design layout
Fabrication Tools: Angle grinder (with metal cutting abrasive disc), electric drill machine with driving bits, manual glass diamond cutter, and measuring tape
3D CAD Prototyping in Tinkercad
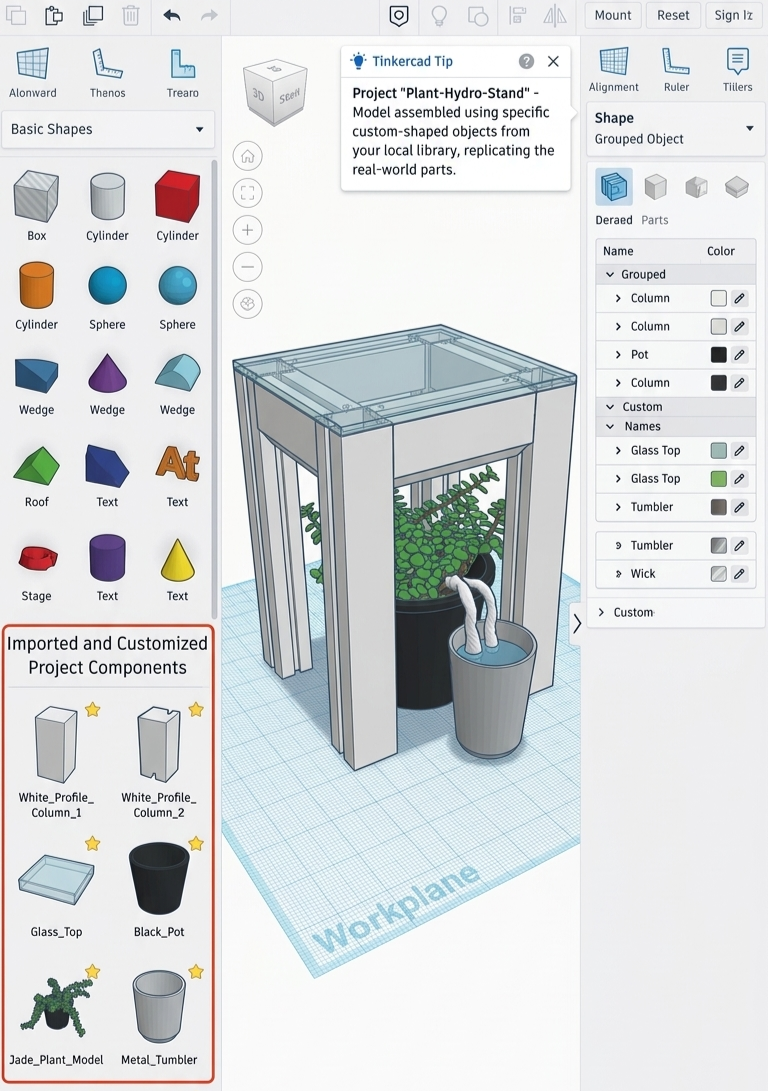
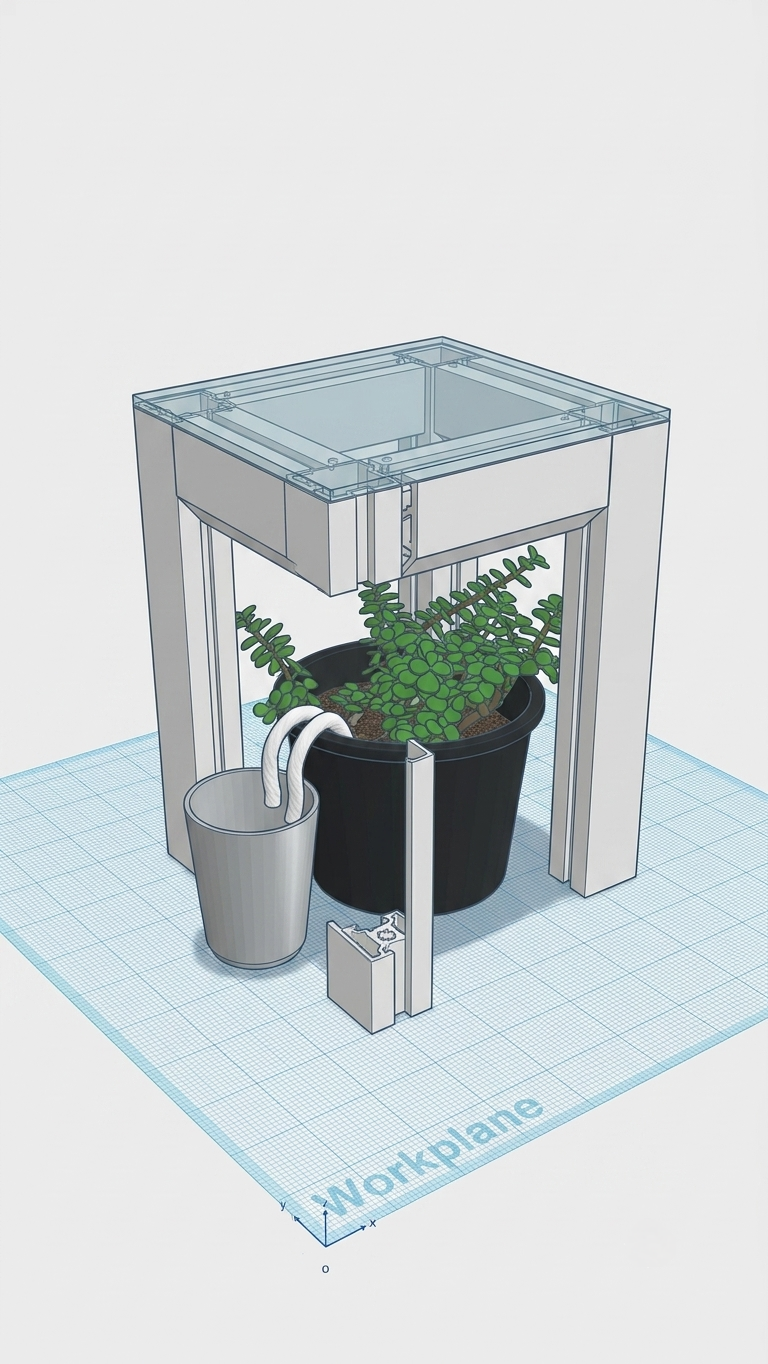
Before cutting raw scrap materials, the assembly was mapped out in Autodesk Tinkercad to ensure structural balance and proper functional clearances:
Primitives (Box and Hole shapes) were used to replicate the specific geometry of aluminum channel profiles.
Leg heights and clearances were simulated to confirm that the potted plant fits underneath while allowing adequate natural ventilation and direct sunlight through the transparent glass roof.
Measuring & Cutting Aluminum Sections
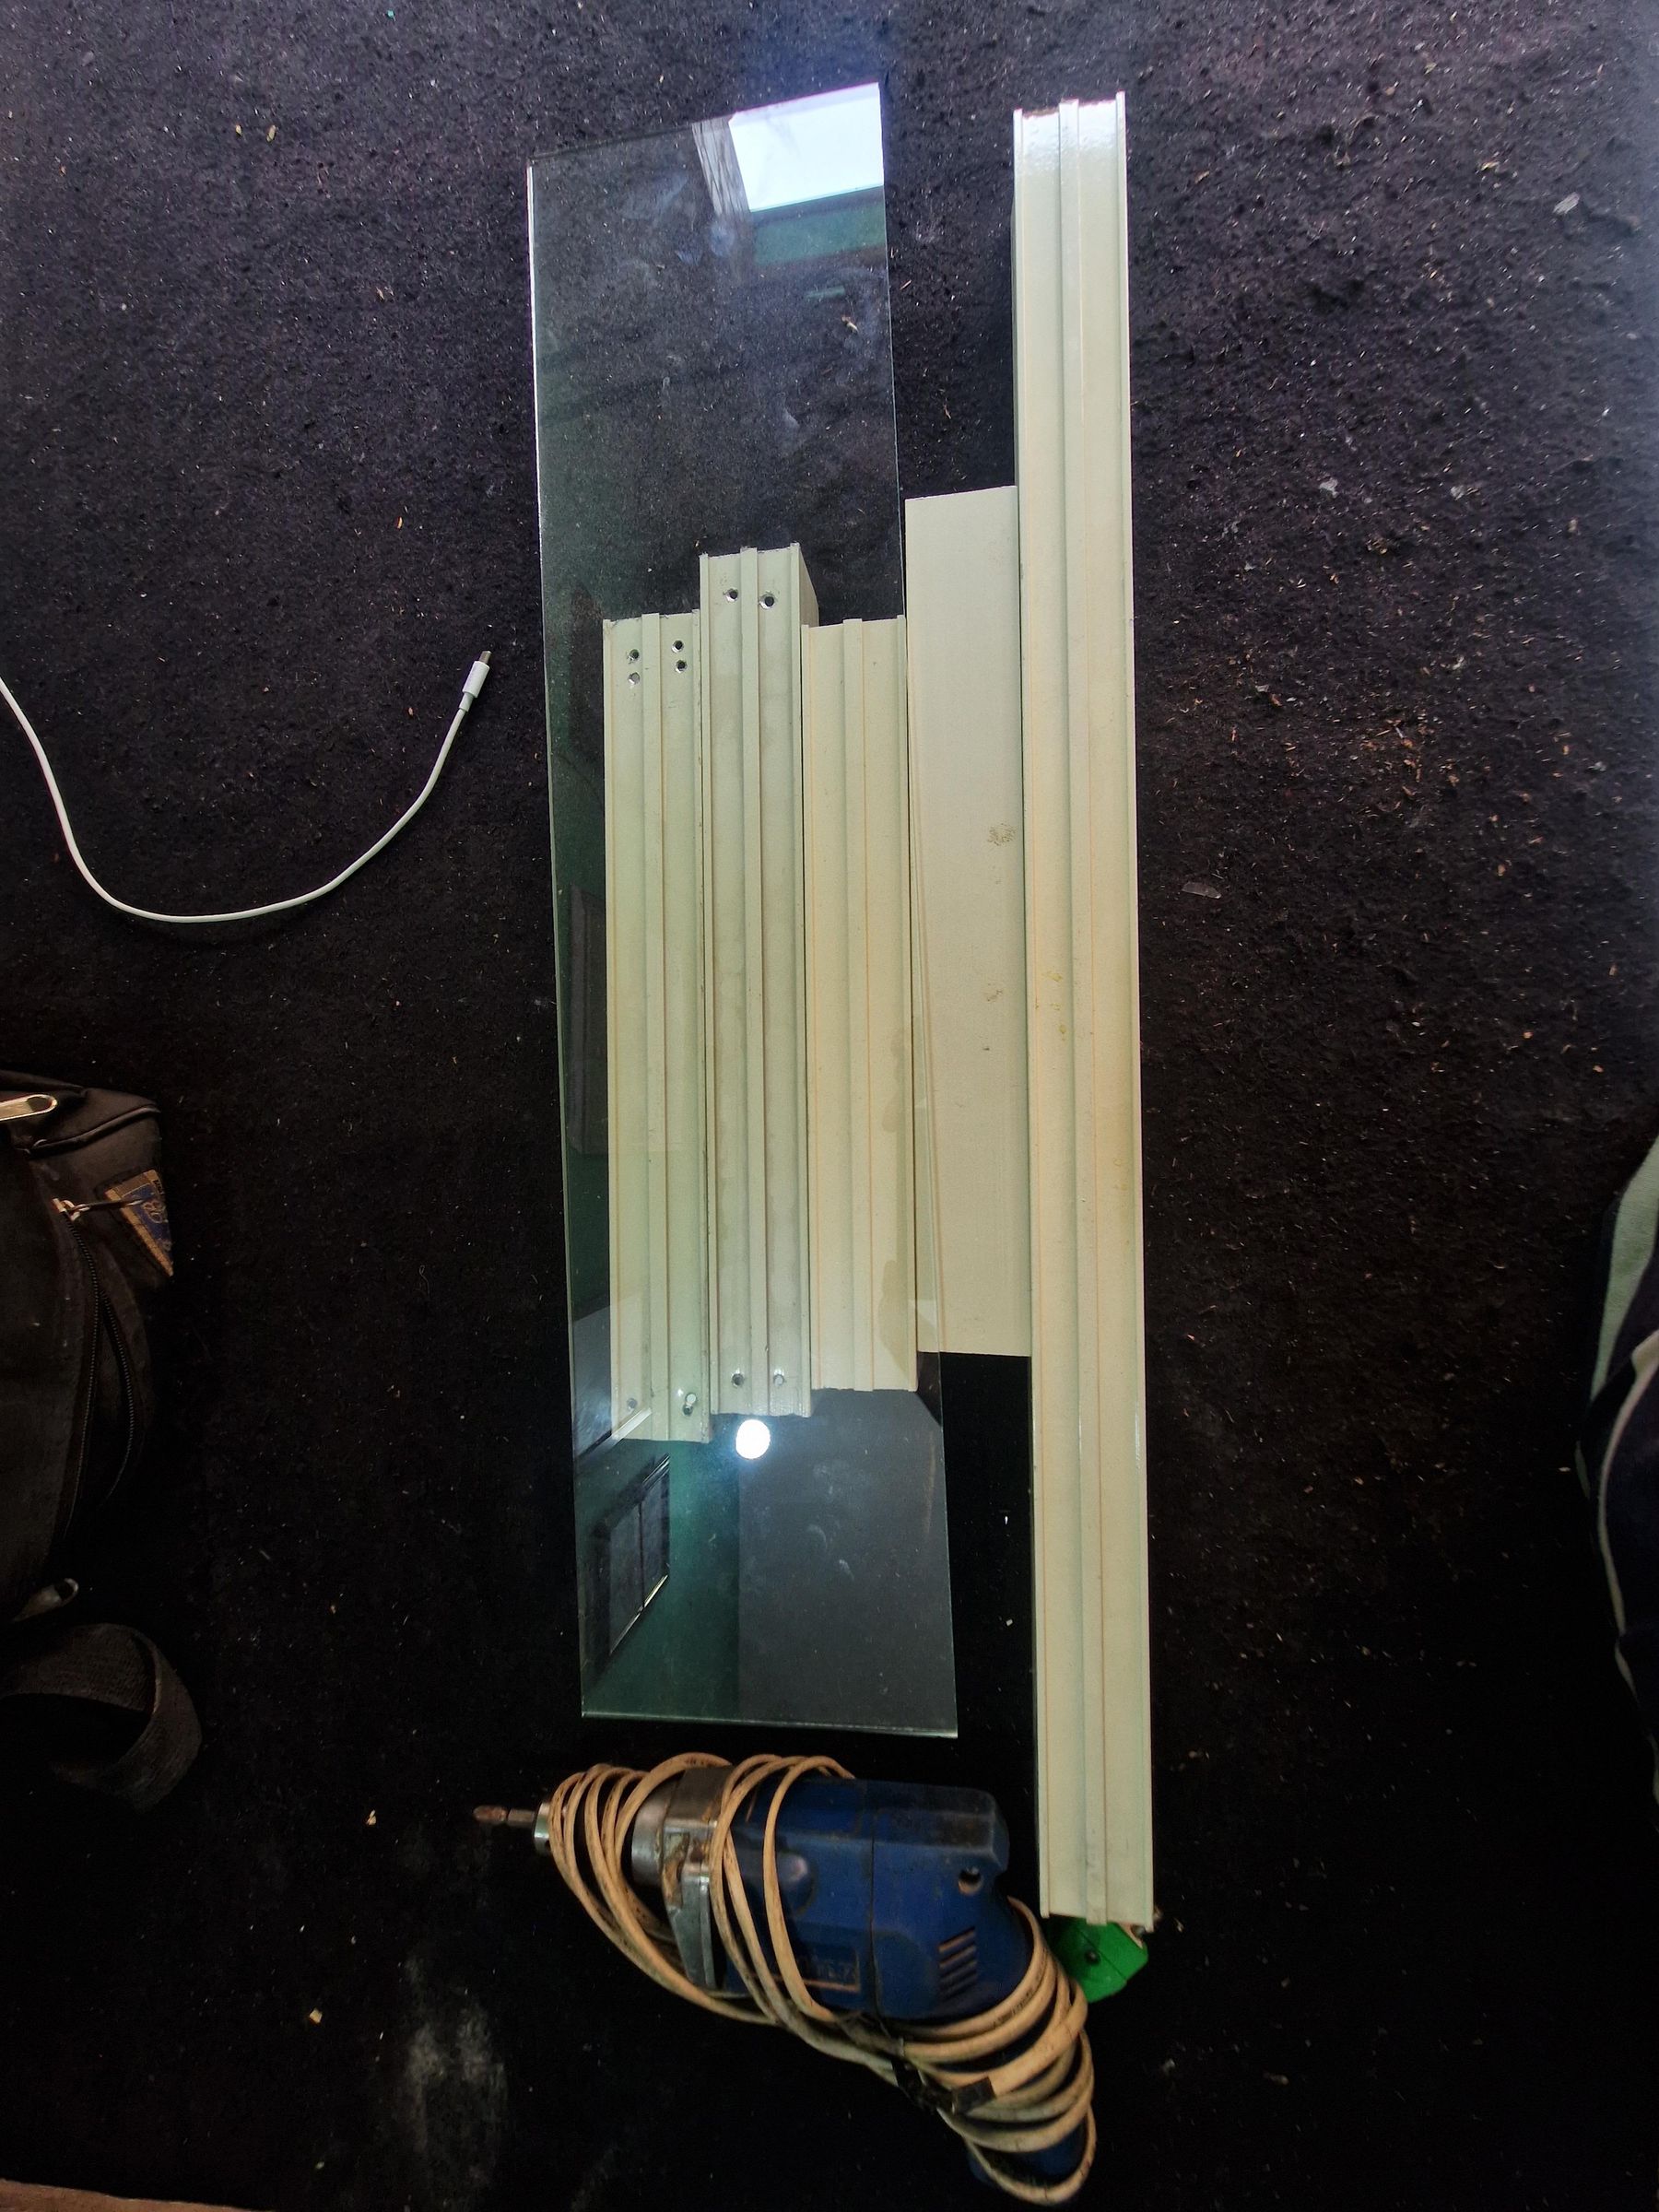
Measure four identical lengths of powder-coated aluminum section for the vertical legs using a measuring tape.
Mark and cut the horizontal support top rails.
Use an angle grinder with a metal cut-off wheel to make clean 90-degree cuts across all aluminum profiles, deburring the cut edges for clean corner joints.
Corner Assembly With Angle Cleats & Fasteners
Insert 90° aluminum corner brackets (cleats) into the internal channels of the top frame rails.
Pre-drill pilot holes where necessary using the electric drill.
Fasten the corners rigidly with self-tapping metal screws to form a rigid four-legged structural table frame.
Downloads
Glass Sizing and Glazing Installation
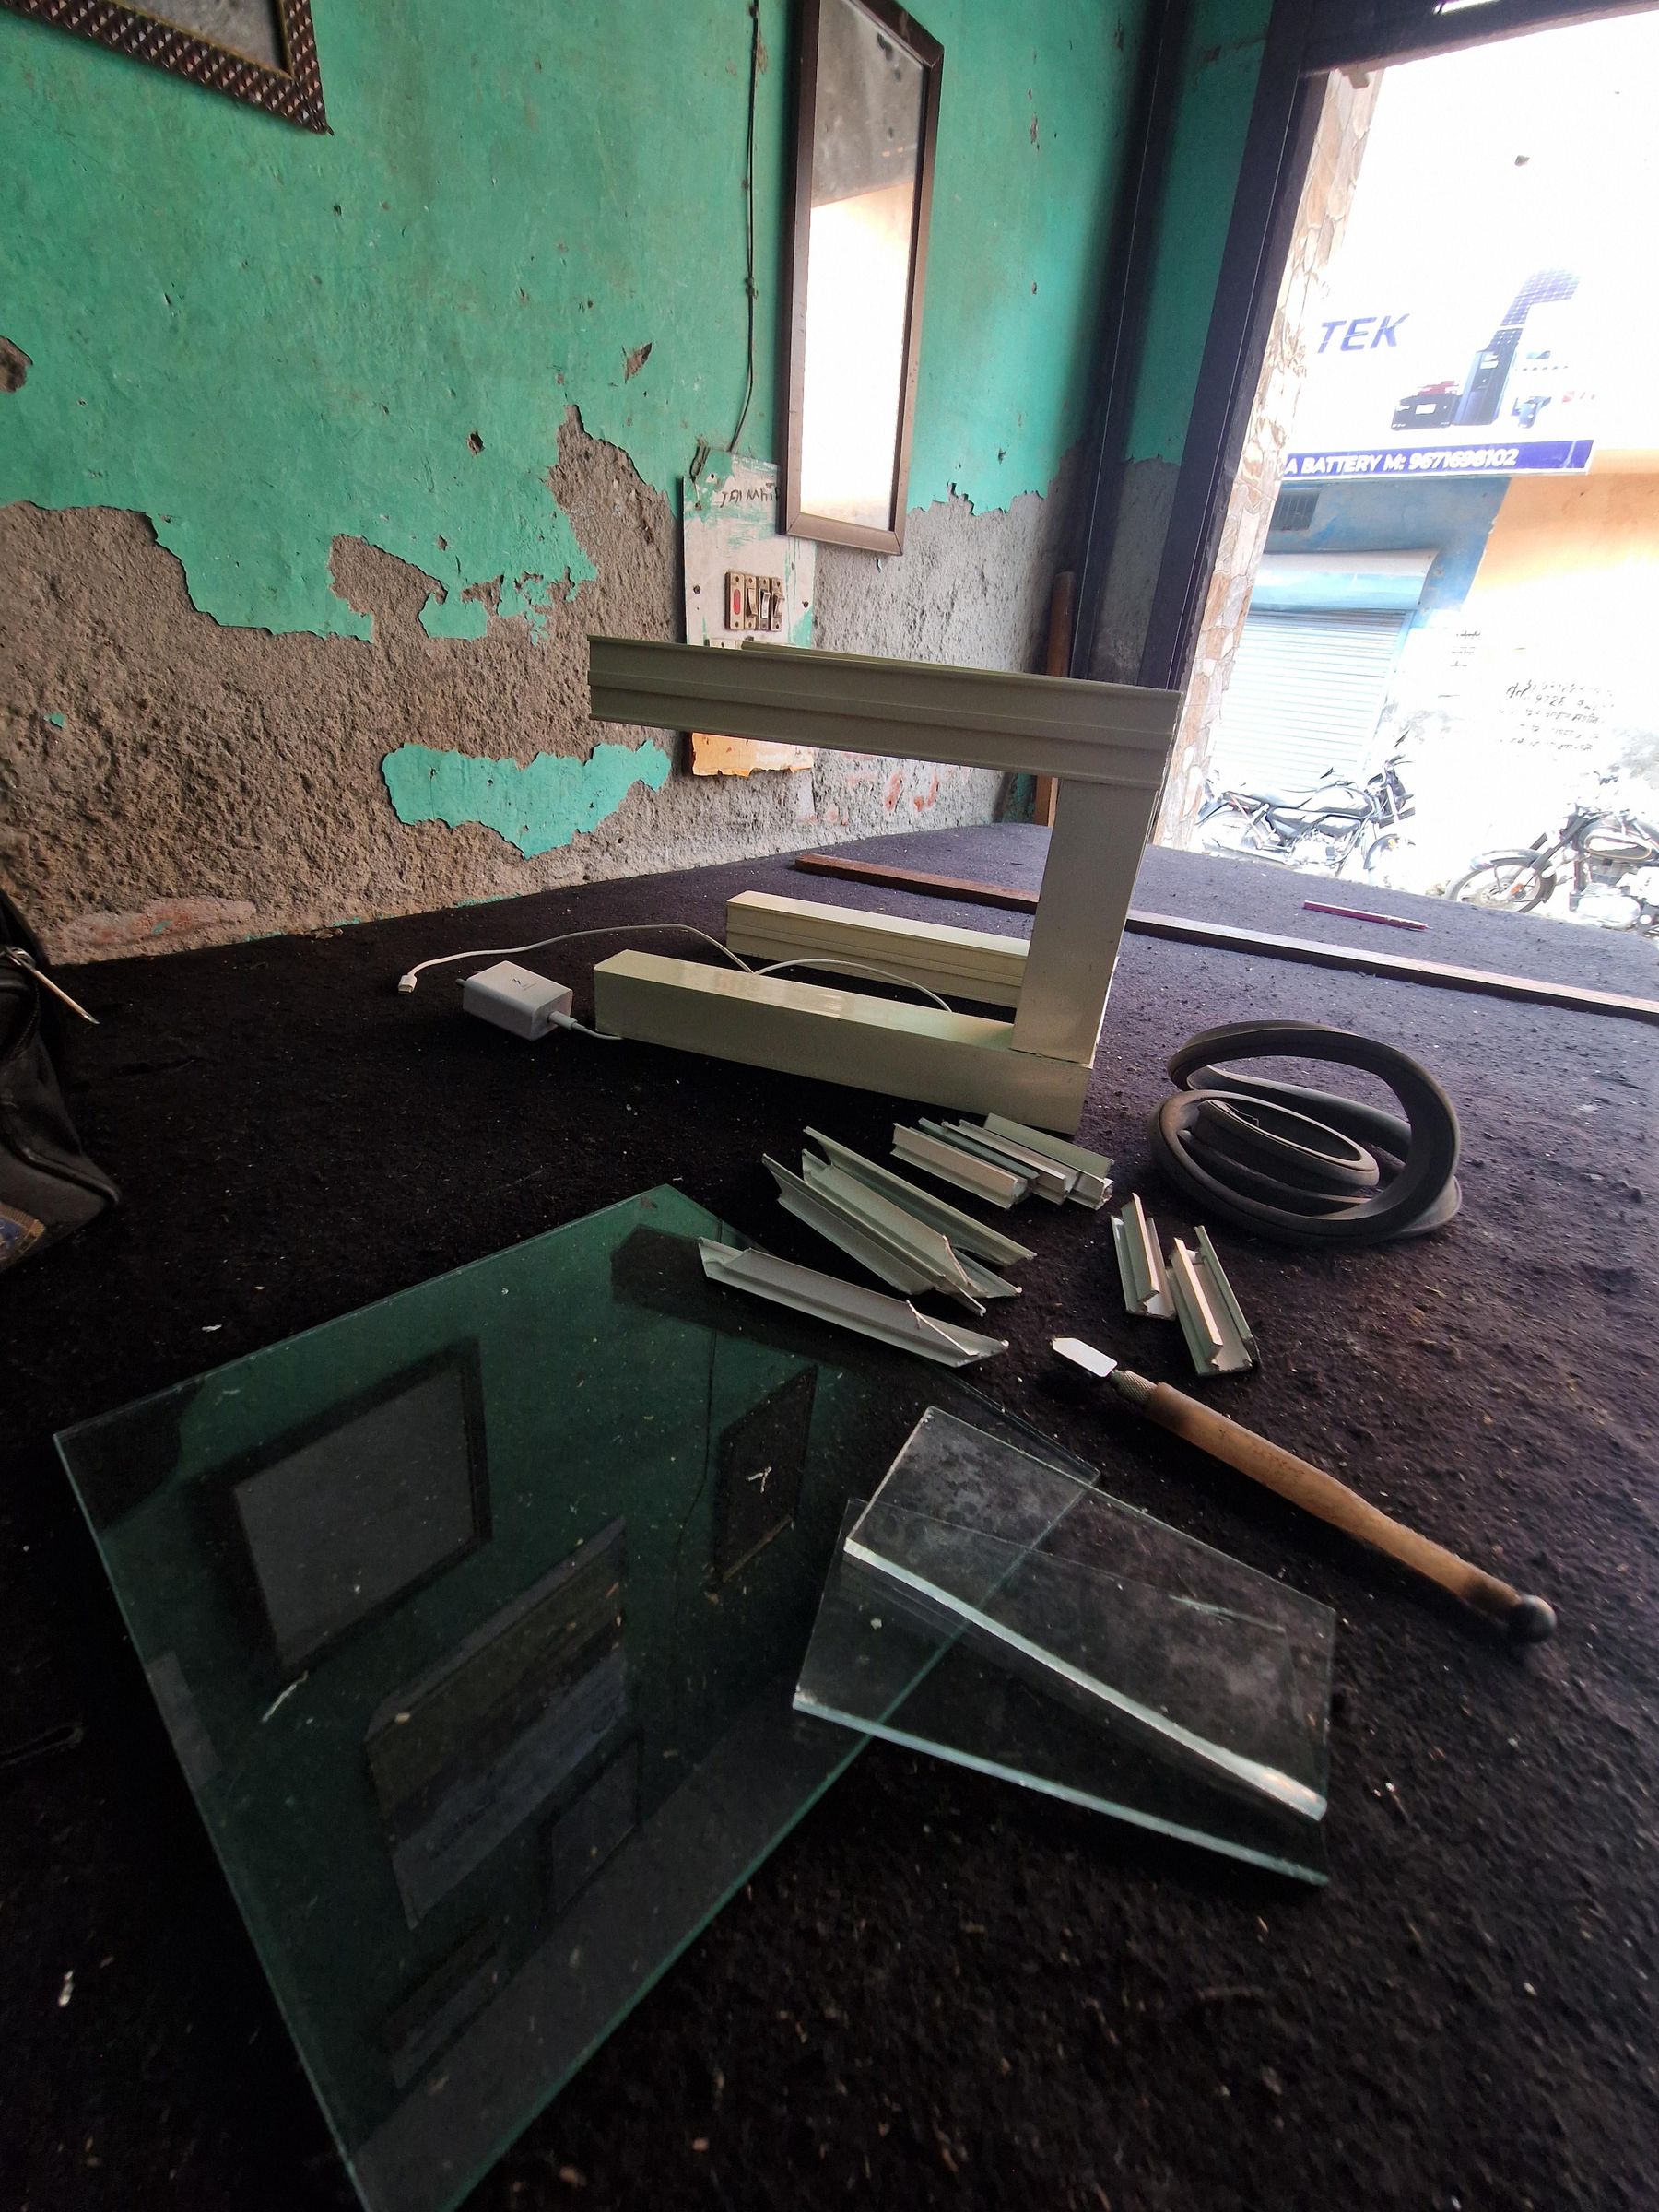
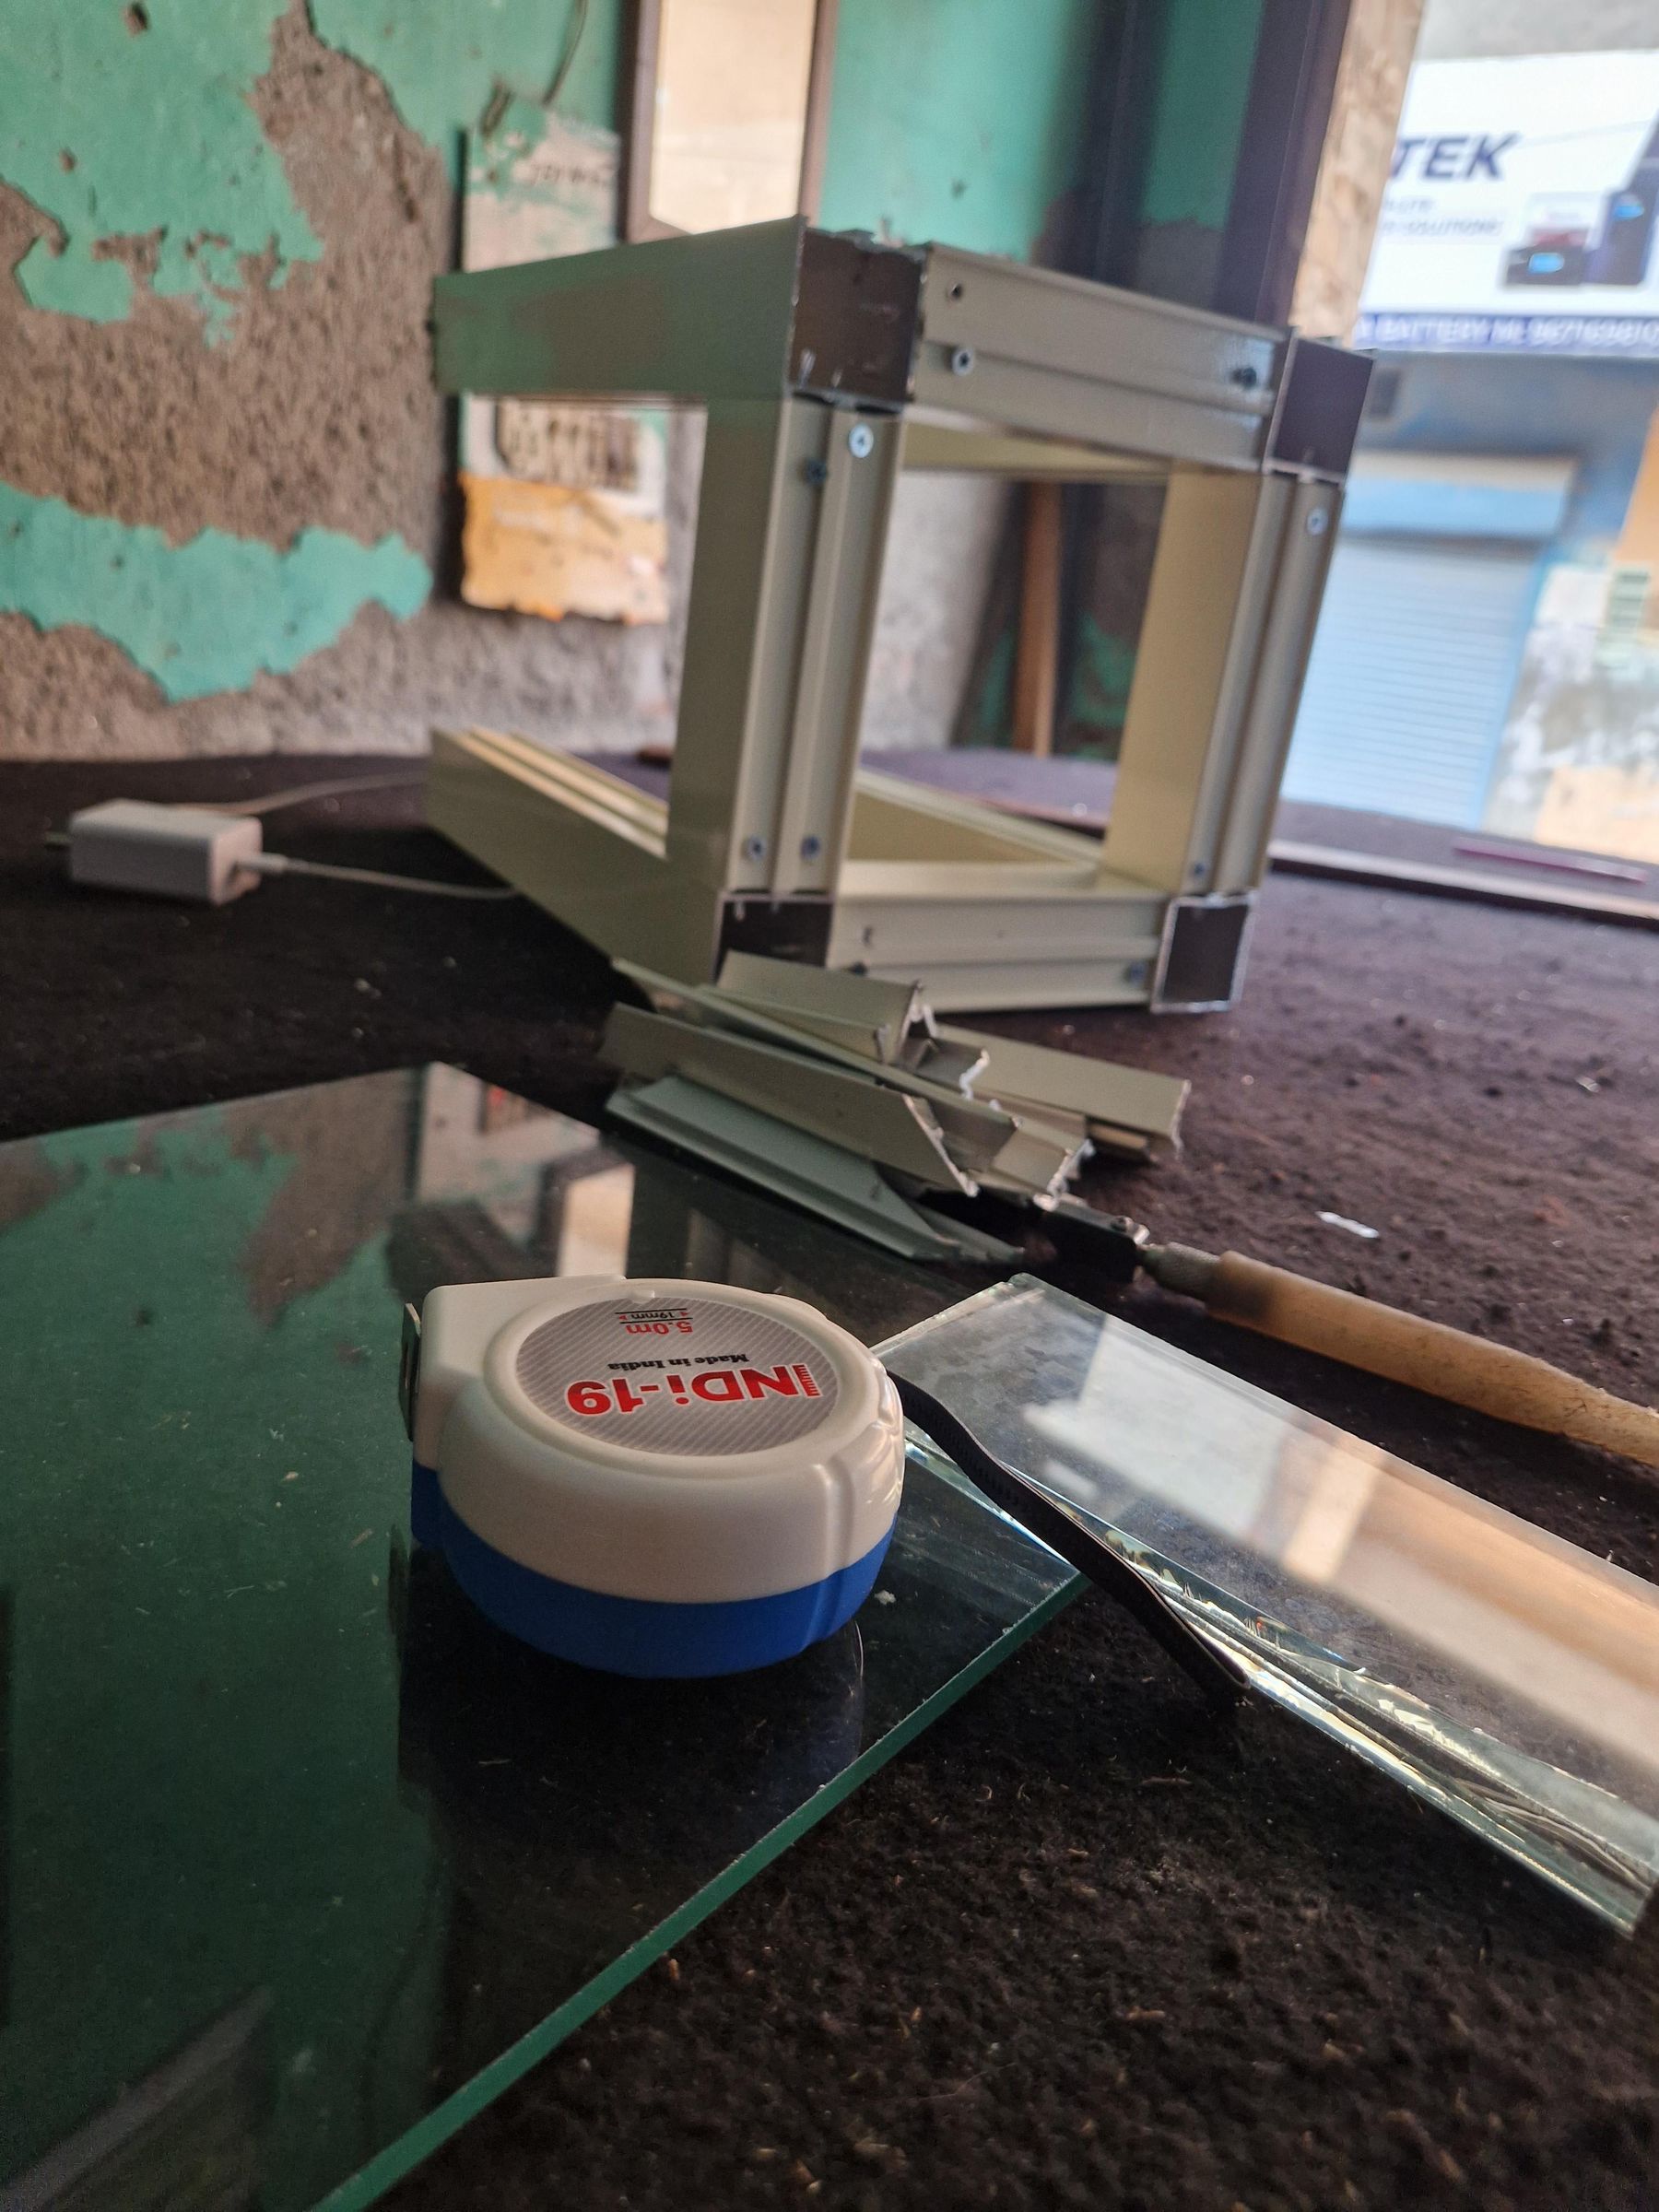
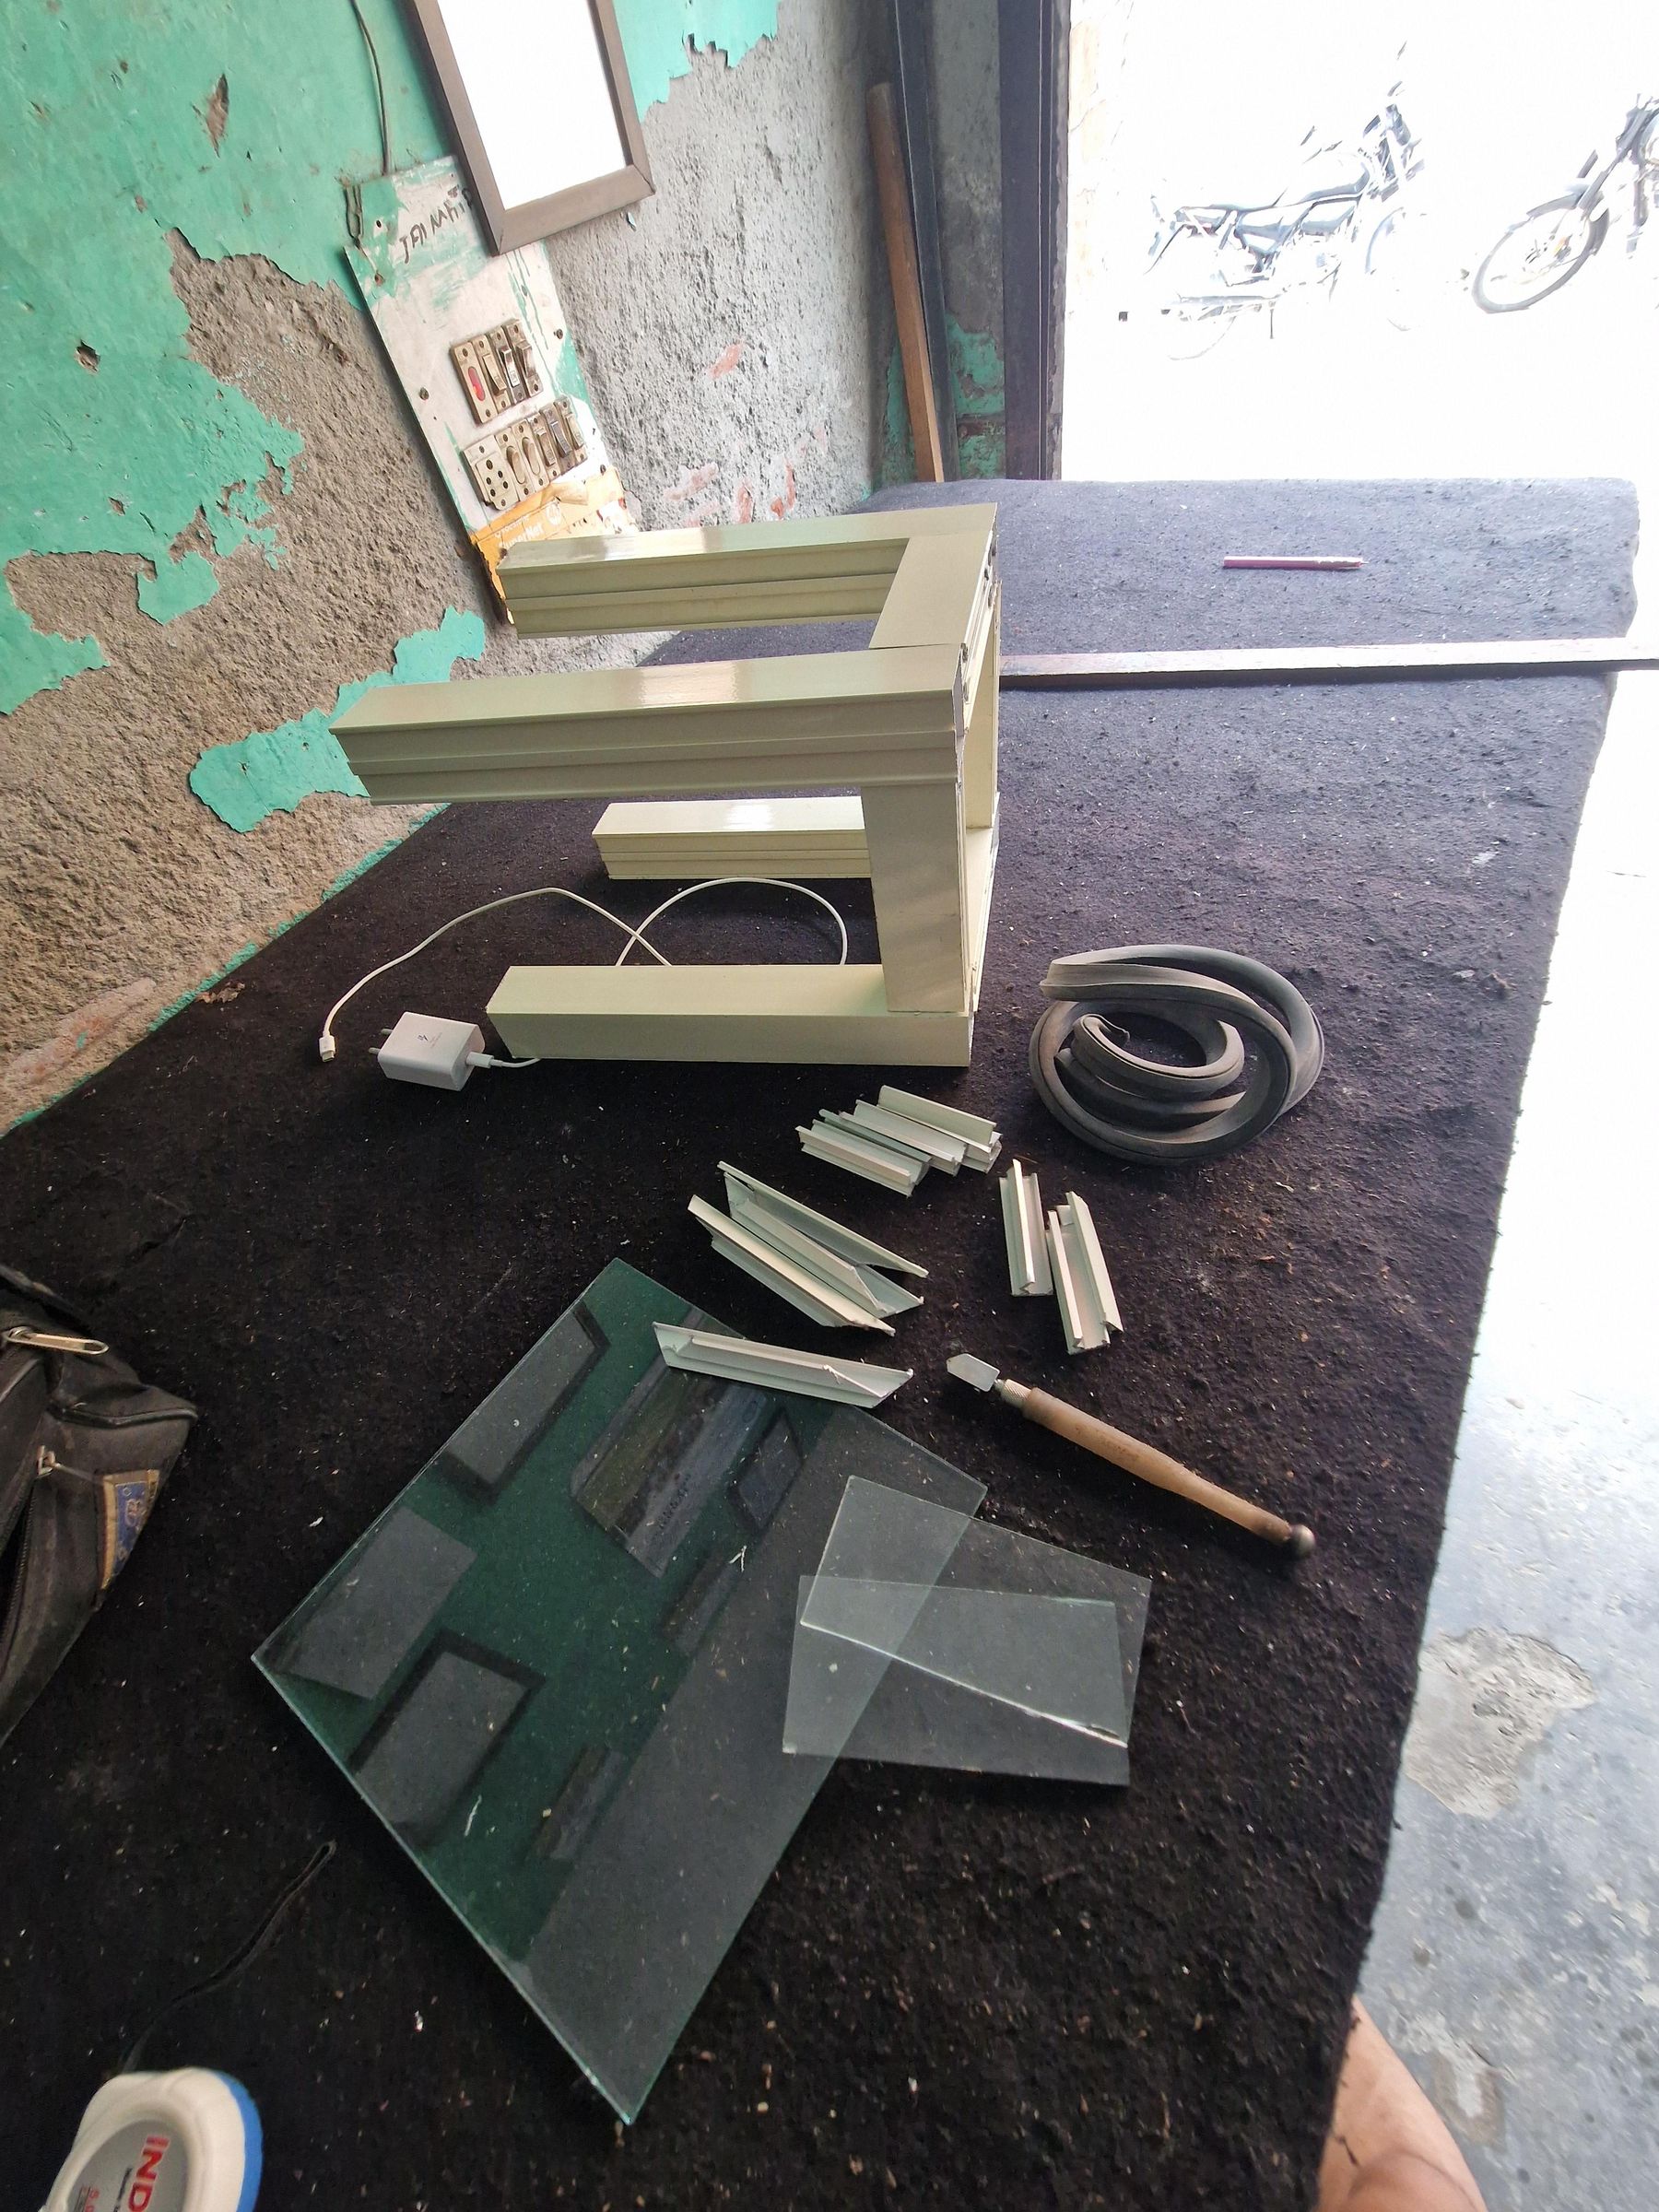
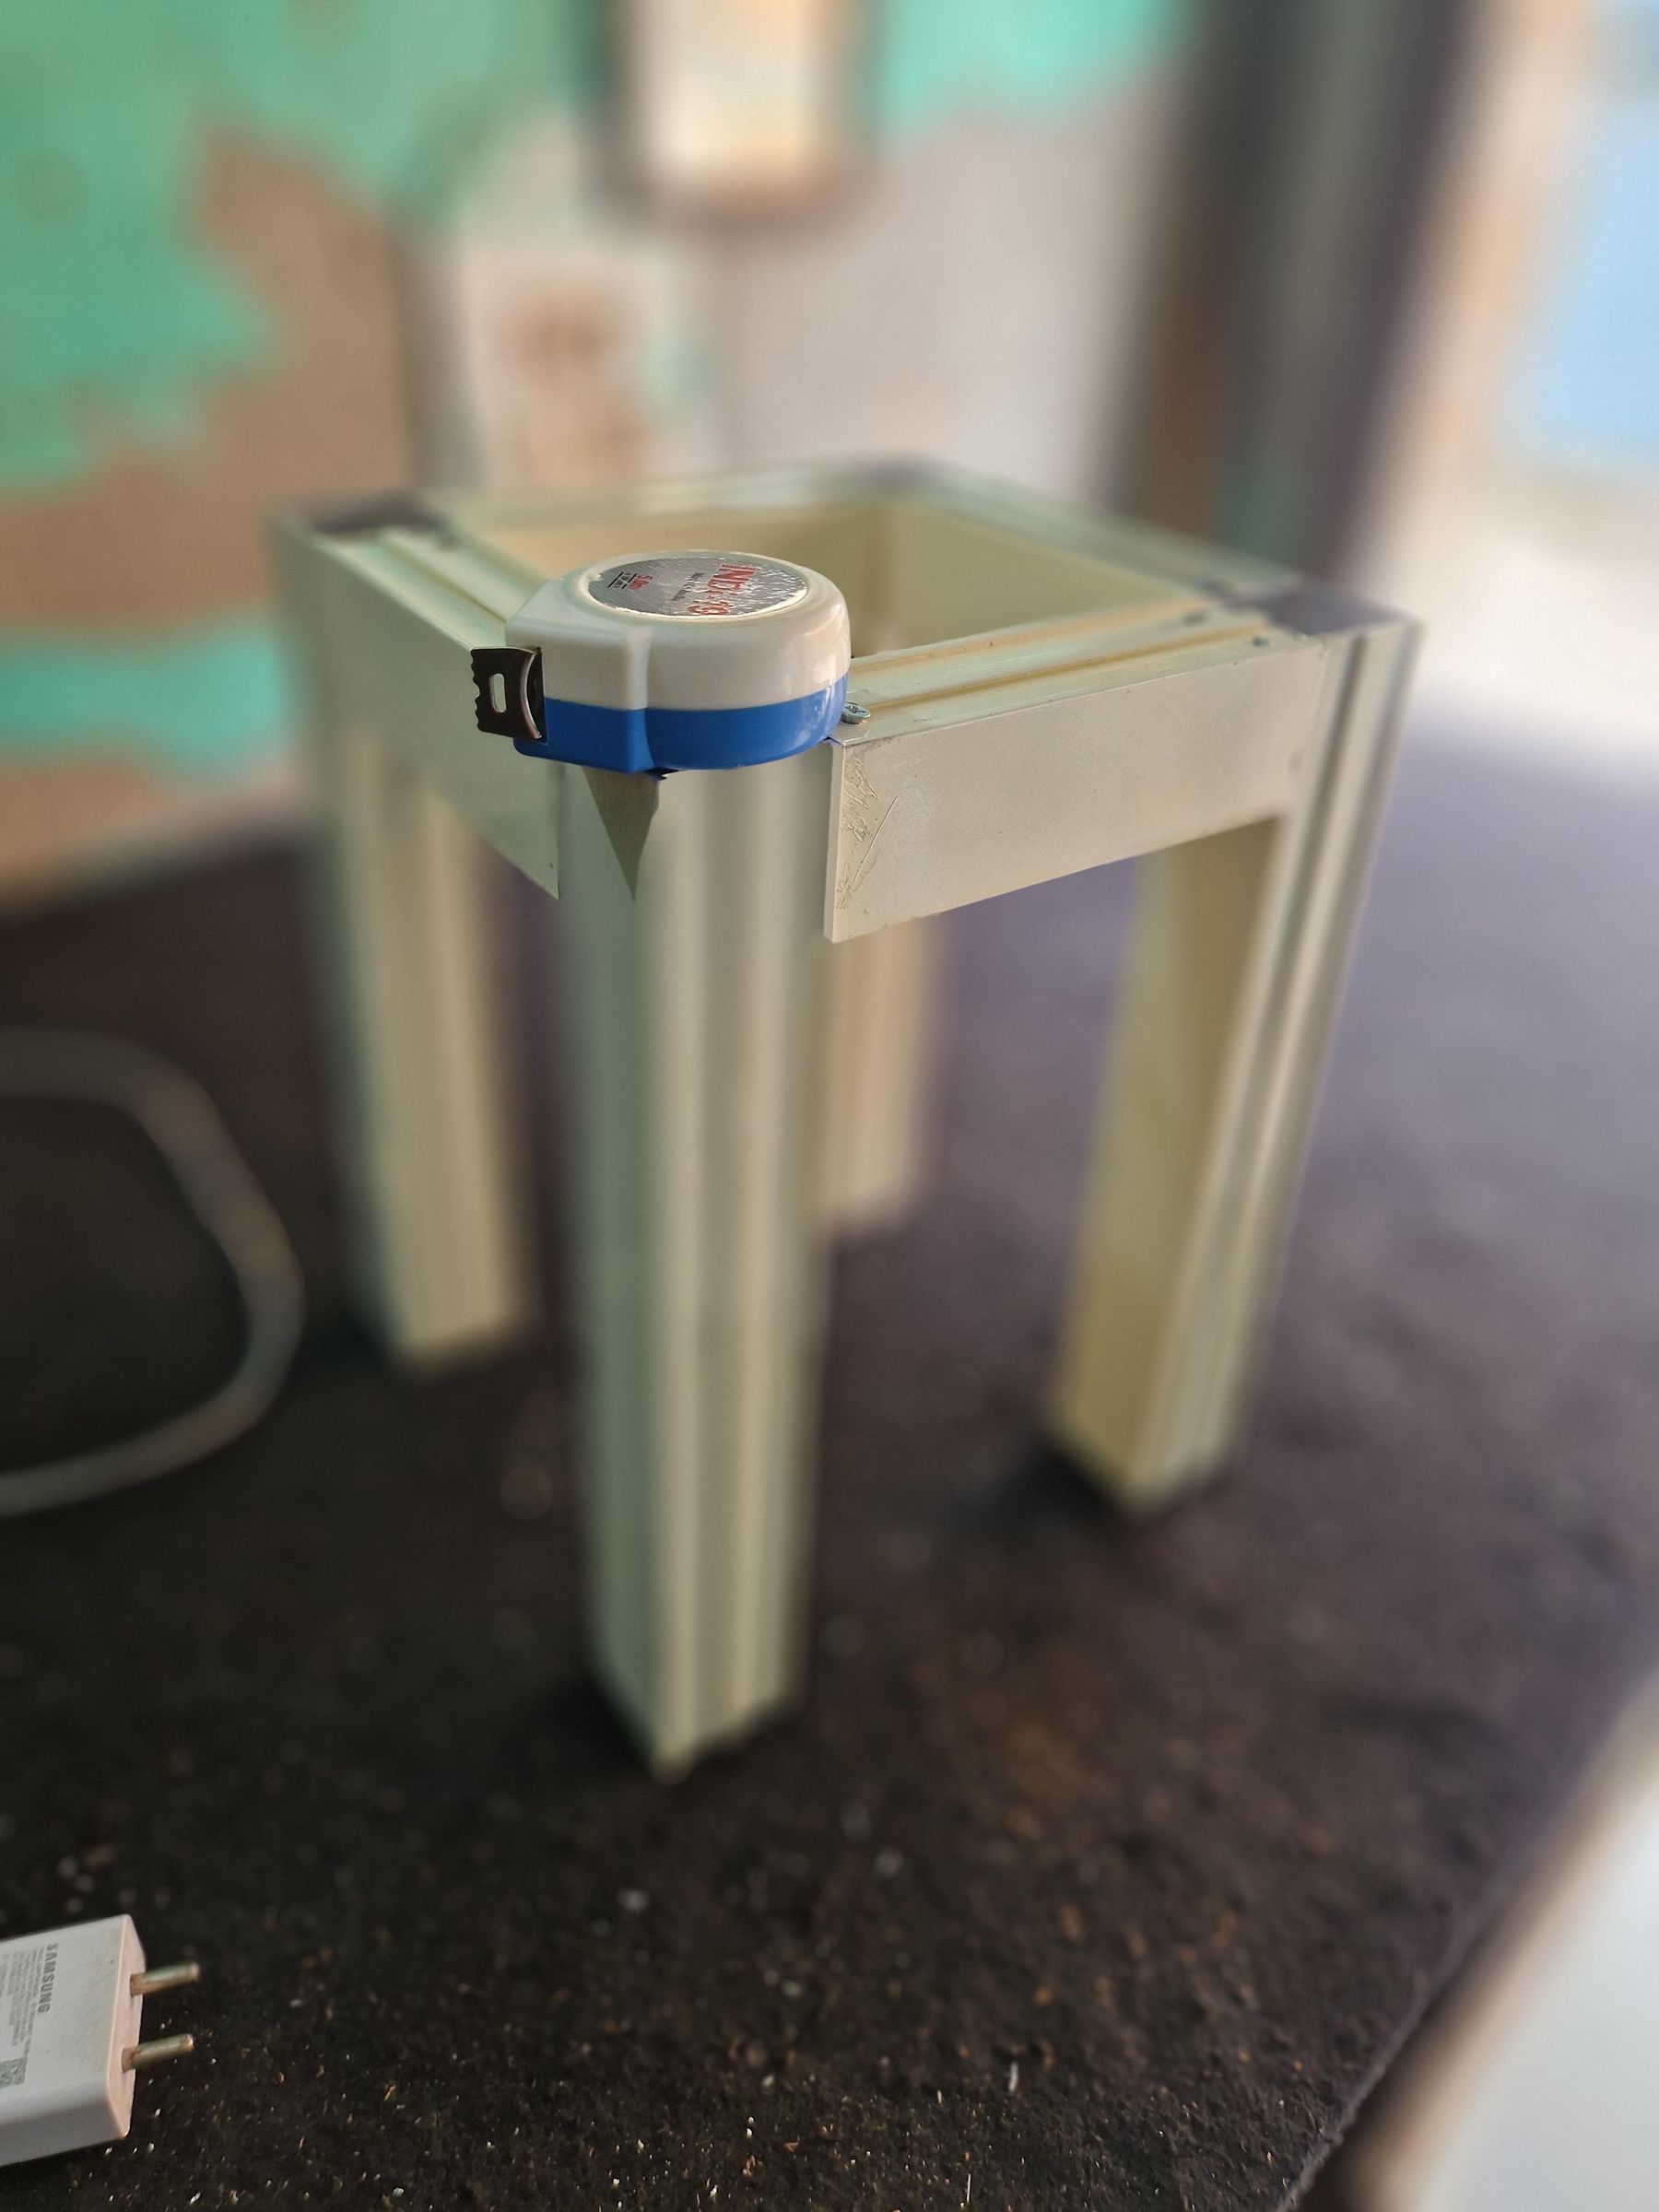
Score and cut the clear glass panel to exact top-frame dimensions using a manual glass cutter.
Insert strips of black rubber glazing gasket inside the frame rebate channels to serve as a shock-absorbing buffer.
Set the glass slab flush over the rubber-lined frame. The glass acts as a solar roof that protects the plant from mechanical damage while allowing full photosynthetic active radiation (PAR).
Downloads
Primary Capillary Wicking Setup (Zero-Power Irrigation)
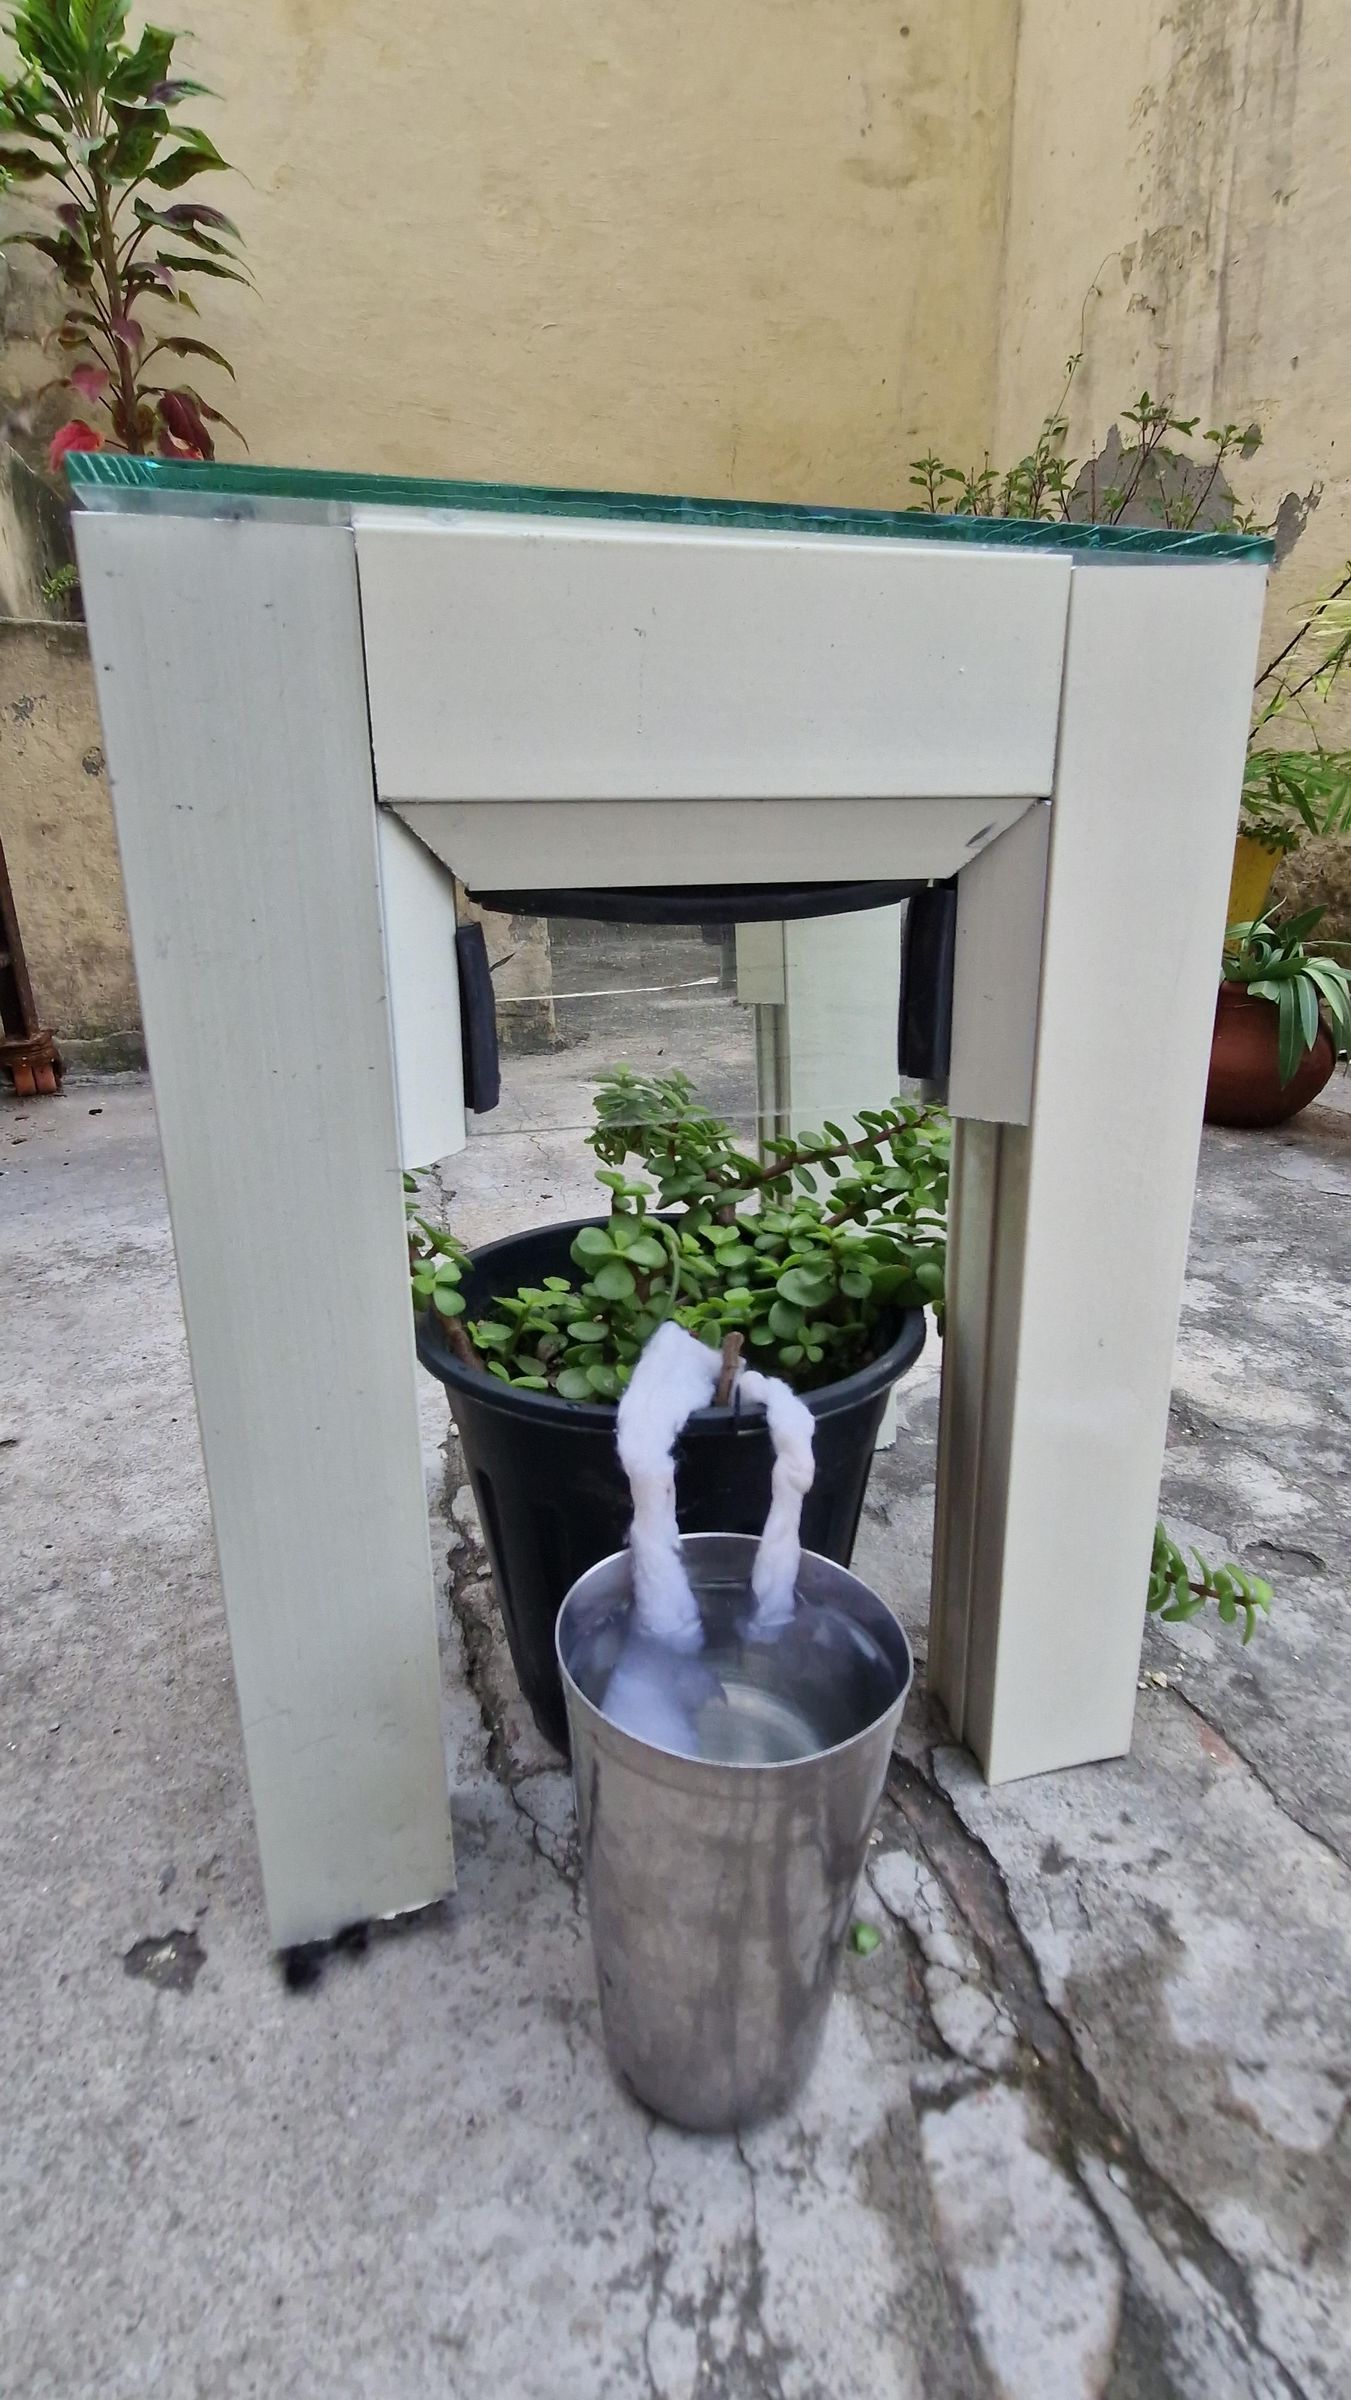
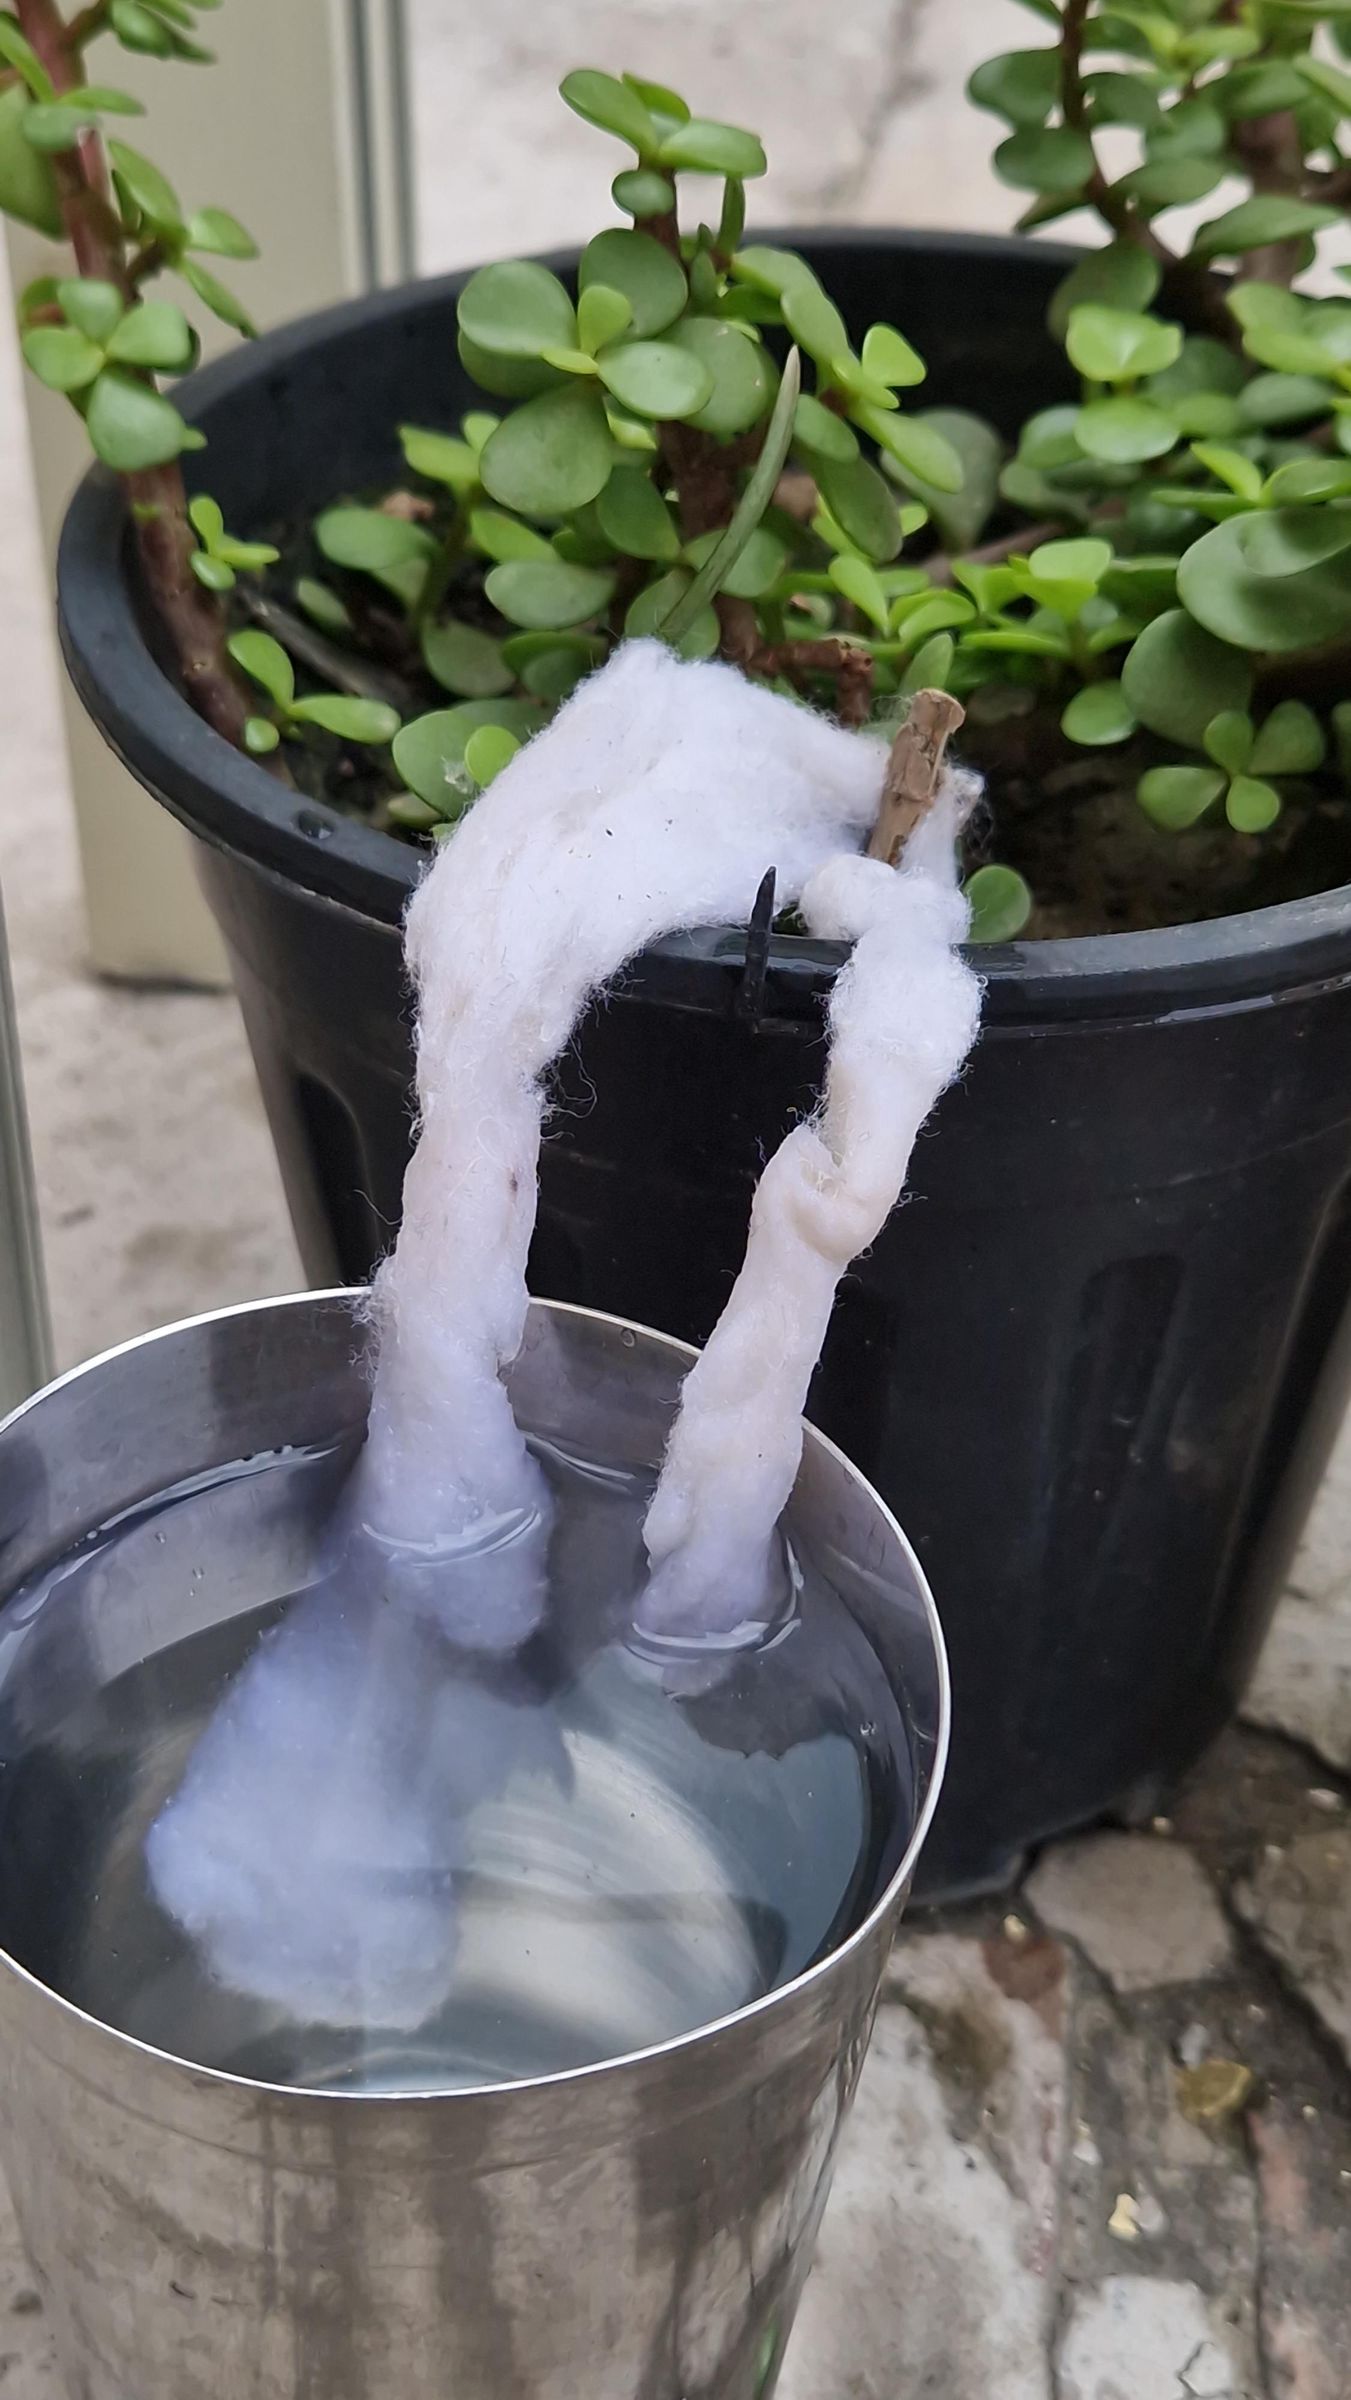
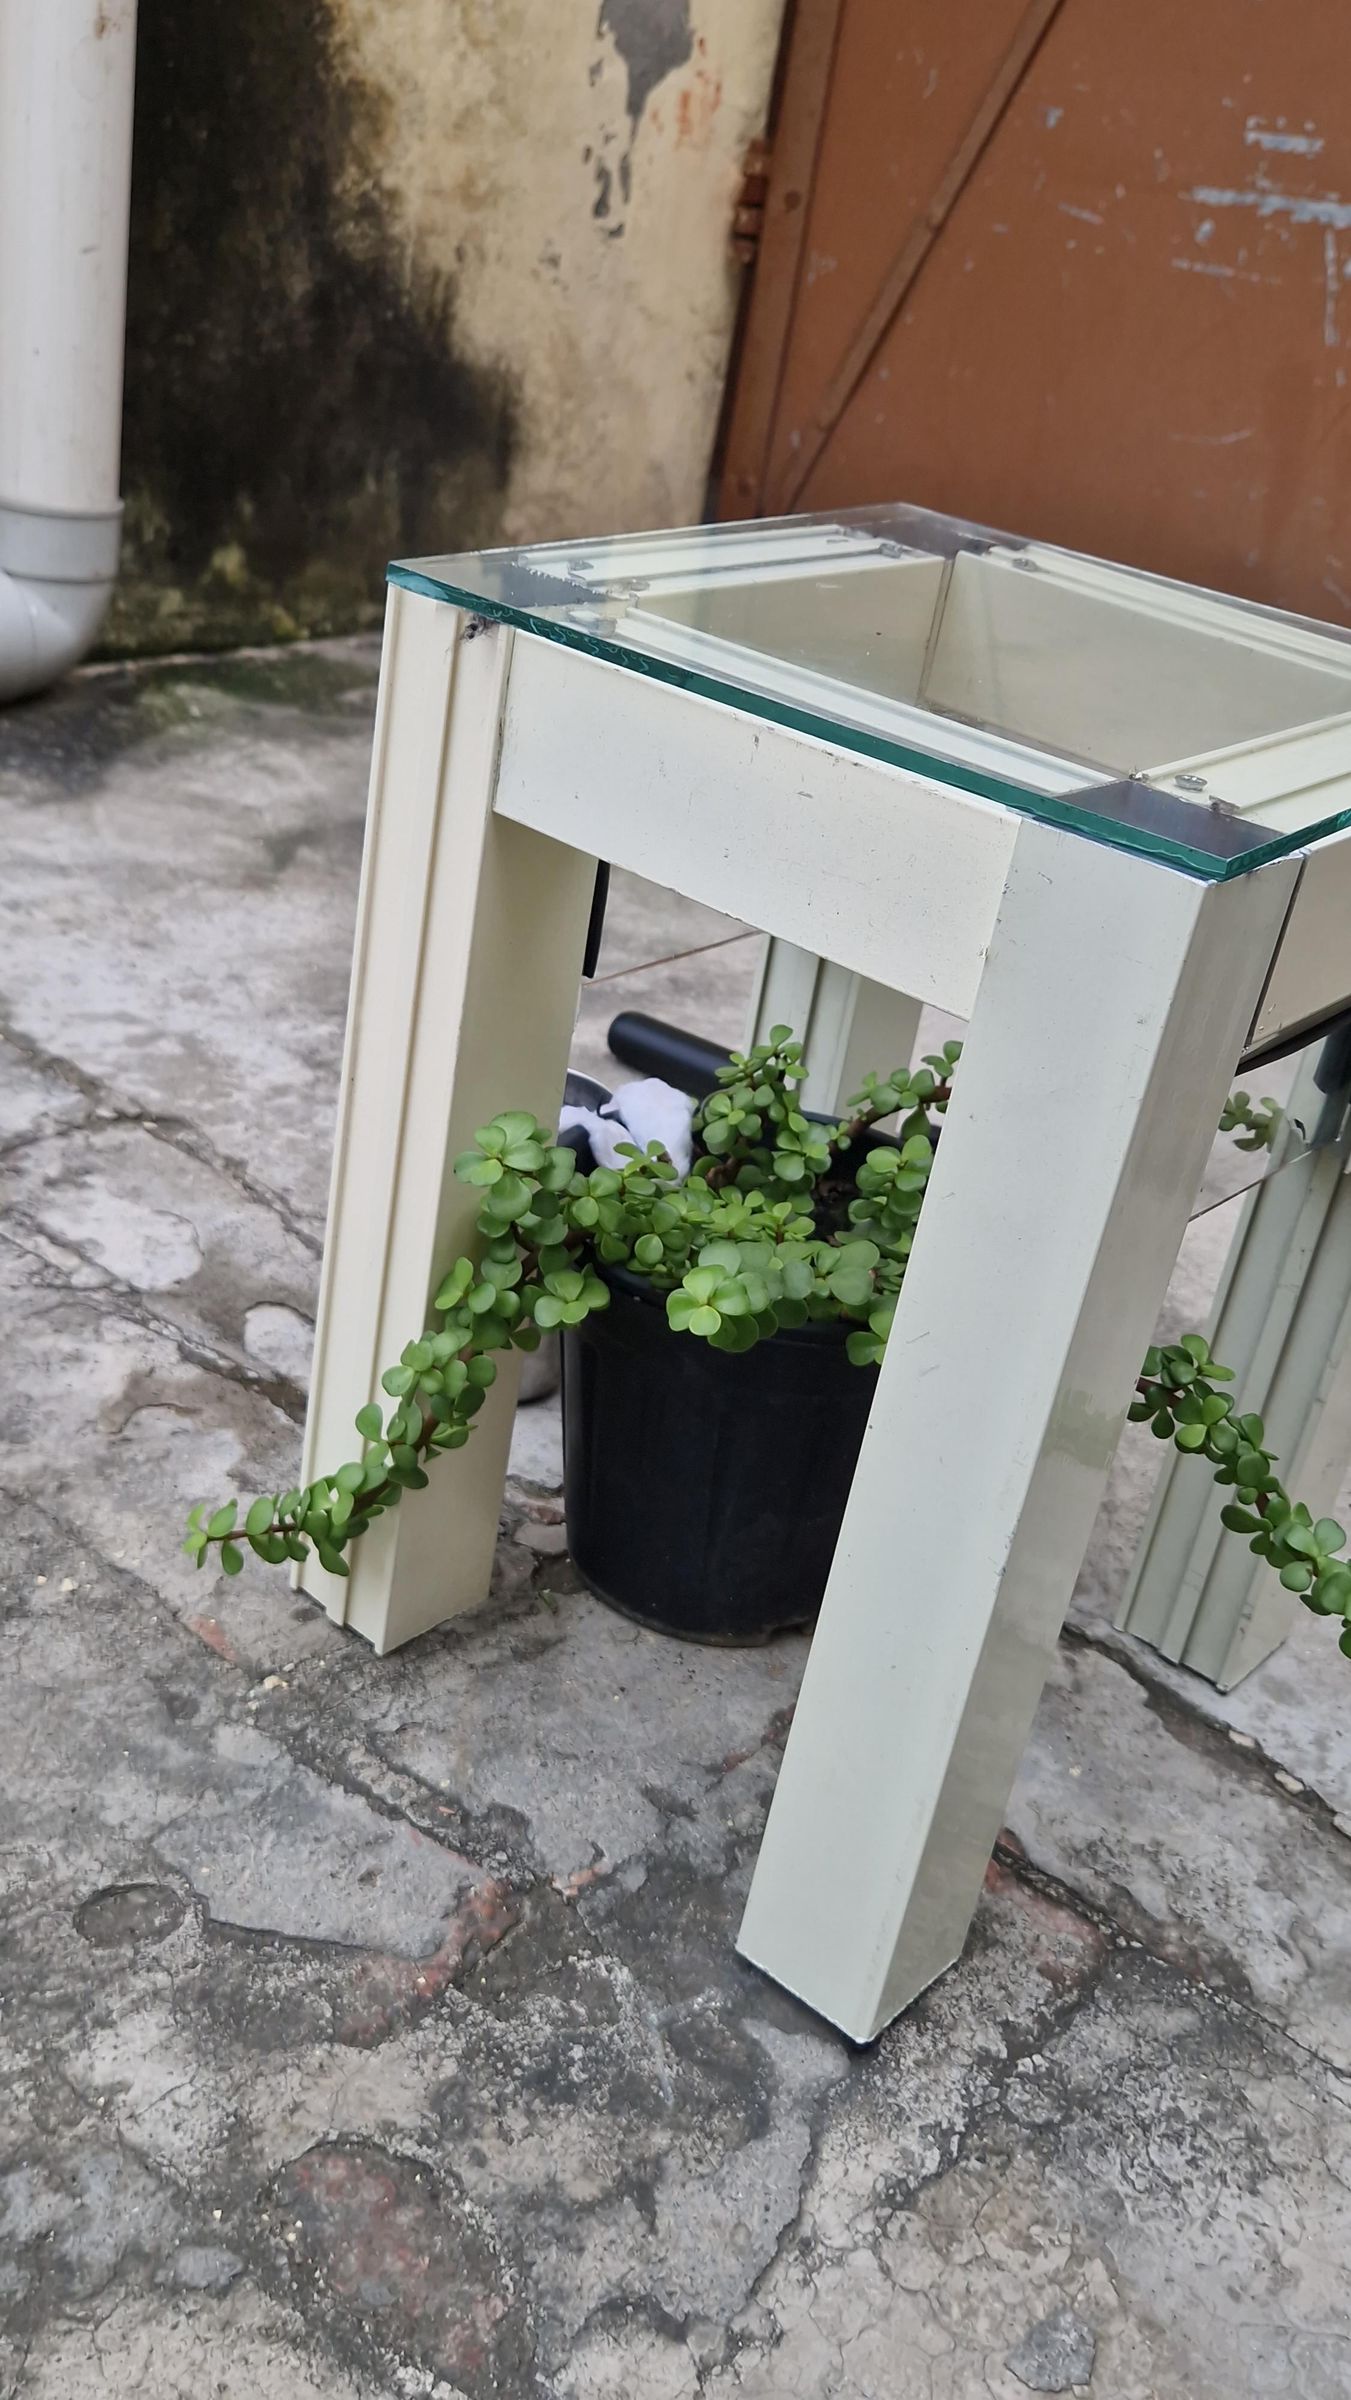
Position the stainless steel water container next to the greenhouse stand.
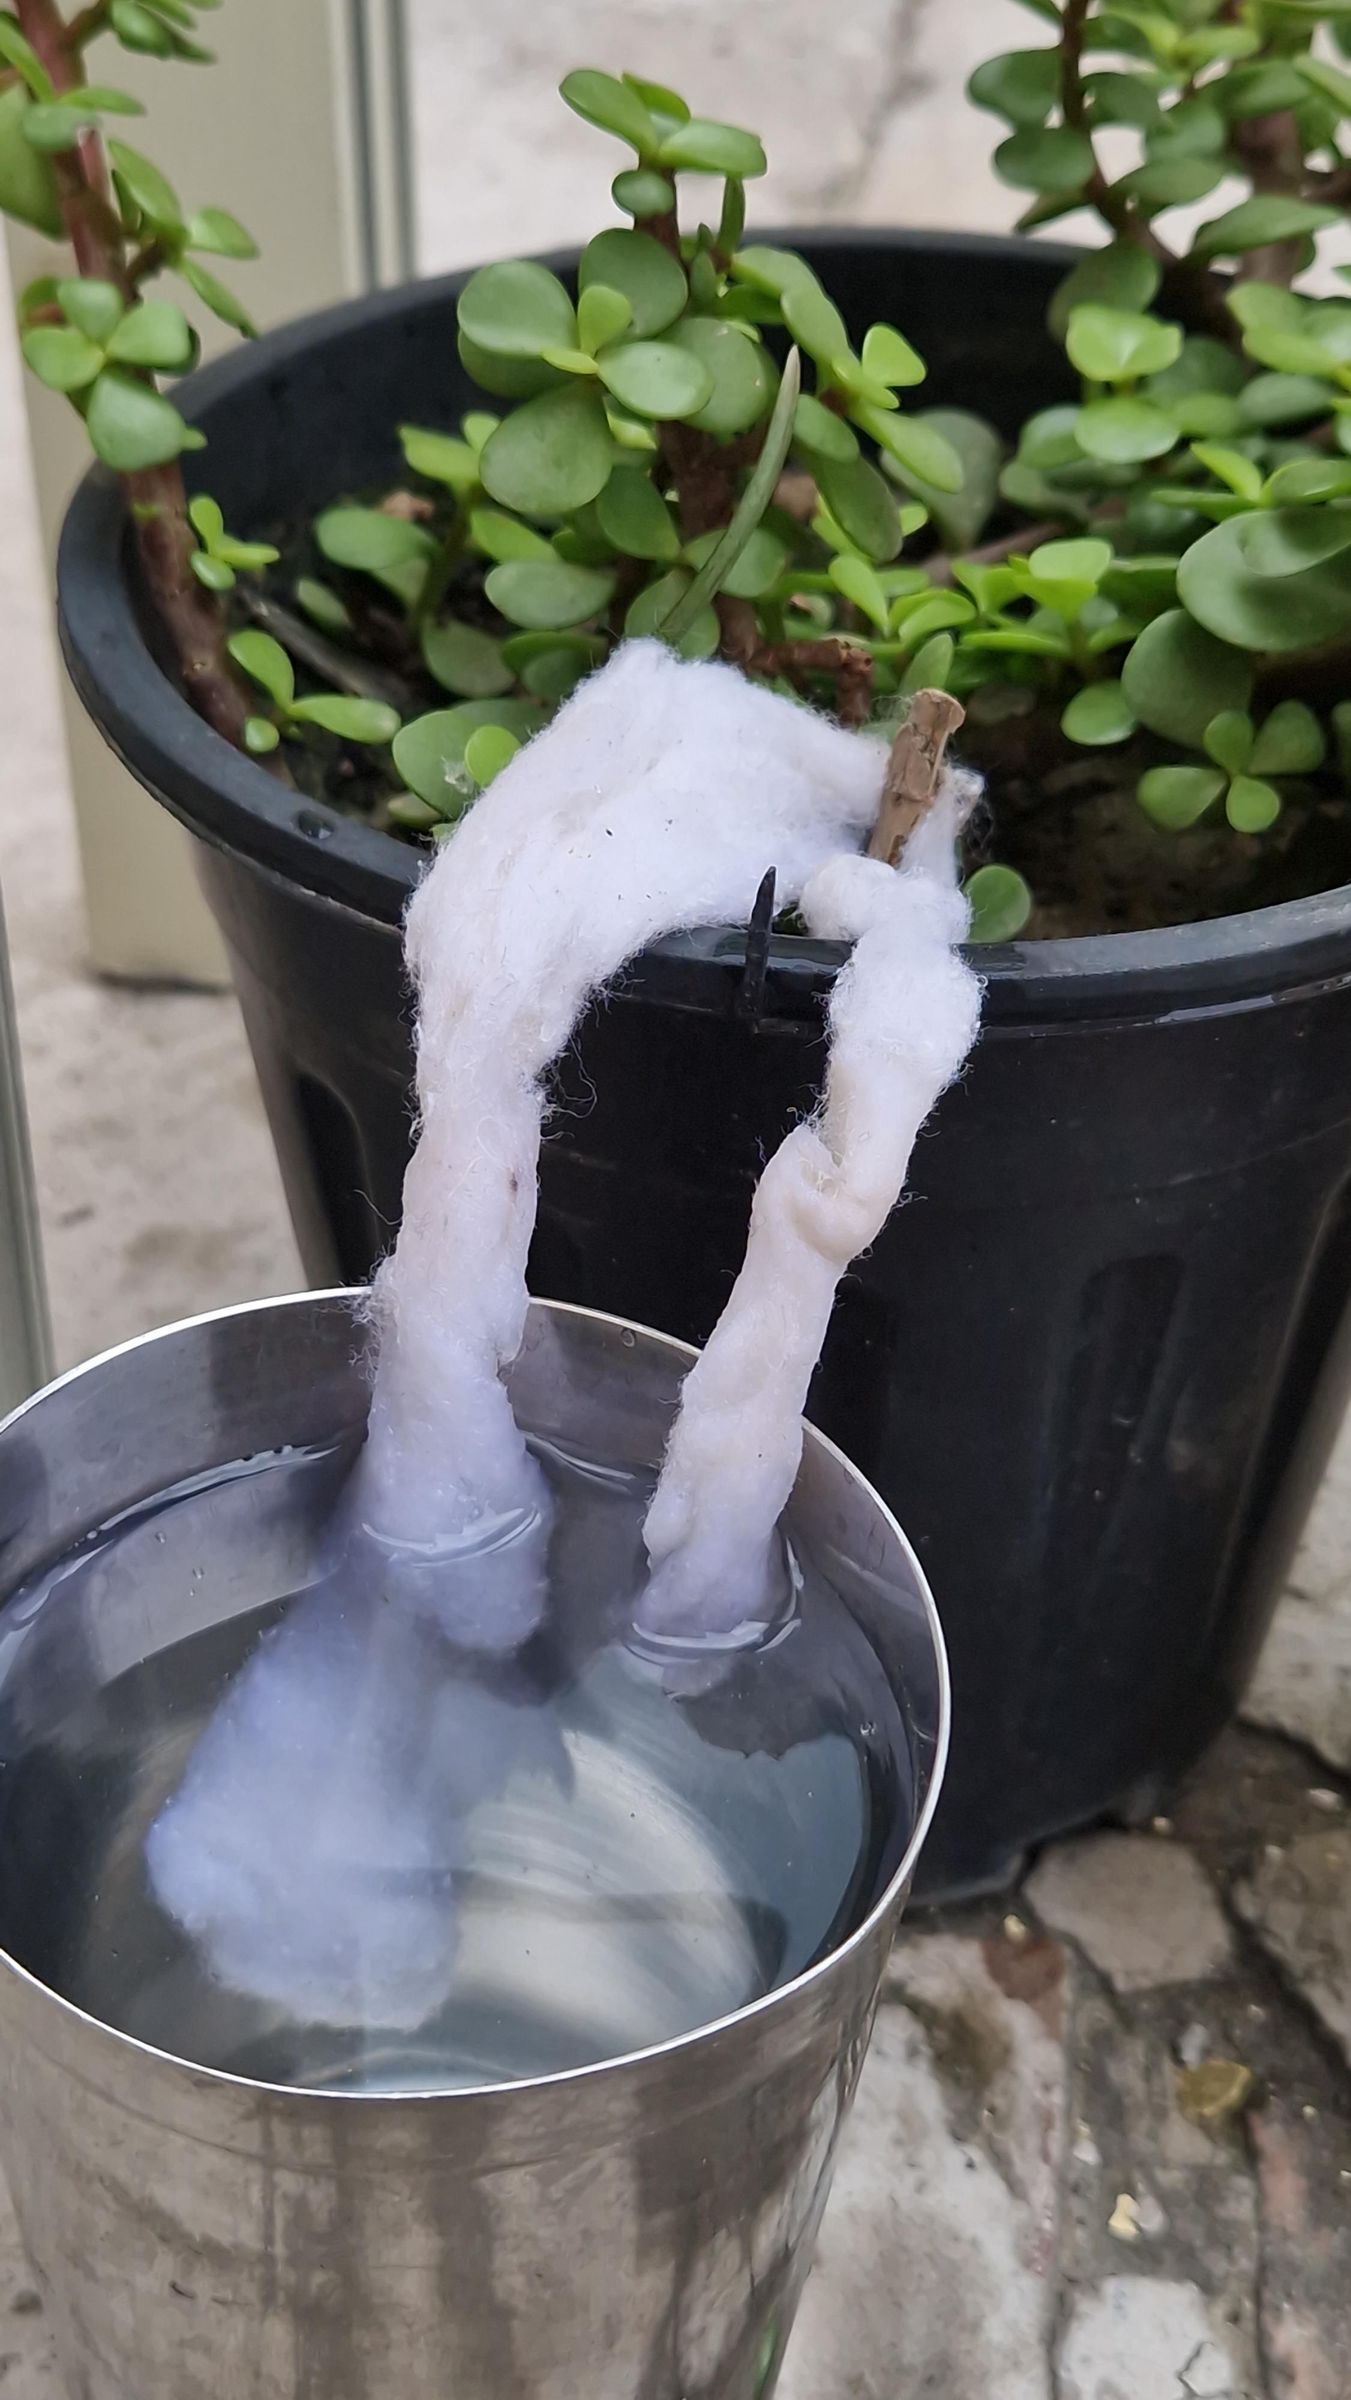
Form a dense cotton wick and saturate it fully with water to prime the capillary flow.
Place one end of the cotton wick at the bottom of the water reservoir.
Route the other end over the container rim directly into the root zone of the plant beneath the stand. Capillary action draws water against gravity as the potting medium dries out.
Downloads
Multi-Pot Daisy-Chain Water Distribution
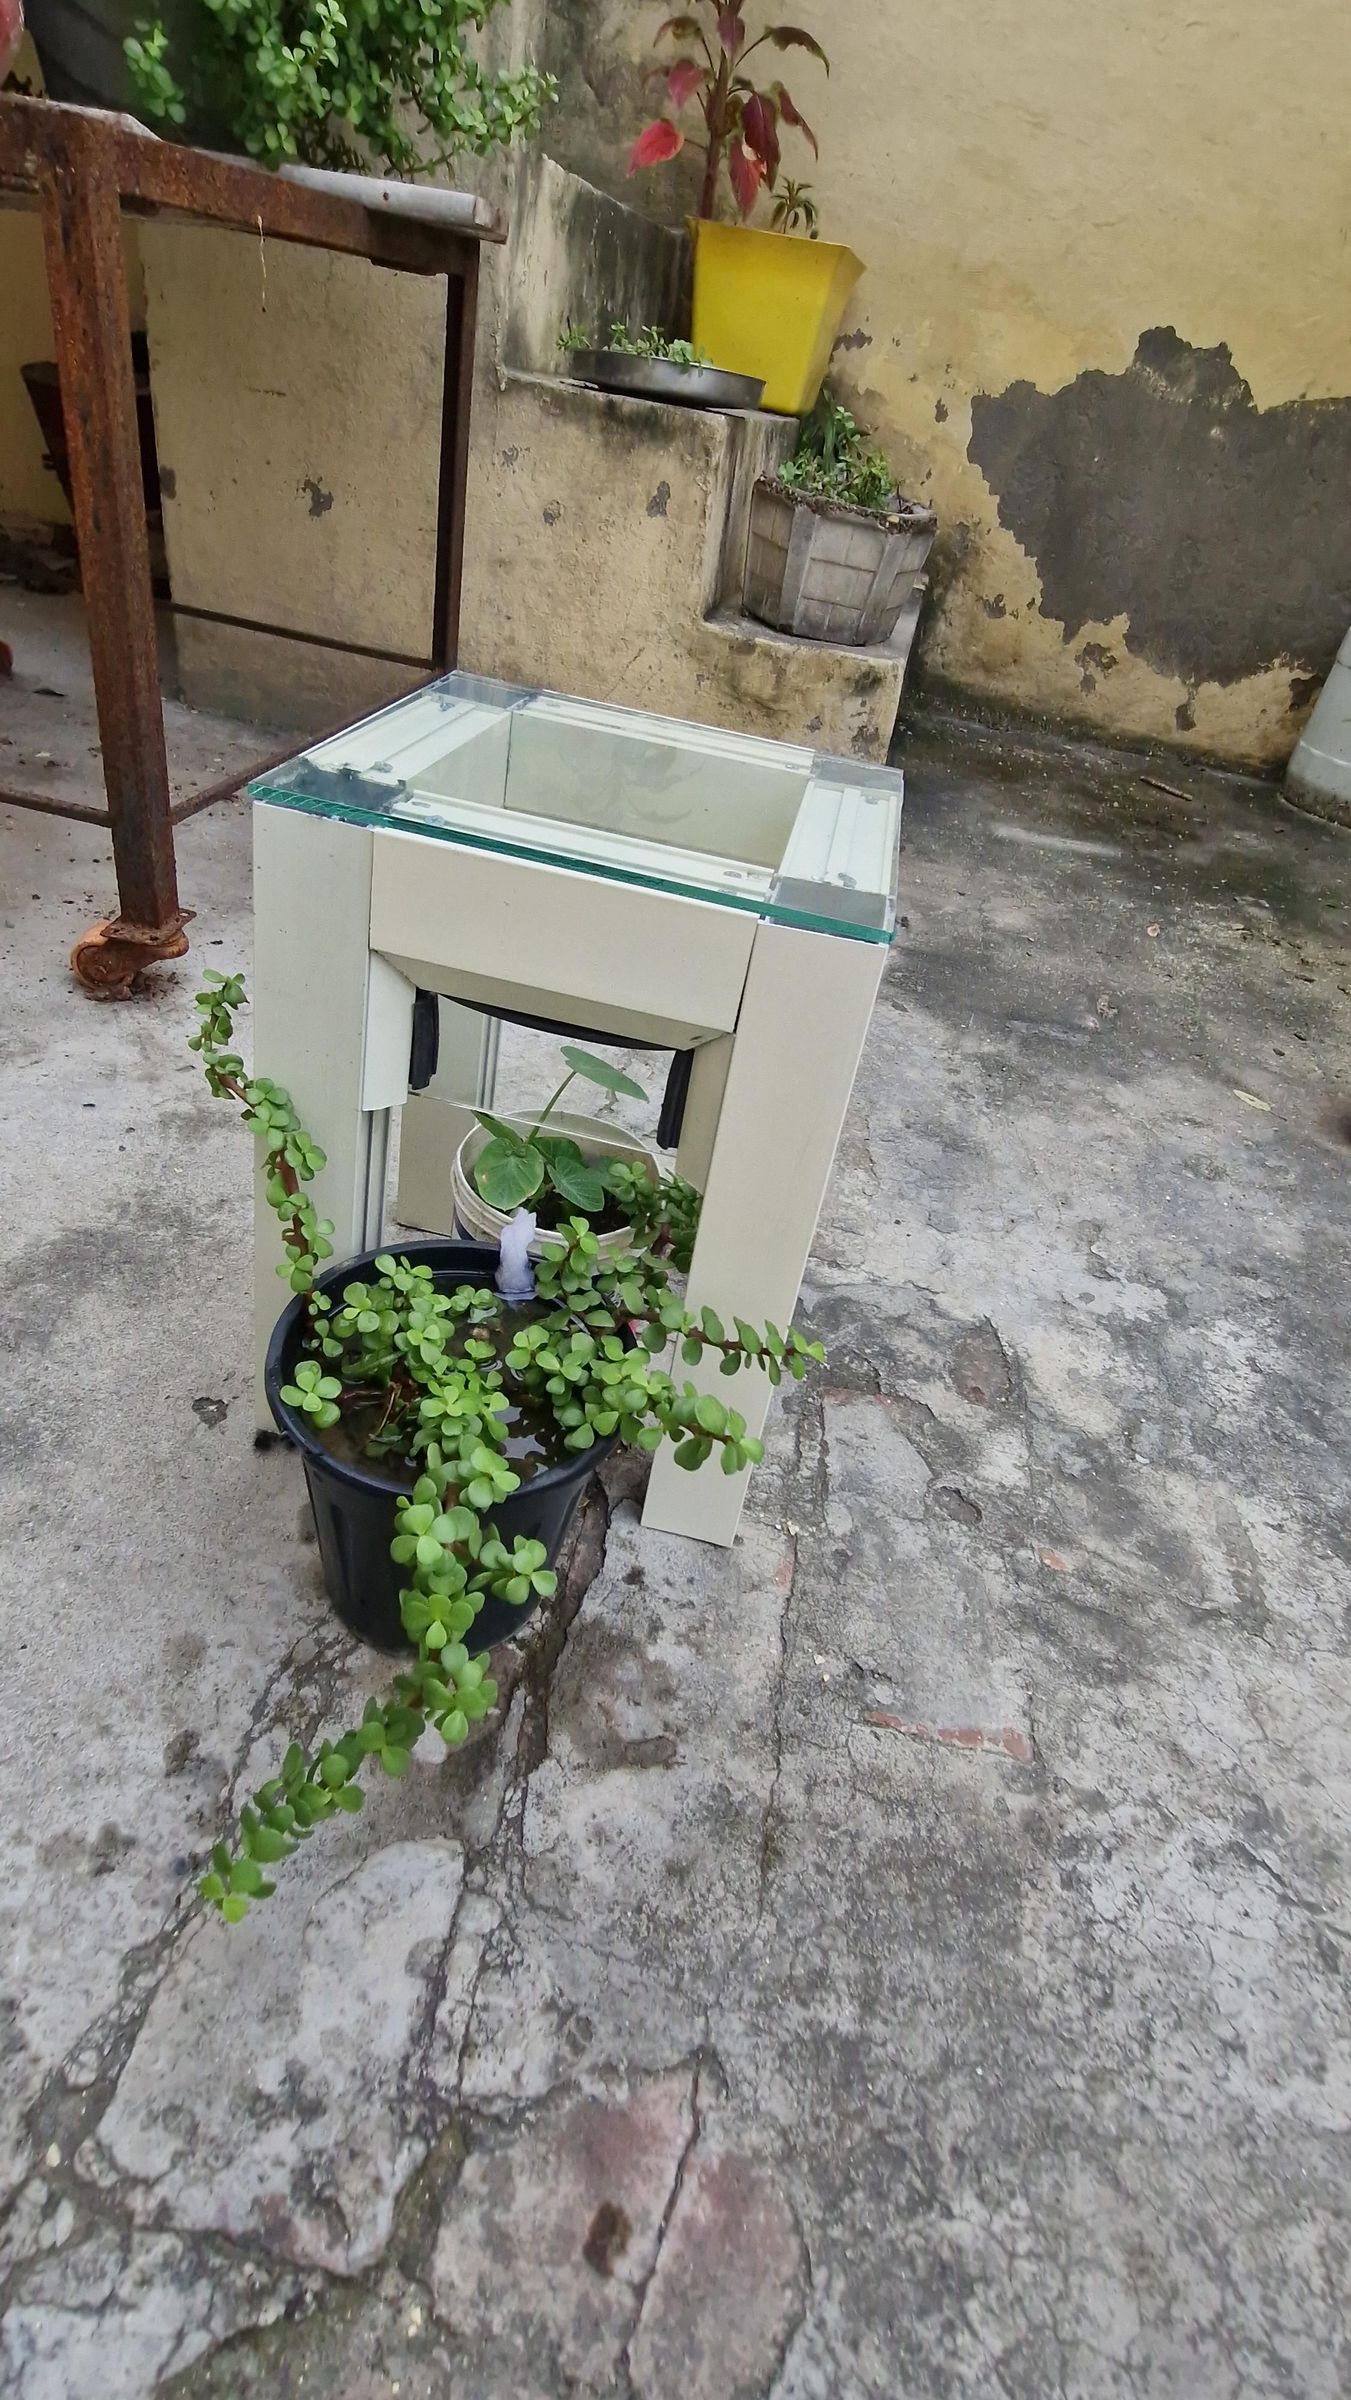
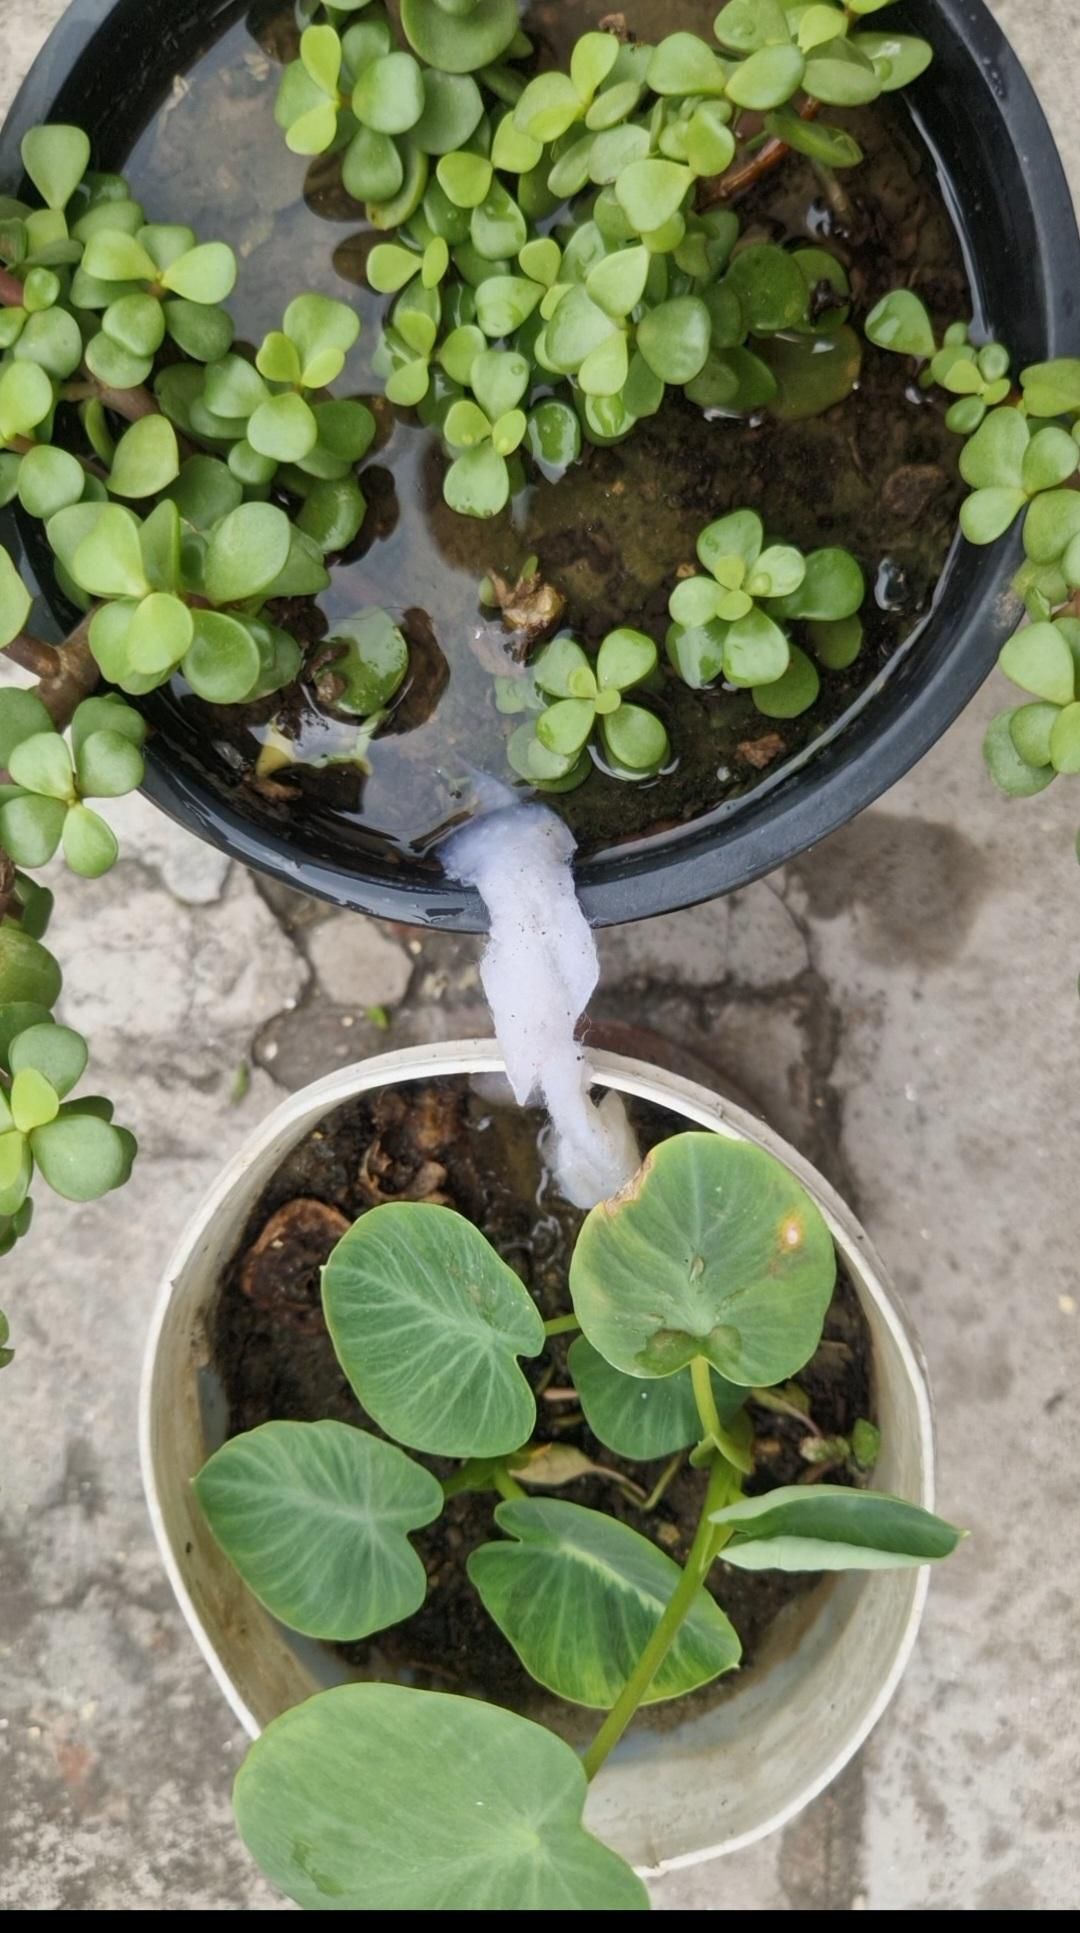
To demonstrate off-grid scalability without multiple independent water lines:
Insert a secondary cotton bridge wick 2–3 inches deep into the soil of the primary pot.
Route the trailing end into an adjacent, lower-elevation plant pot.
As the first pot reaches moisture saturation, capillary tension balances across the bridge, passively siphoning moisture down the line to hydrate neighboring plants in a continuous daisy-chain sequence.