Huge Knex Crossbow
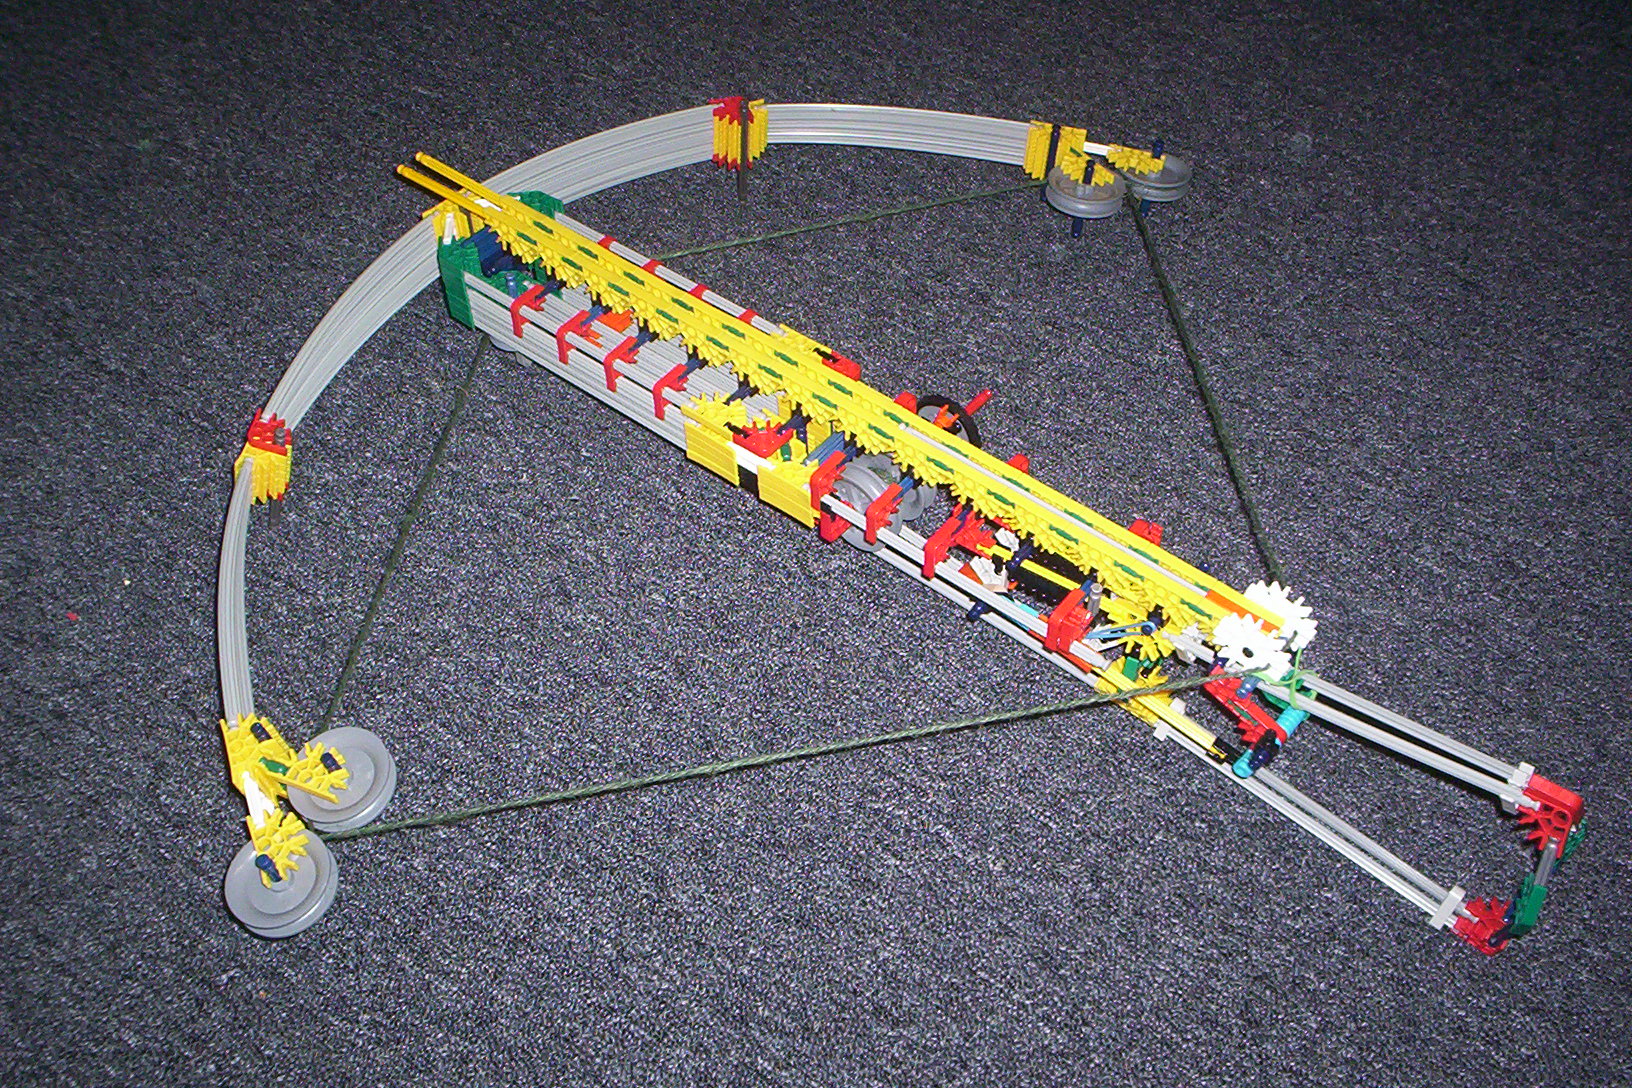
this is the biggest crossbow made out of knex that ive seen on this whole site!!!
What You Will Need
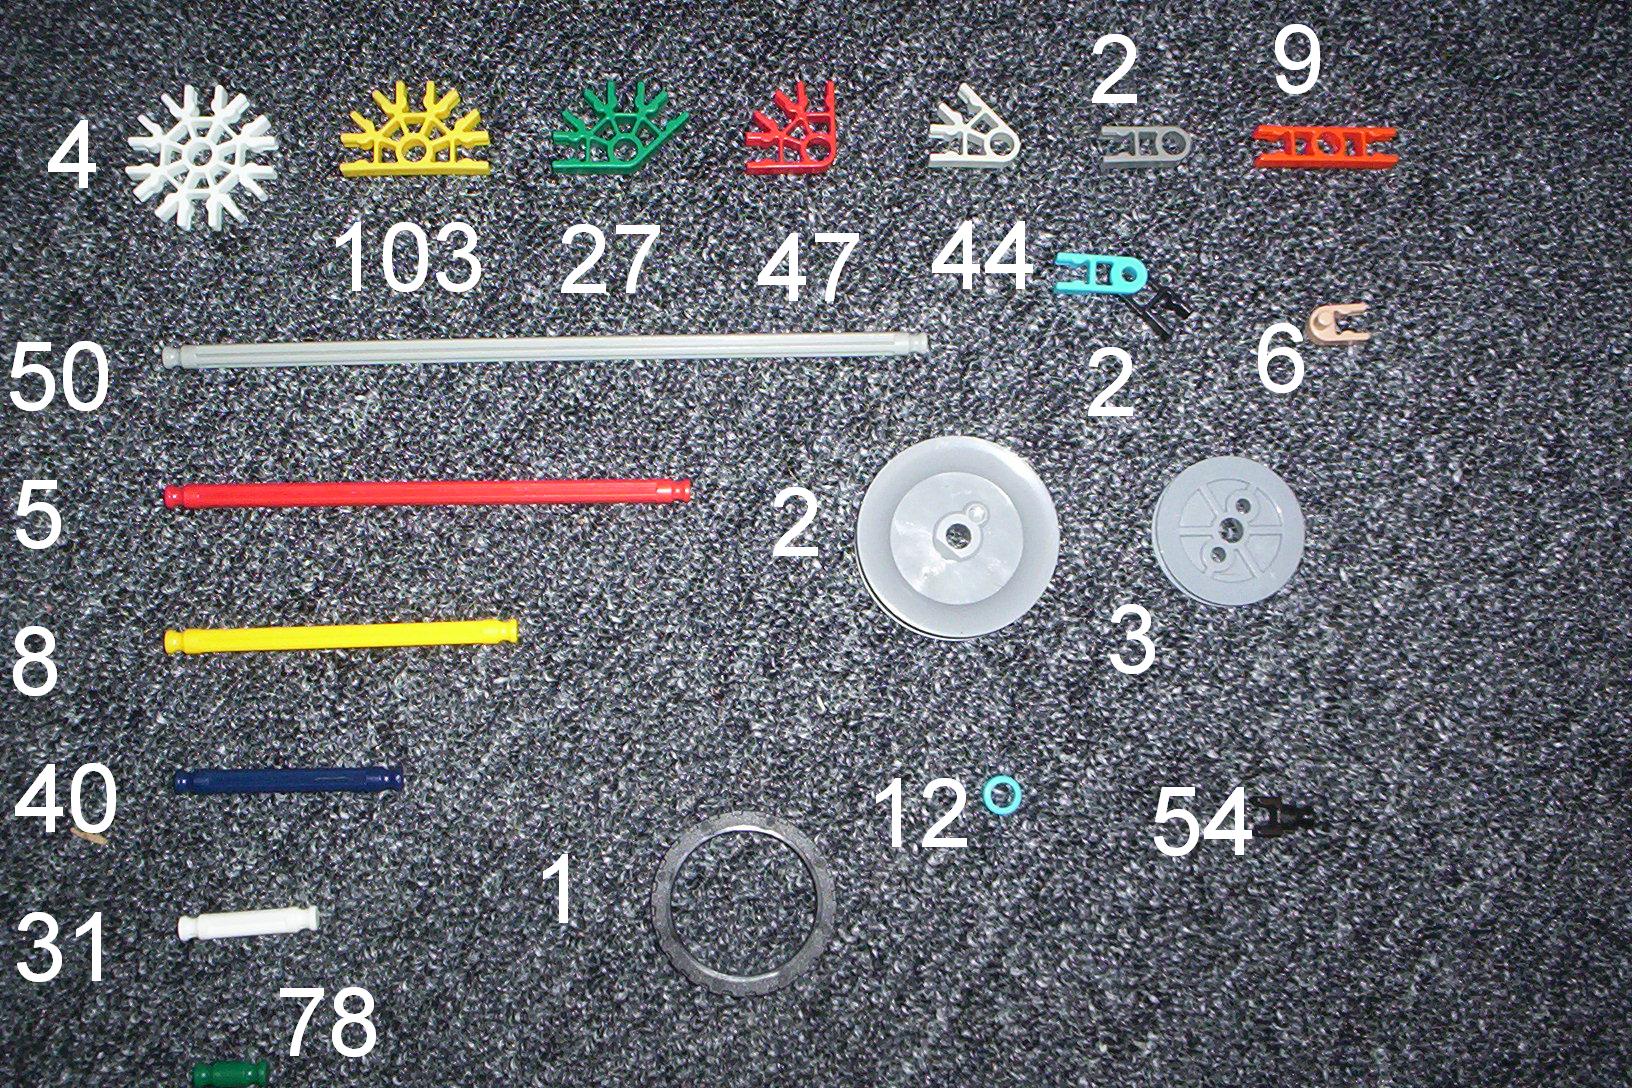
other than the pieces in the pictures, you'll also need a 12-foot string- yes, you read right. 12 FEET!!
Bow
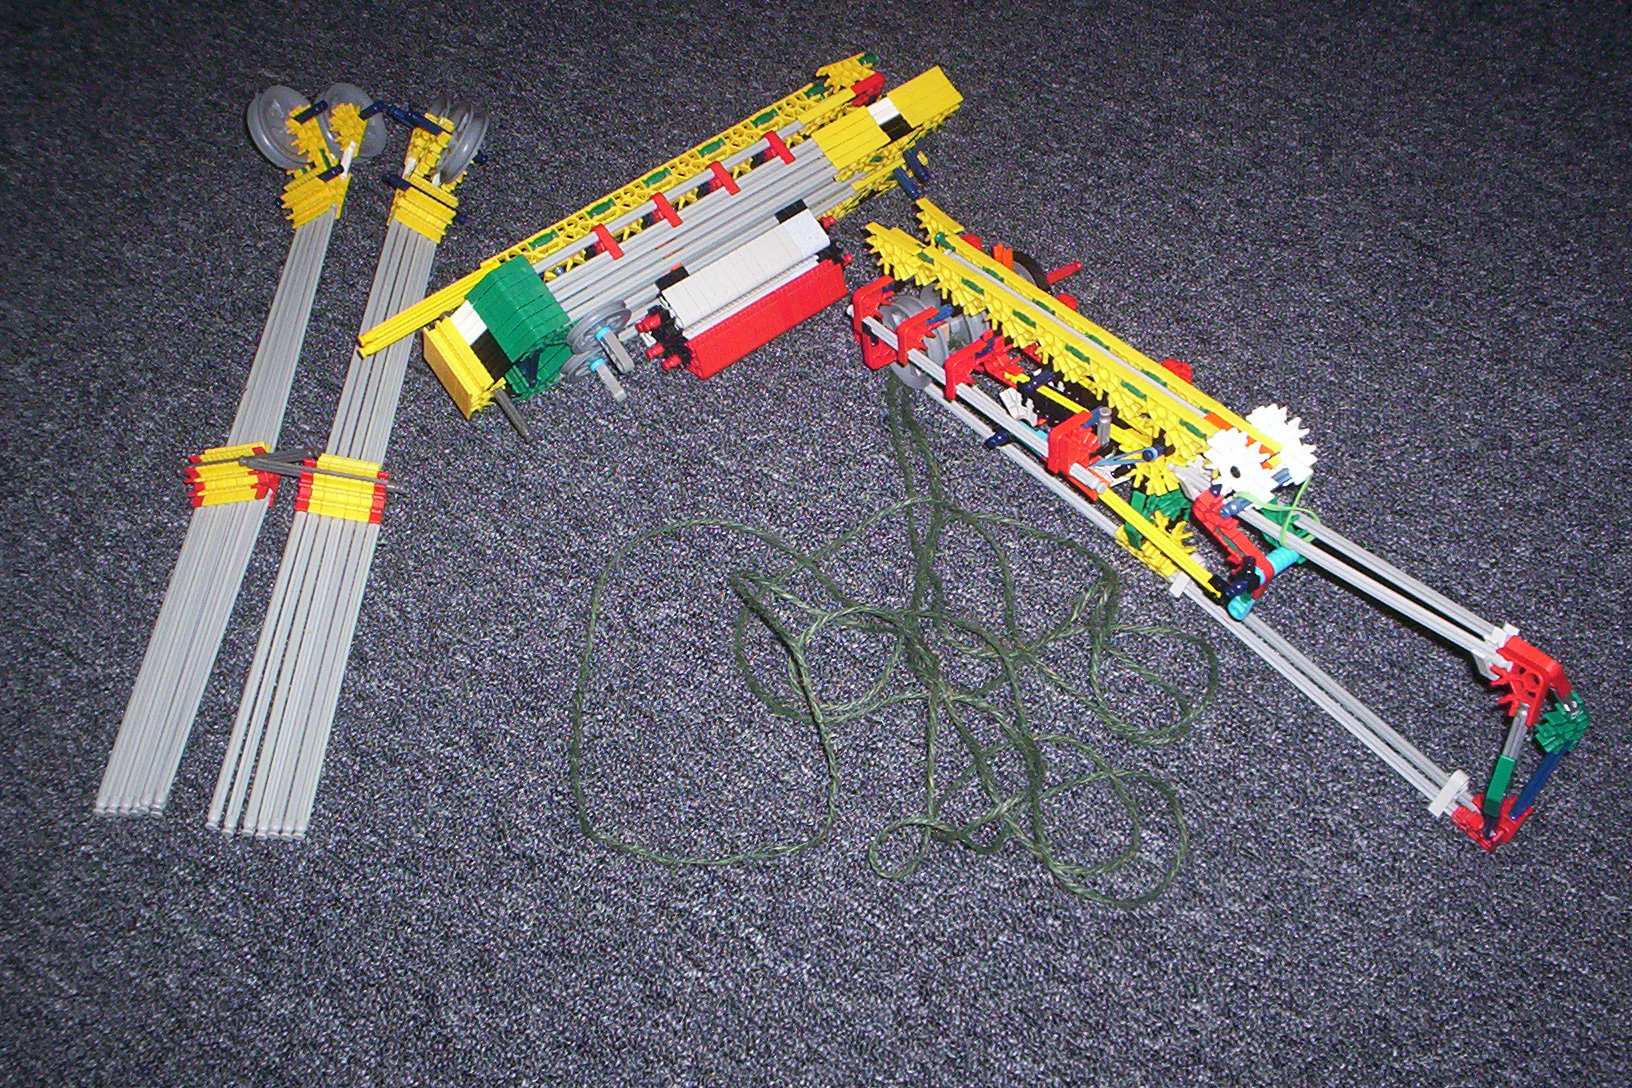
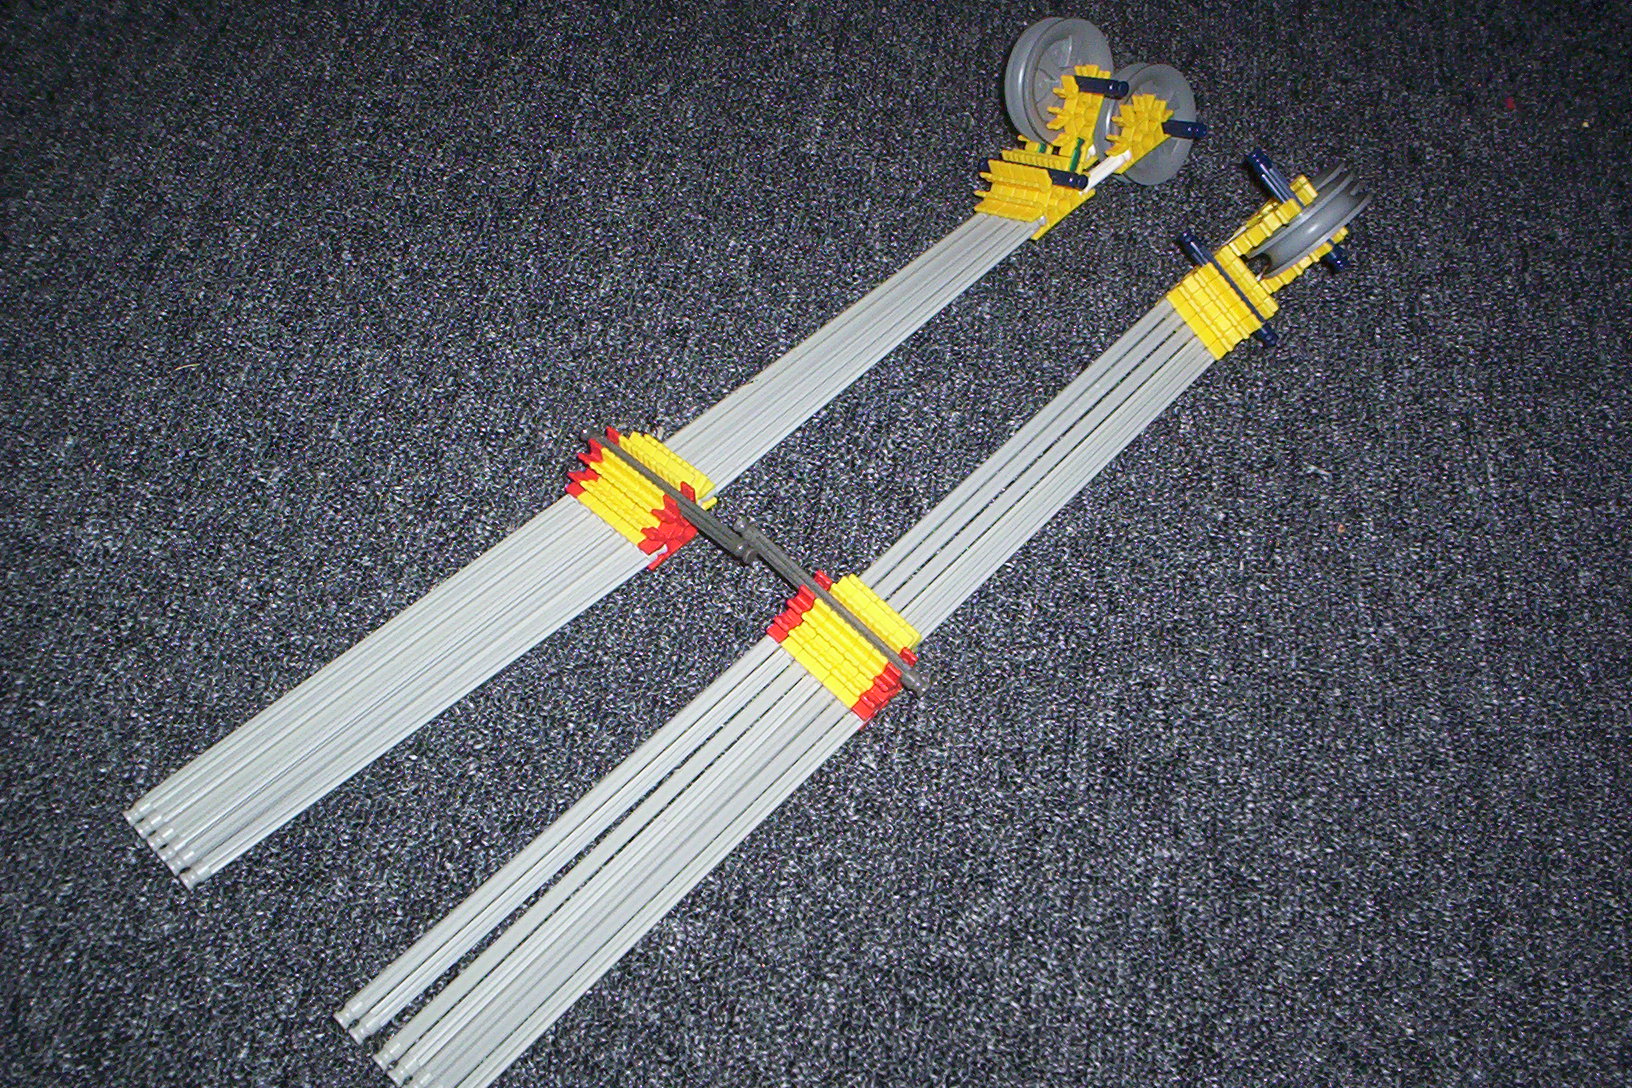
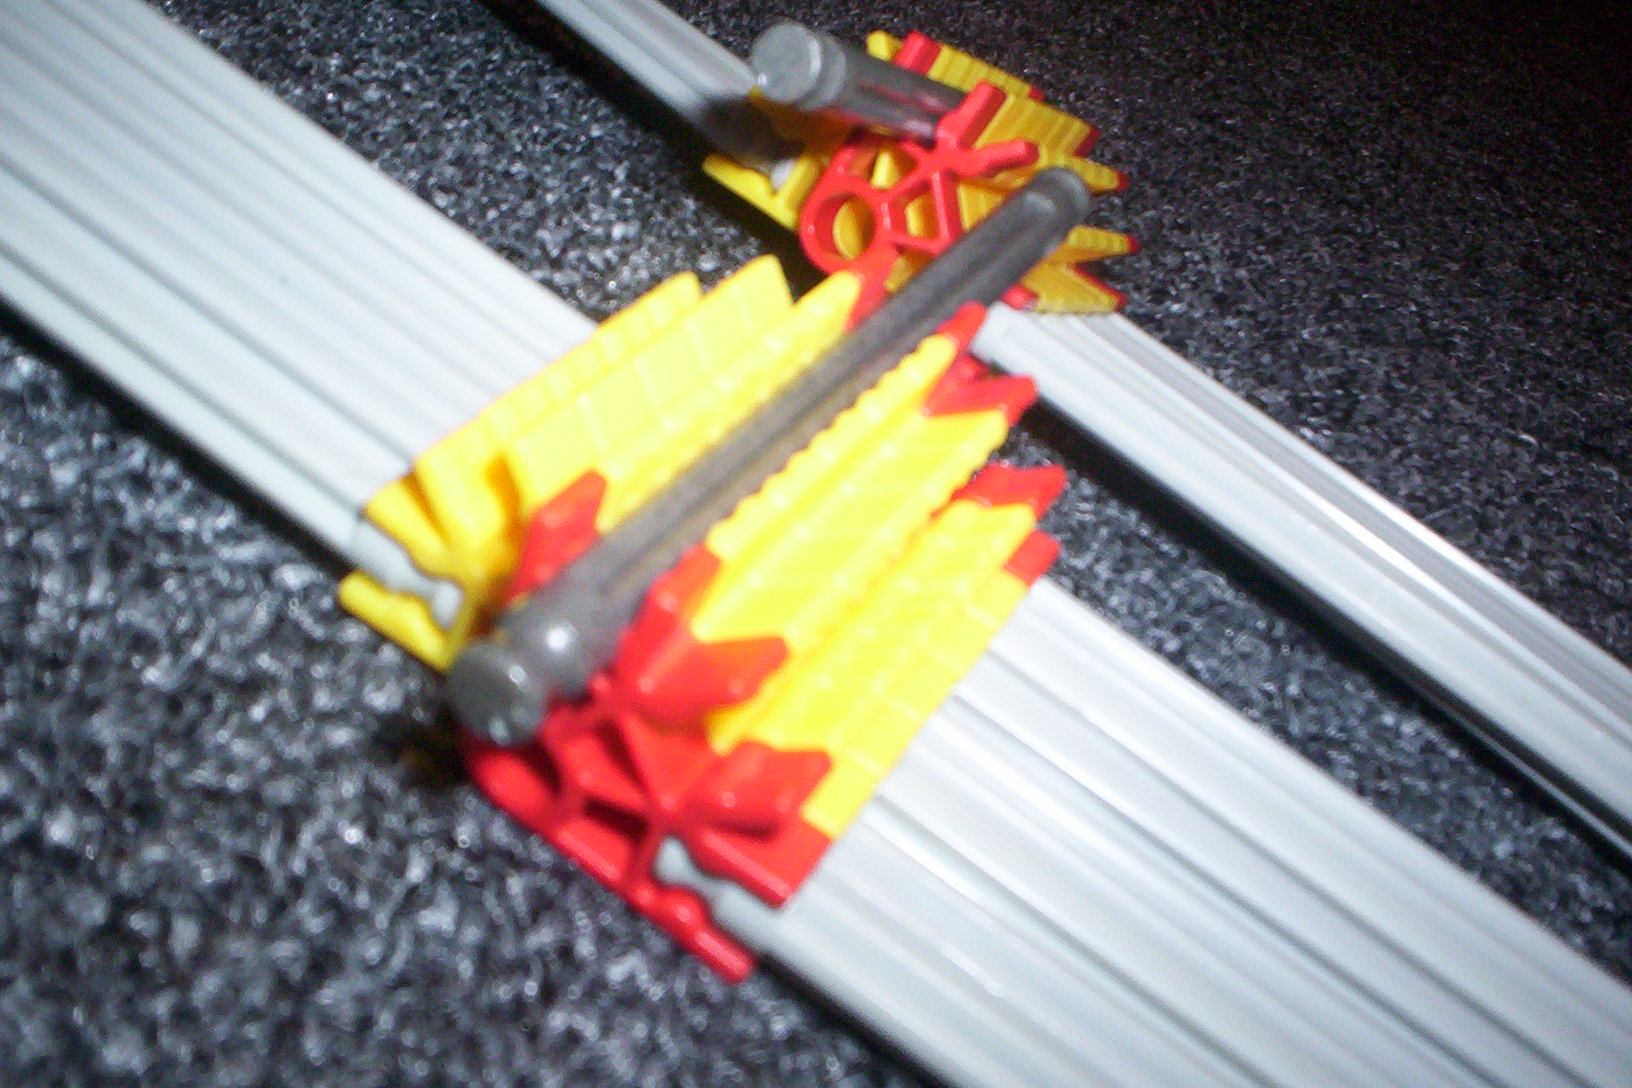
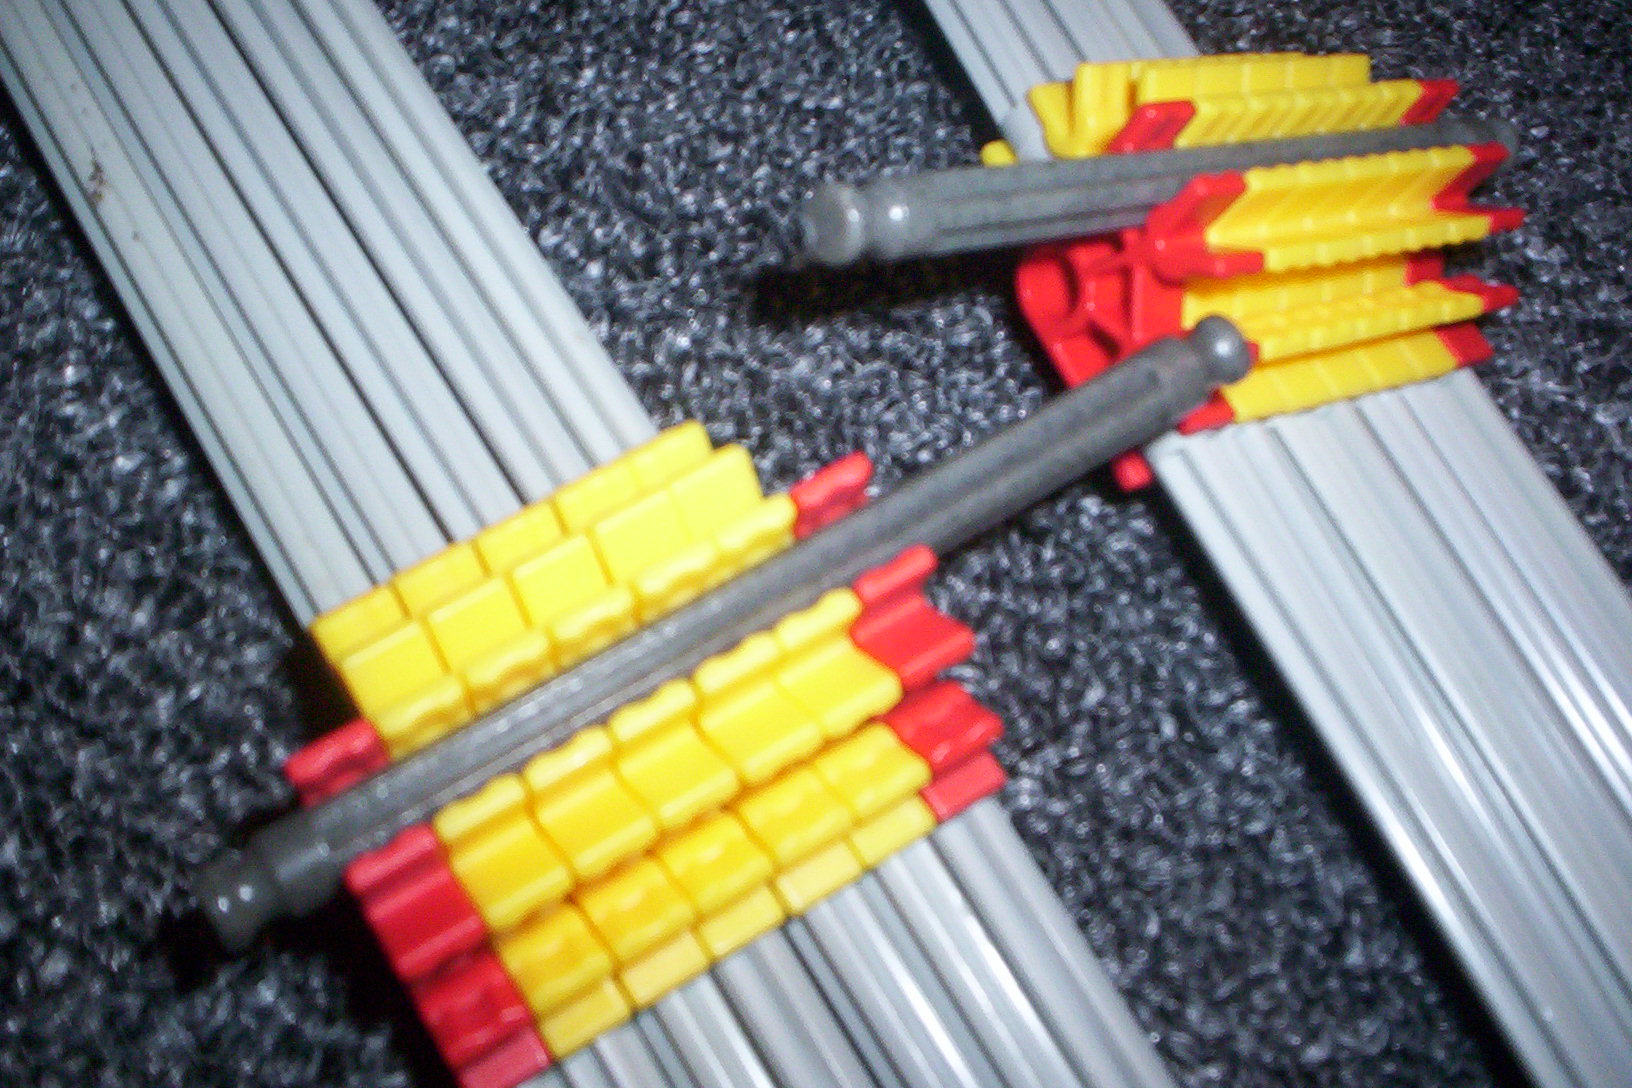

1. the four basic pieces you will build.
2. these are the left and right halves of the bow.
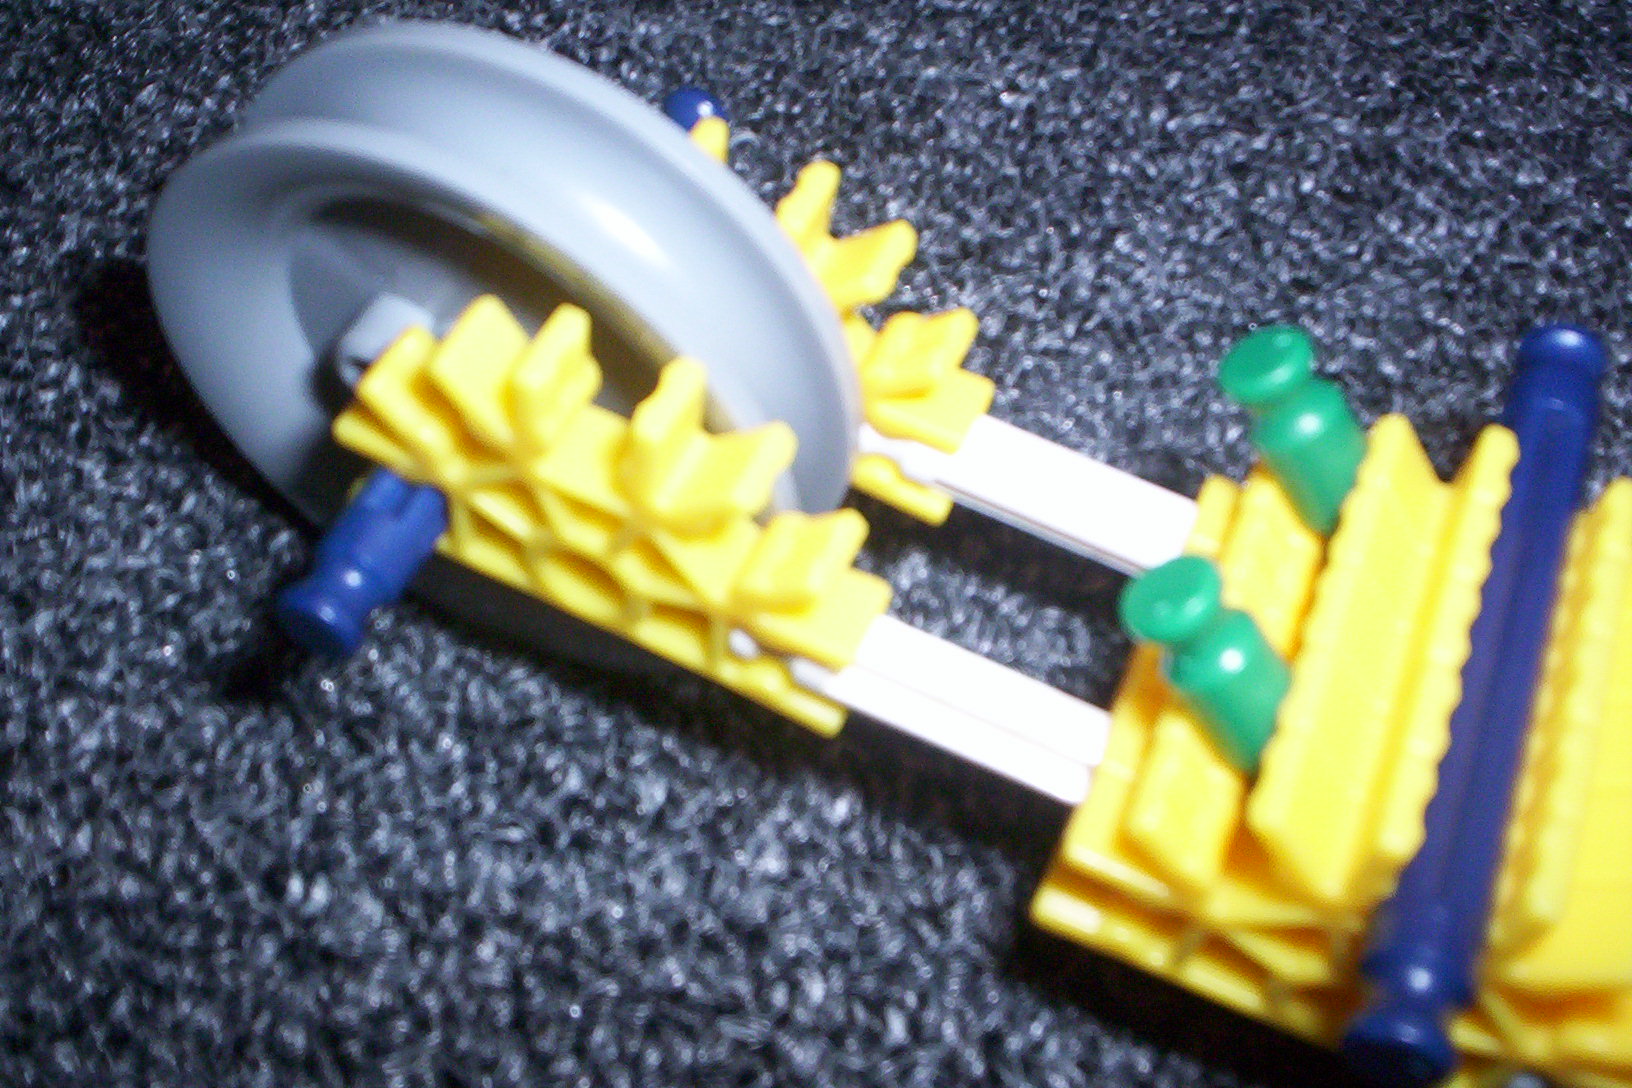
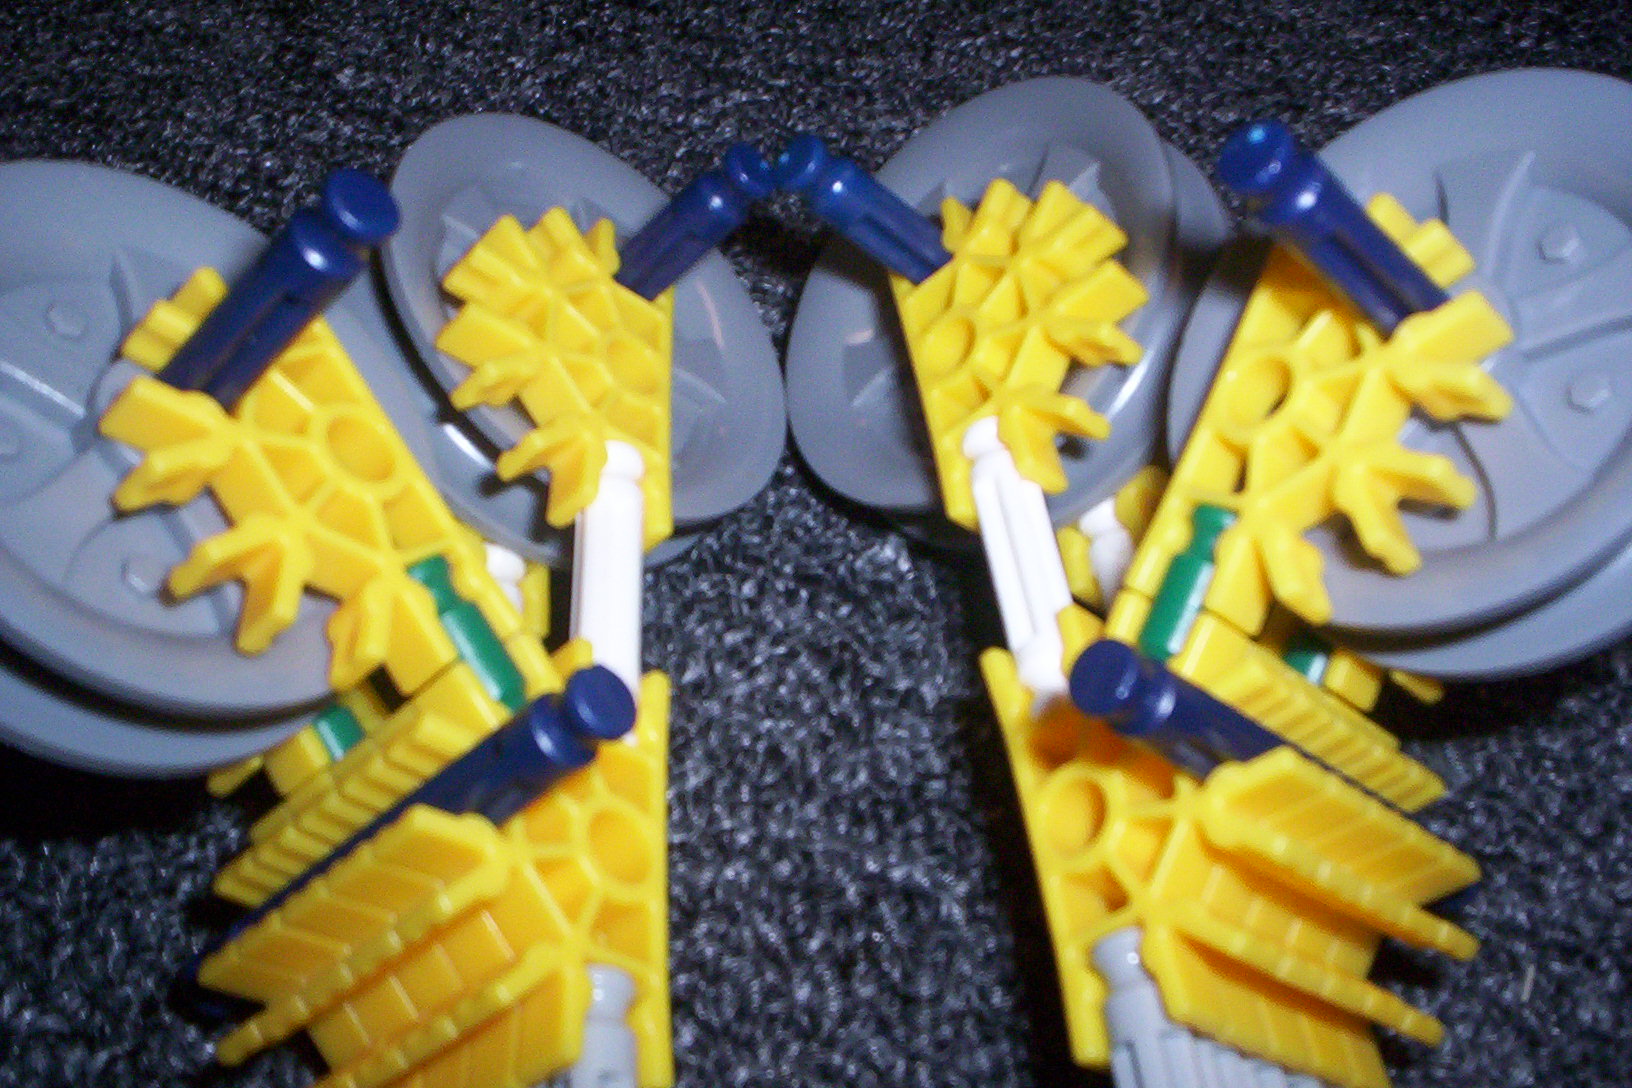
3. &4. close-ups on the bow.
5. put the first wheel on.
6. put the second wheel on.
2. these are the left and right halves of the bow.
3. &4. close-ups on the bow.
5. put the first wheel on.
6. put the second wheel on.
Body: Front
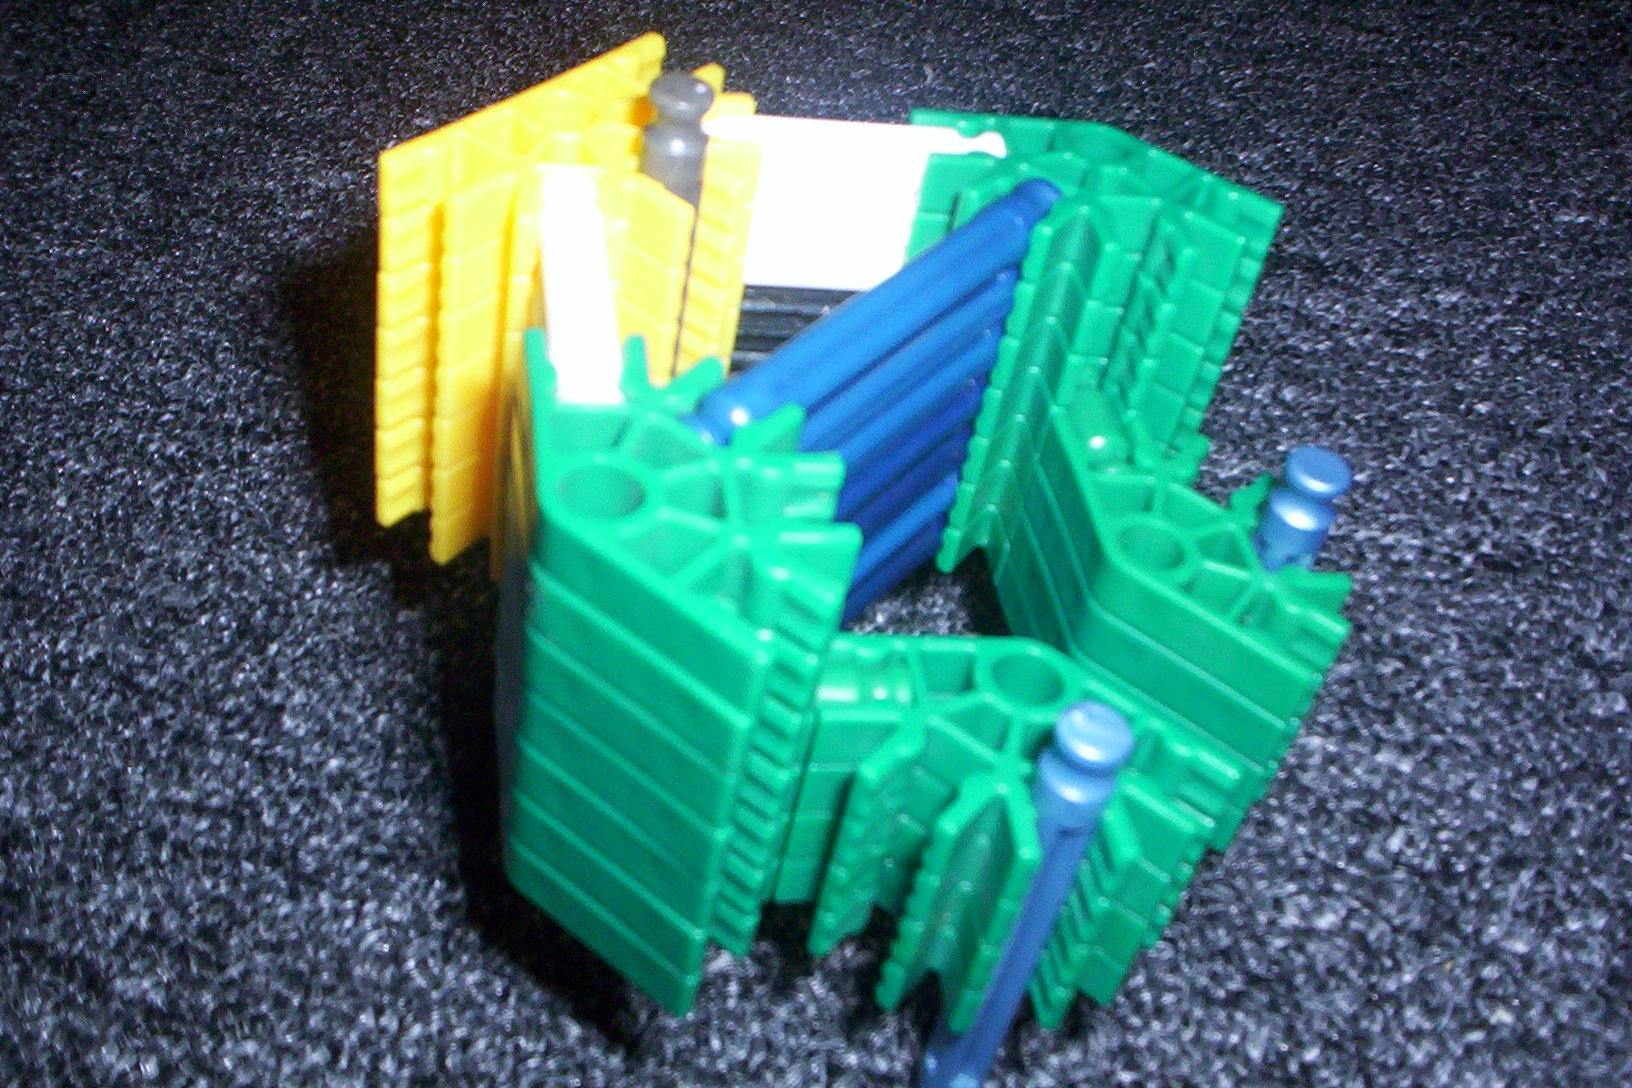
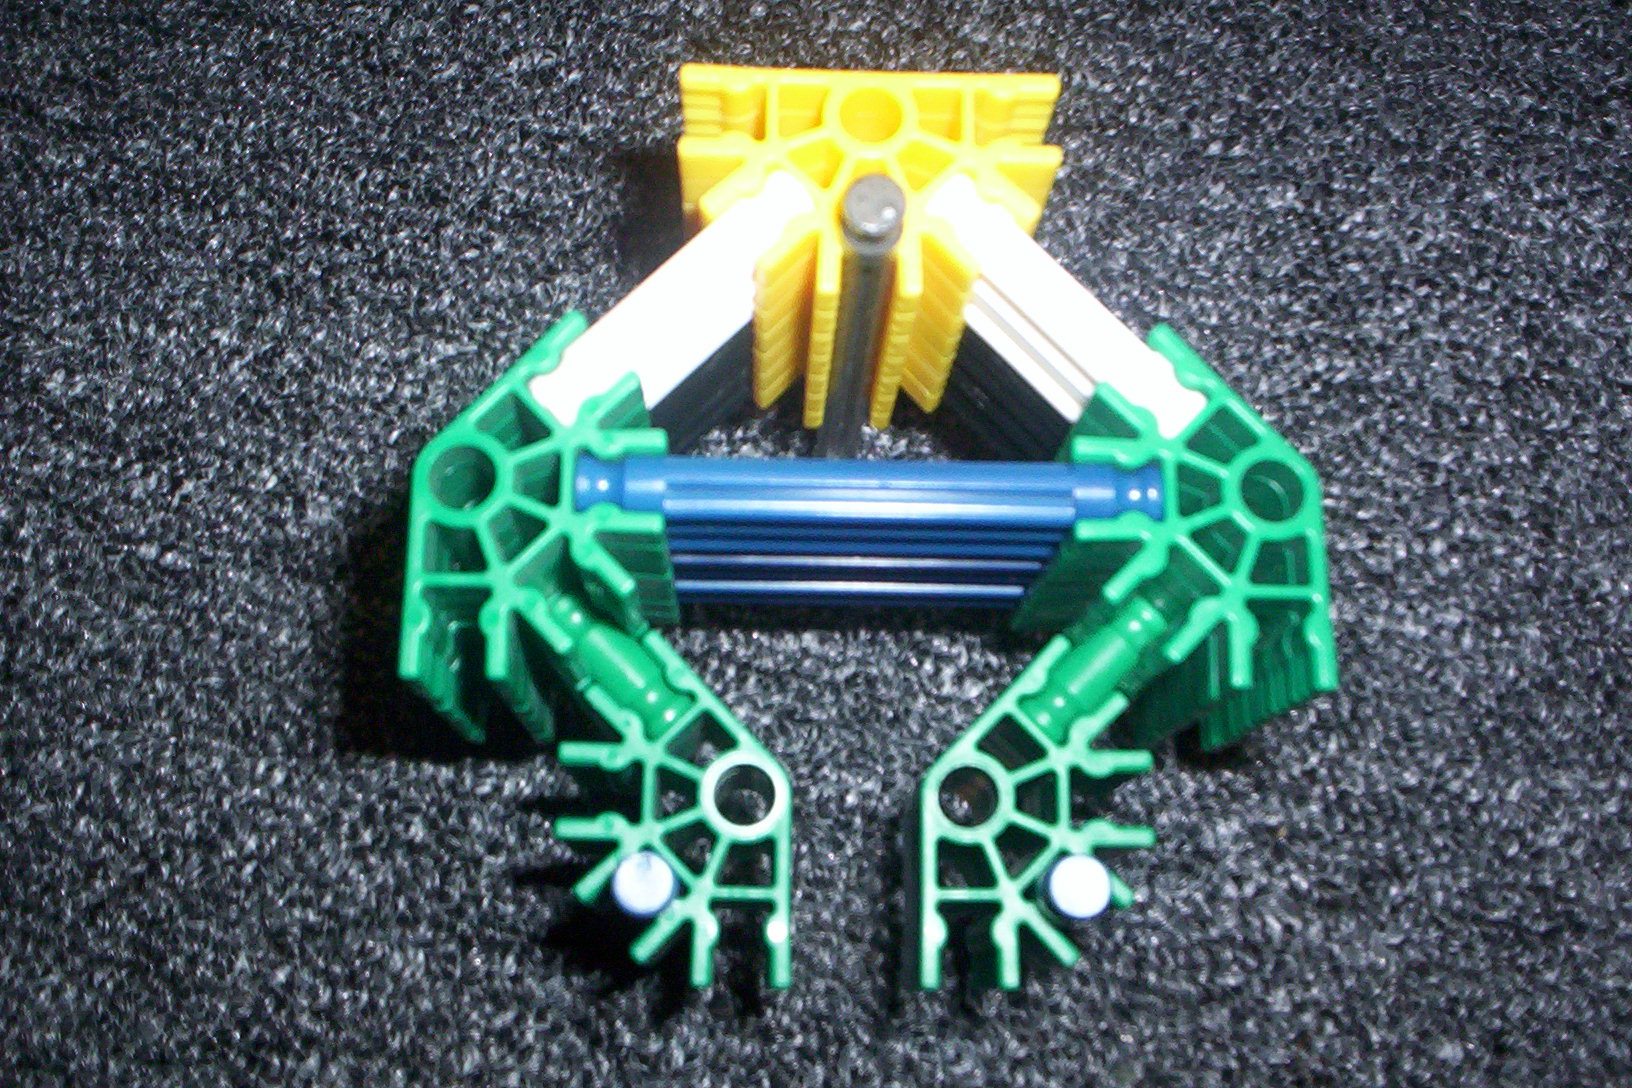
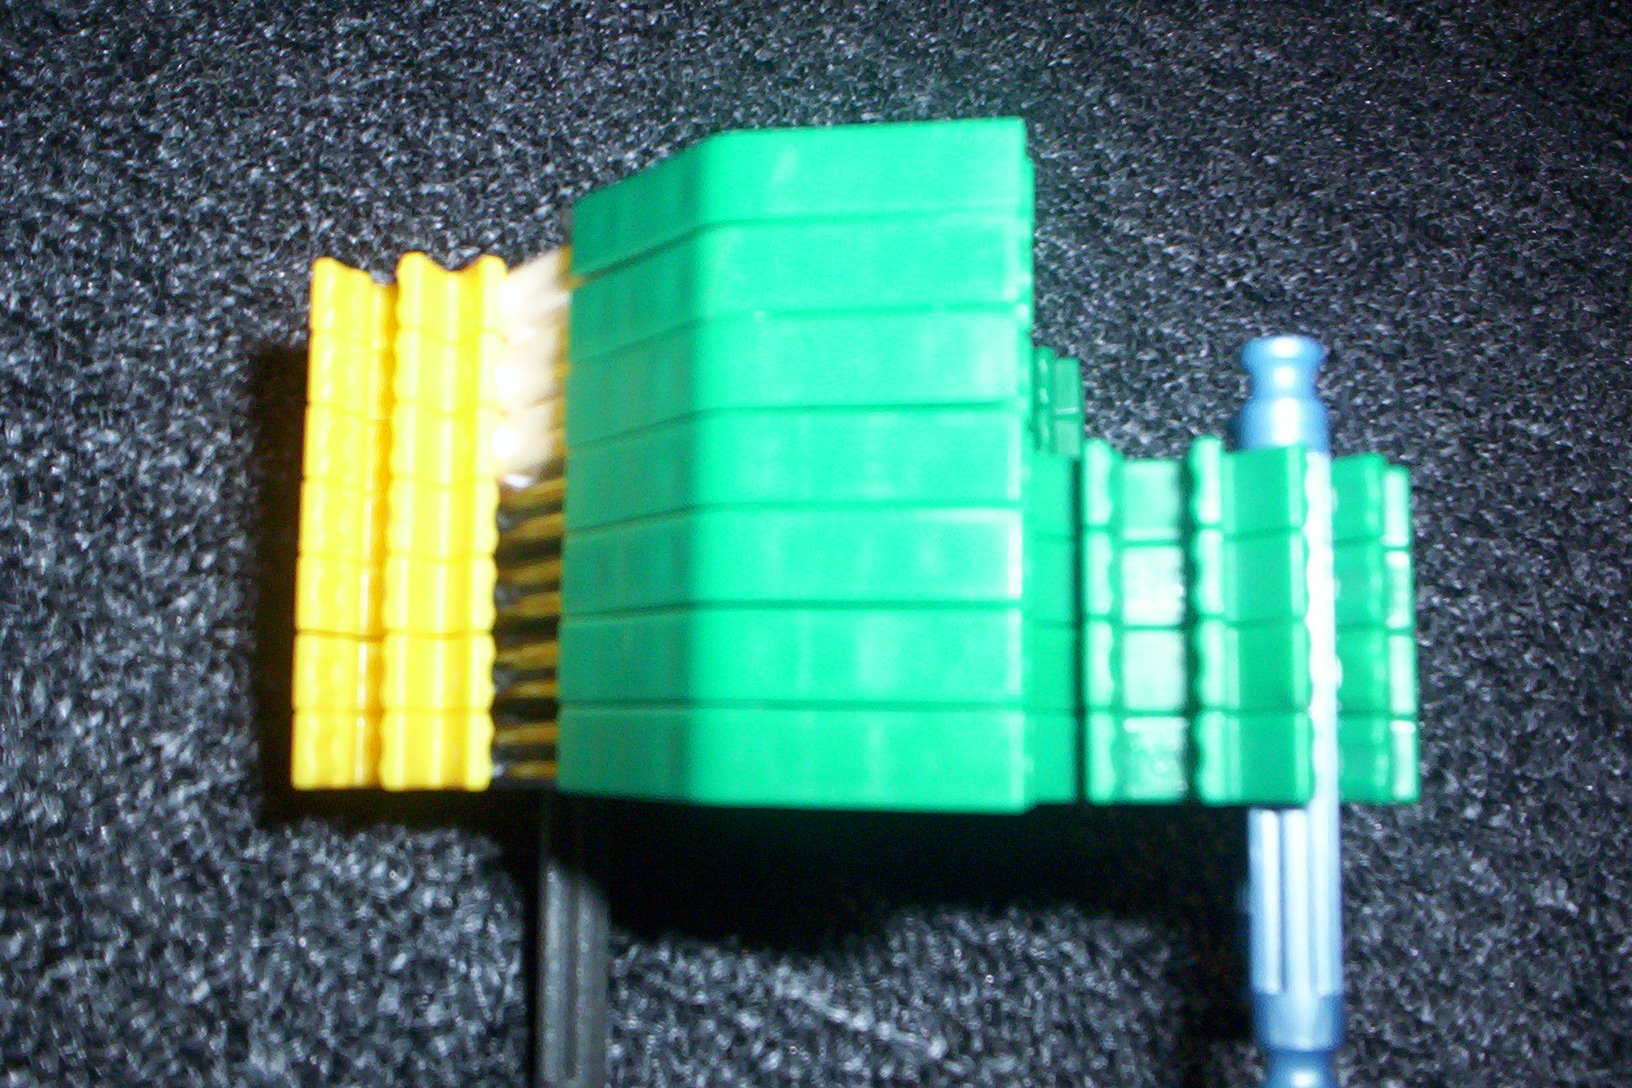
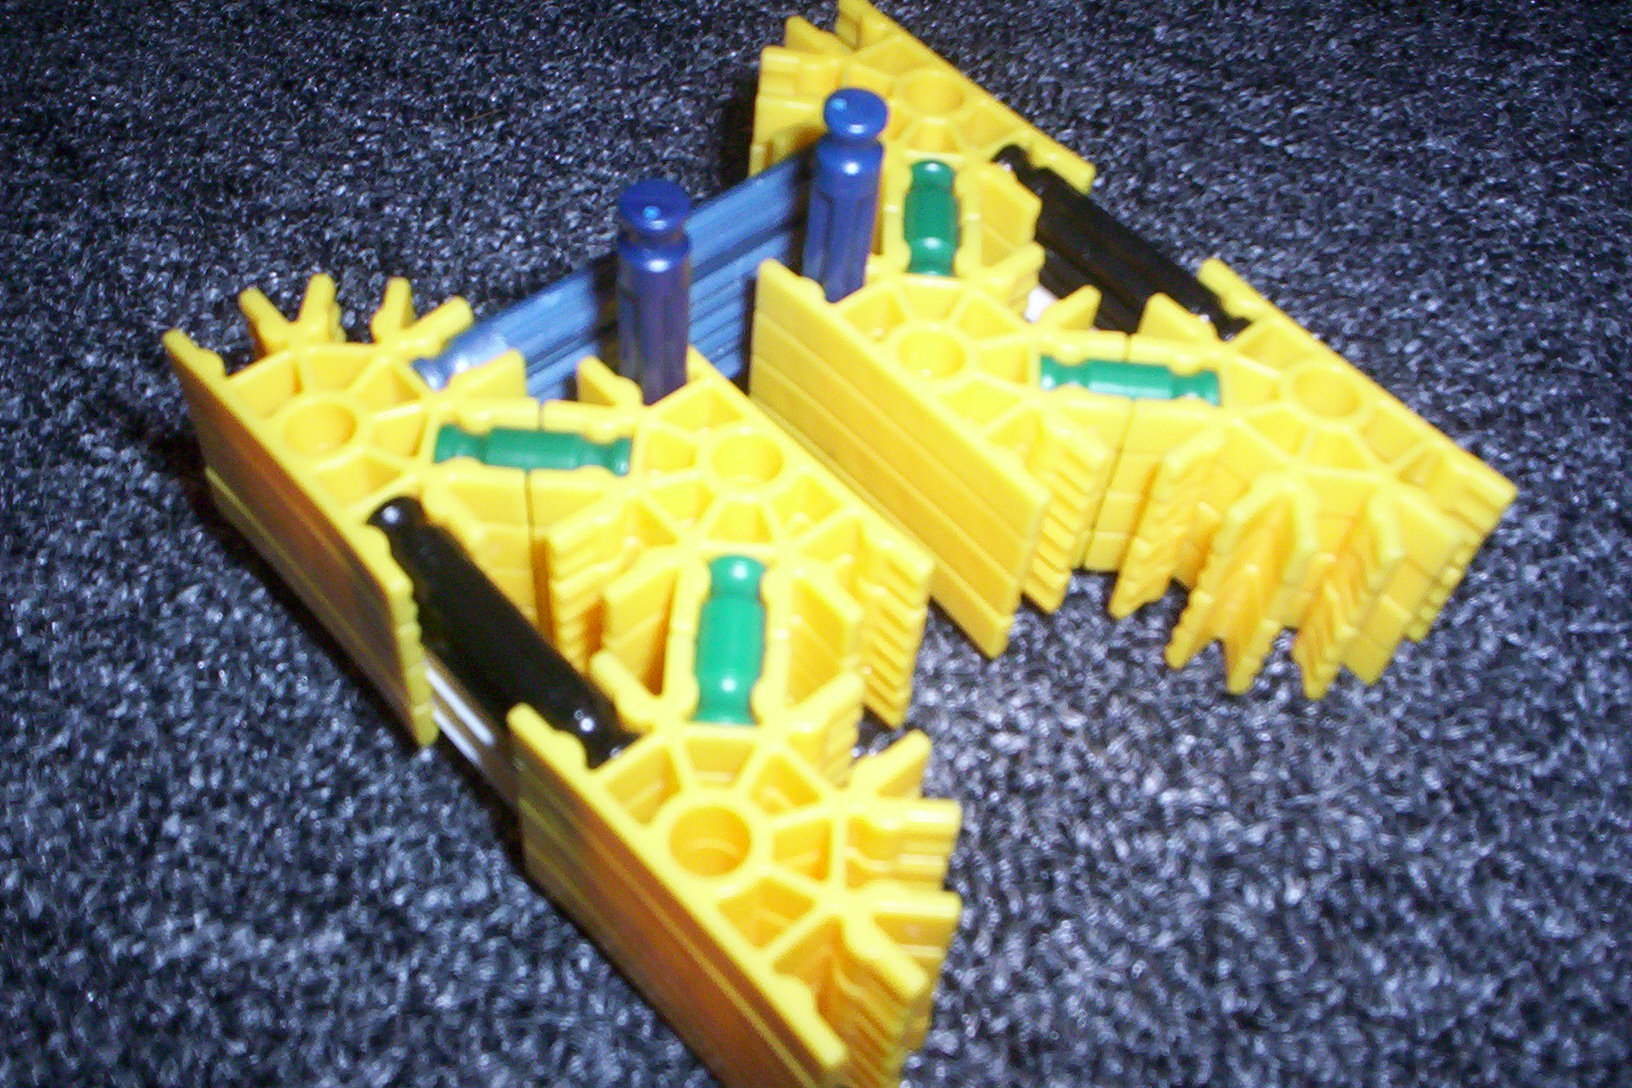
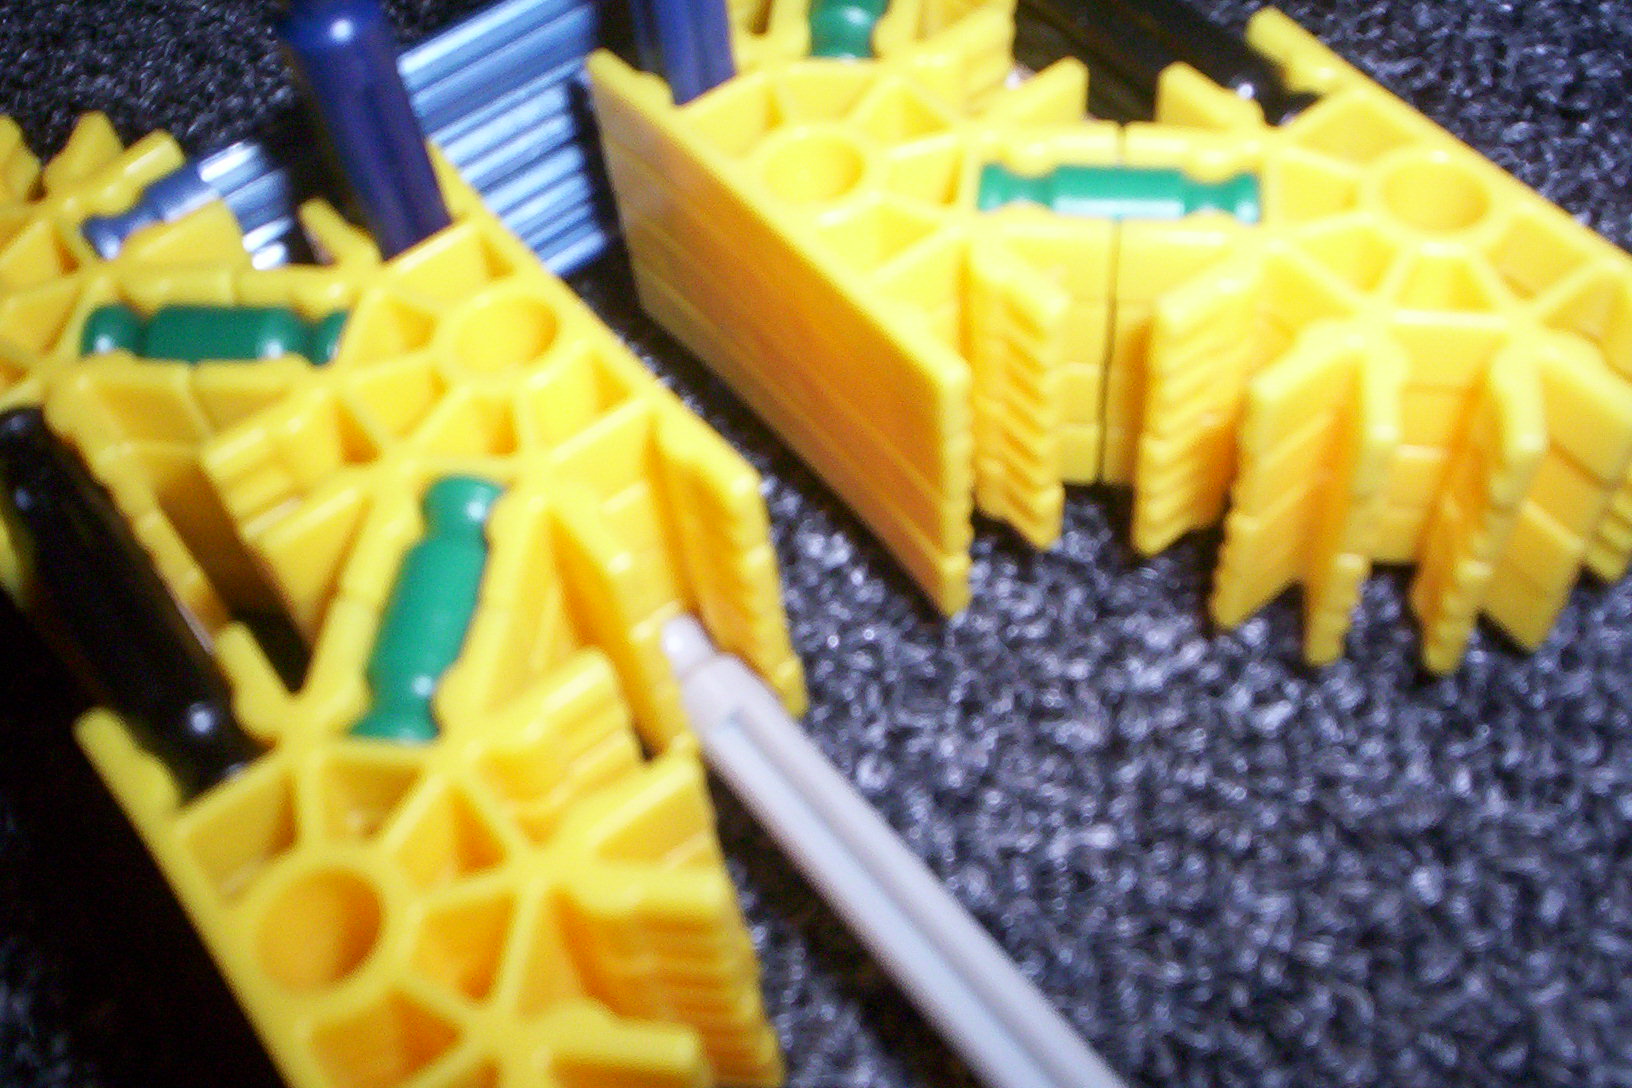
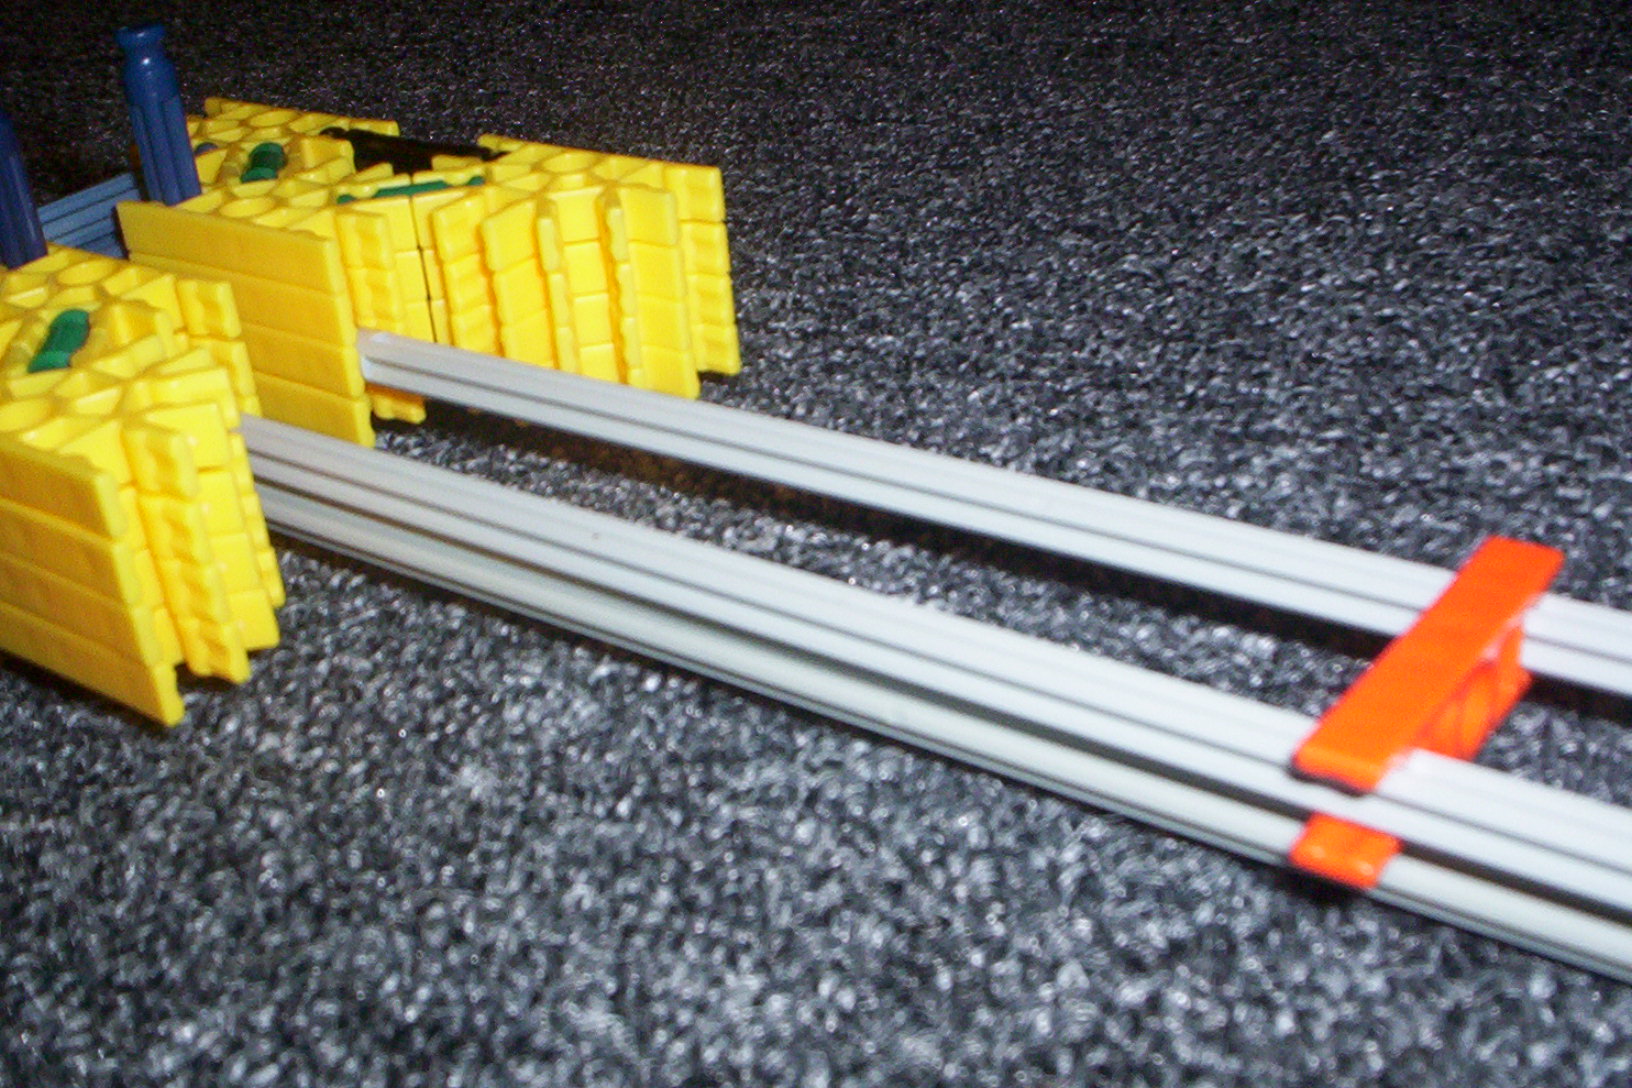
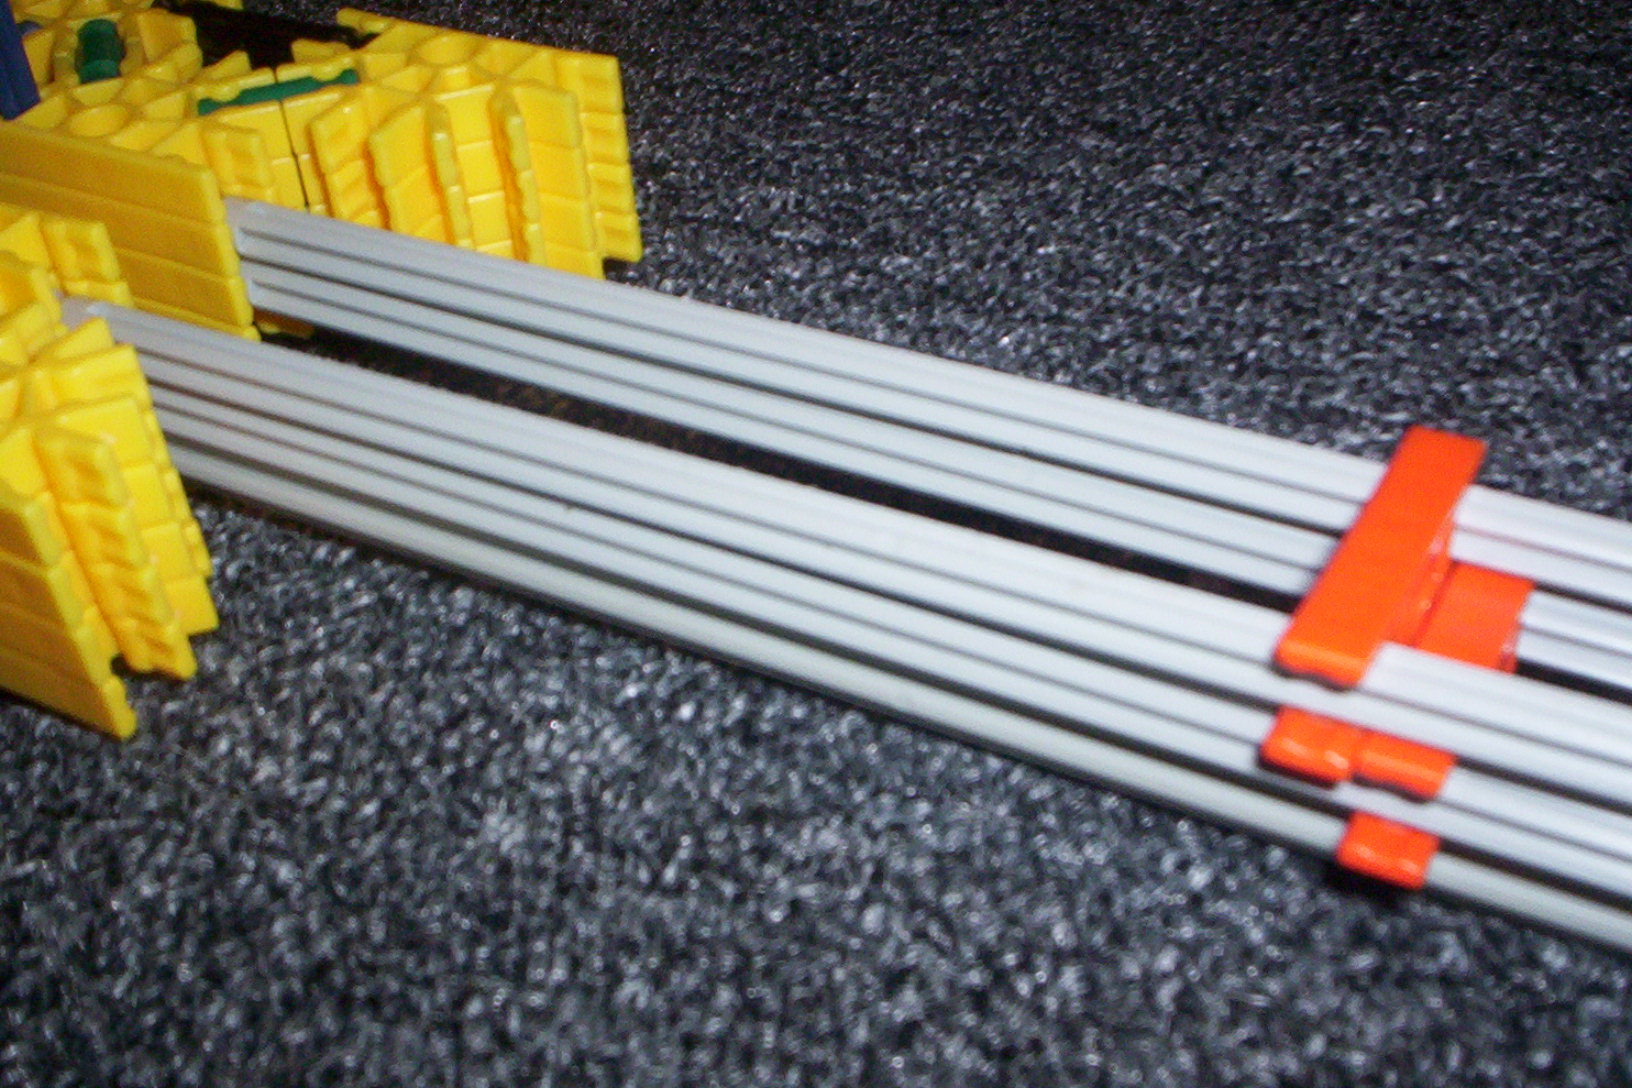
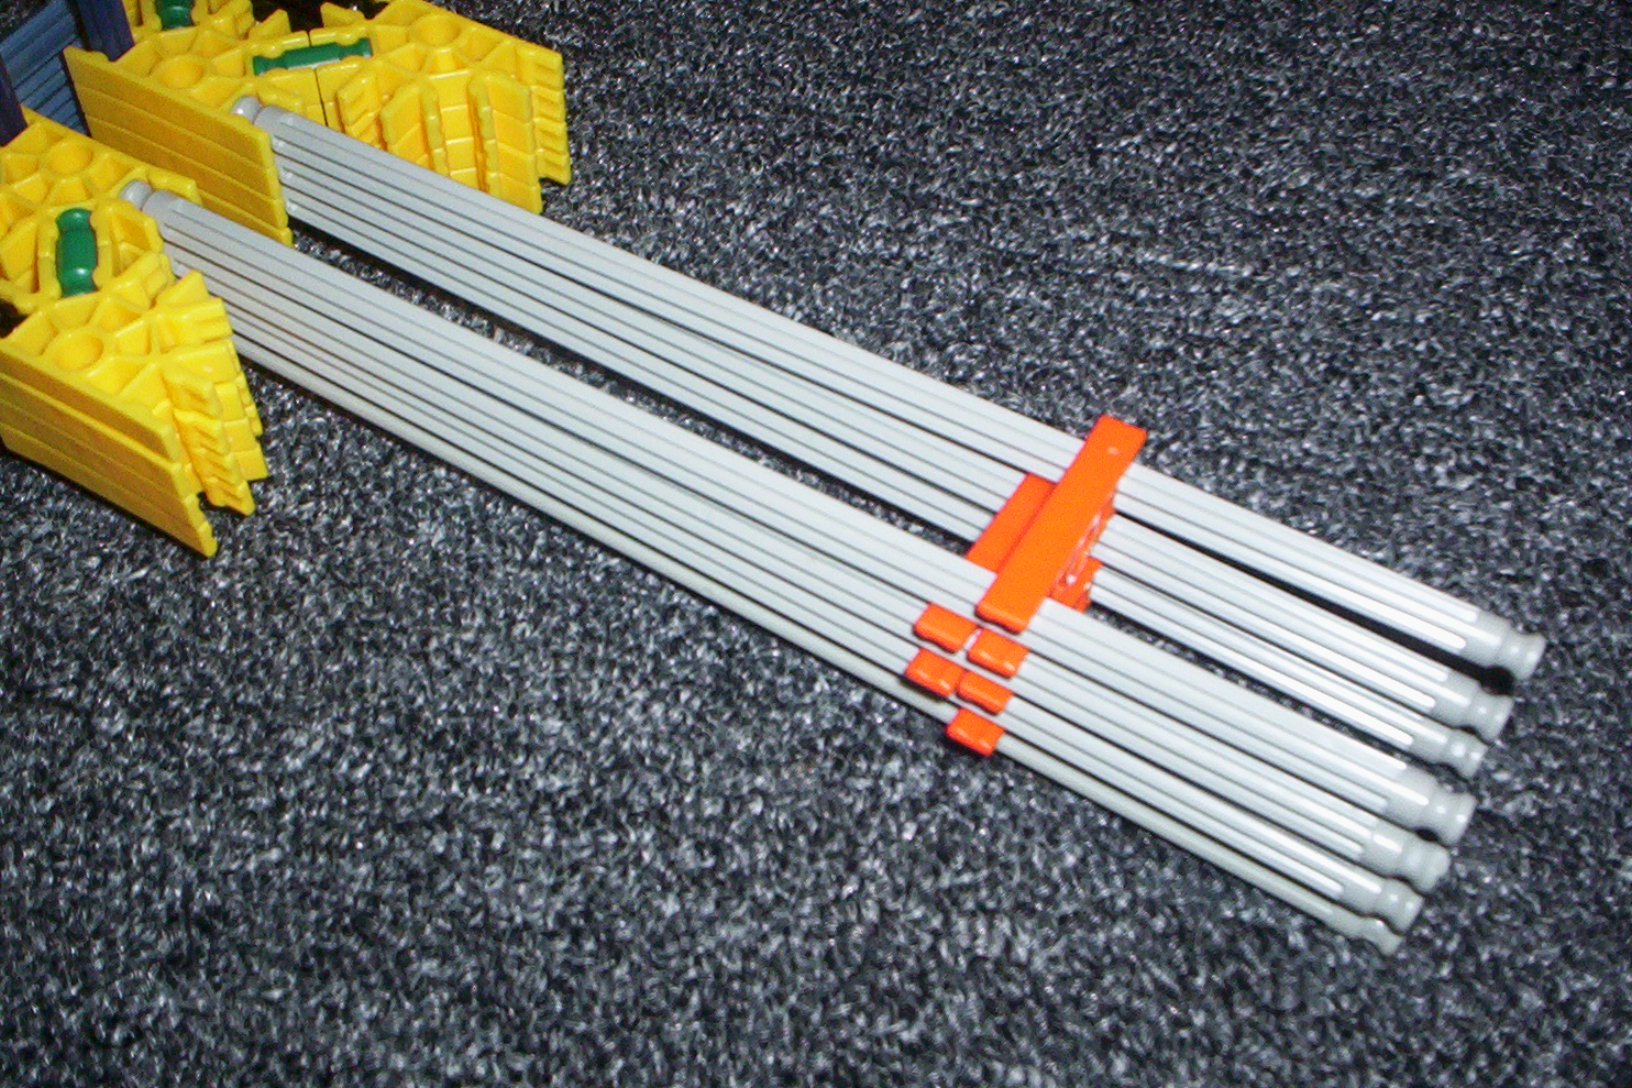
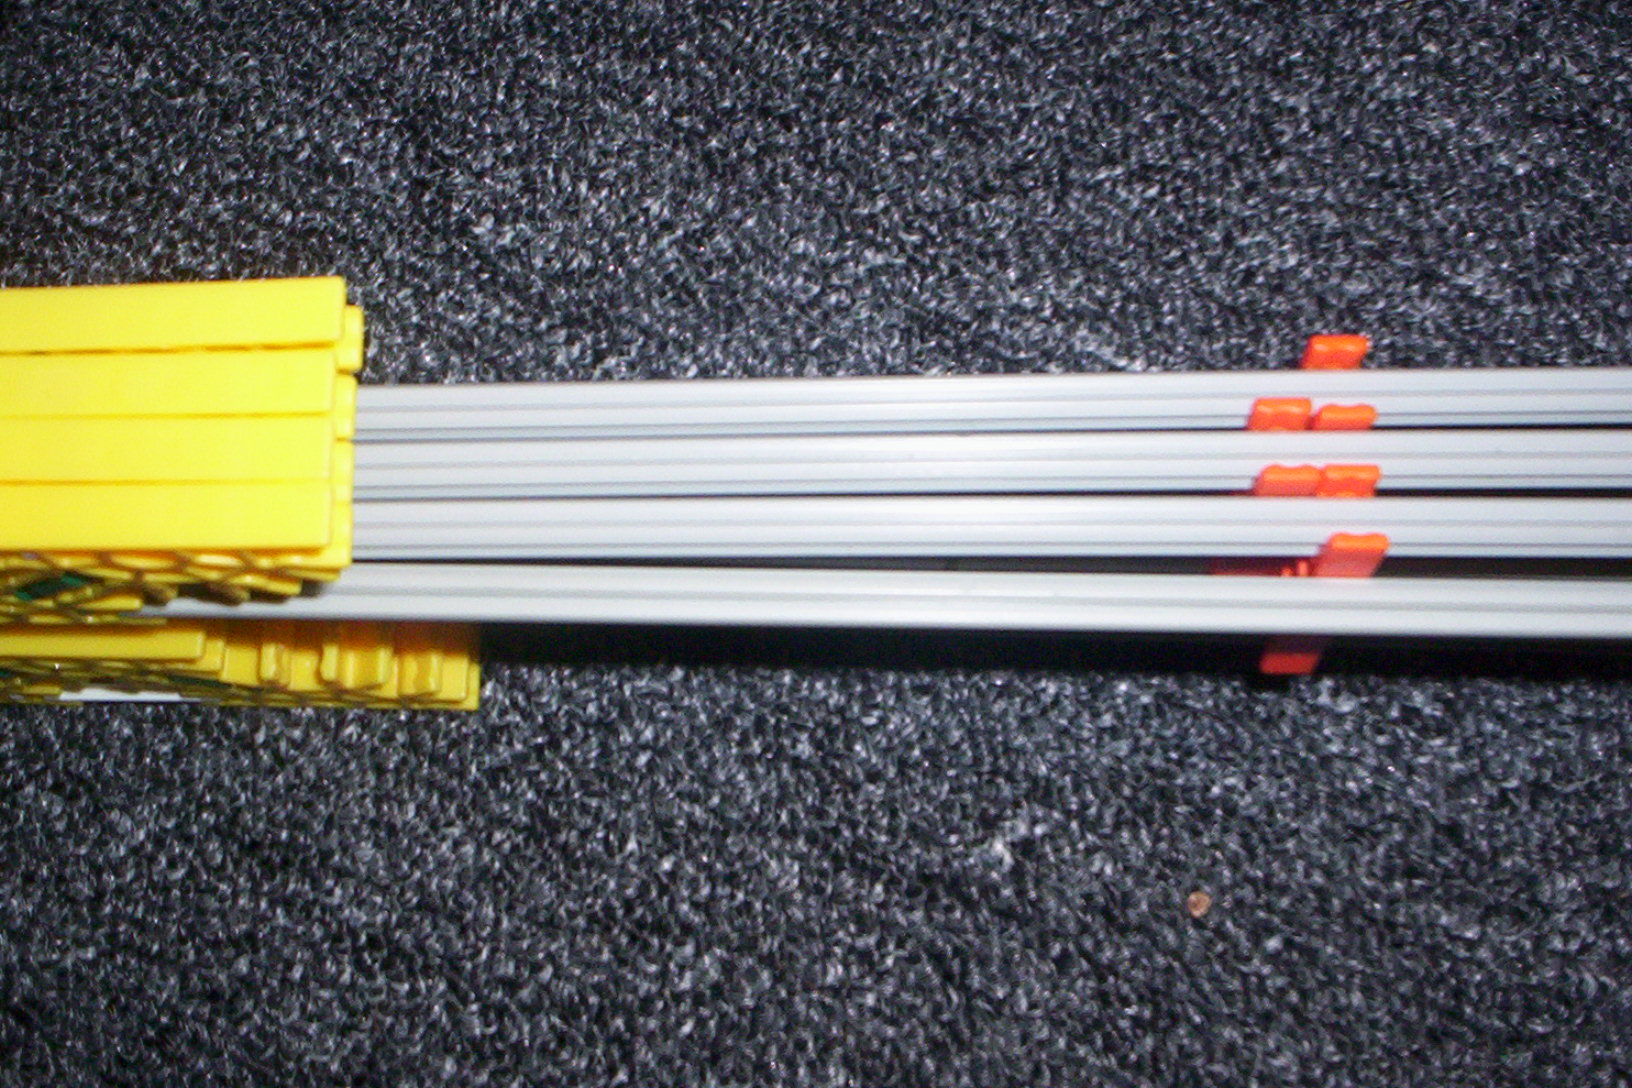
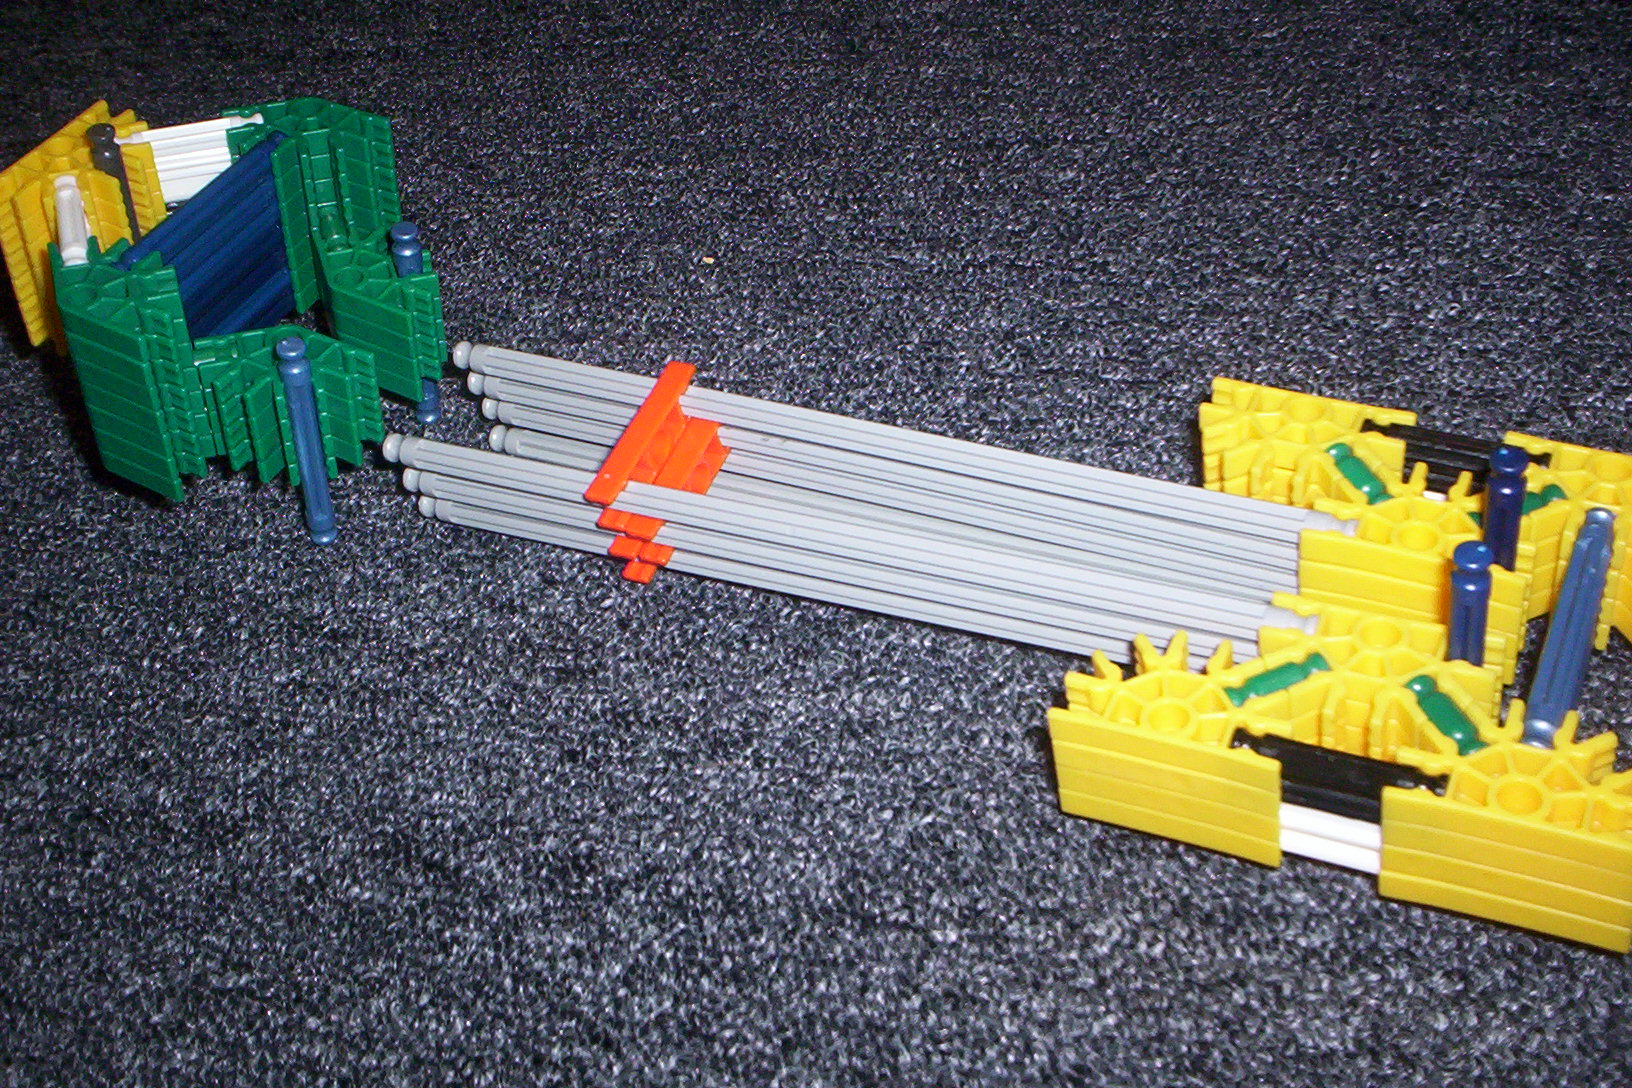
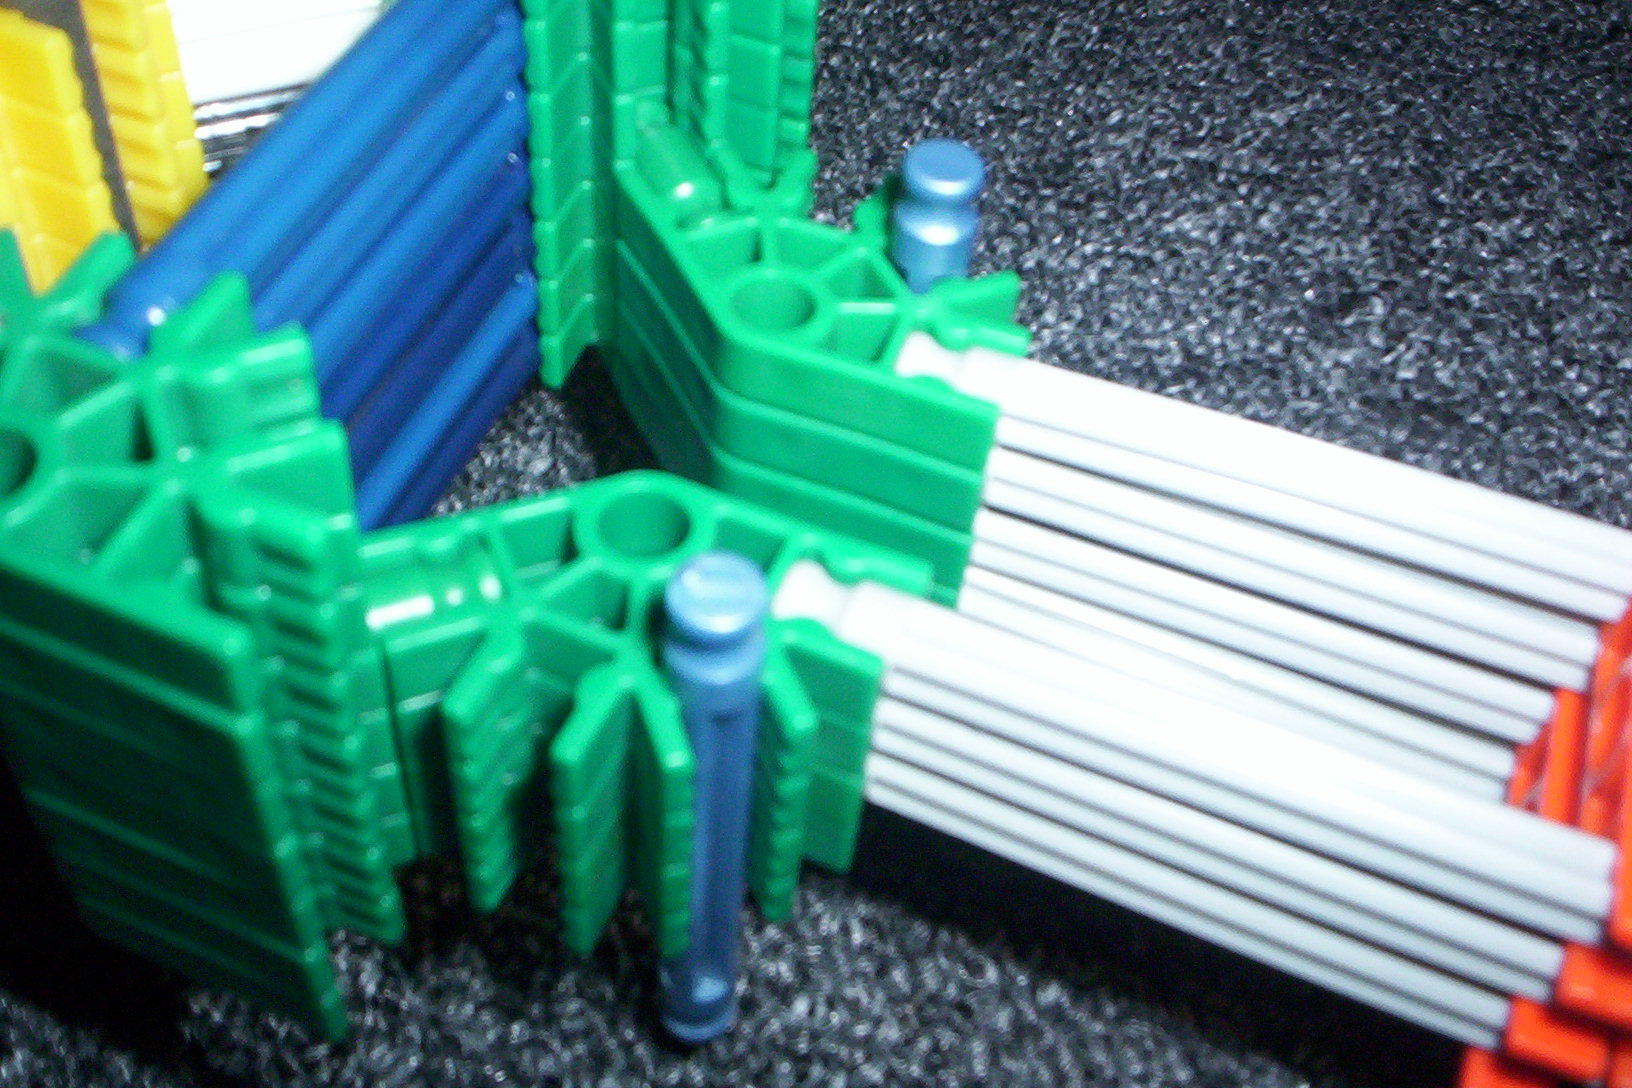
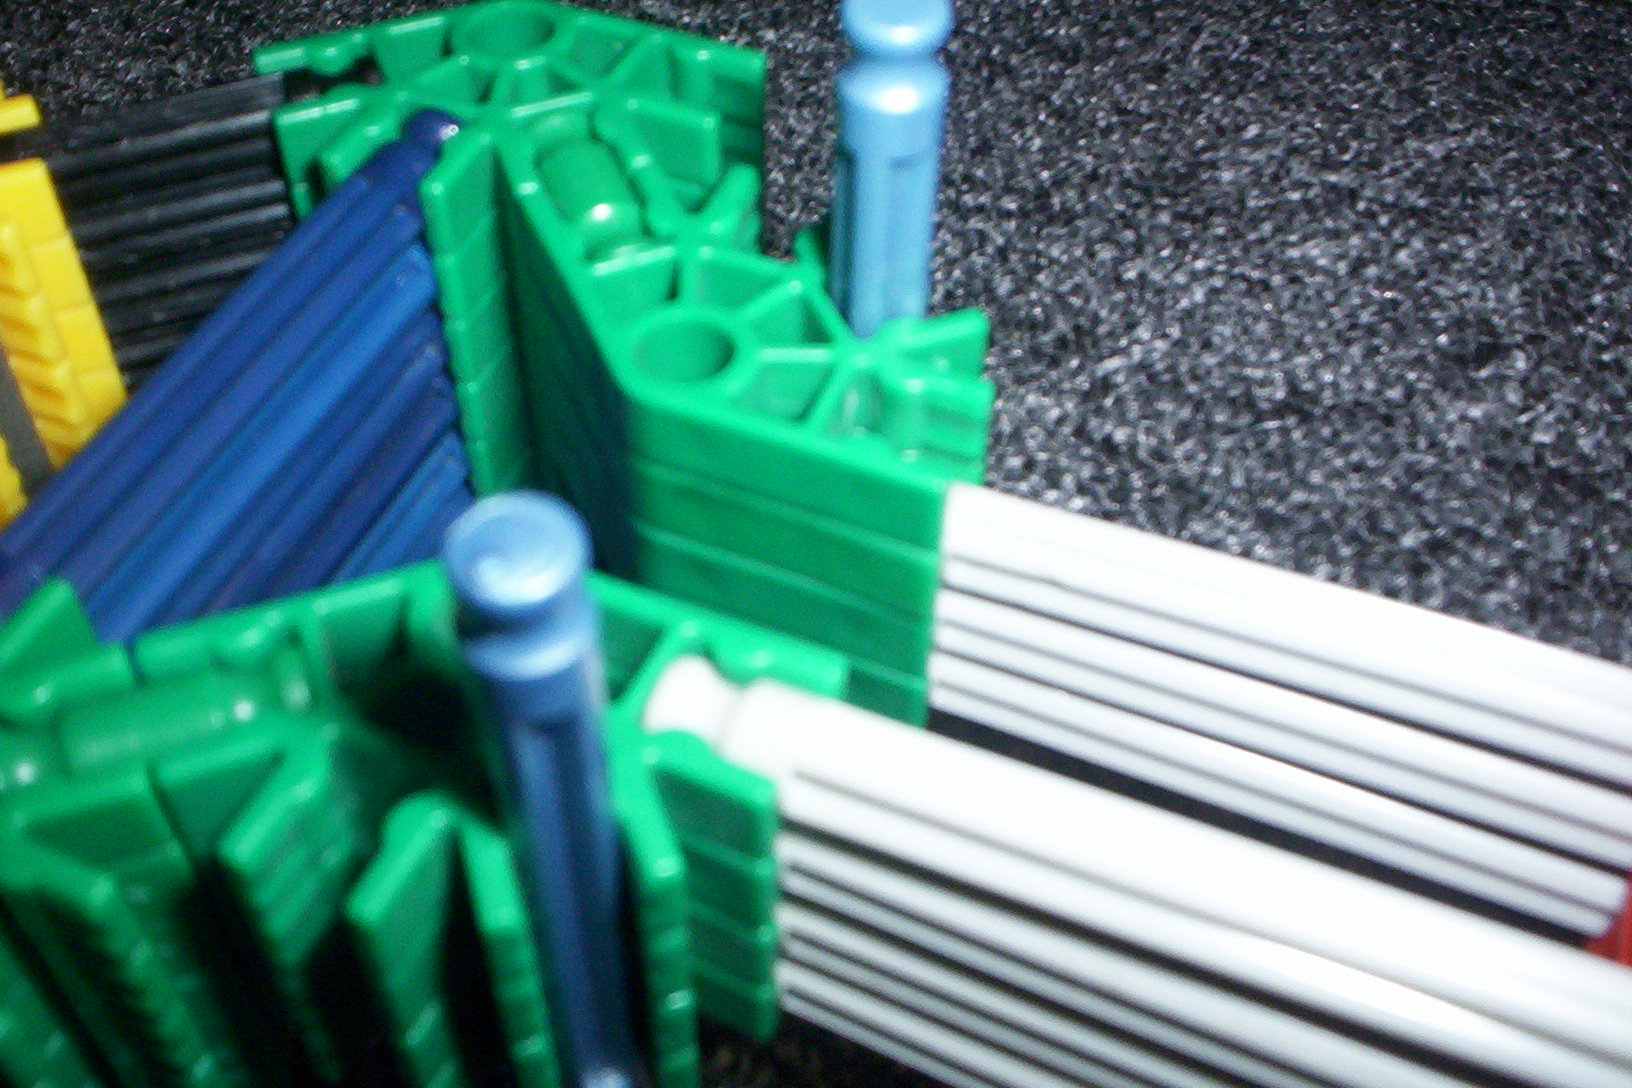
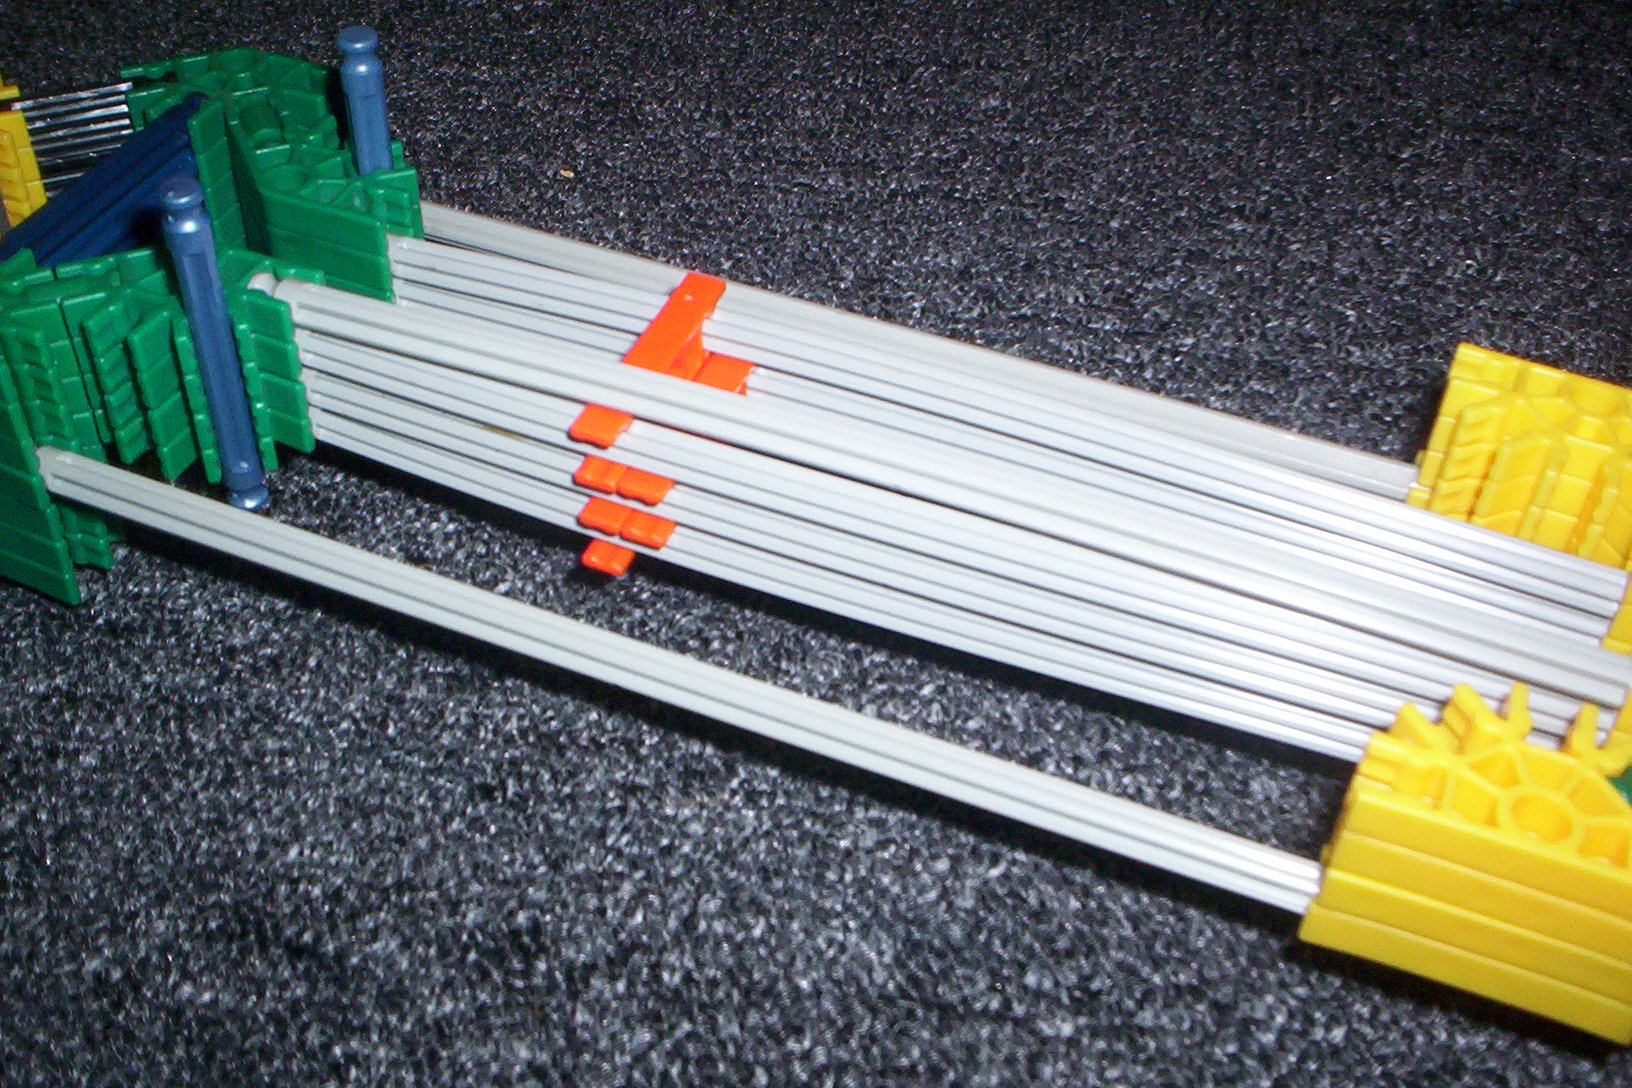
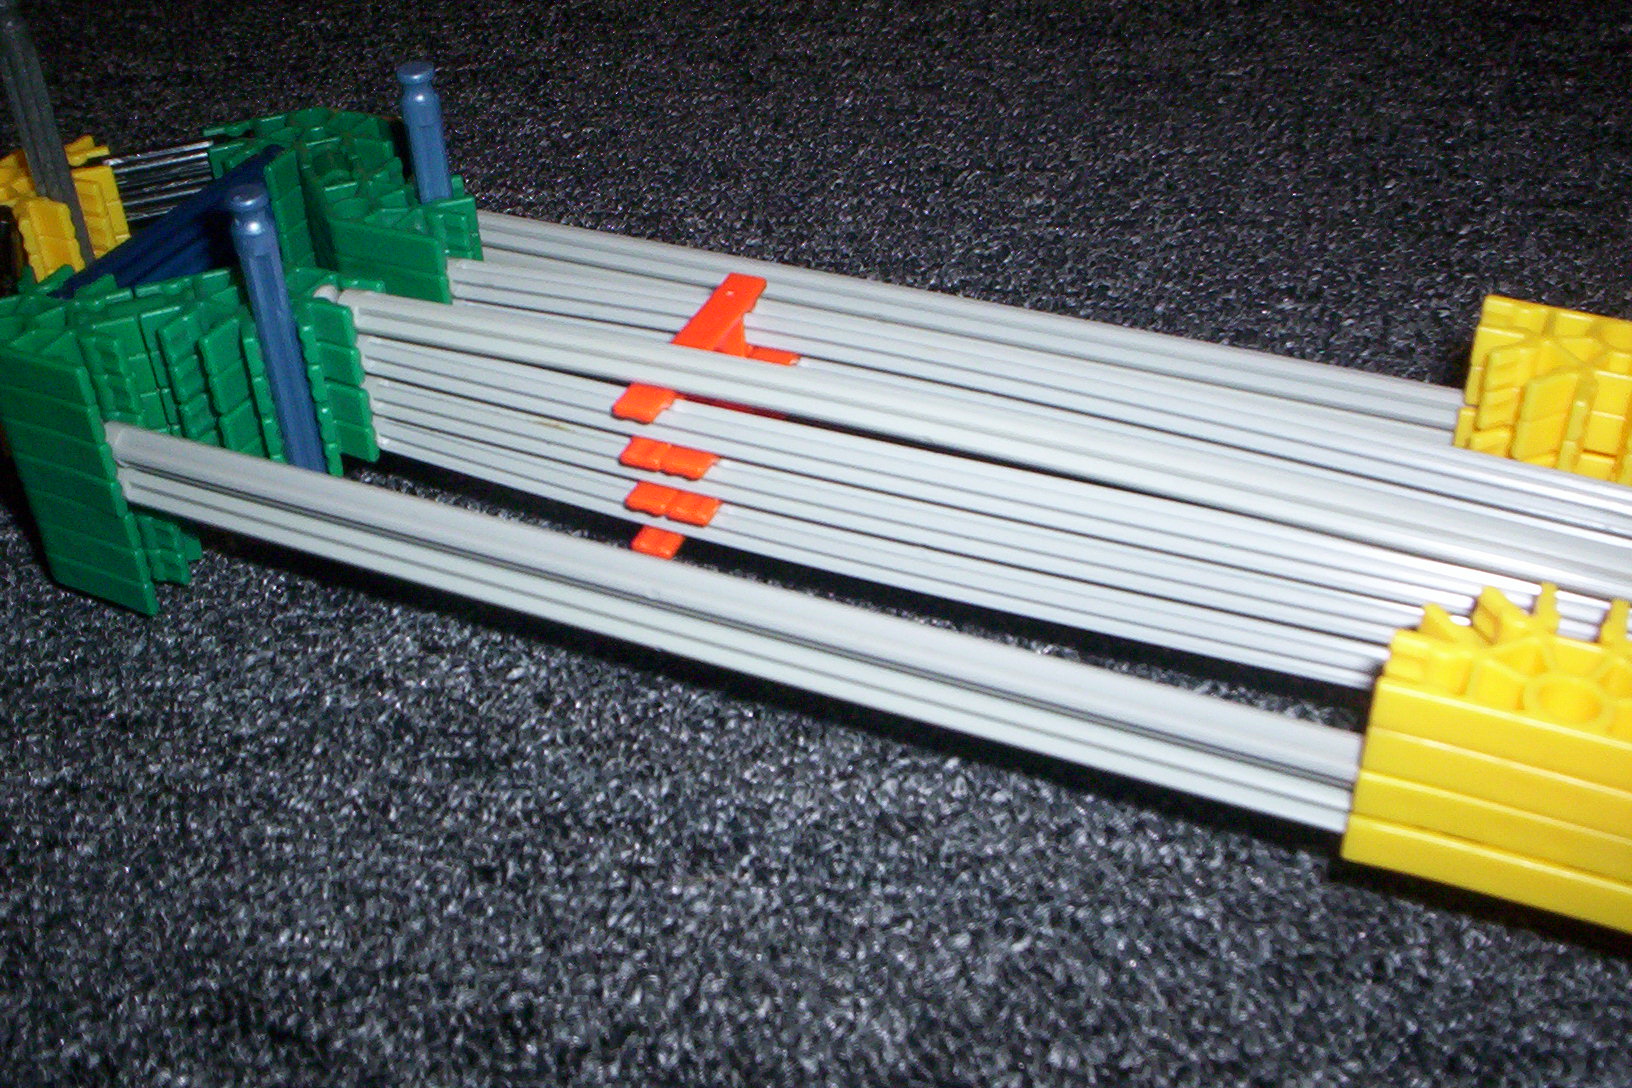
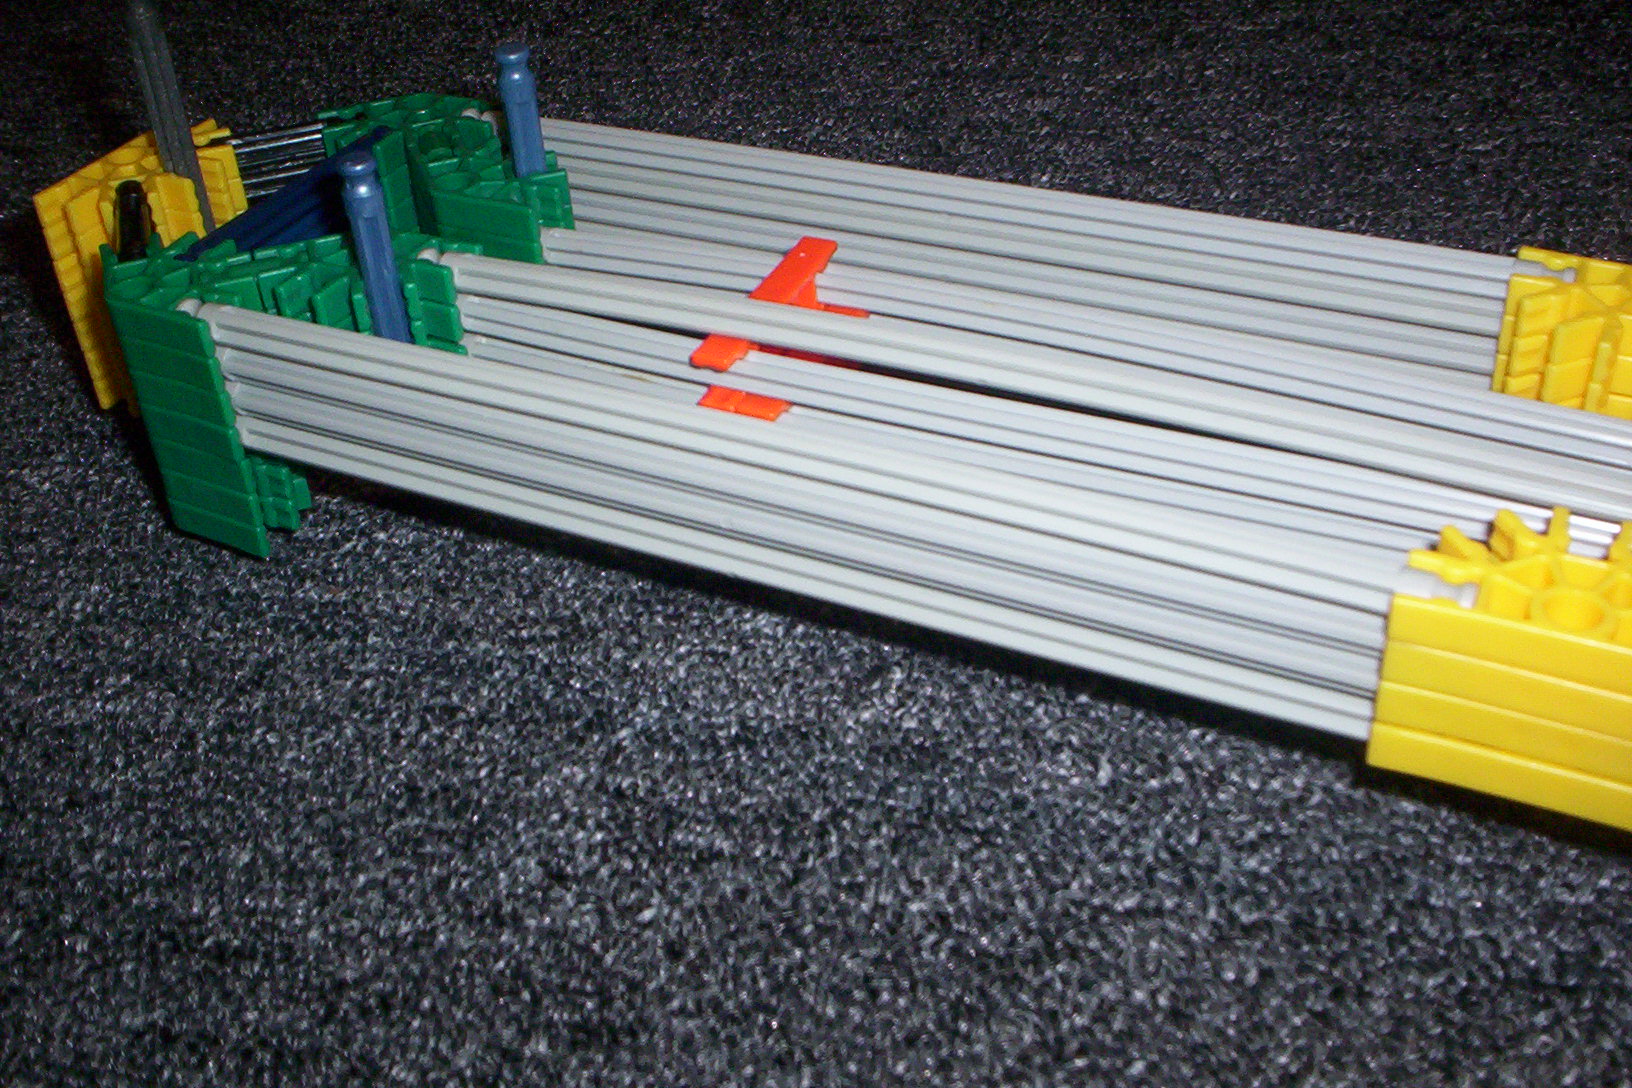
1. build this piece
2. details
3. details
4. next build this, there are four layers
5. add a gray rod, but only one
6. two gray pieces attached to an orange connector
7. another one
8. yes, one more
9. have the orange connectors lined up like this
10. now put them together, but pay close attention to the way it is put together, as the side with only one gray rod needs to be on a certain side.
11. both grays on this side
12. this is te side with only one gray ro
13. add a gray rod on both sides
14. add another
15. finish it up
Handle
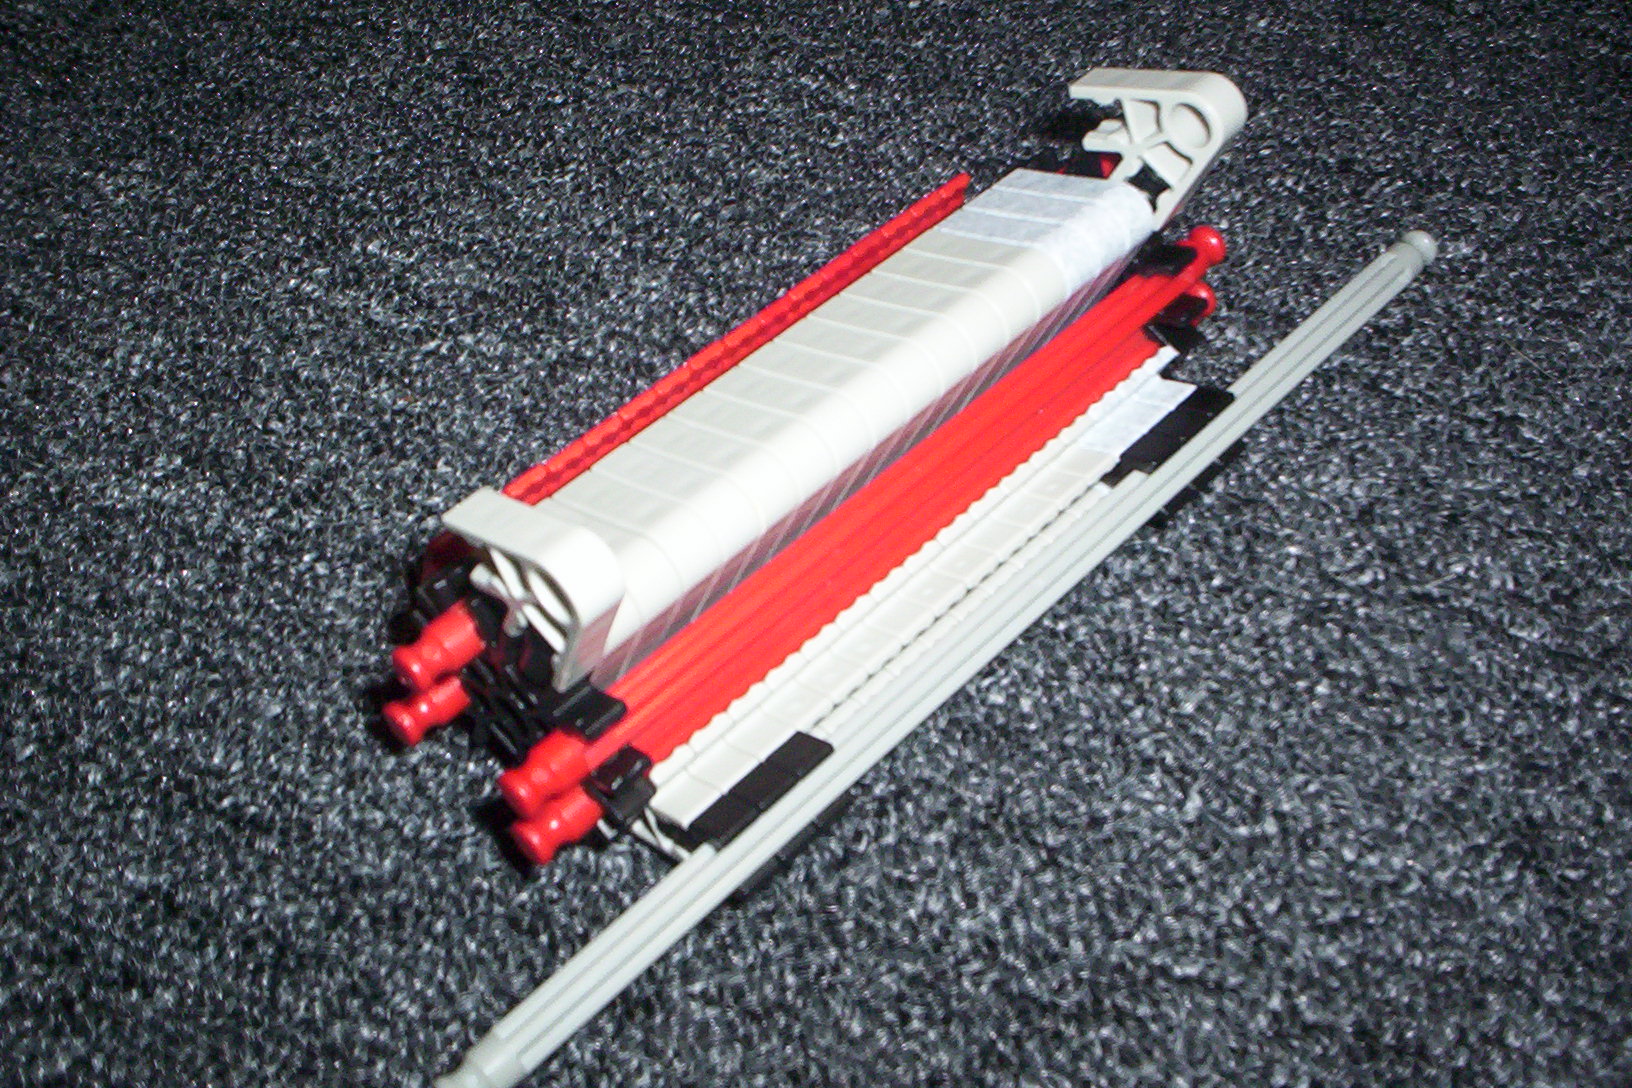
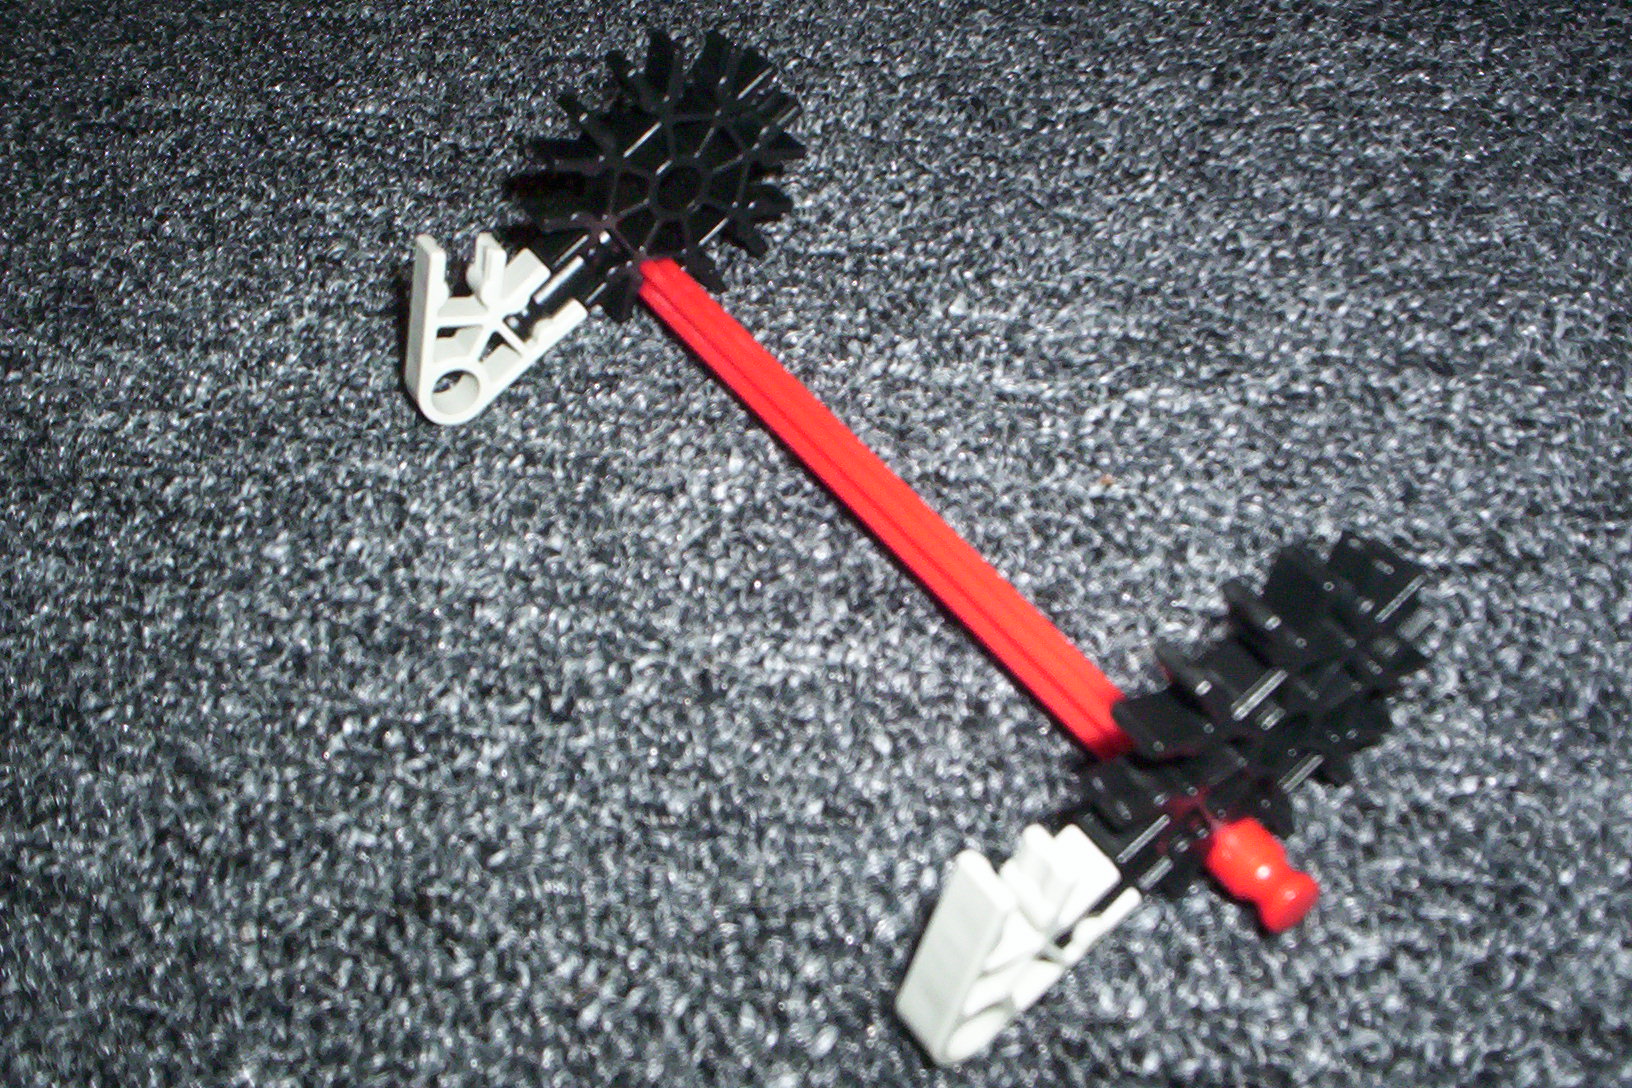
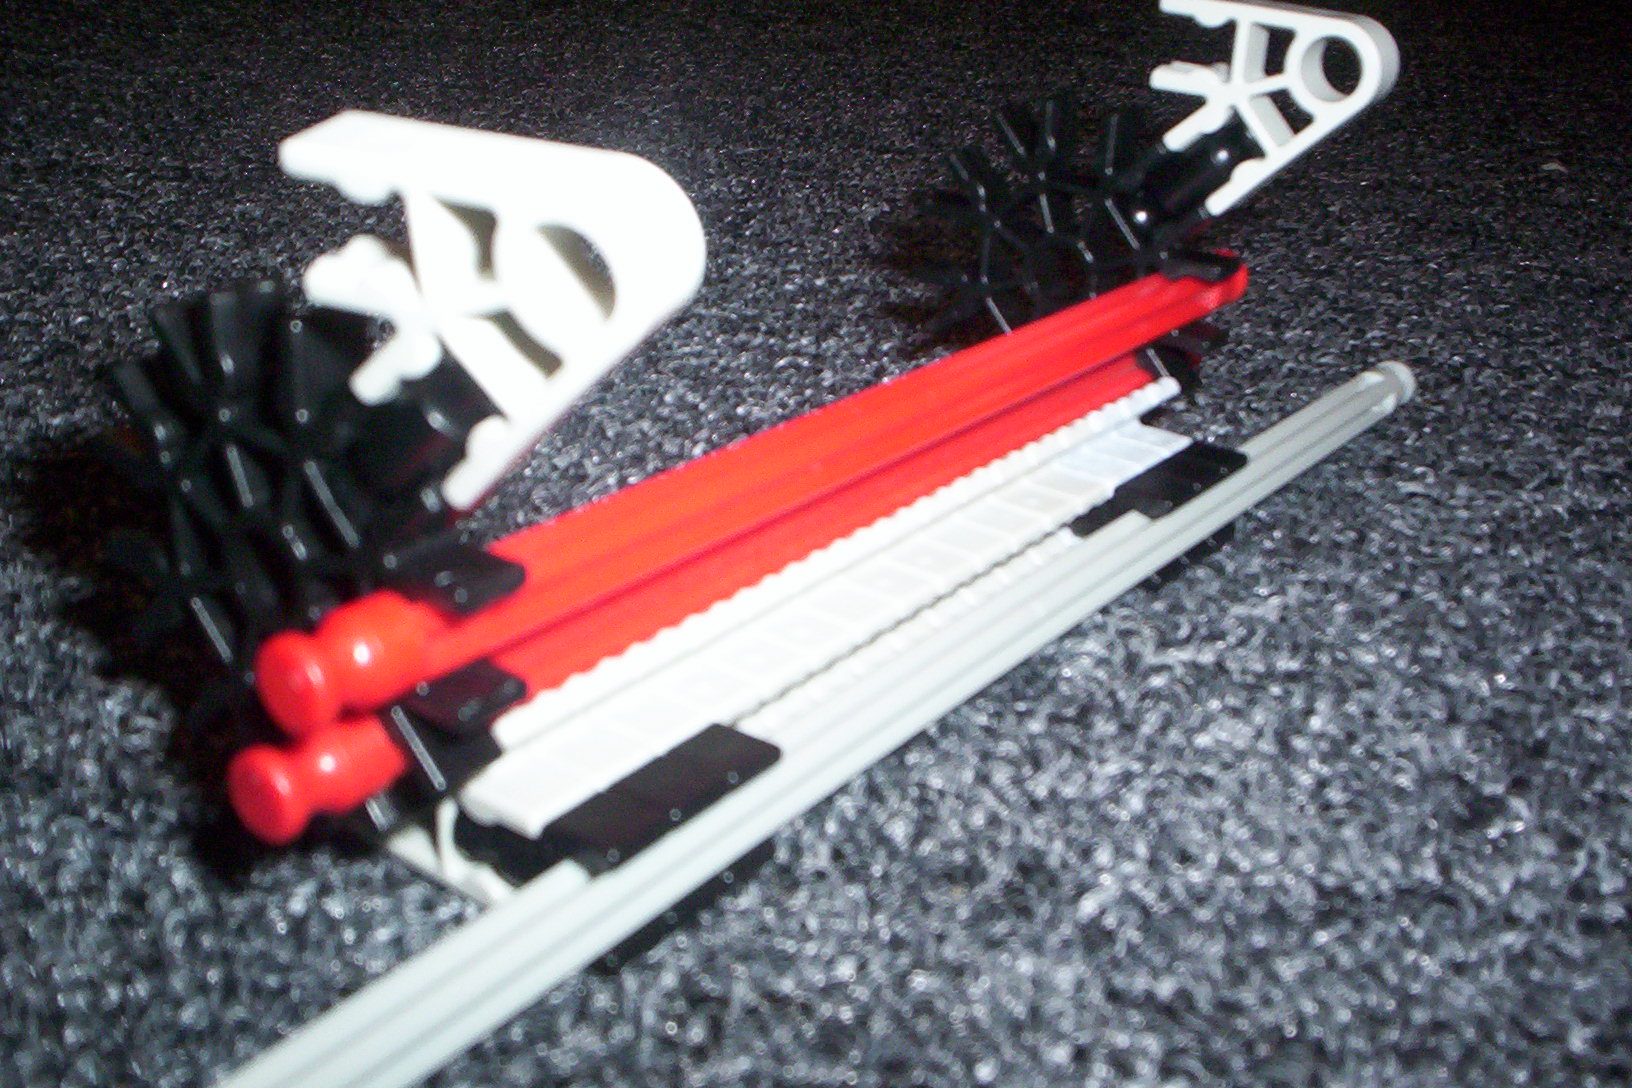
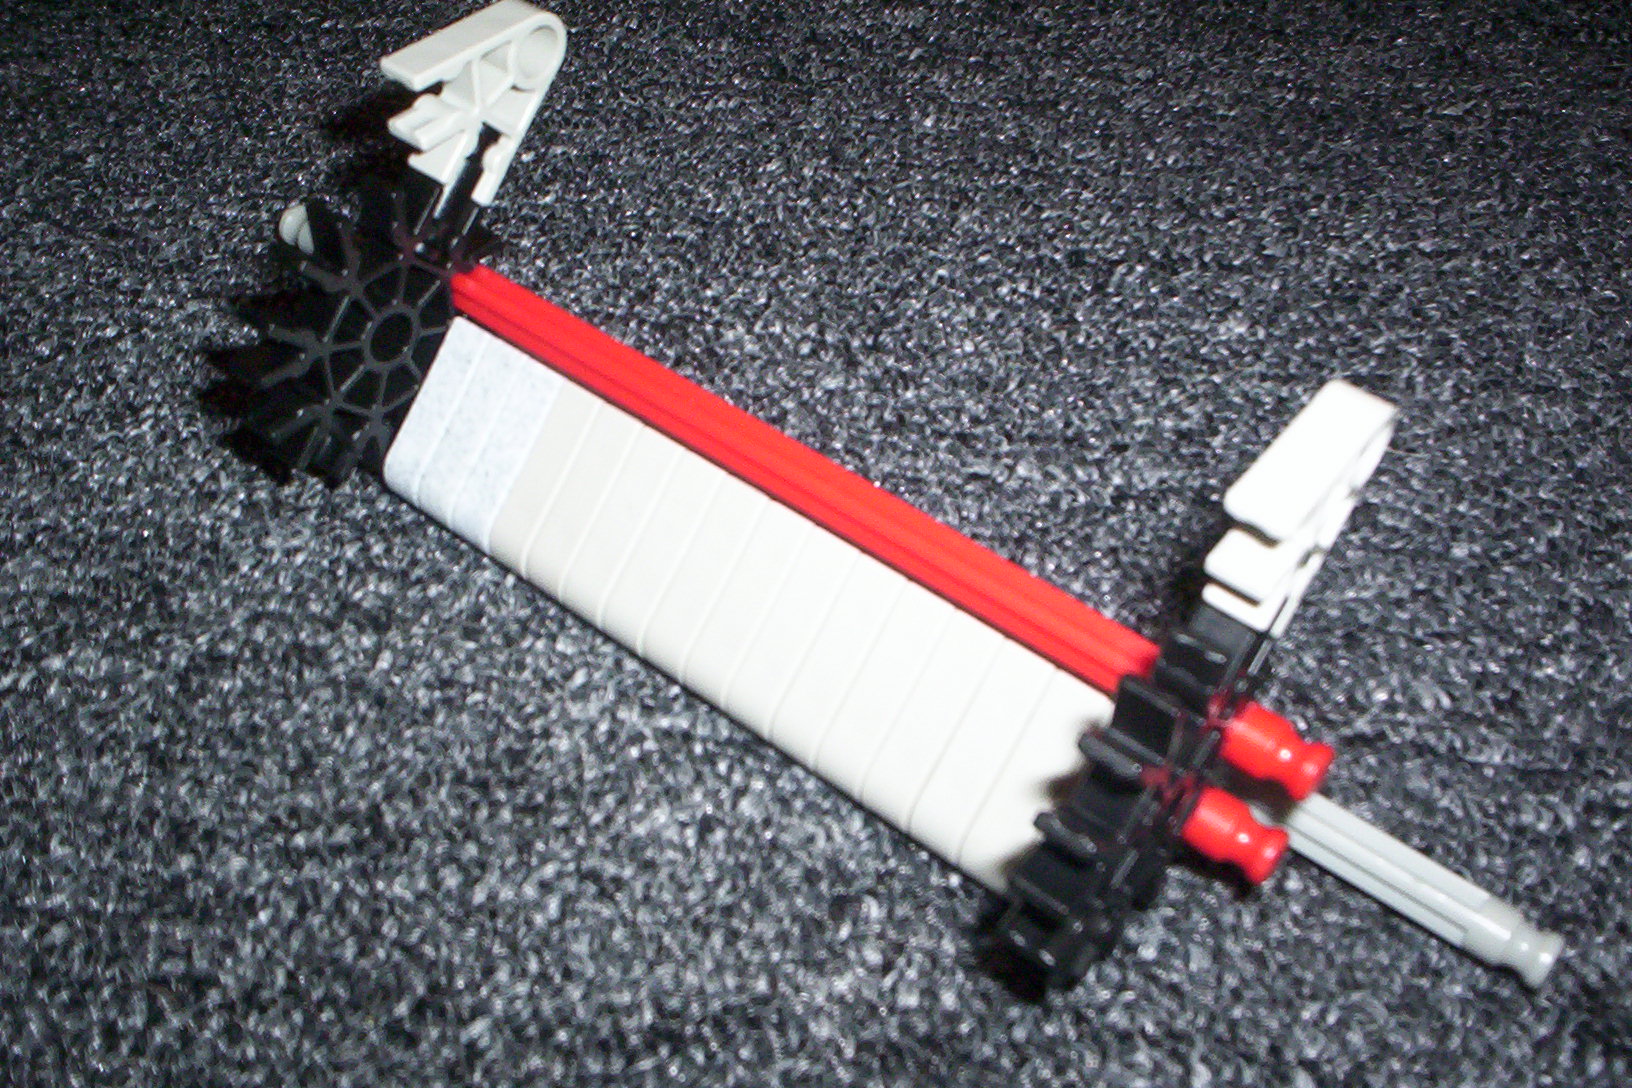
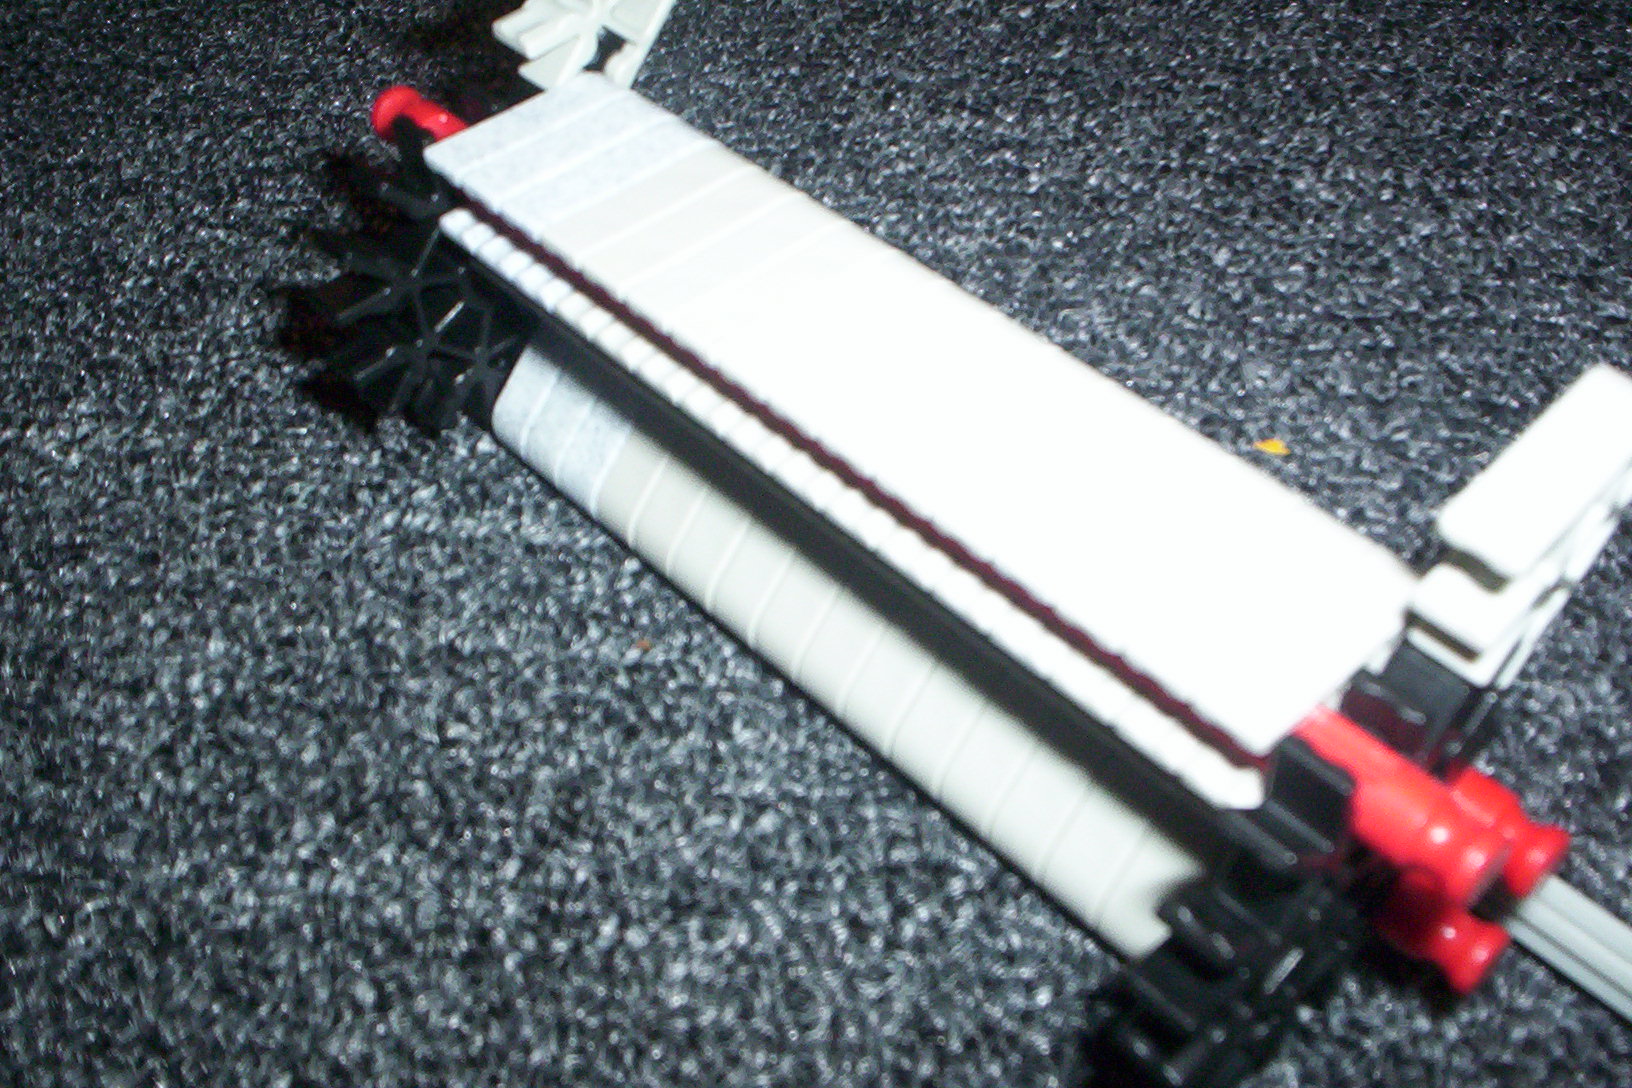
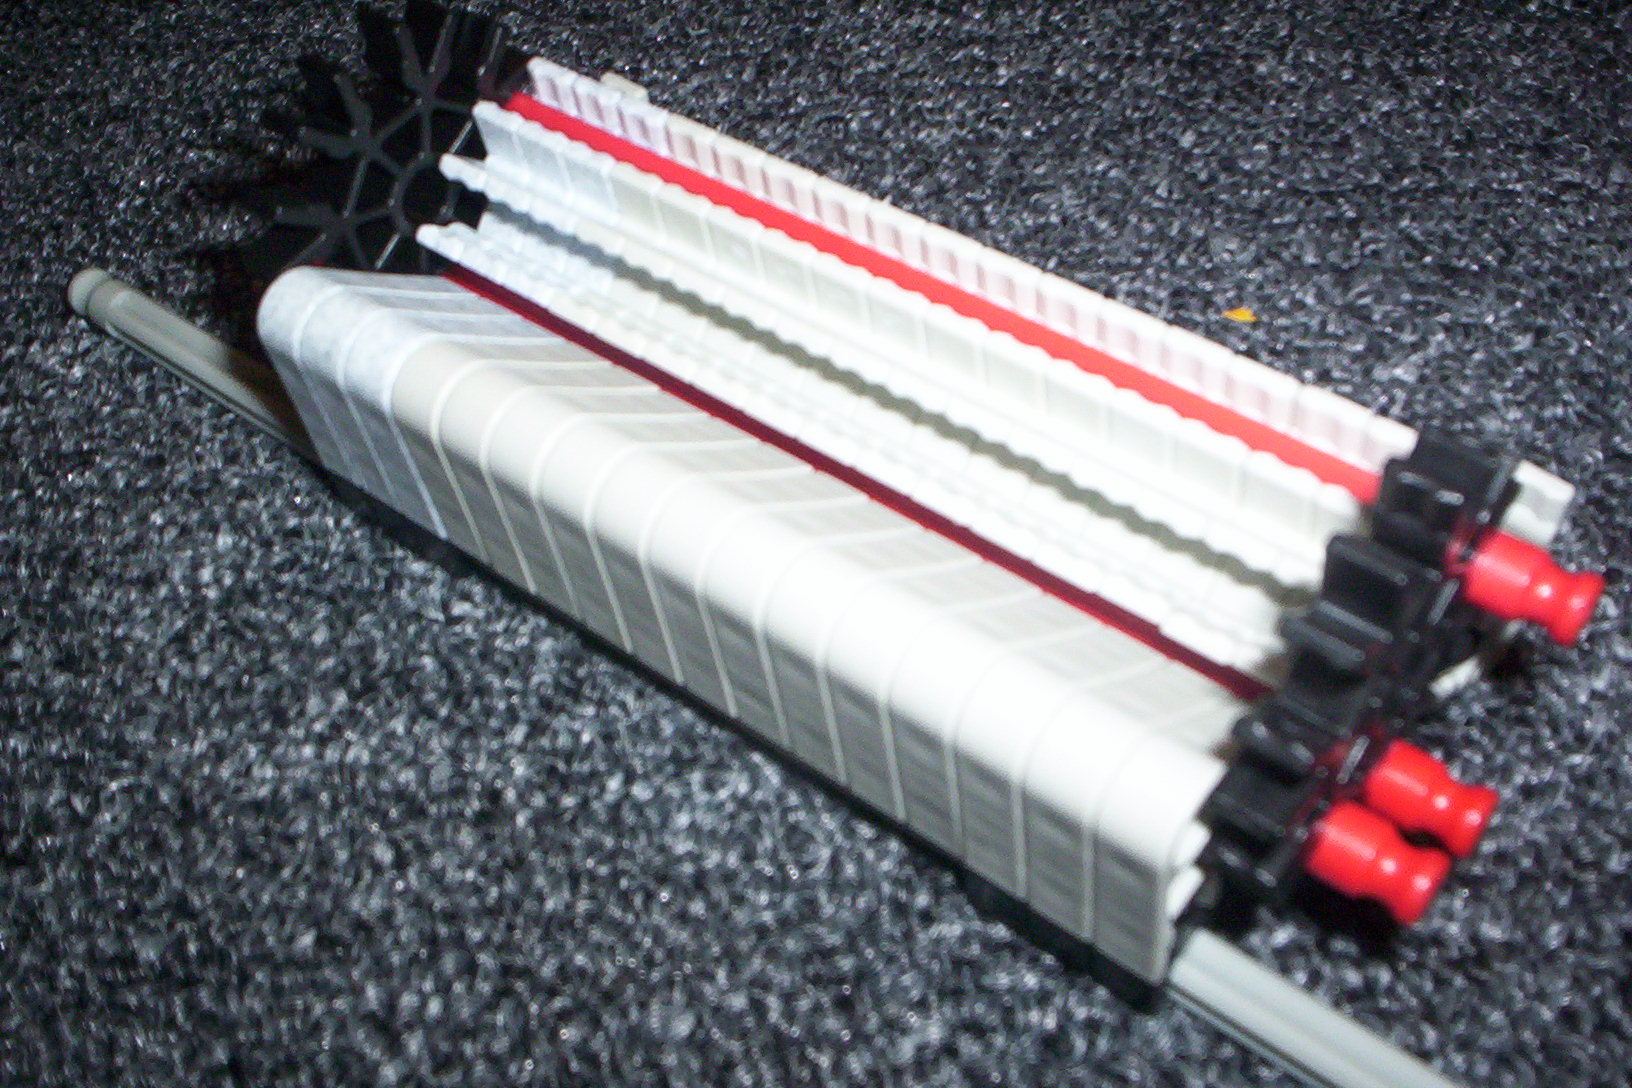
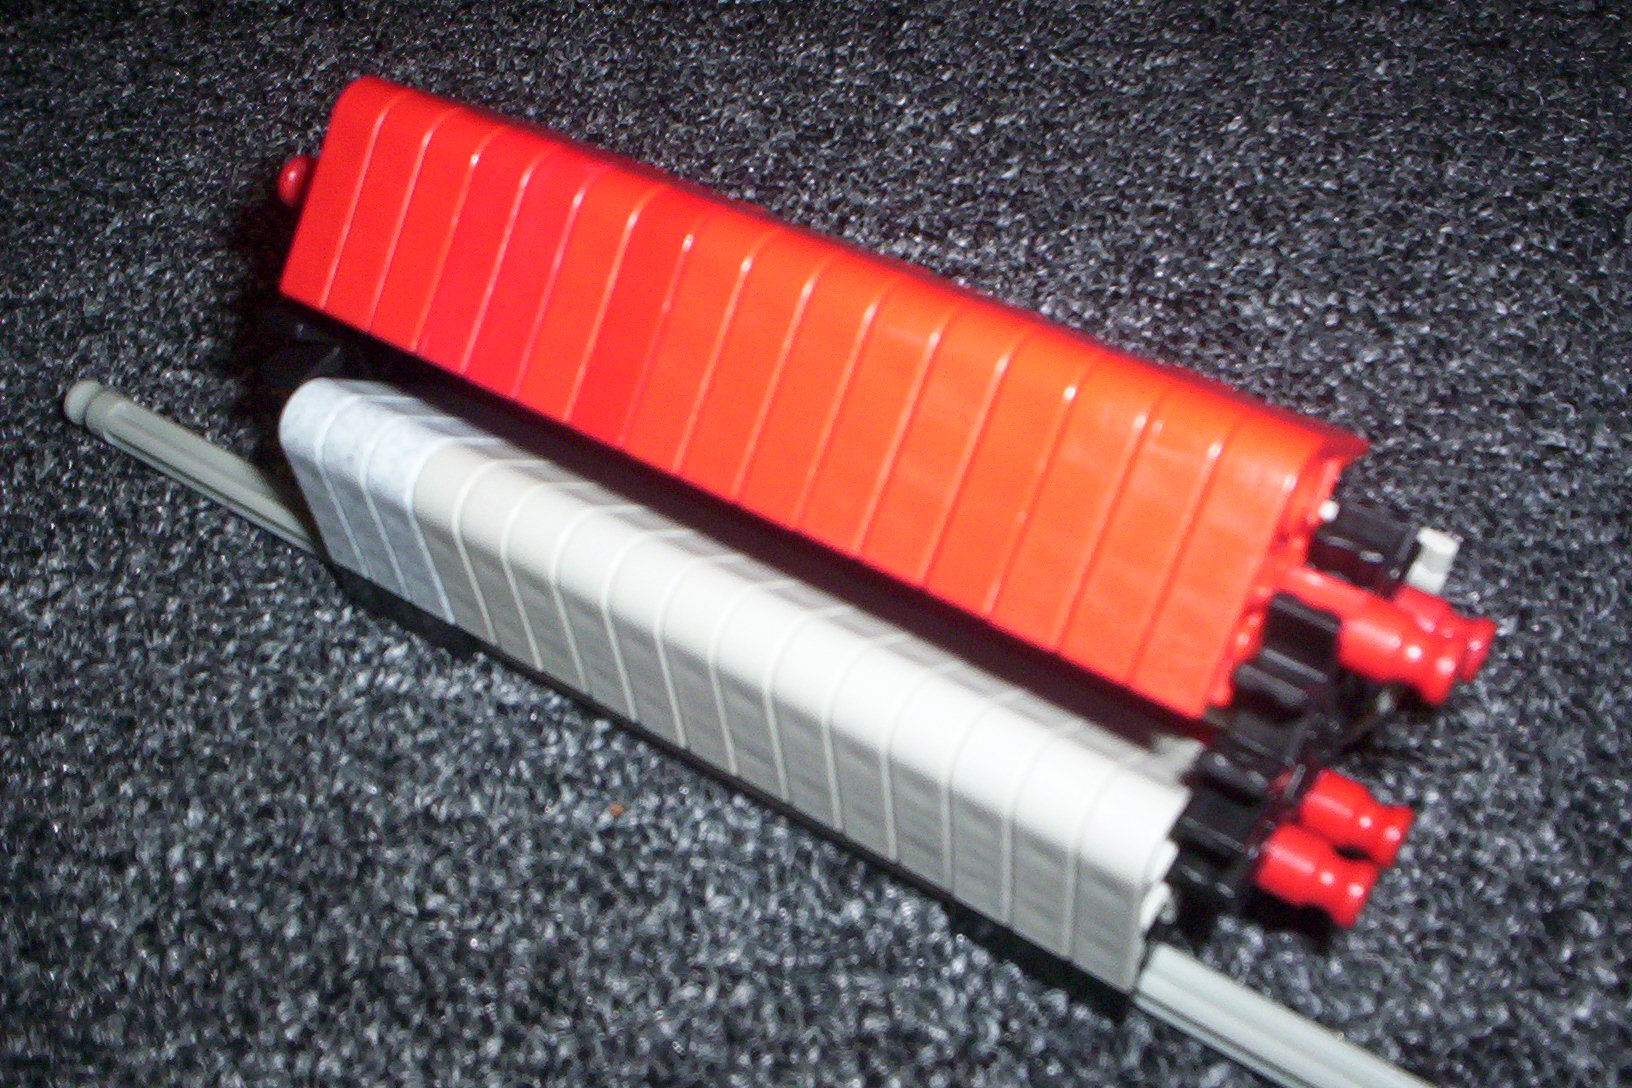
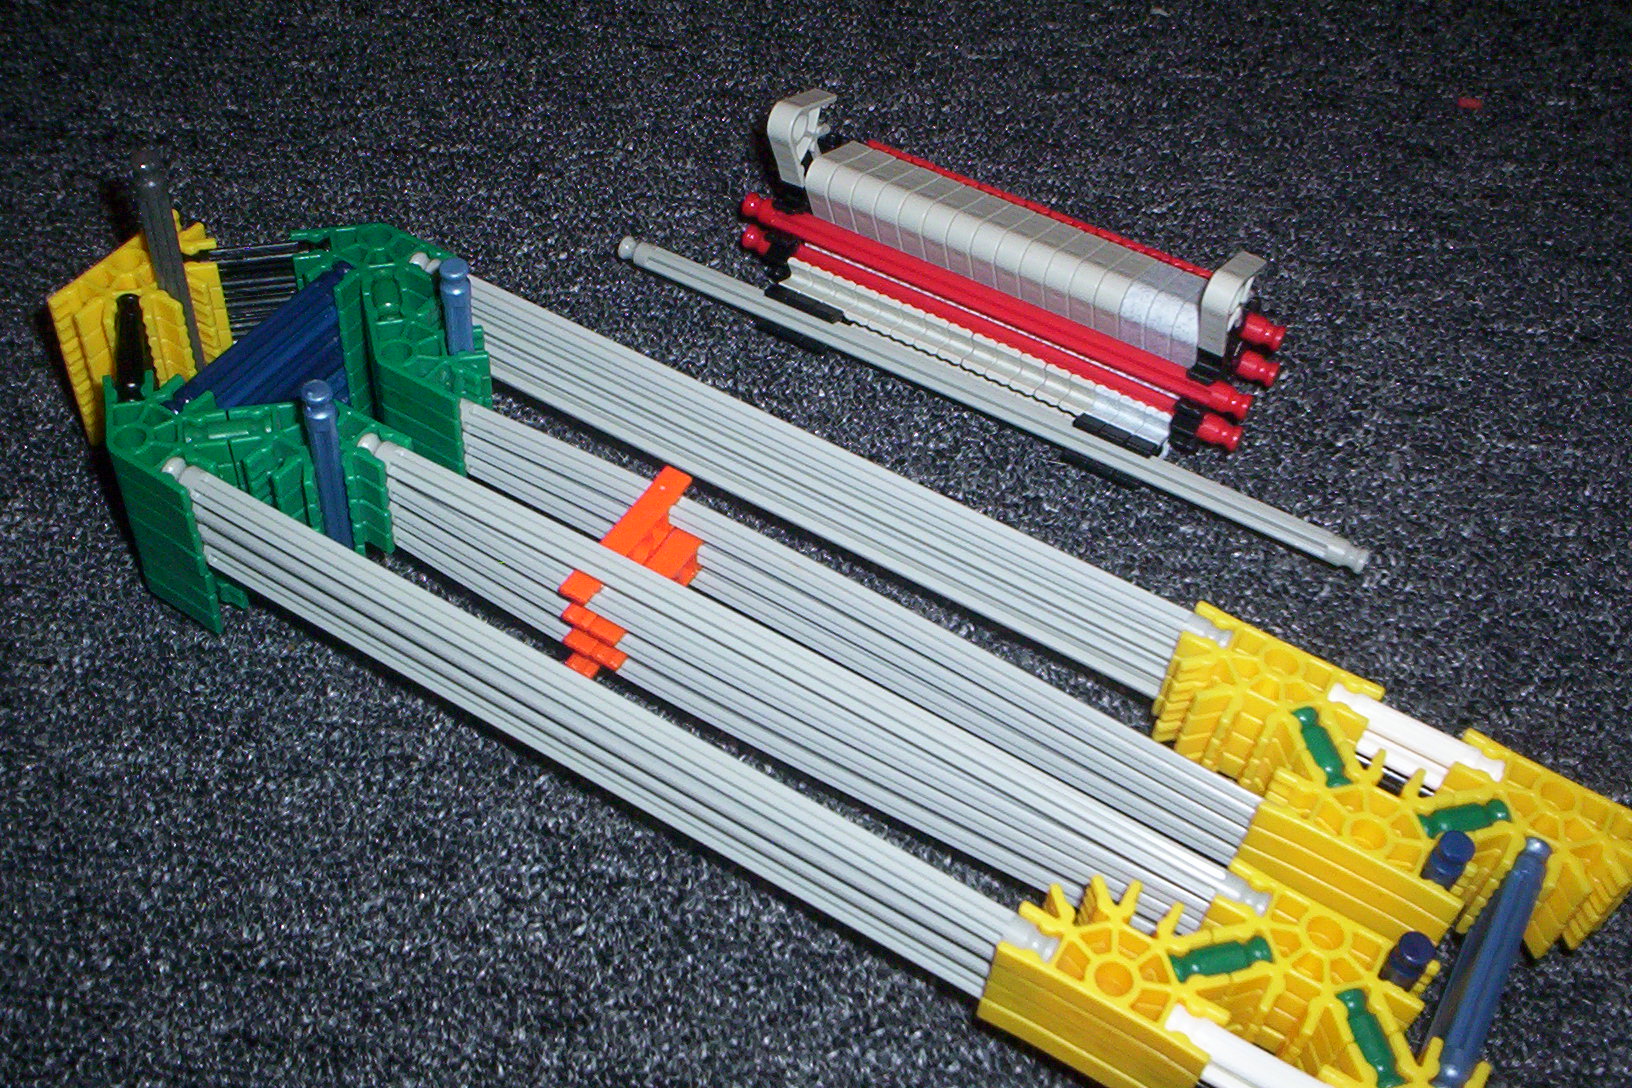
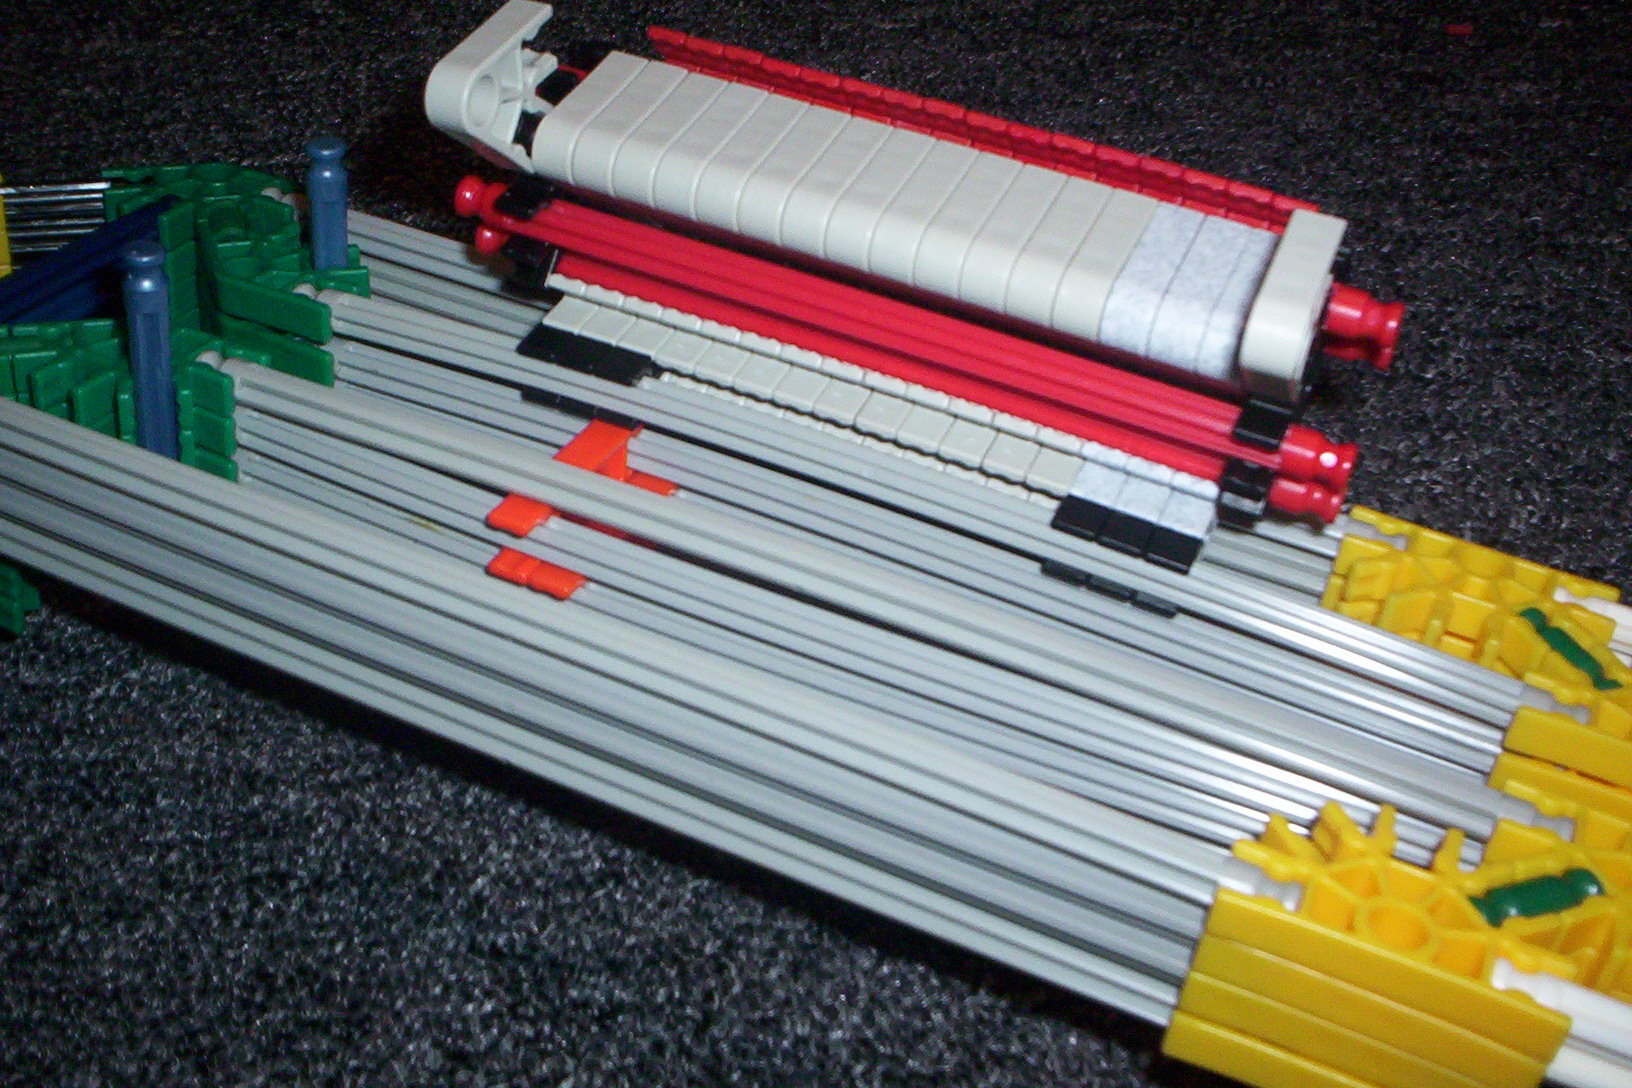
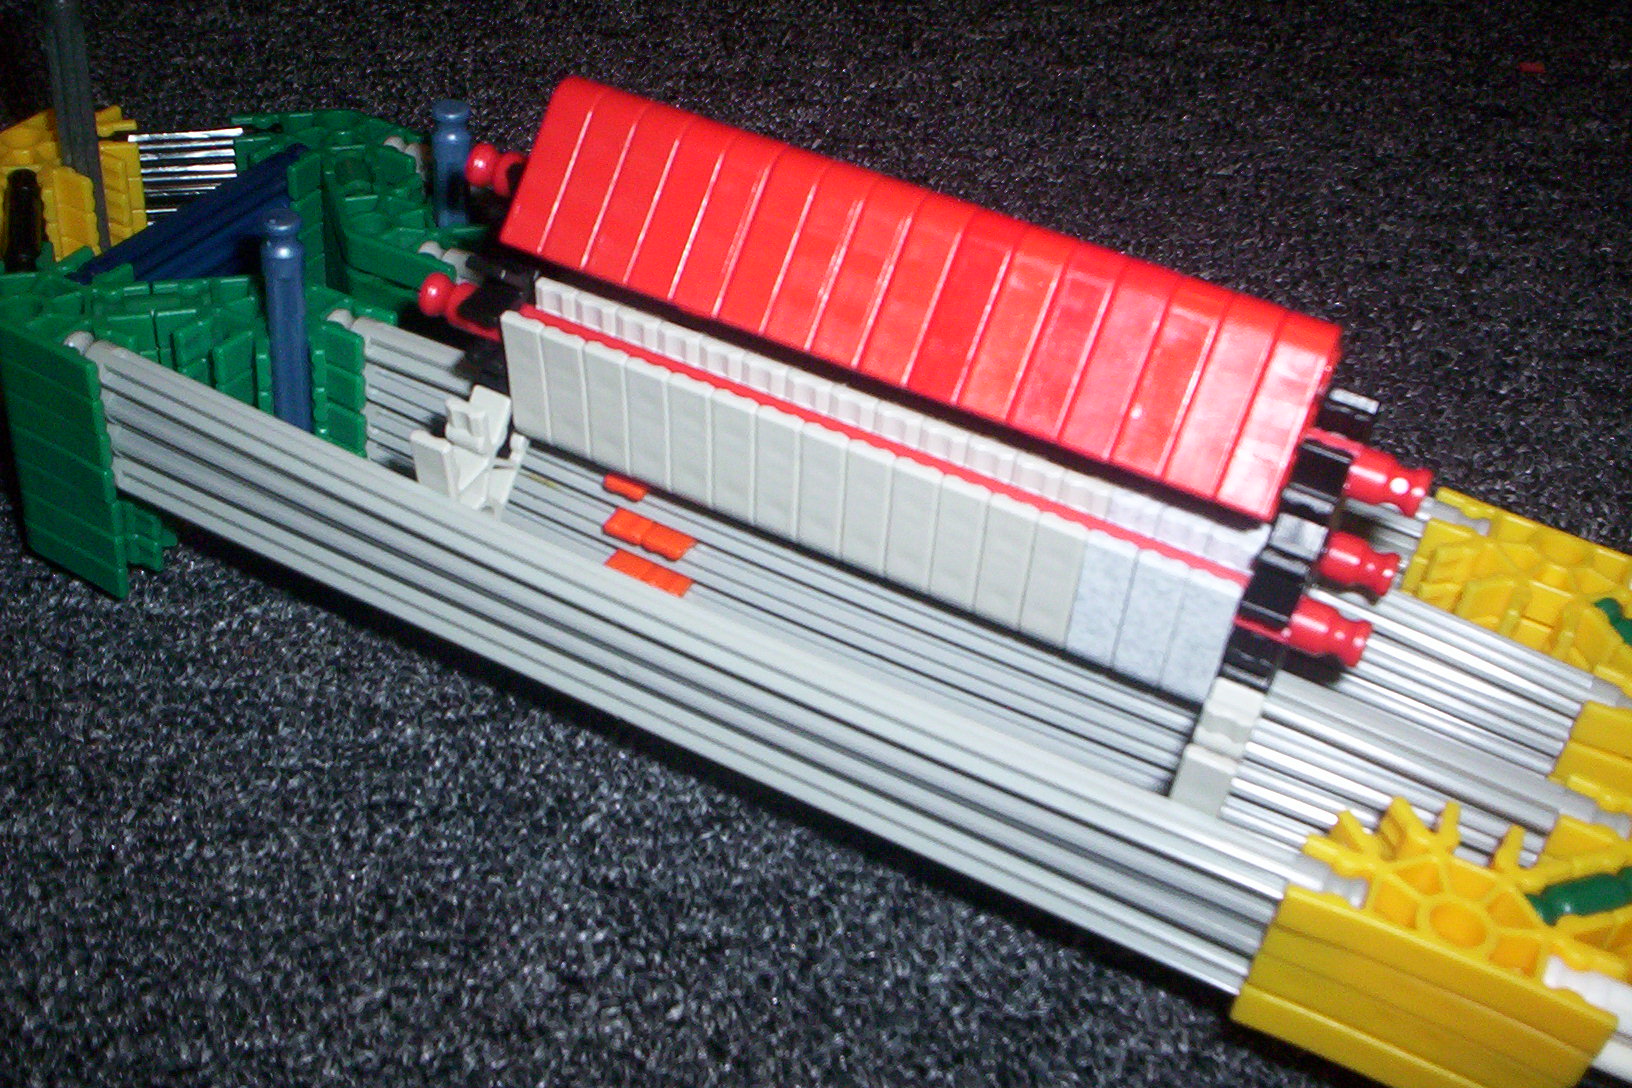
1. what your building
2, 3, 4, & 5. build these
6. connect like this
7. turn to this position
8. add this piece
9. turn to this position
10. add this piece
11, 12, & 13. puting it together
2, 3, 4, & 5. build these
6. connect like this
7. turn to this position
8. add this piece
9. turn to this position
10. add this piece
11, 12, & 13. puting it together
Track- Front Half
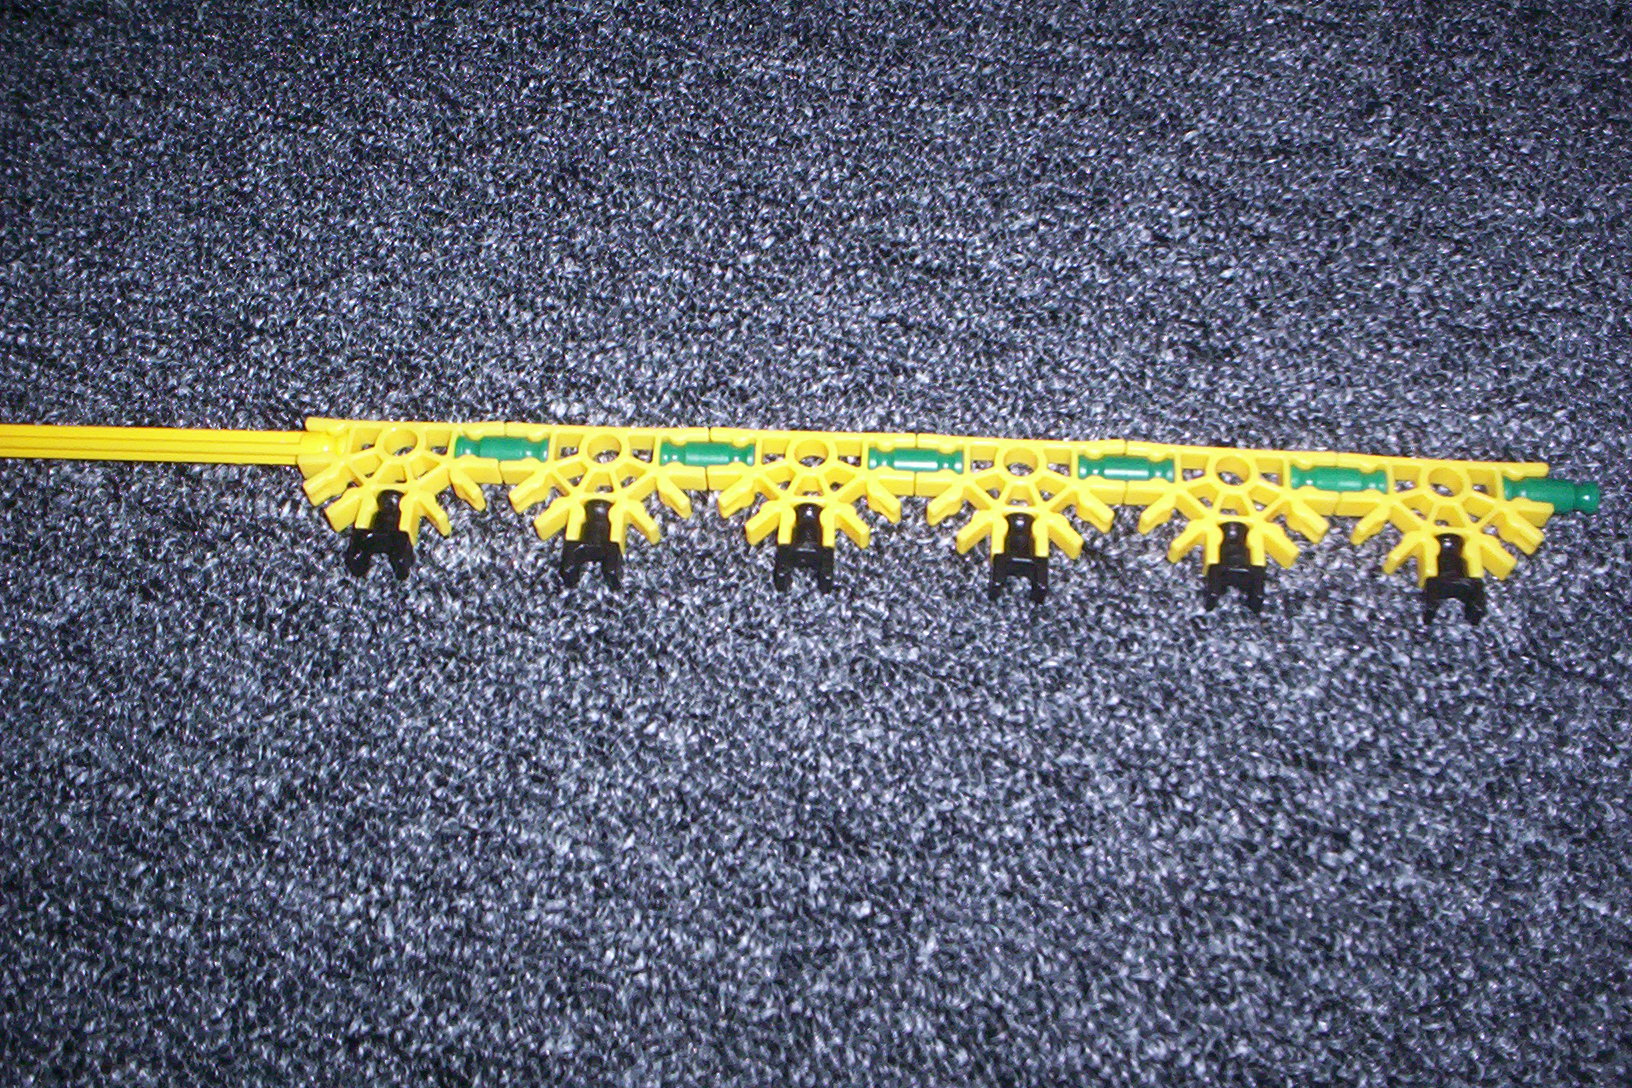
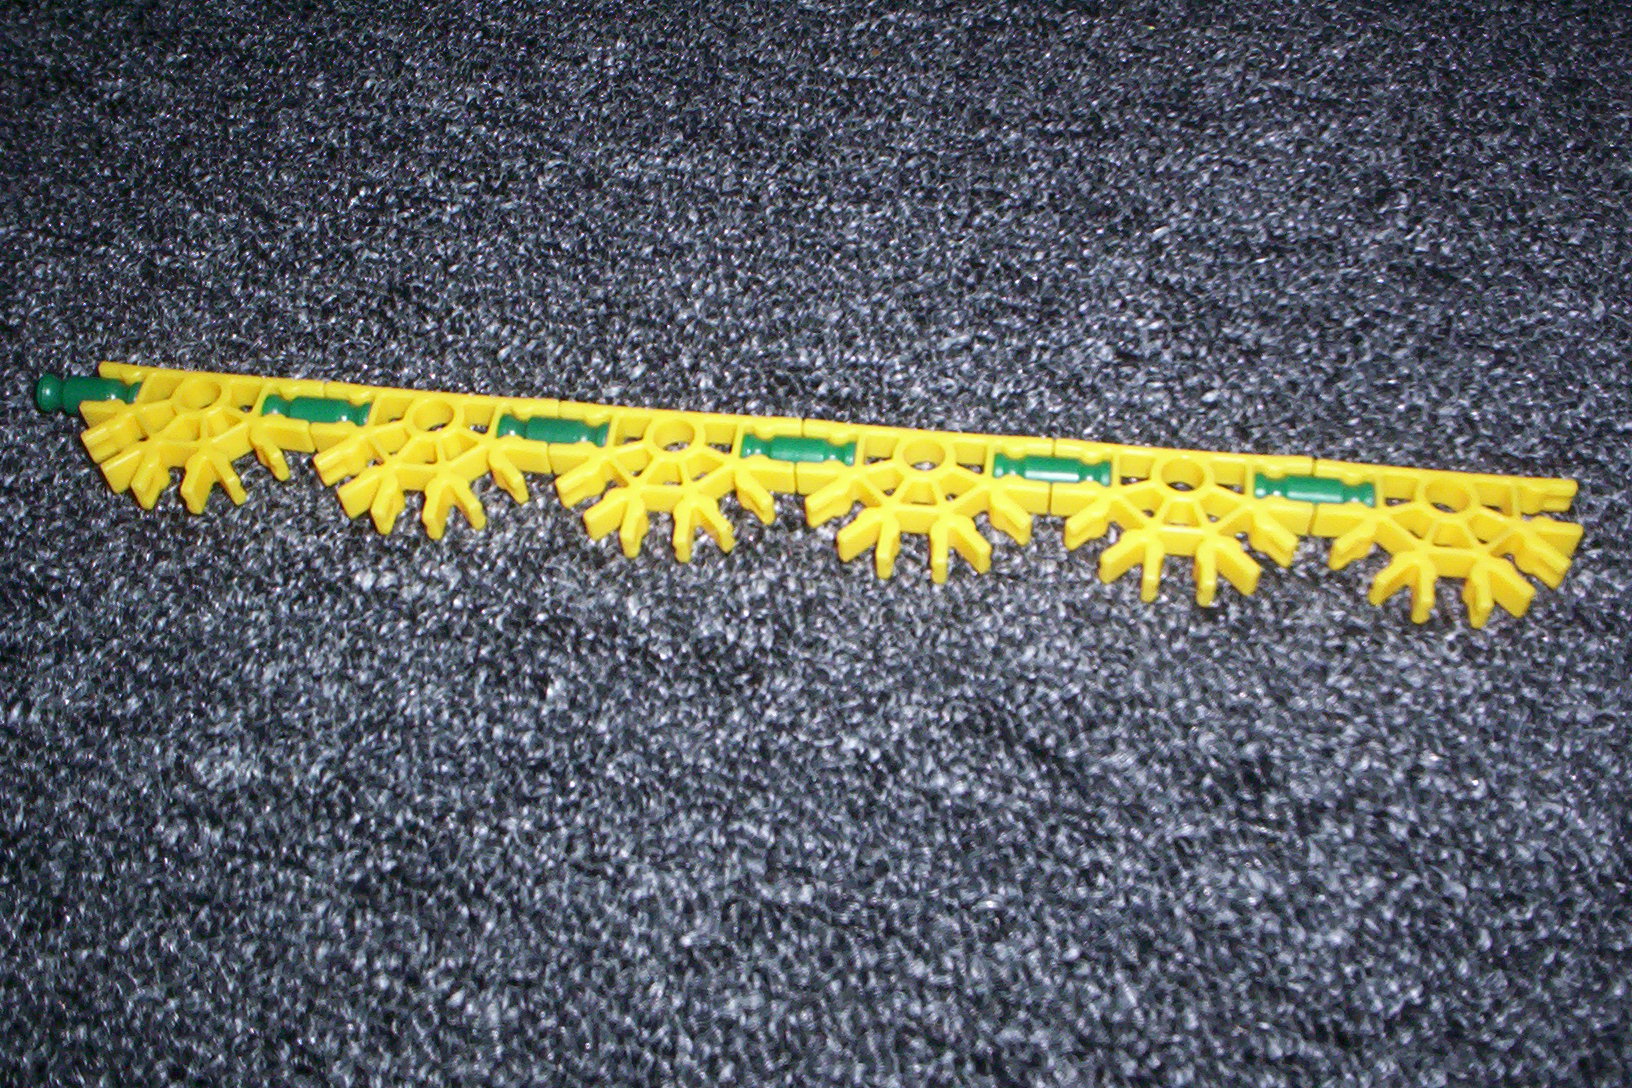
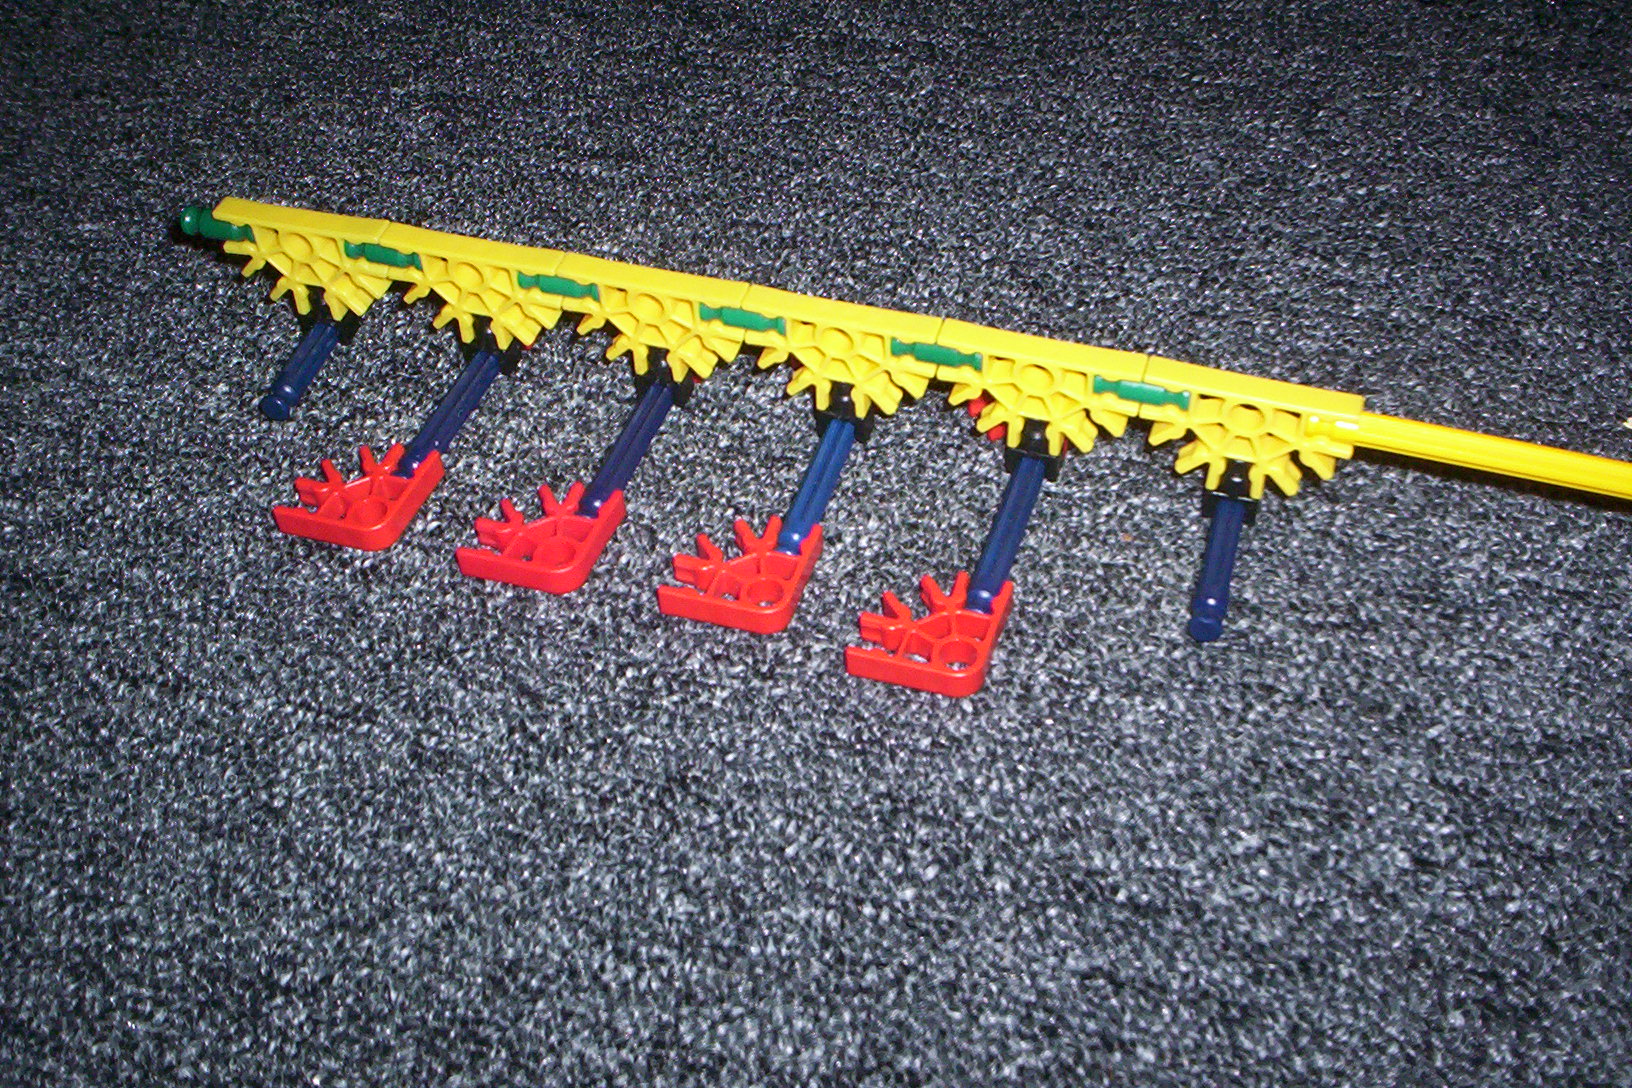
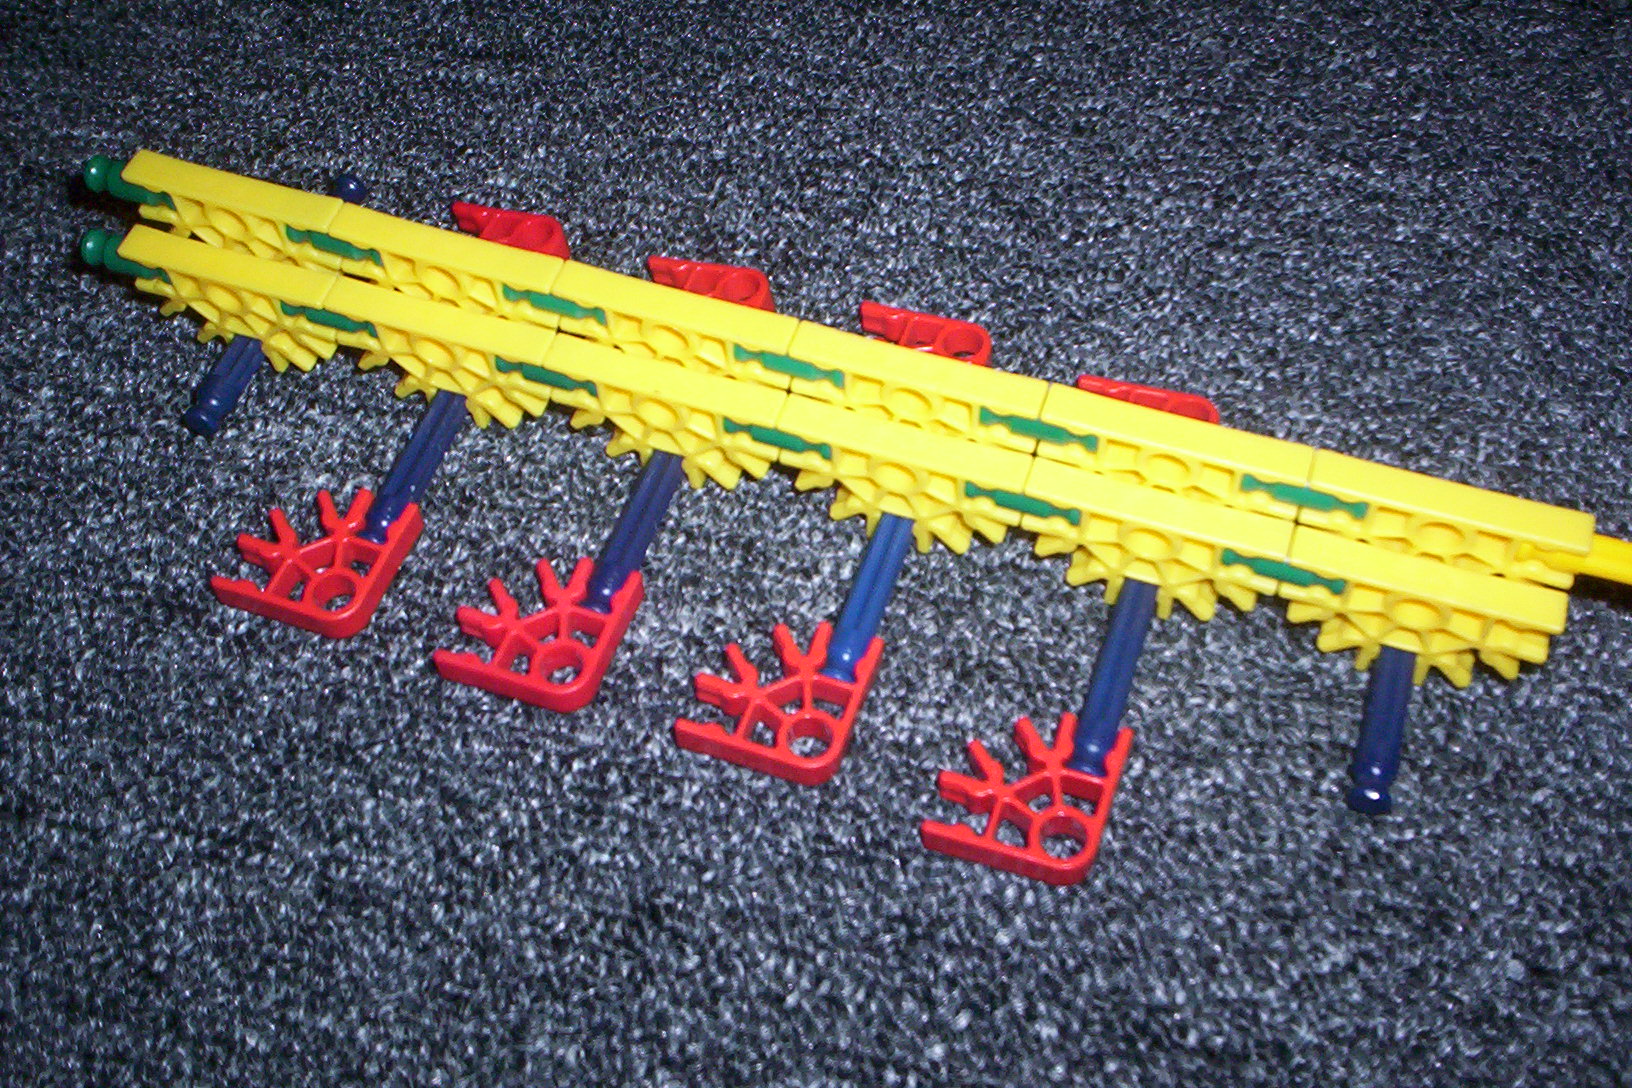
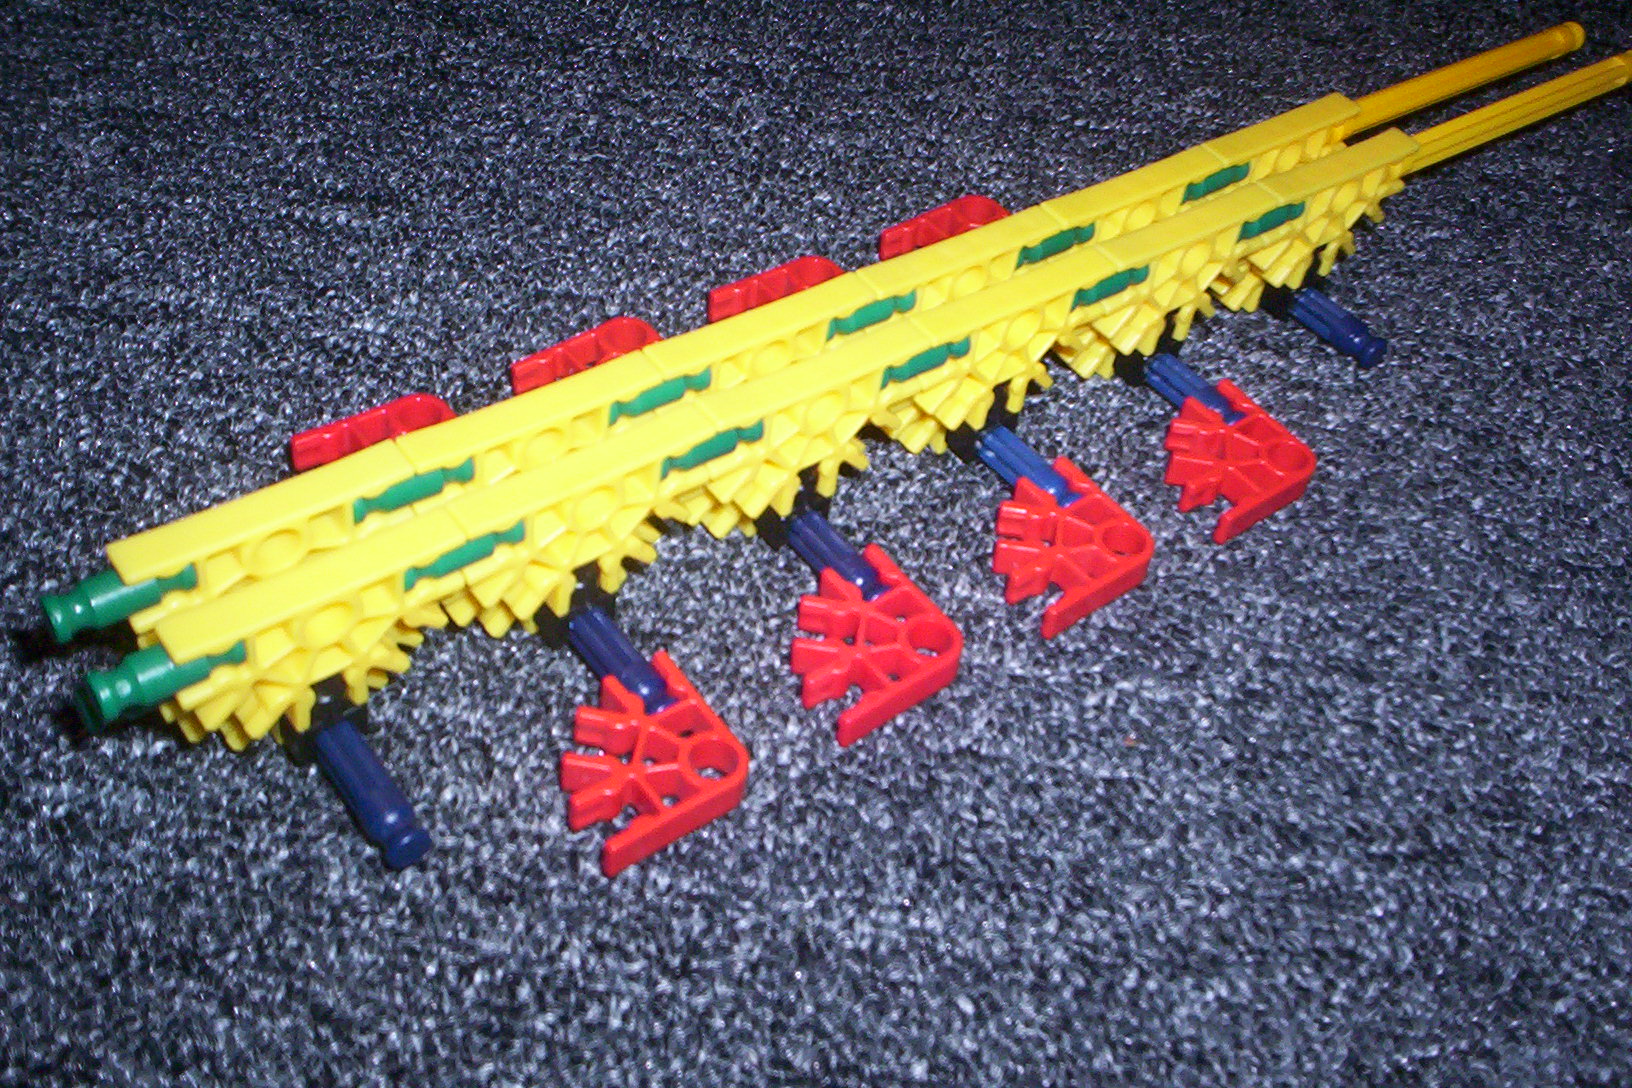
1. make two of these
2. one of these
3. there are 8 red things
4.
5.
6.
7.
8.
the rest are blank because it would be pointless to explain then as they are easy to understand... for me, at least.
2. one of these
3. there are 8 red things
4.
5.
6.
7.
8.
the rest are blank because it would be pointless to explain then as they are easy to understand... for me, at least.
Install the Track and Wheels
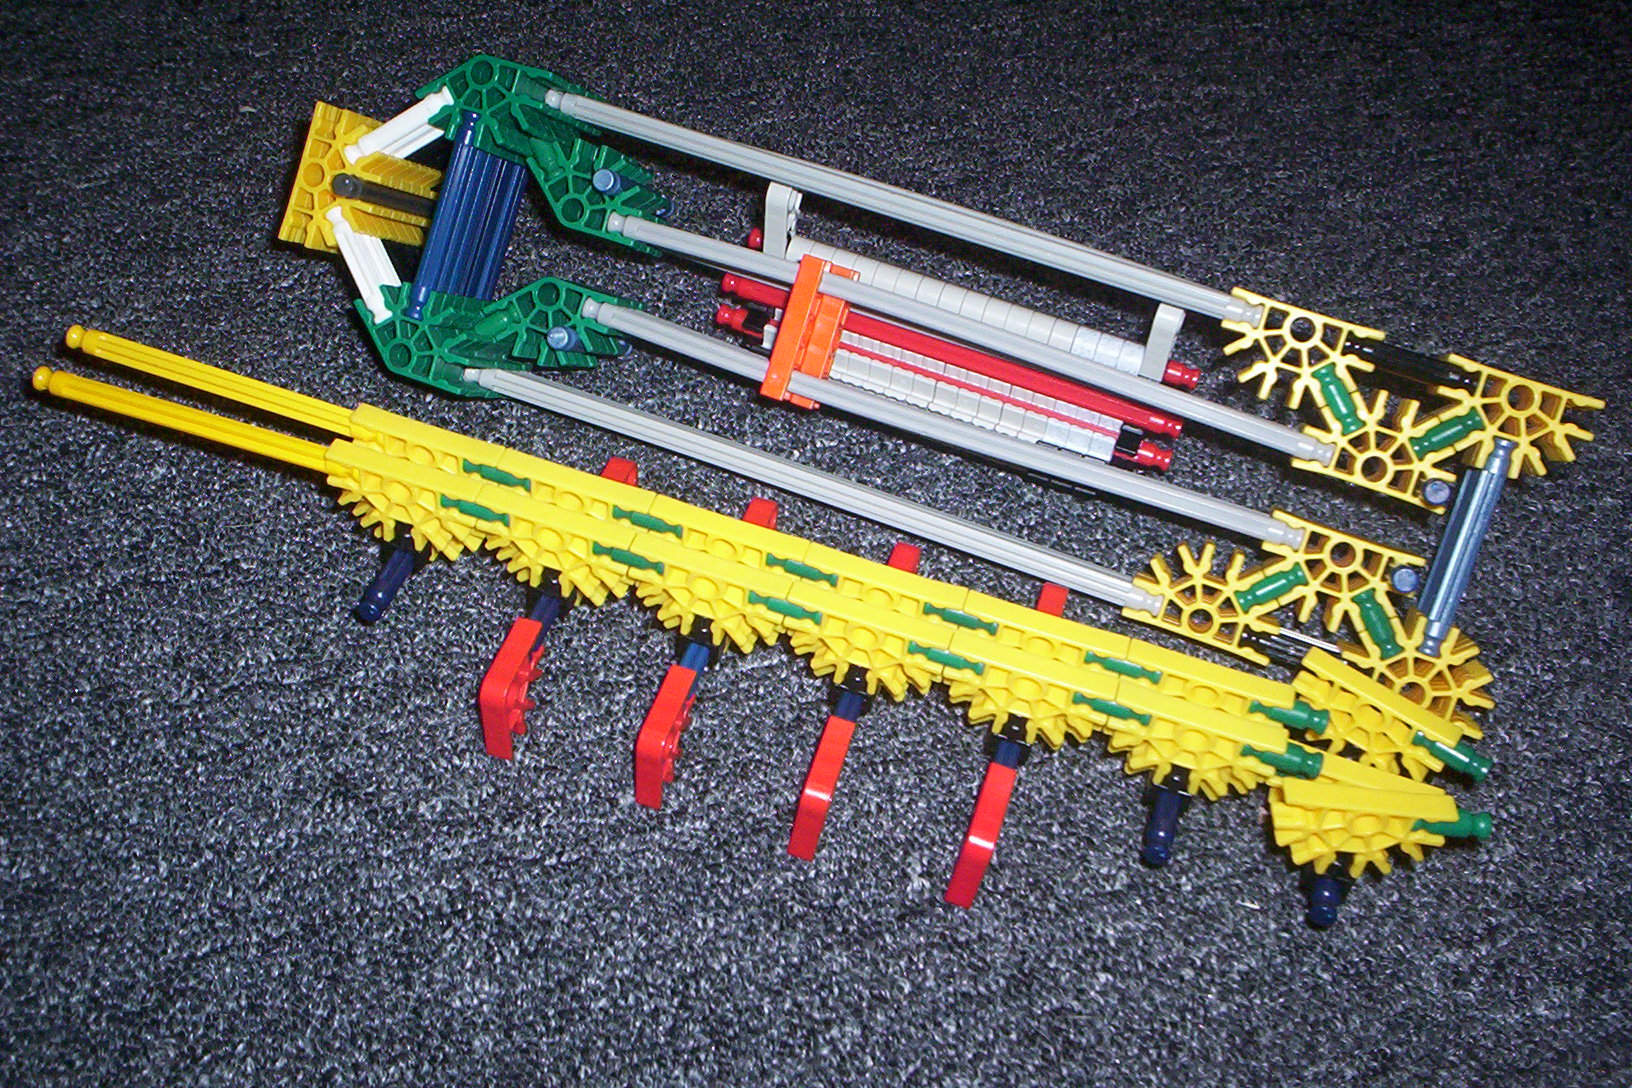

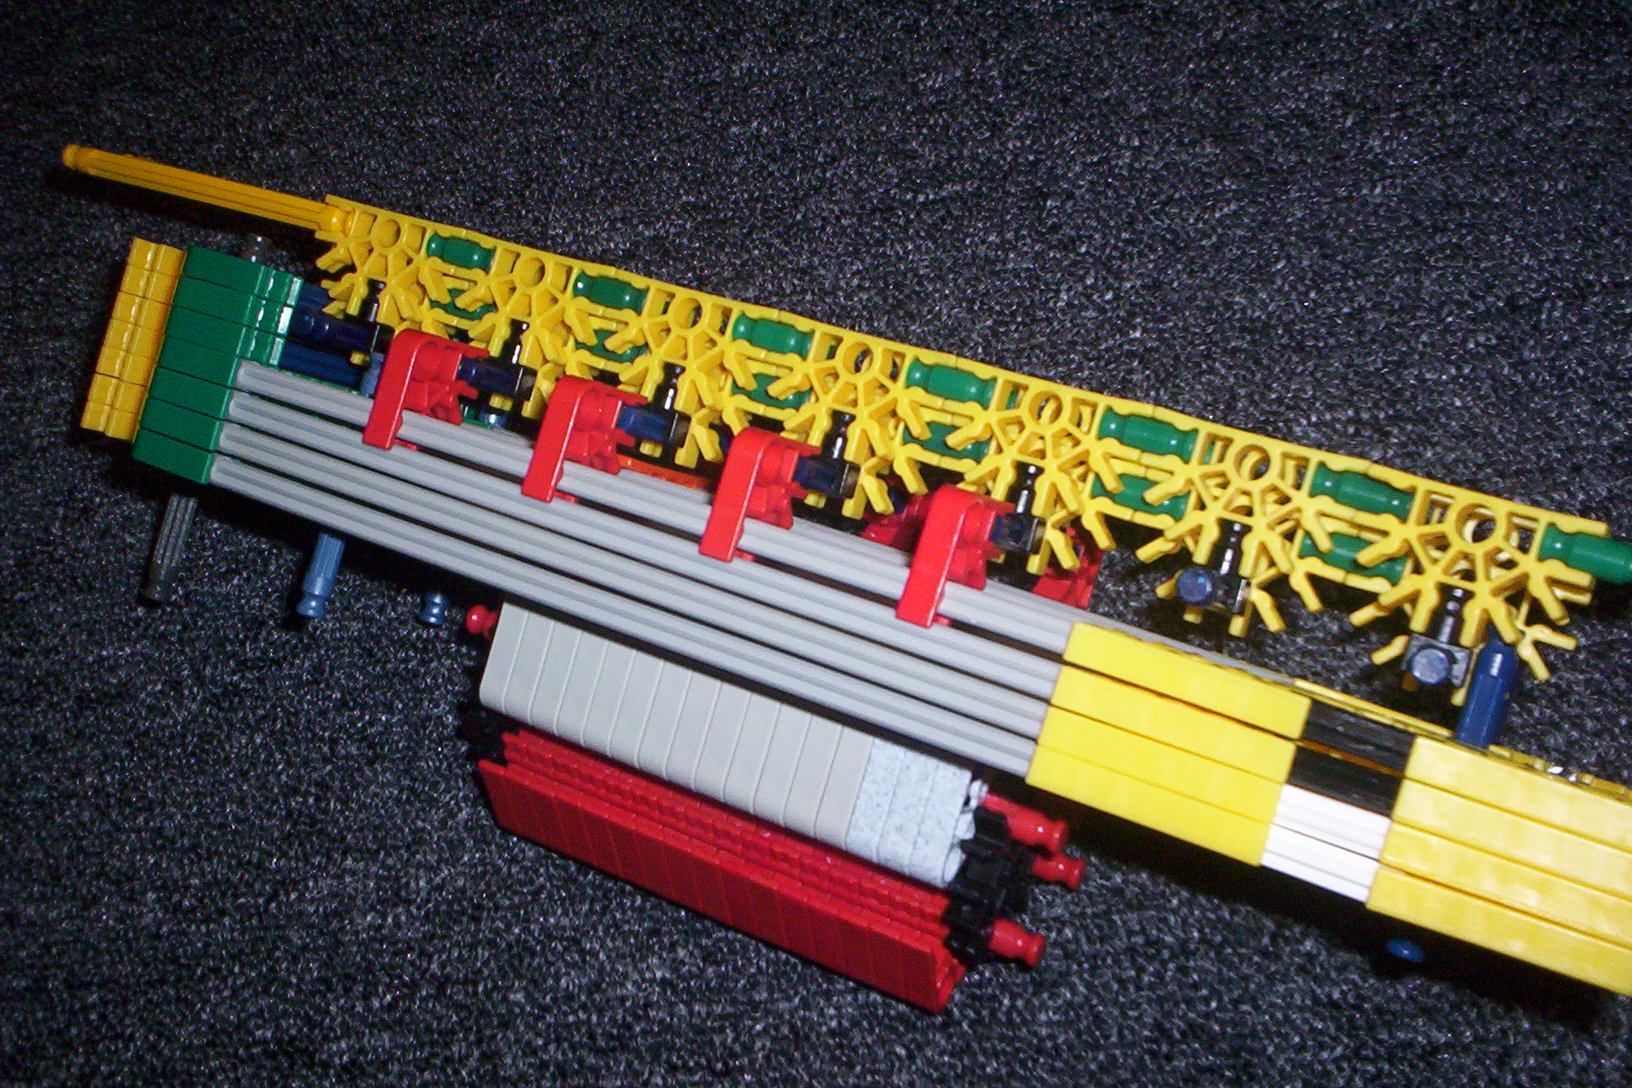
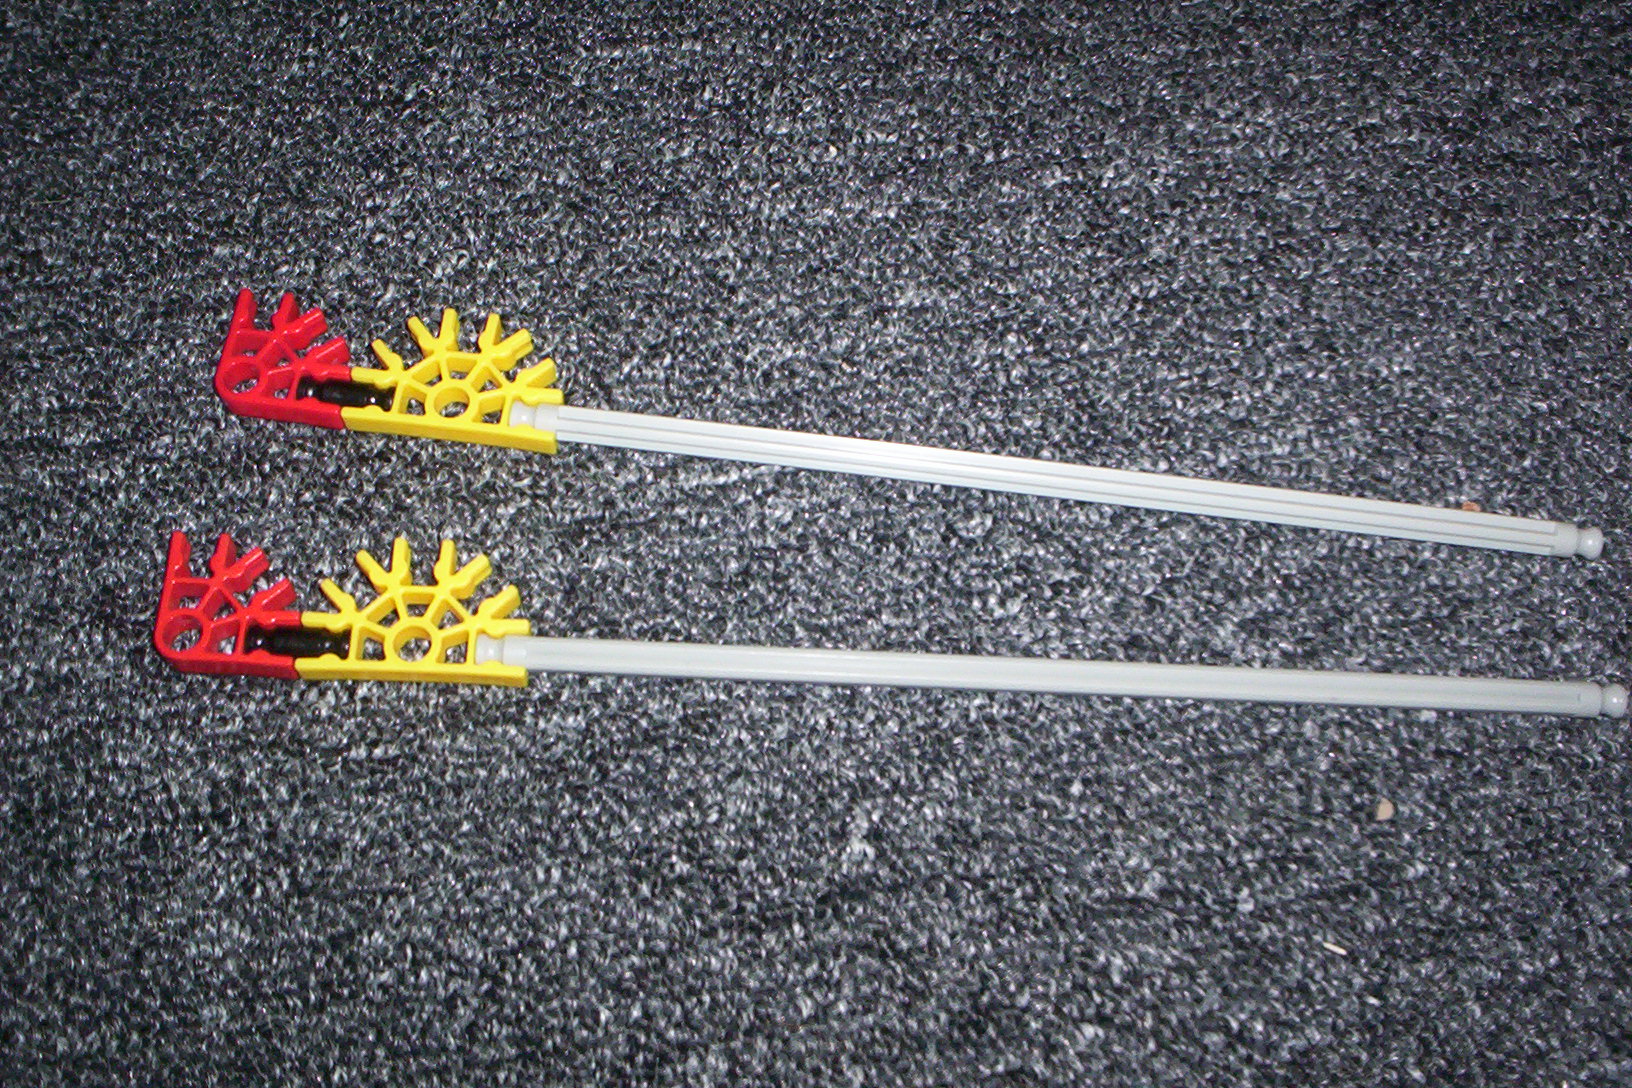
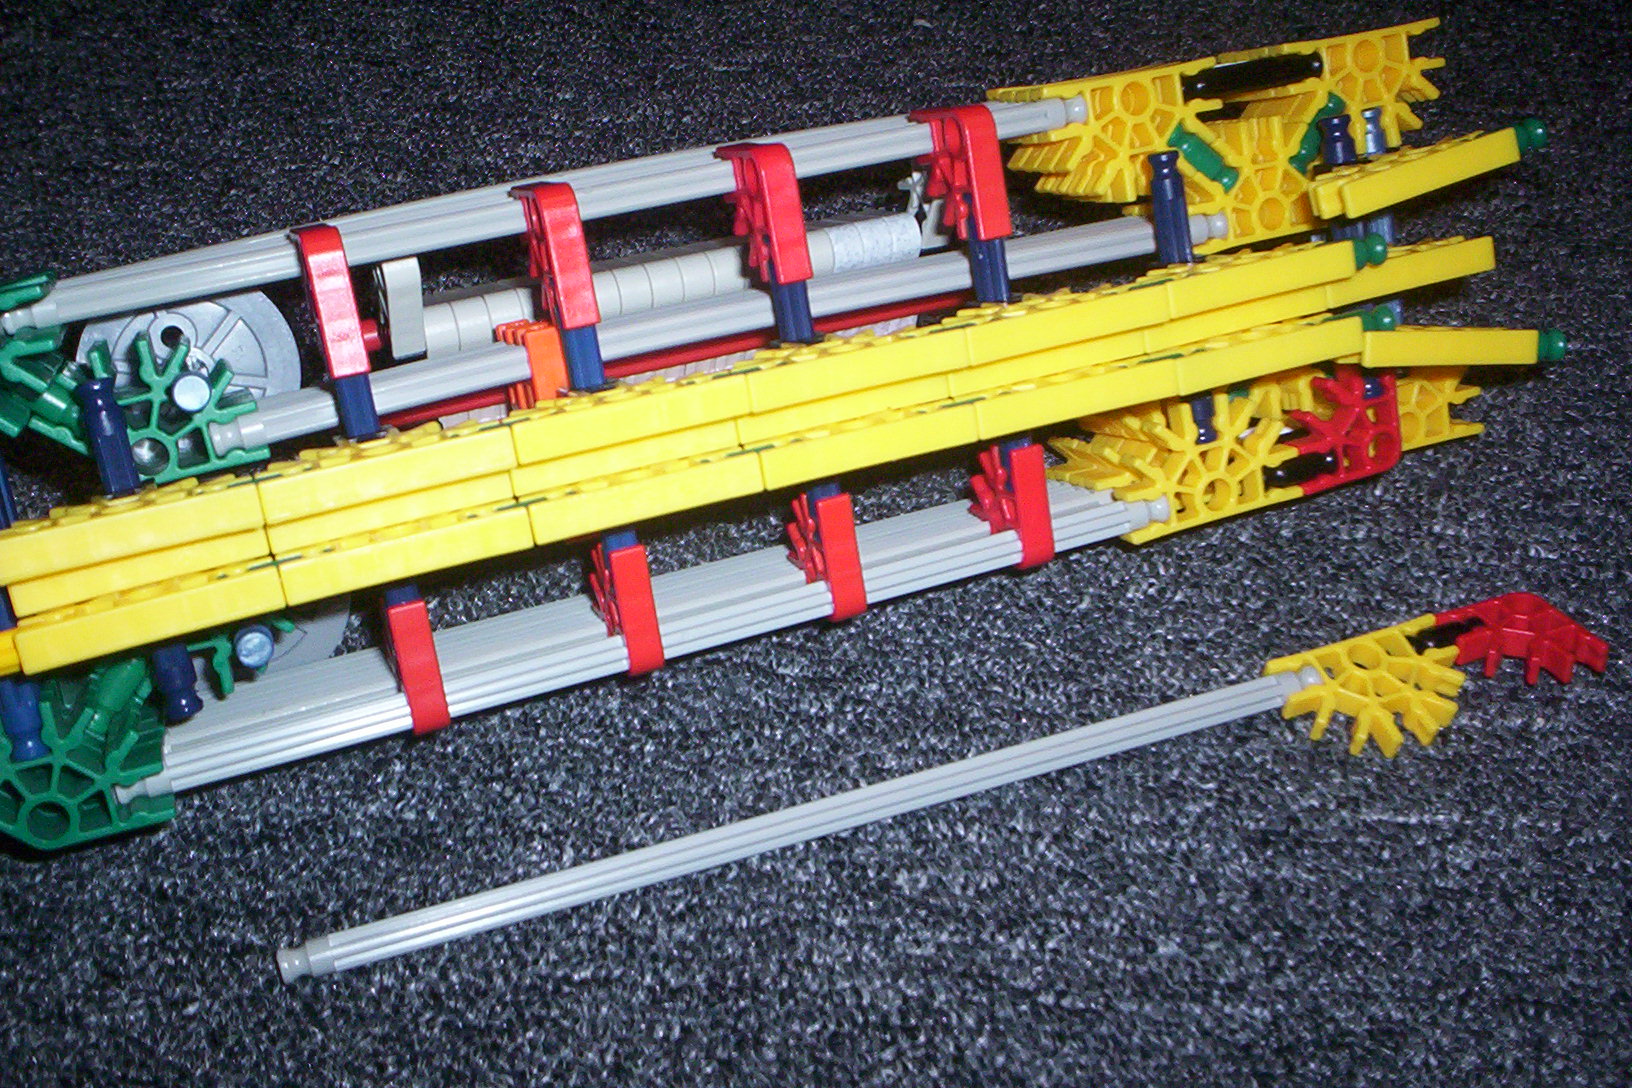
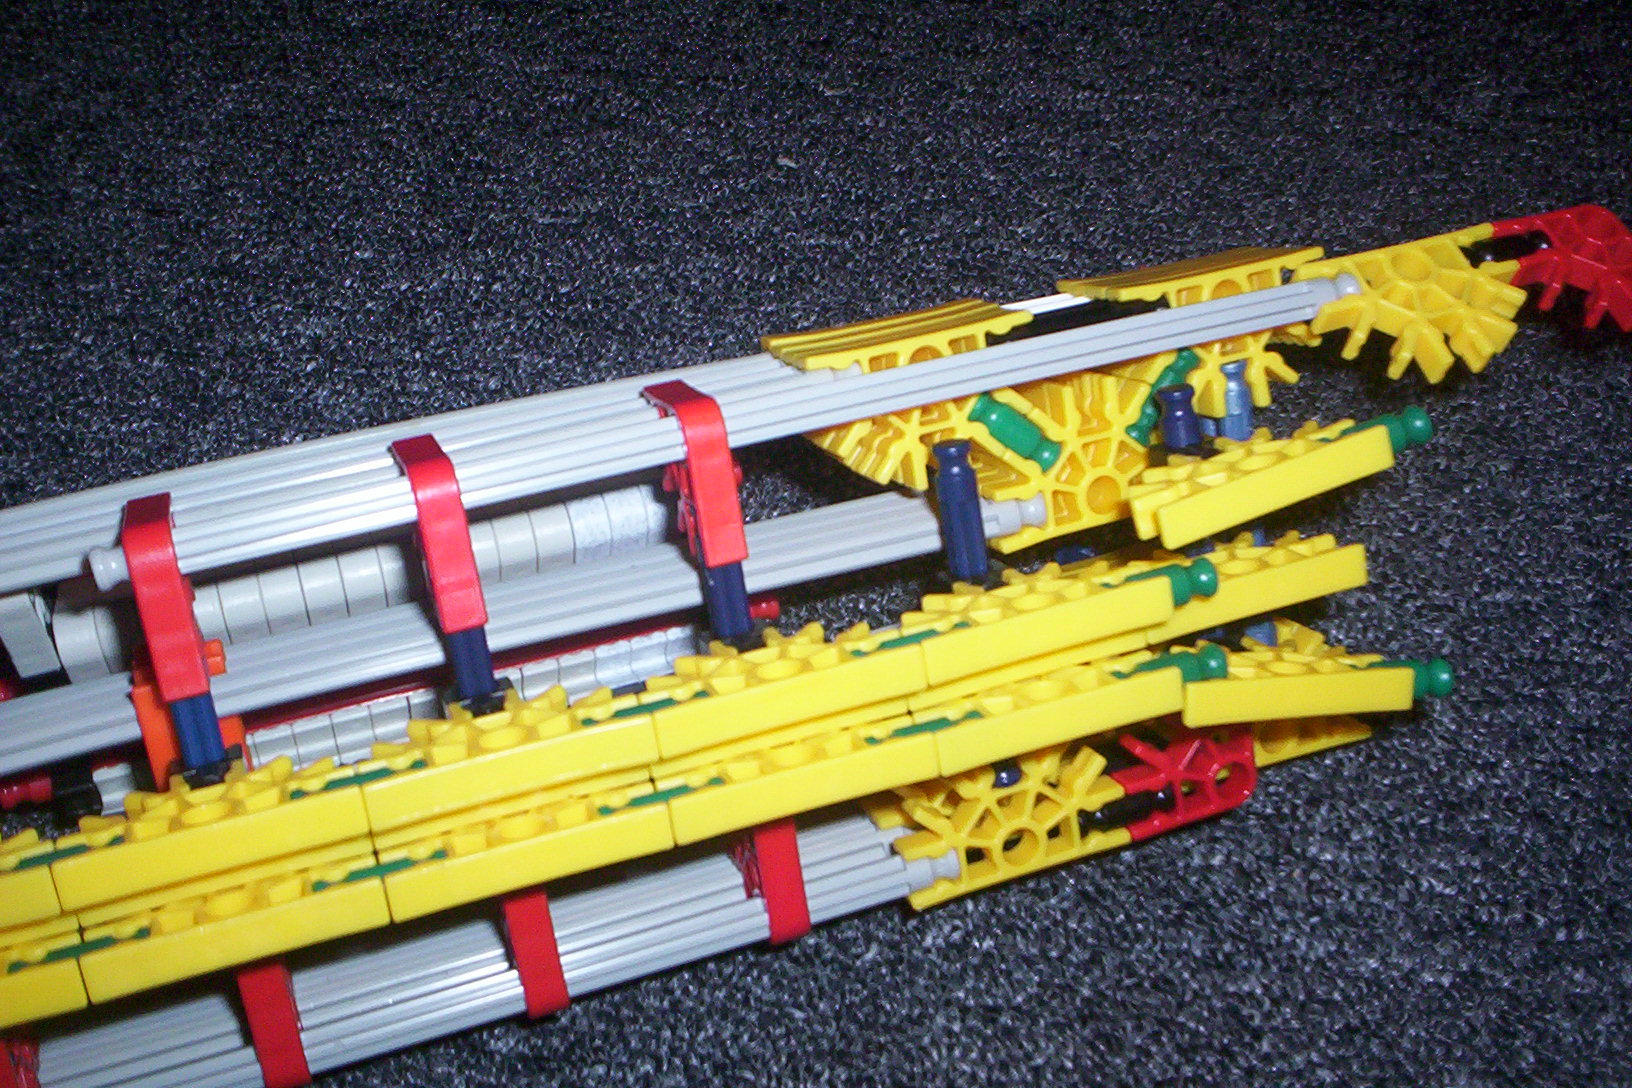
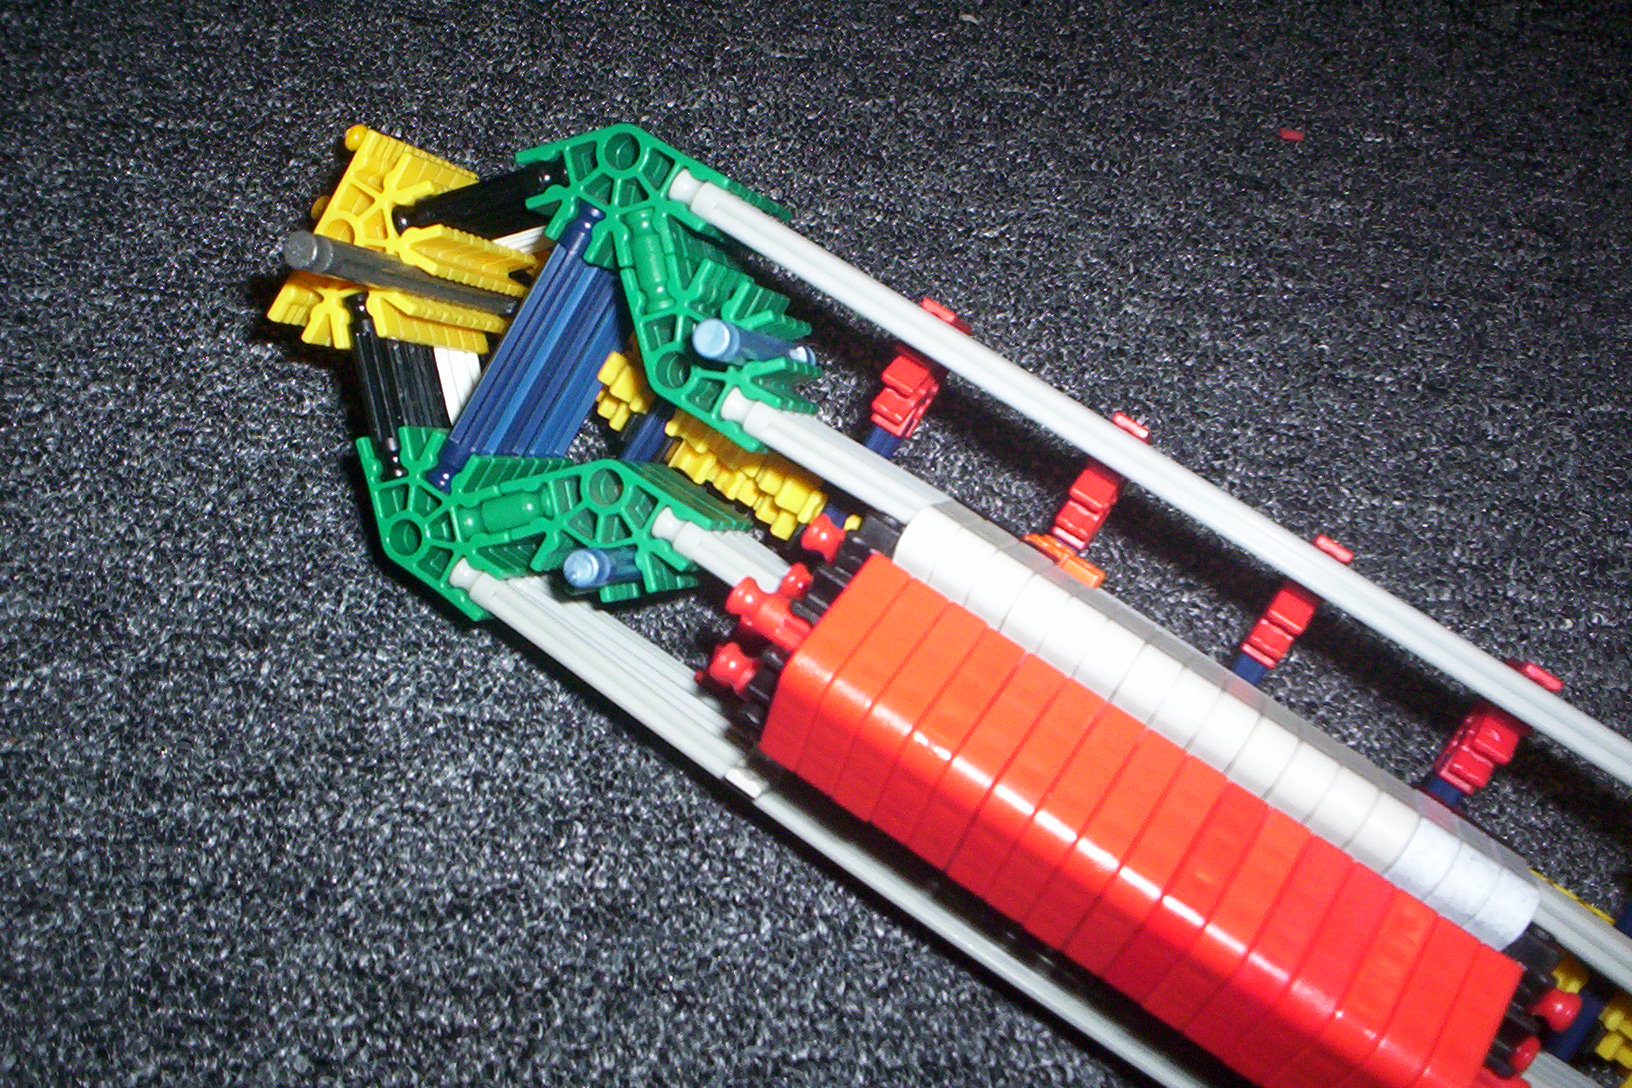
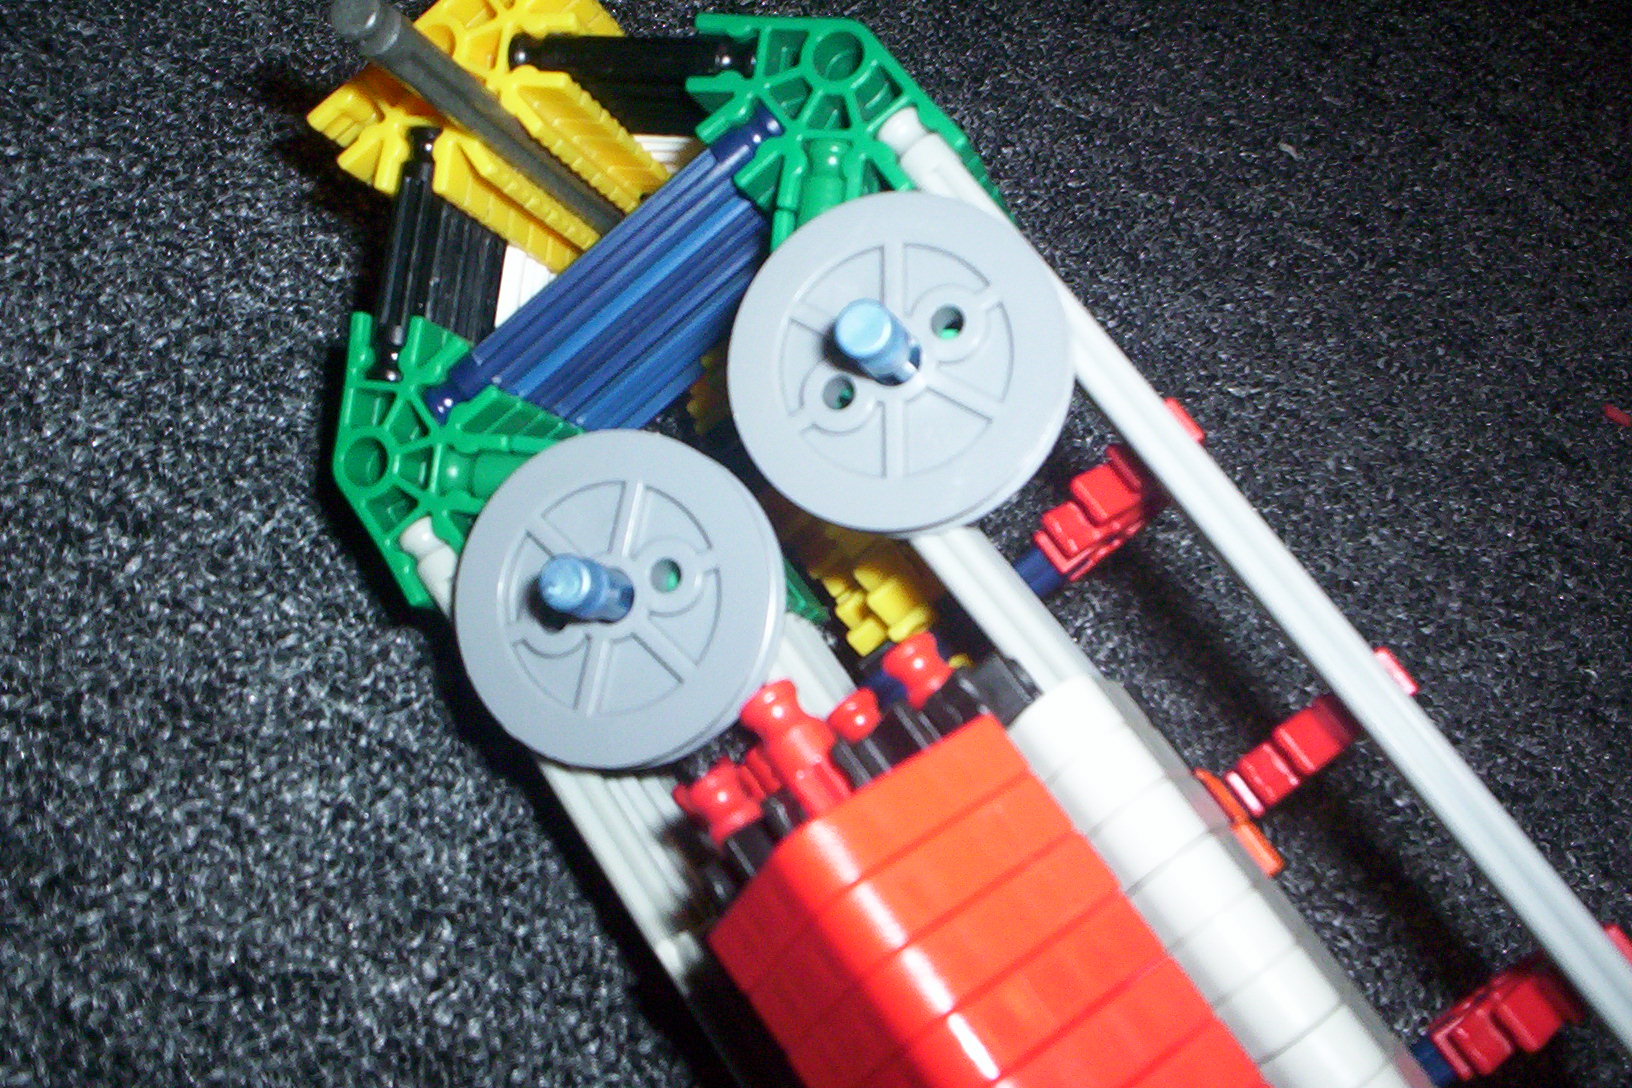
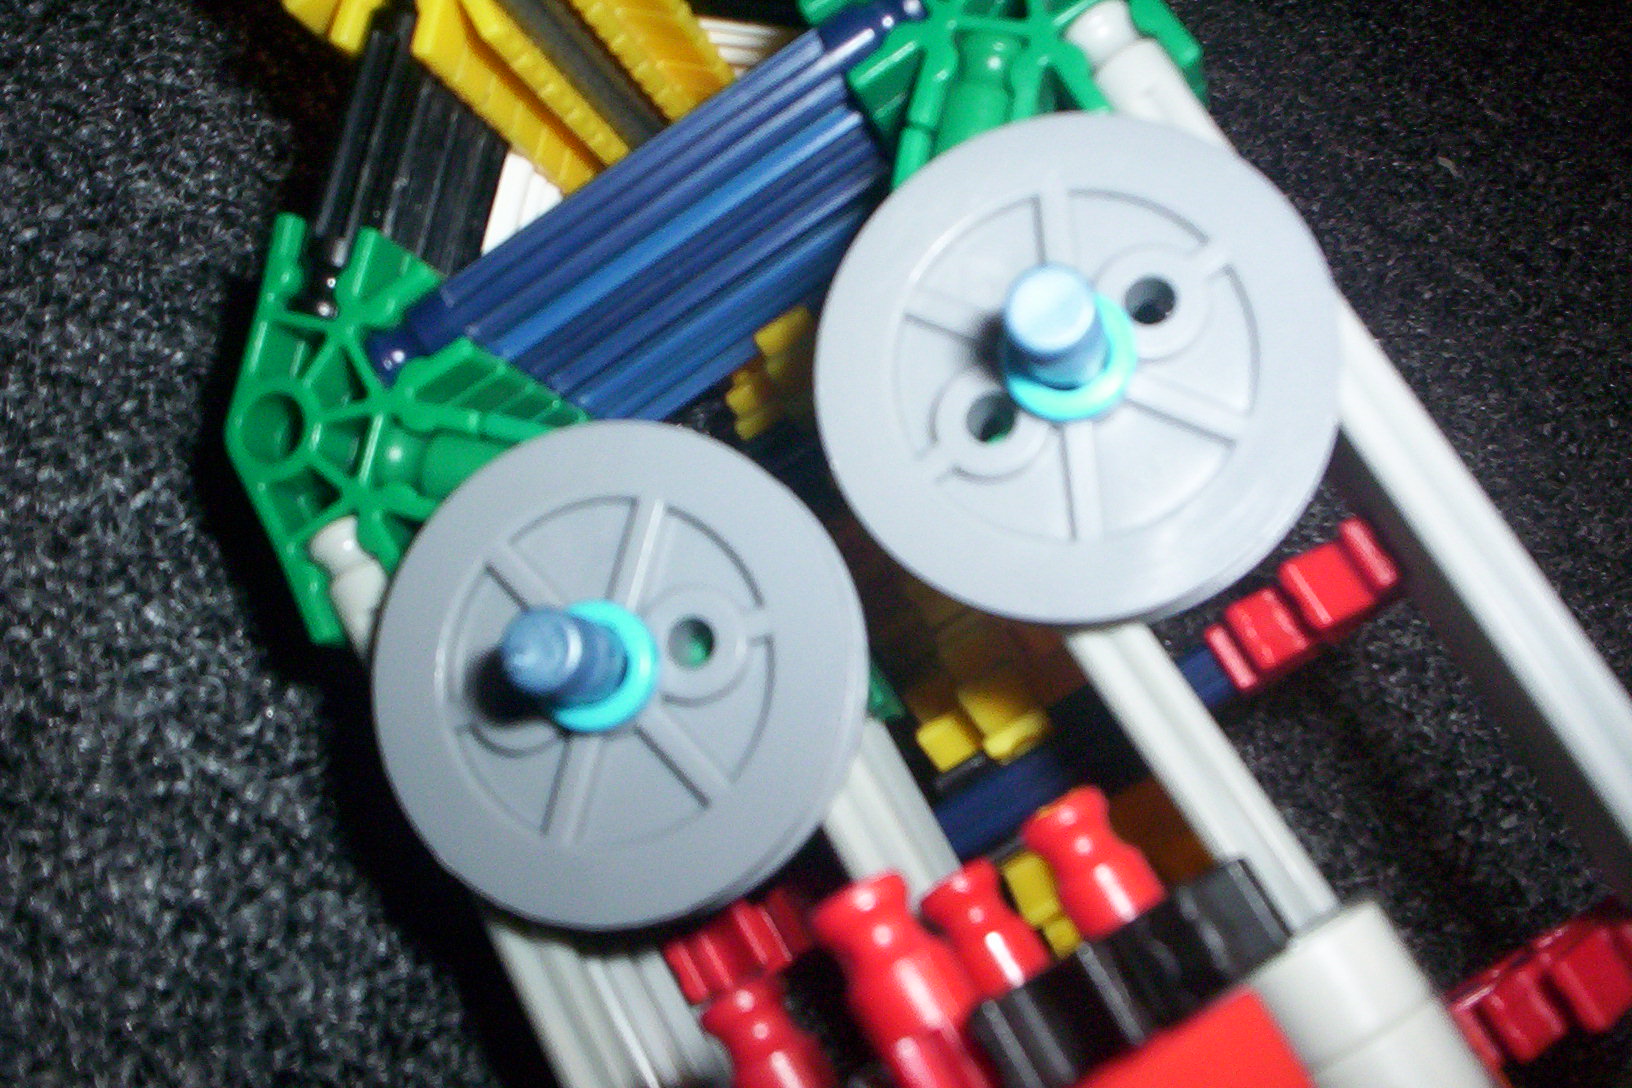

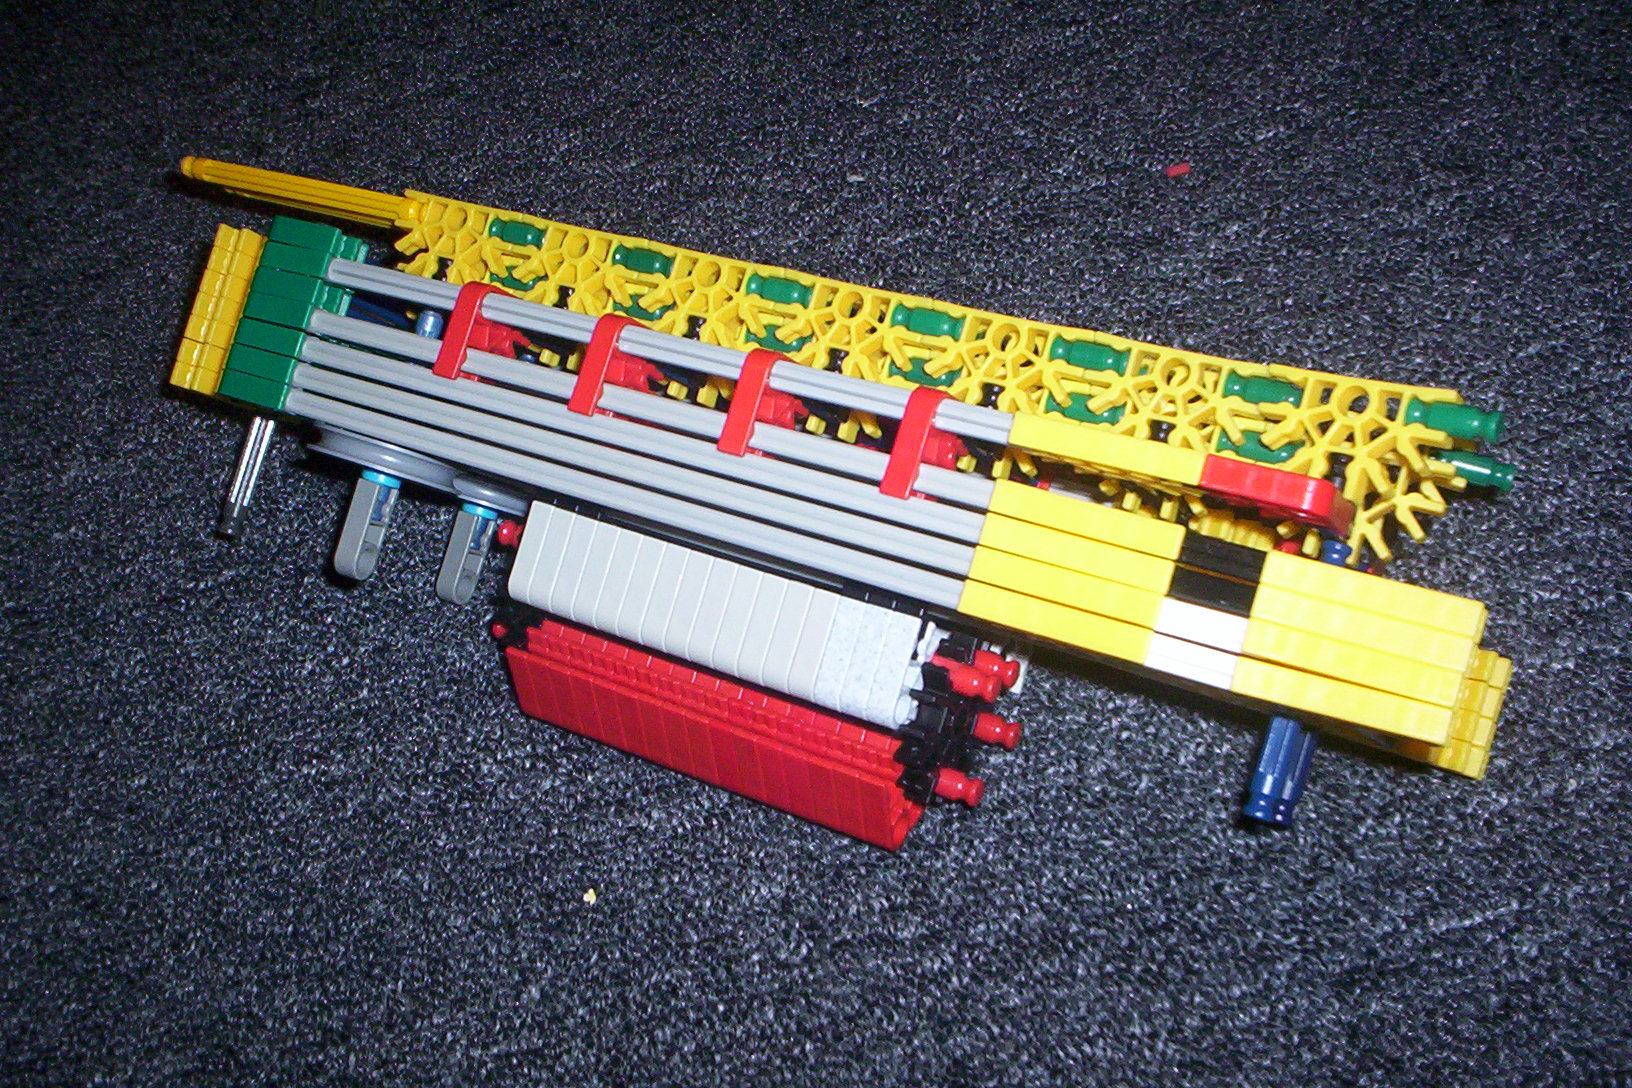
1. body & track
2. connect like this
3. connection complete
4. make these
5. the one on the bottom is finished (what it should look like)
6. slide the top one in
7. connection point #1
8. connection points #2 and #3
9. if this blue rod is sticking up,
10. then push them down like this
11-14. install wheels
15. complete
Body: Back
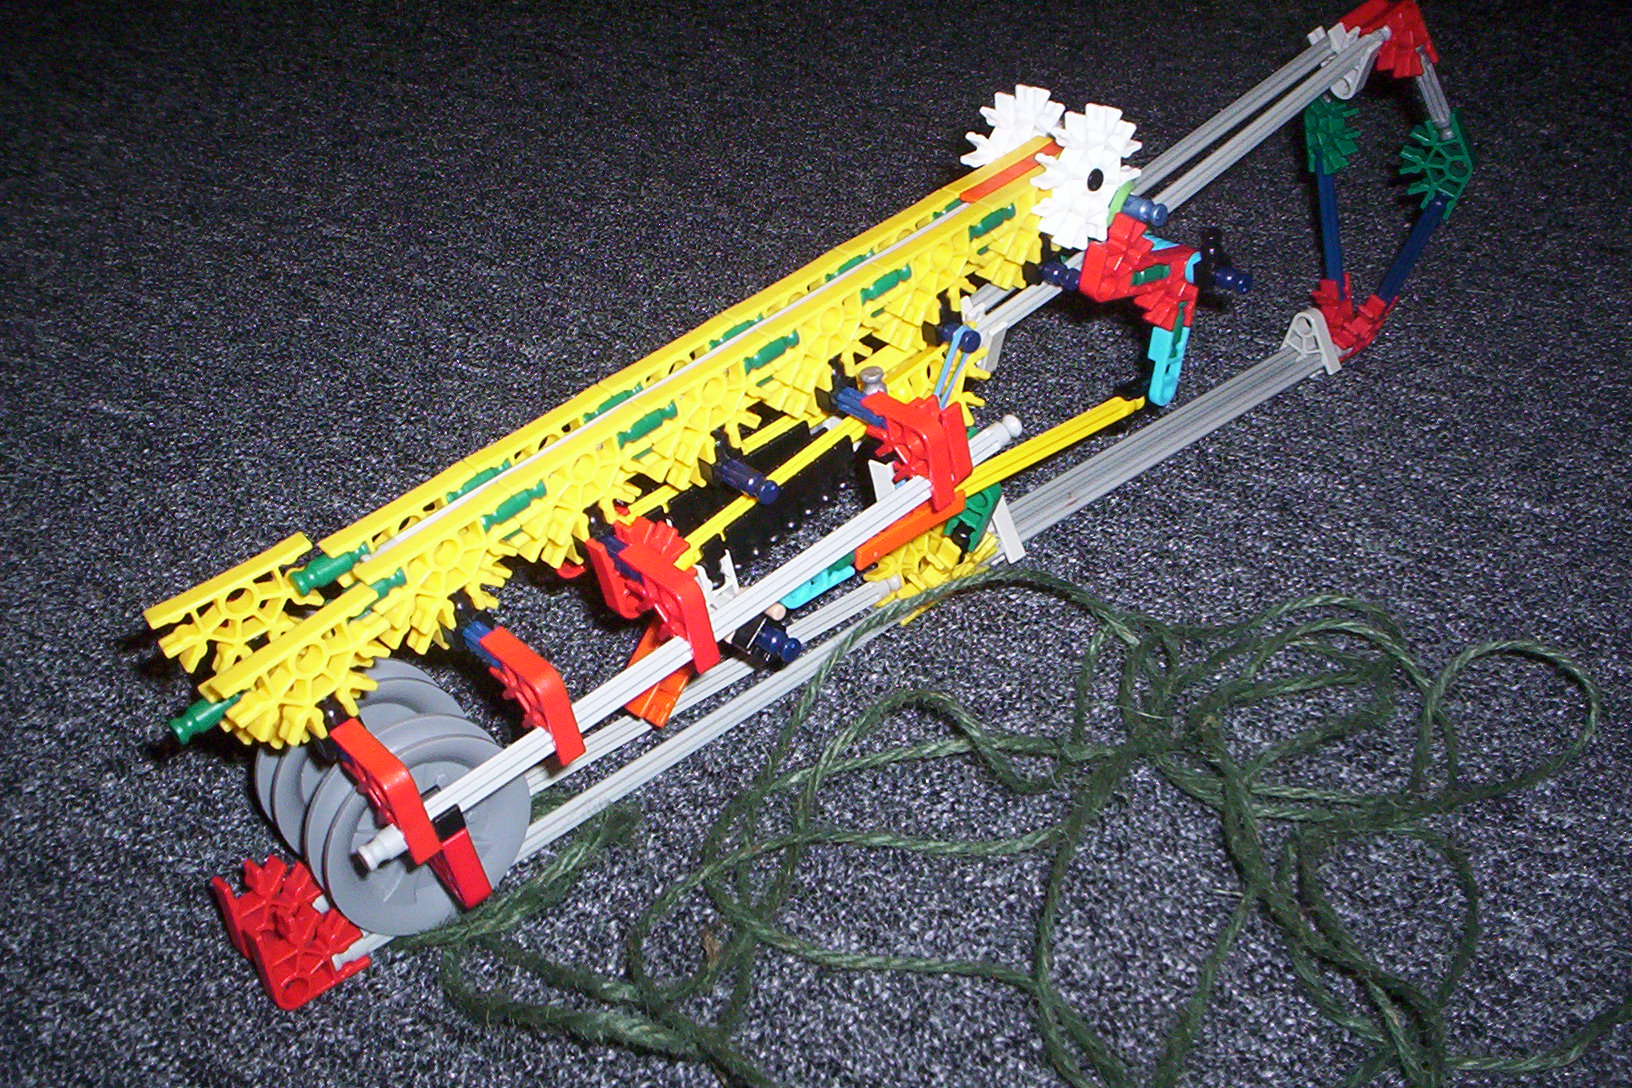
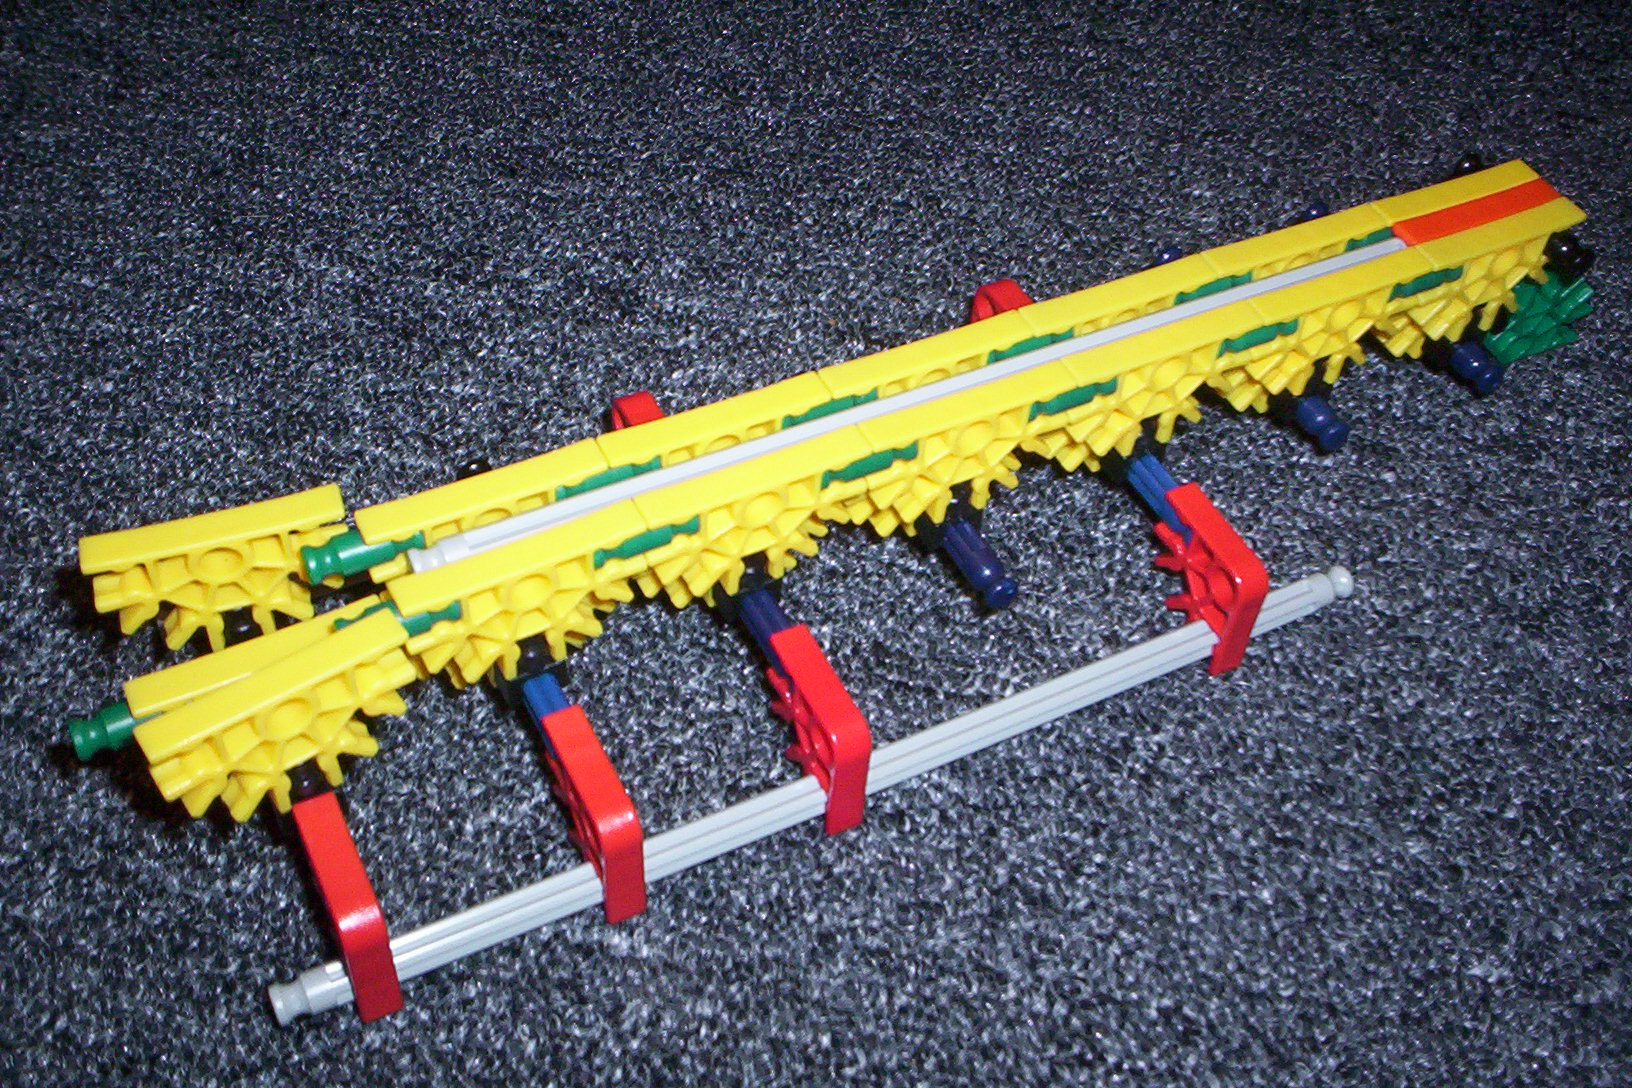
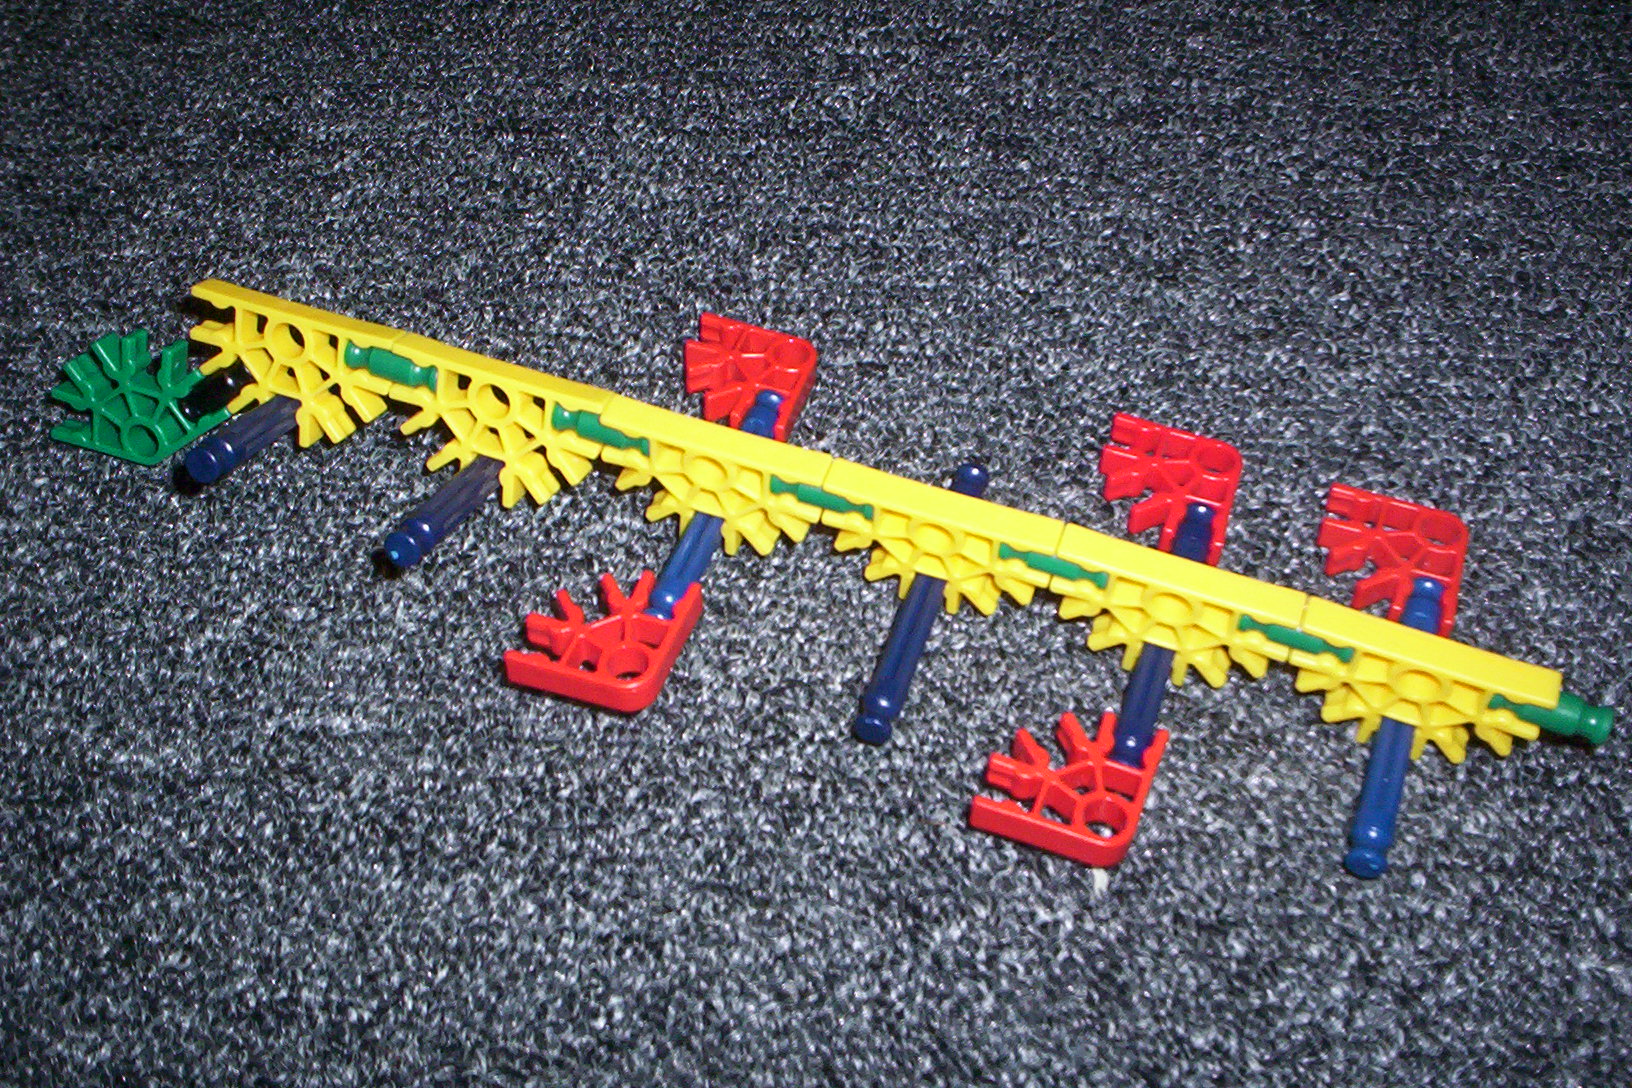
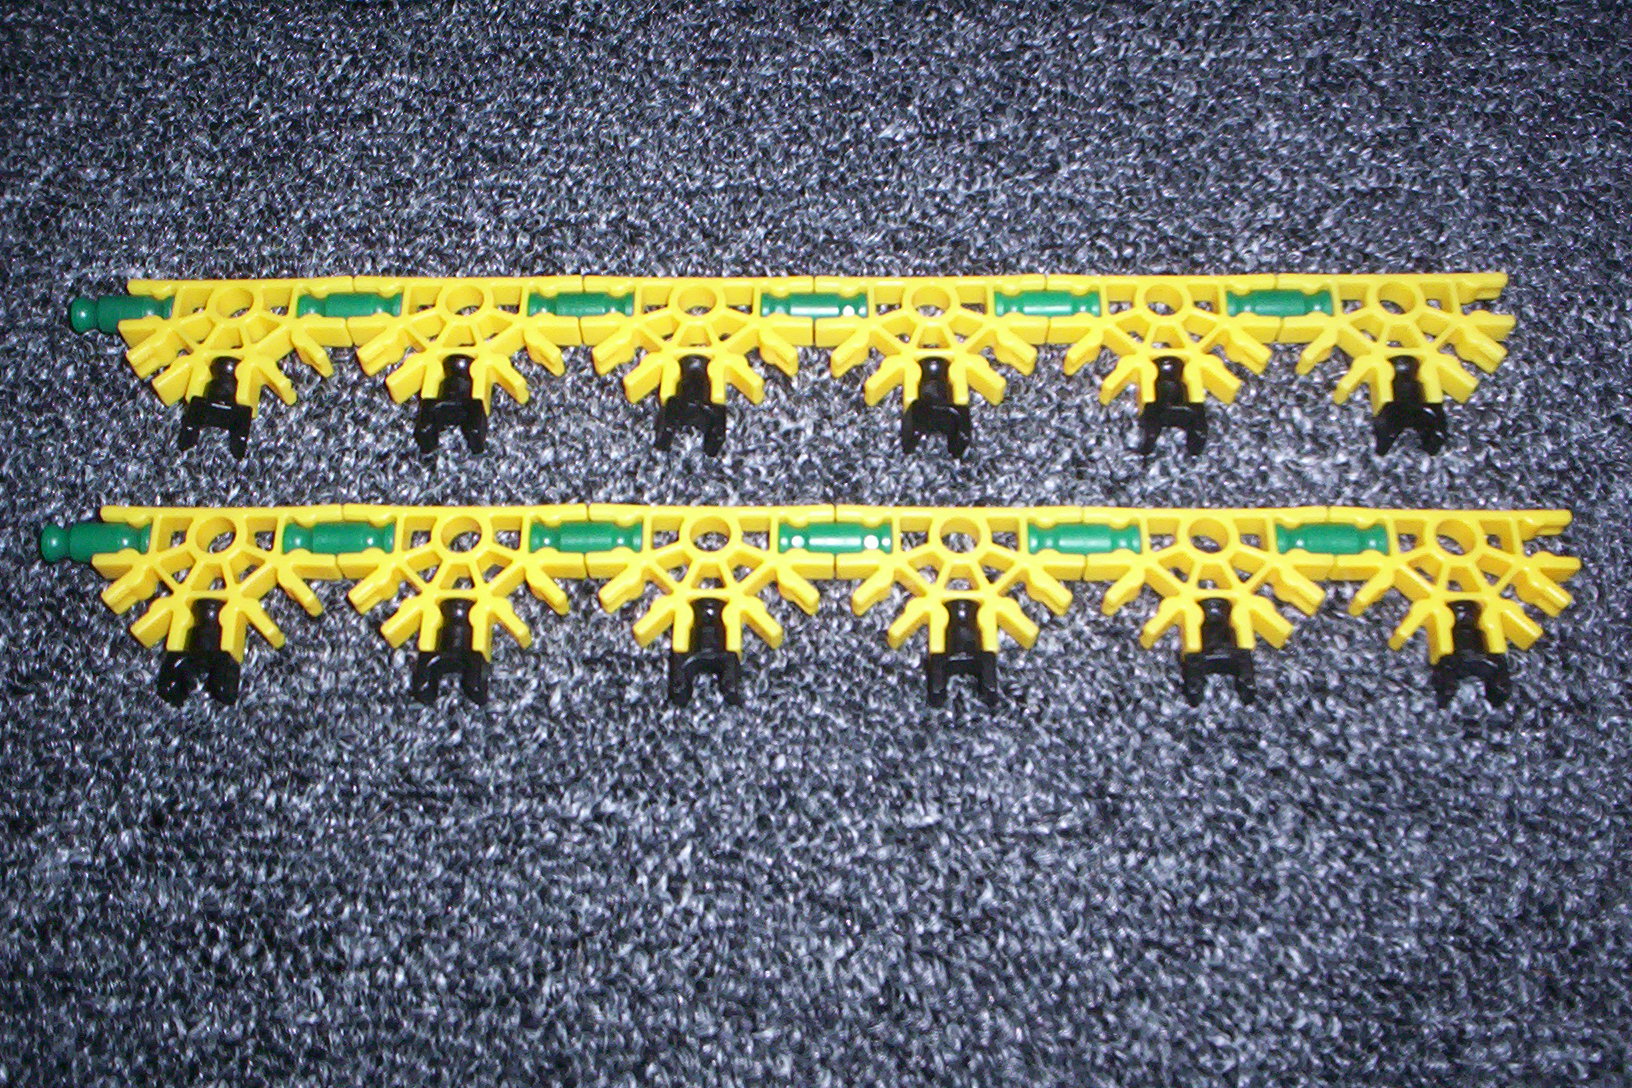

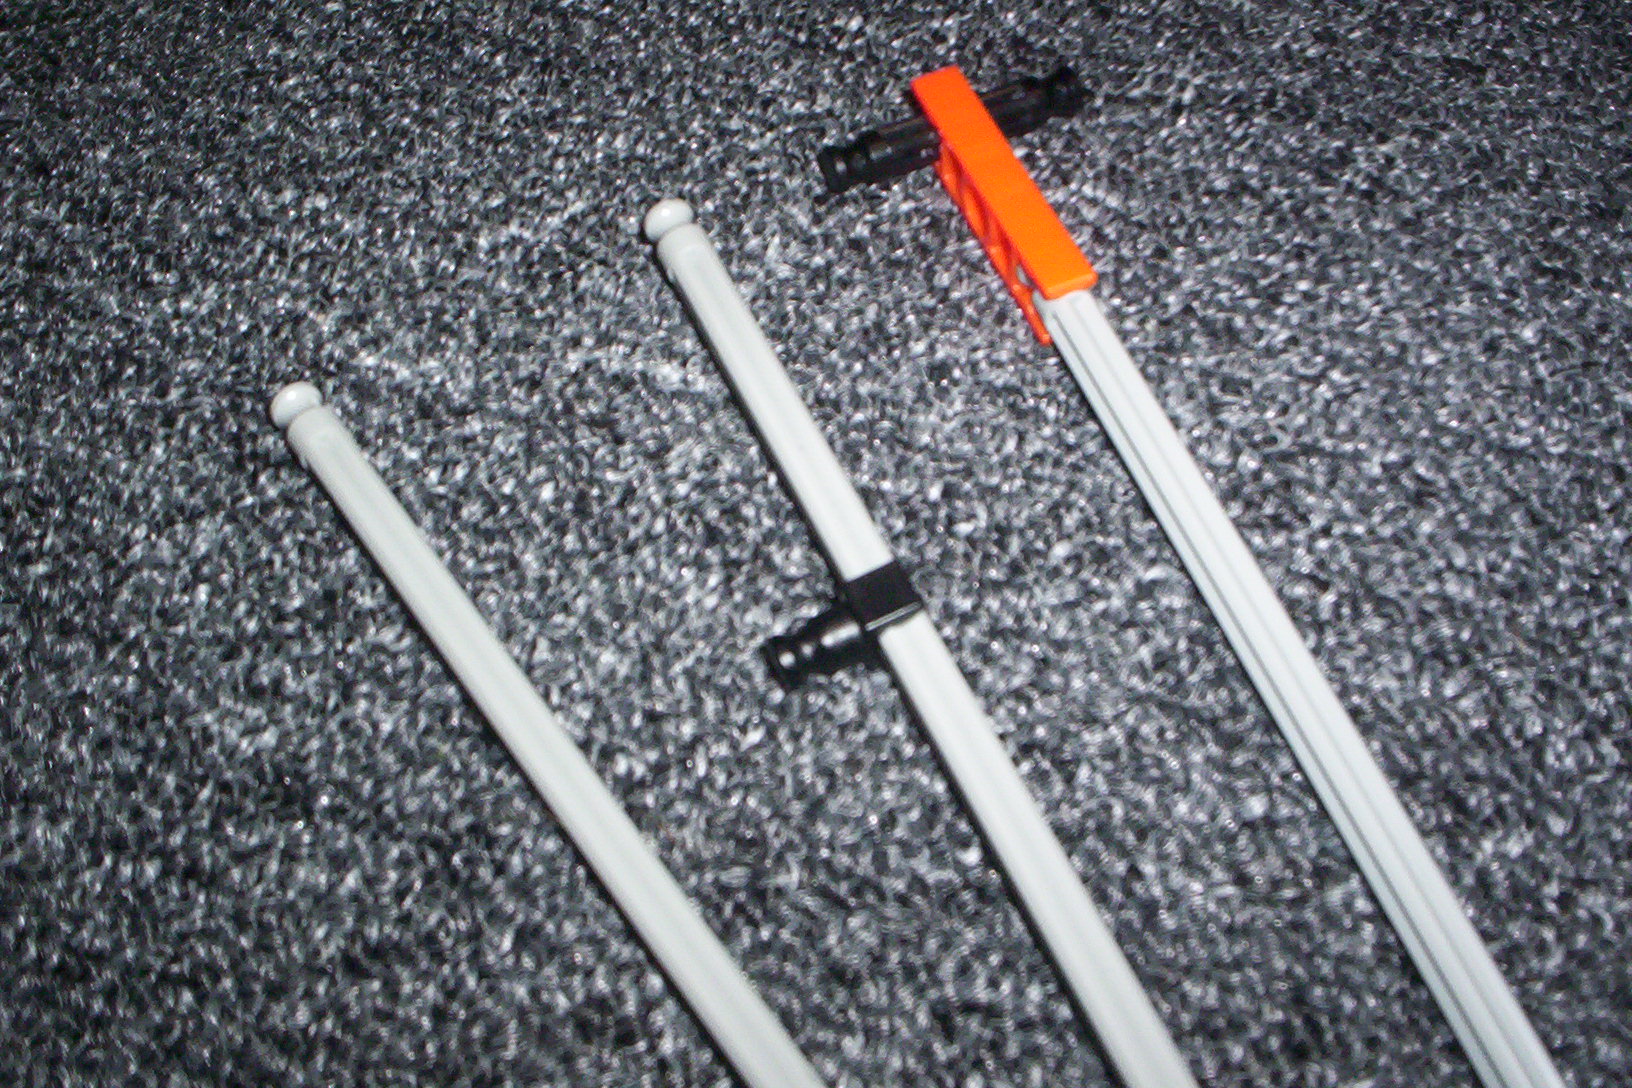
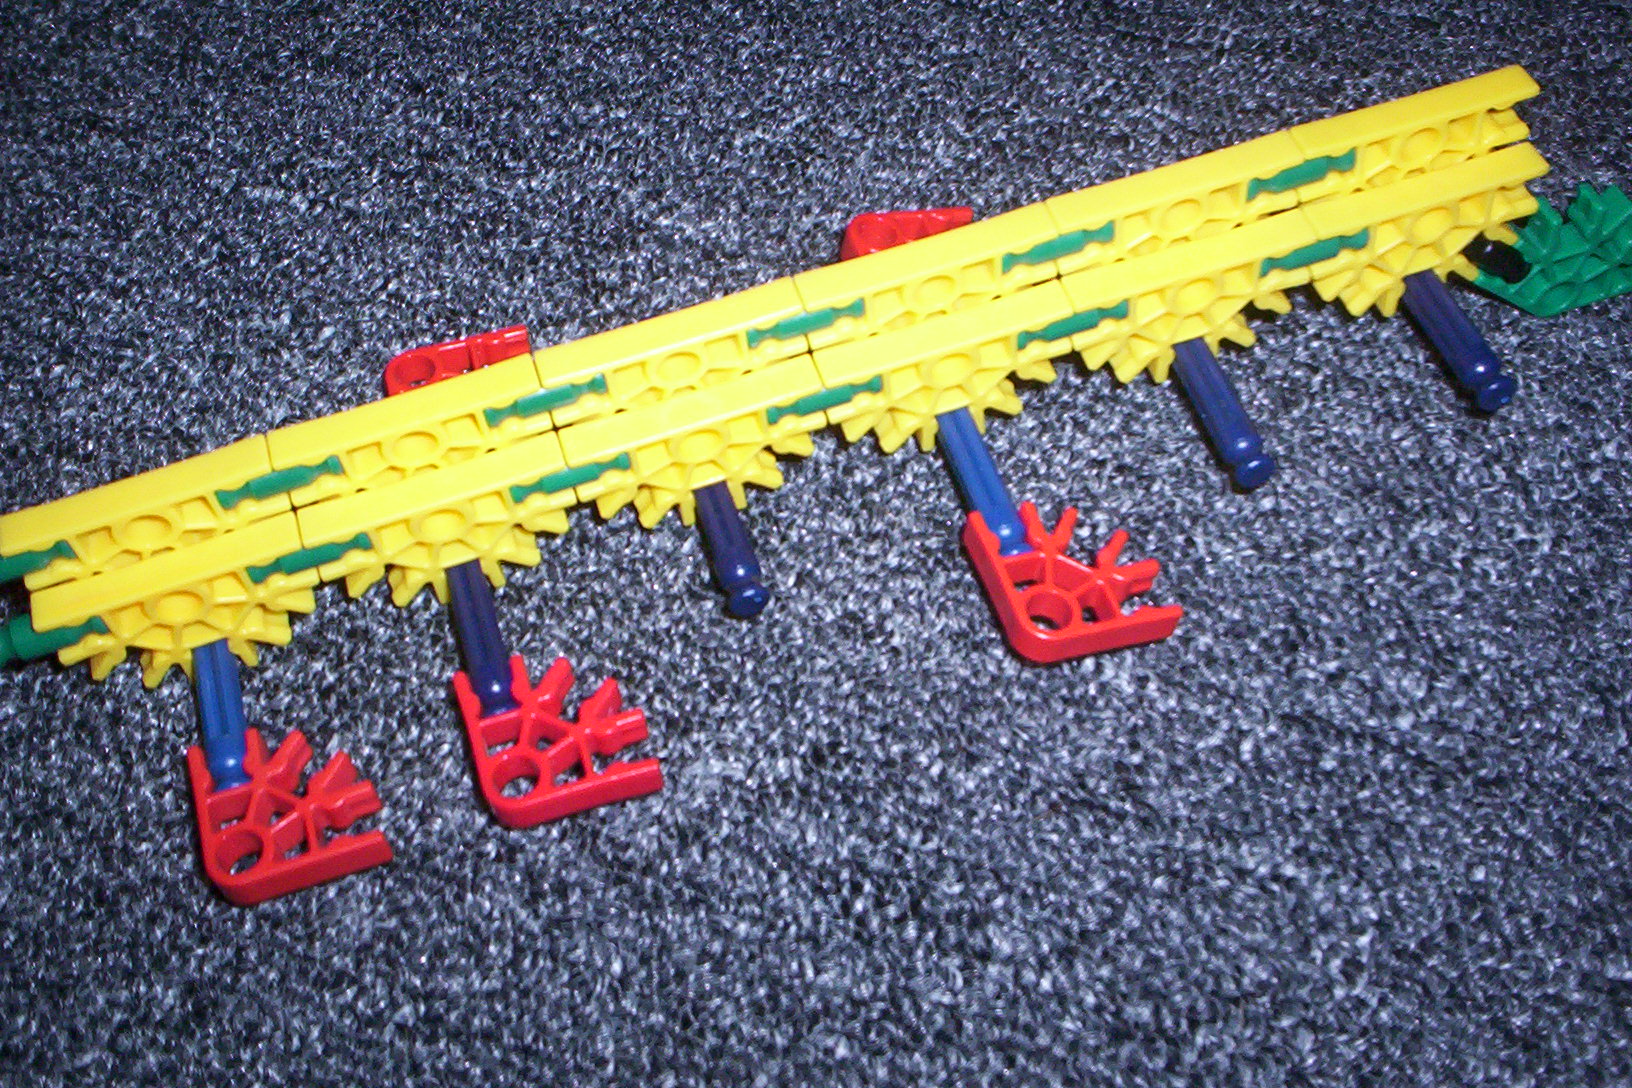
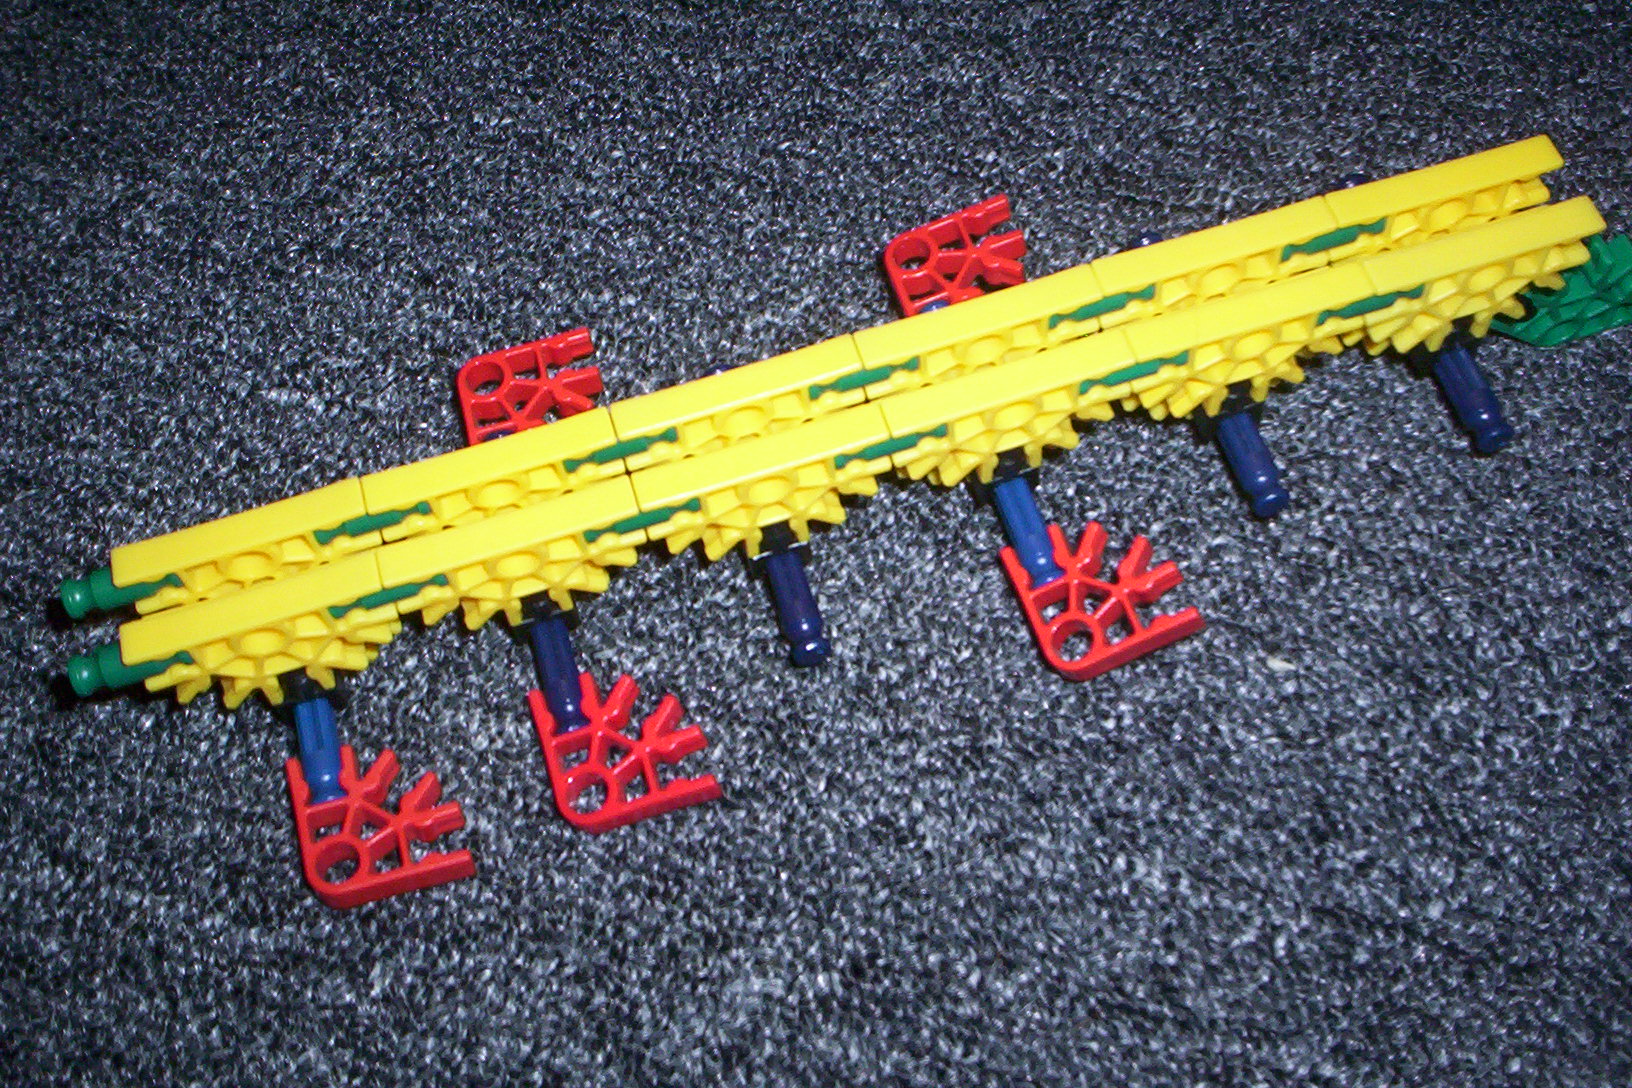

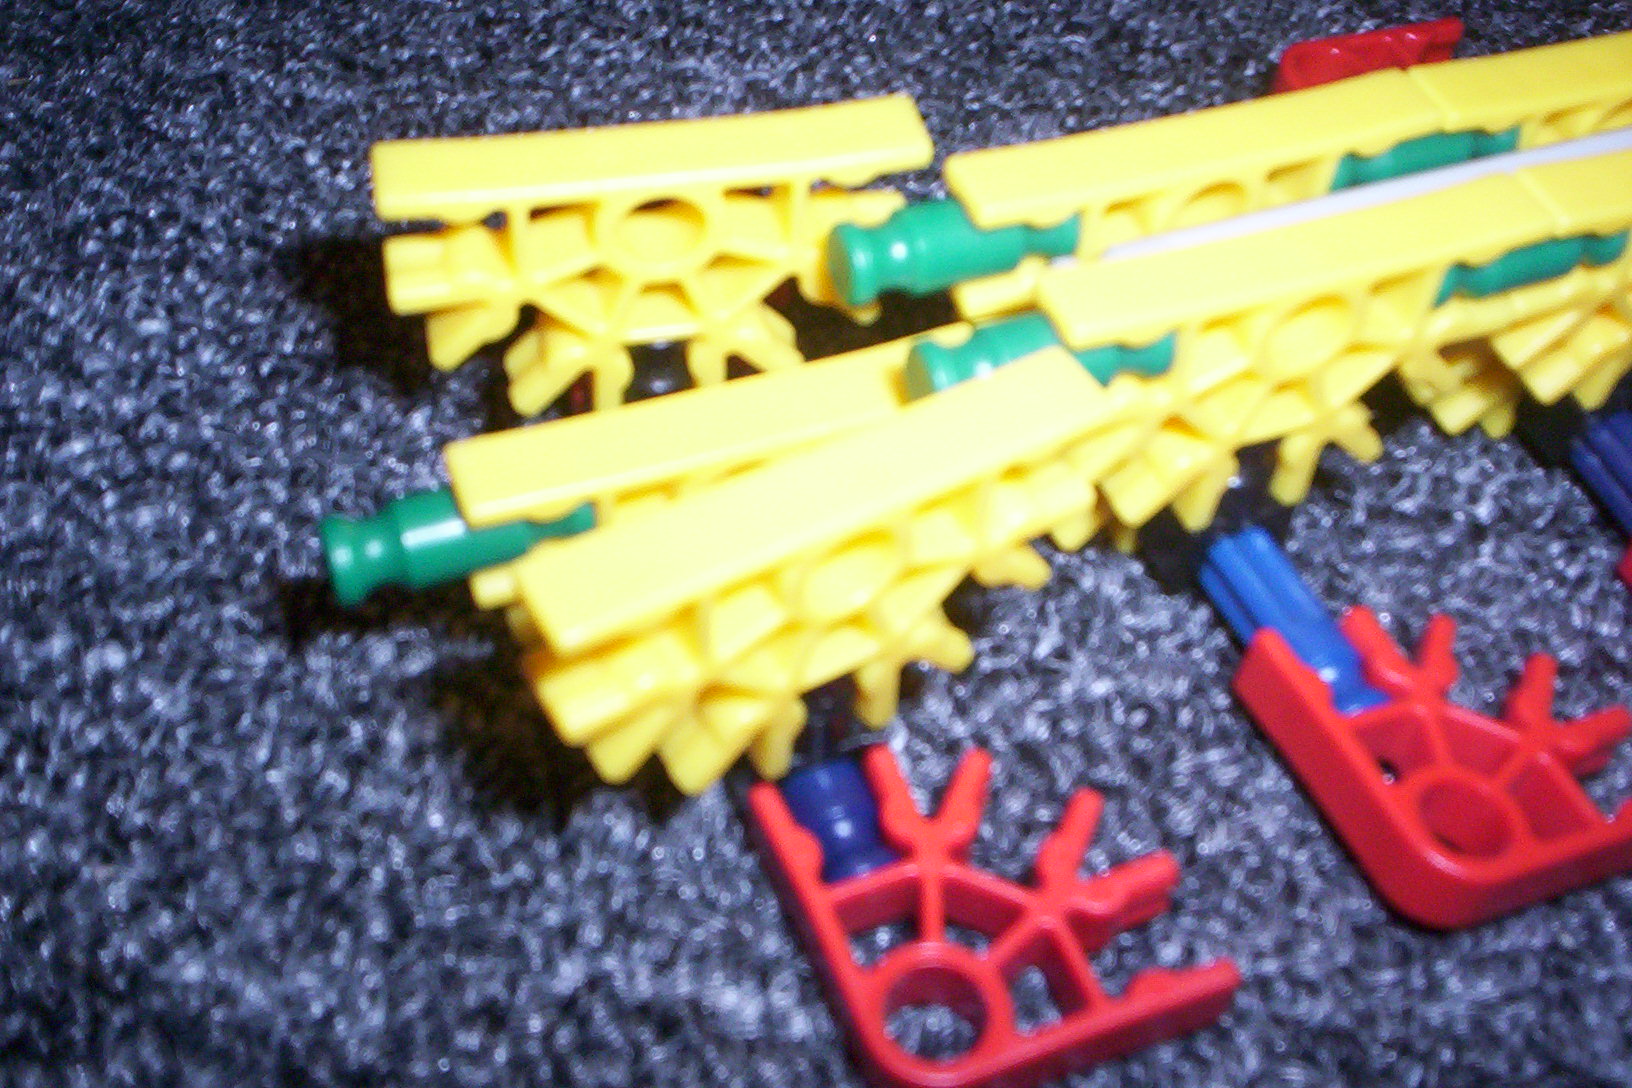
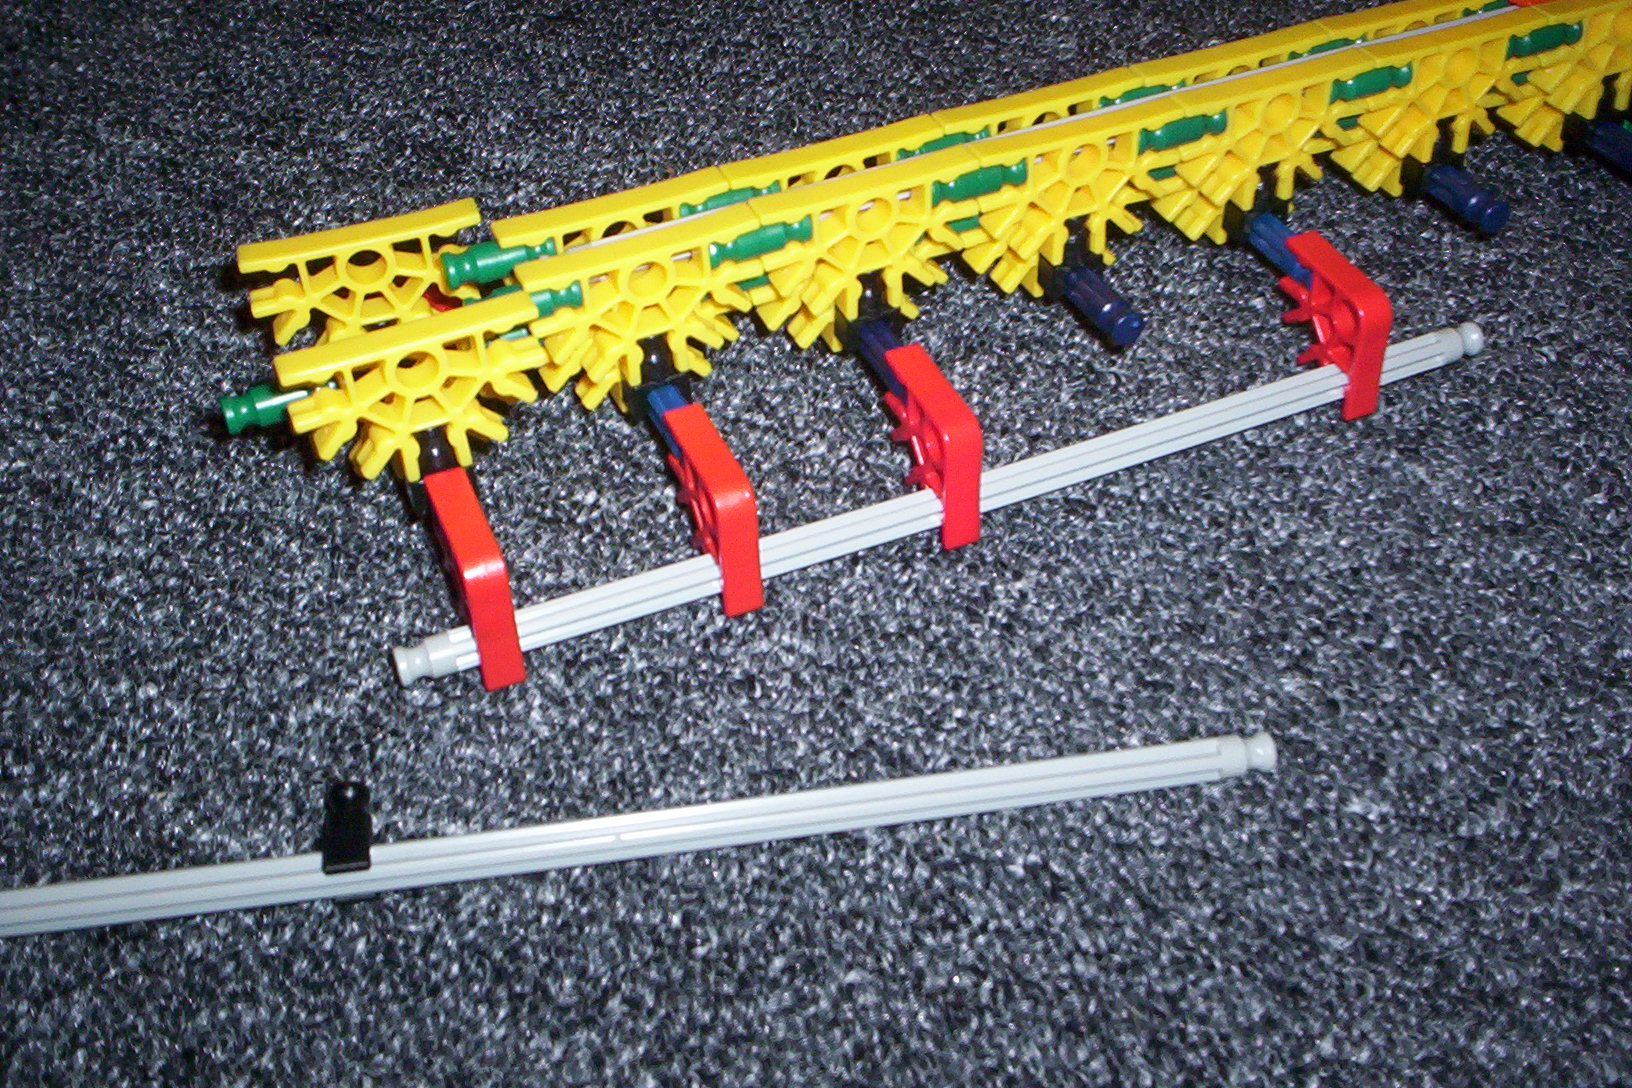
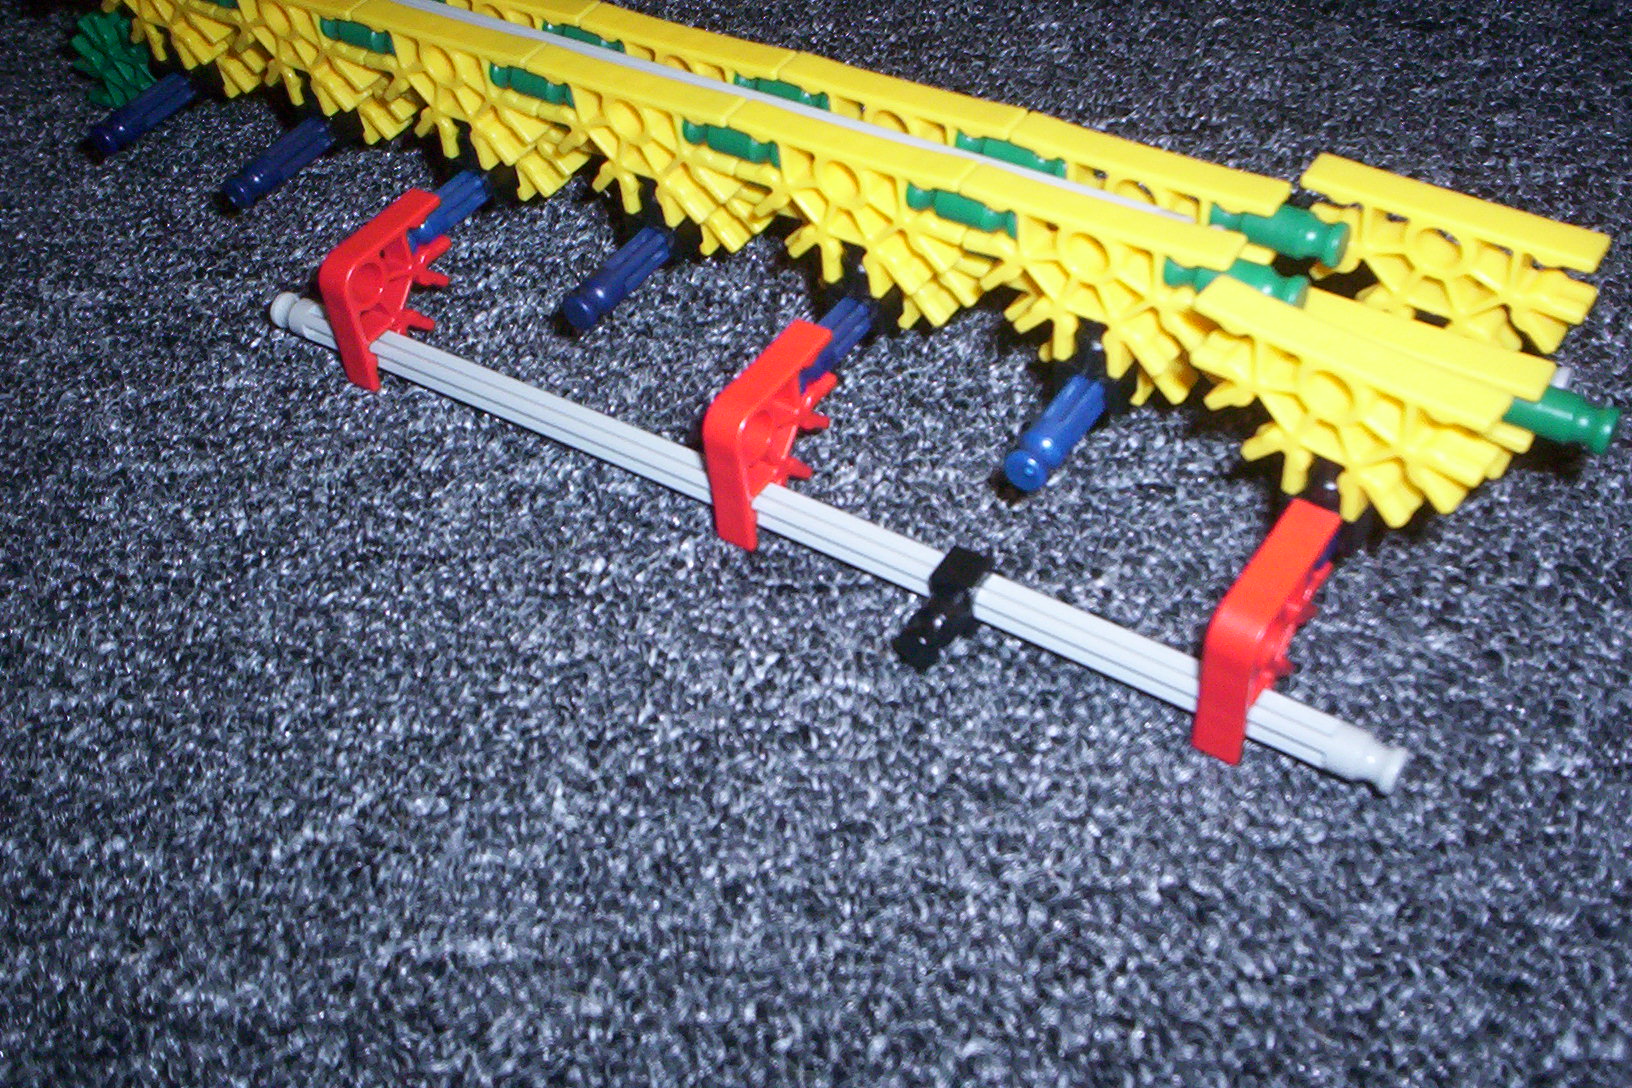
1. the back of the body
2. the other end of the track is what you will be building next
3. first make this,
4. then these,
5. then this,
6. then these
7. now
8. put
9. it
10. all
11. together
12. like
13. this
2. the other end of the track is what you will be building next
3. first make this,
4. then these,
5. then this,
6. then these
7. now
8. put
9. it
10. all
11. together
12. like
13. this
The Spindle Wheel, or Whatever It Is
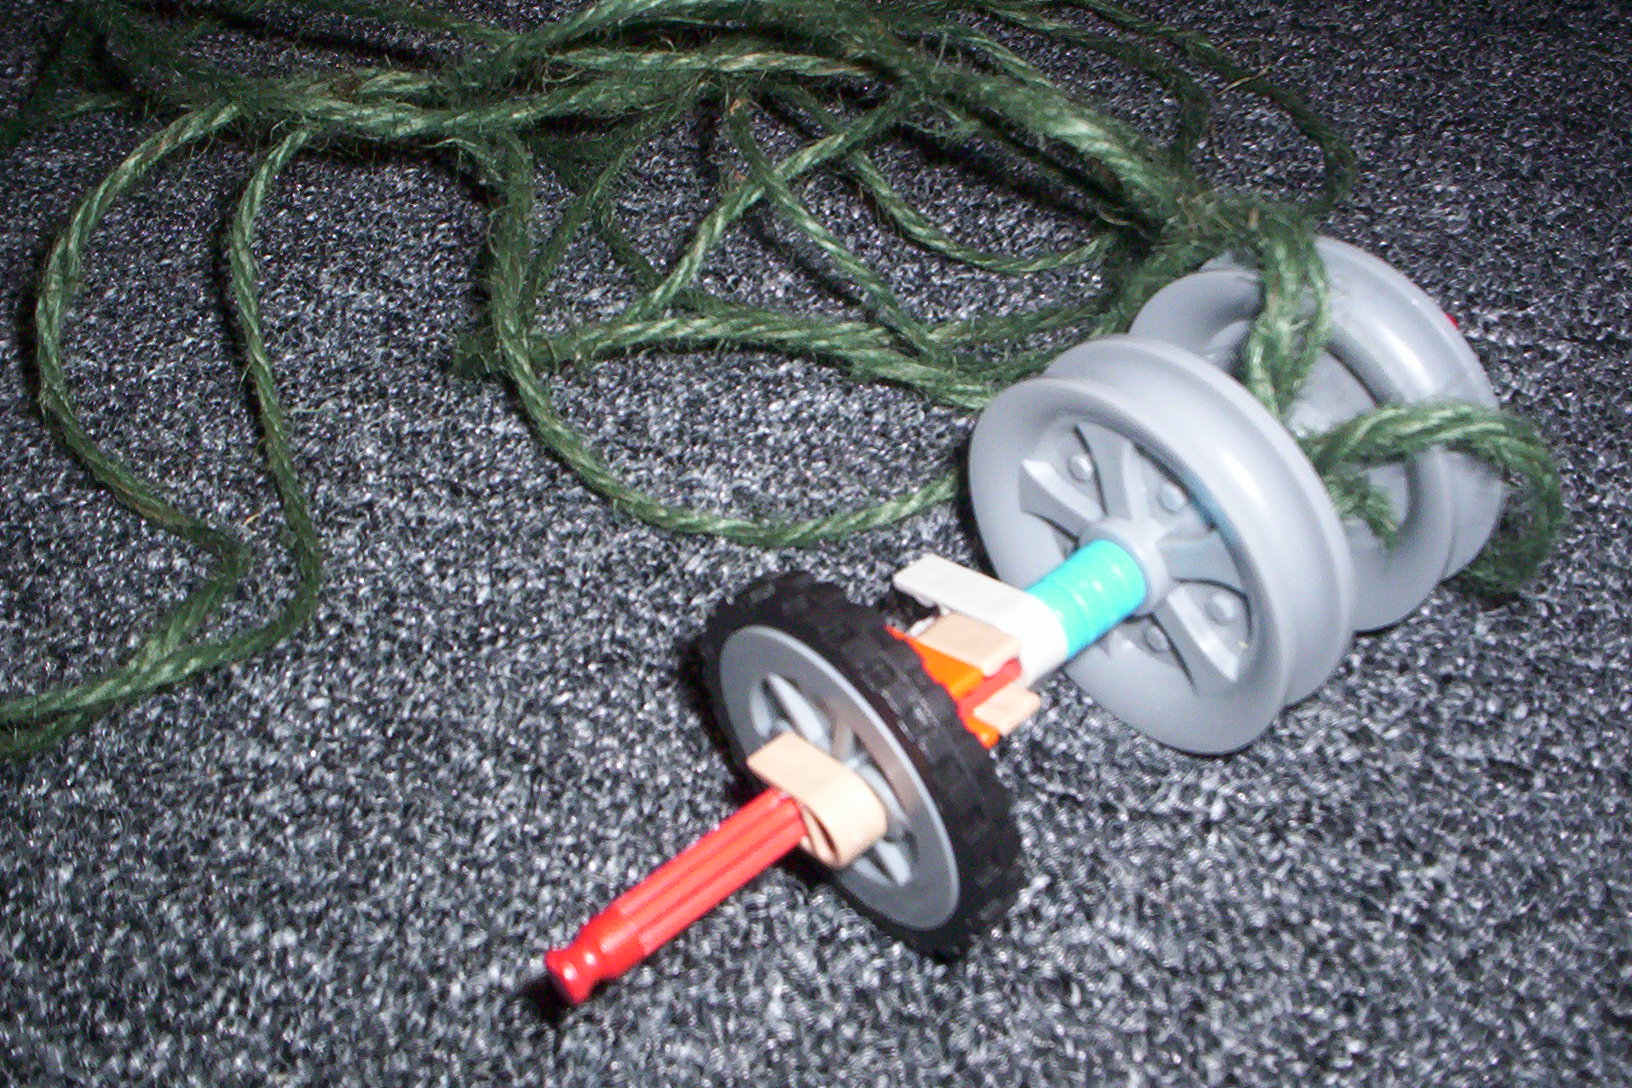

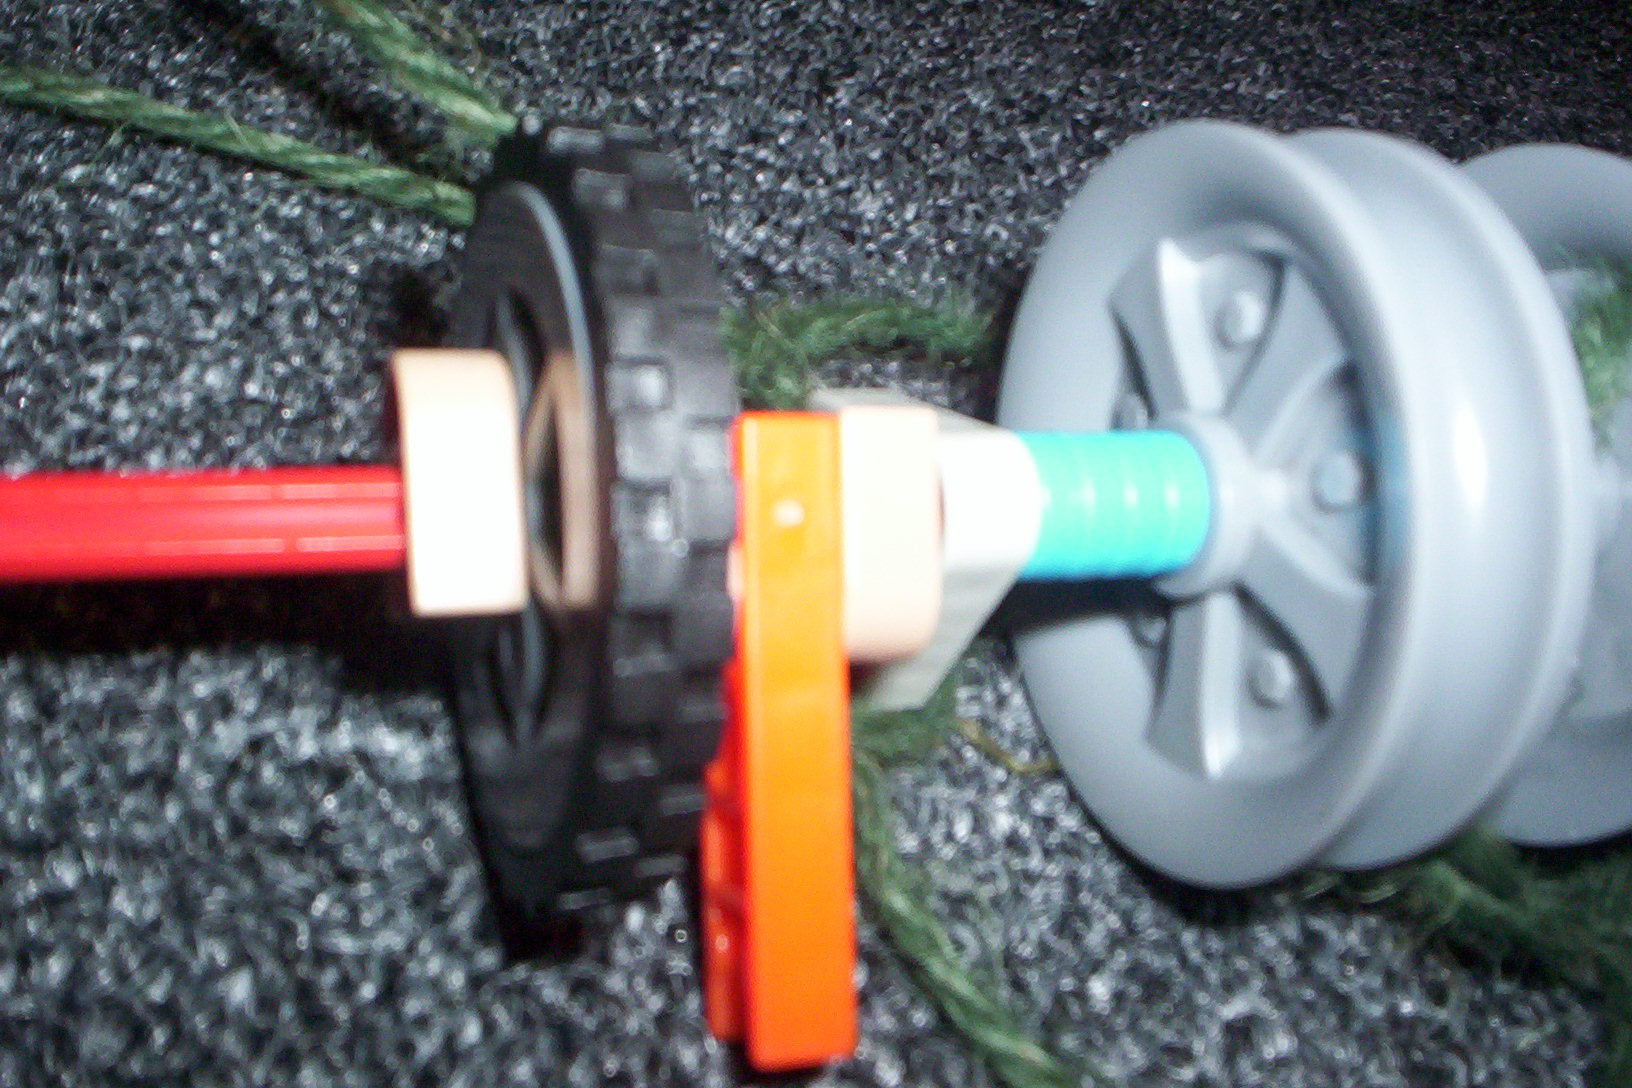
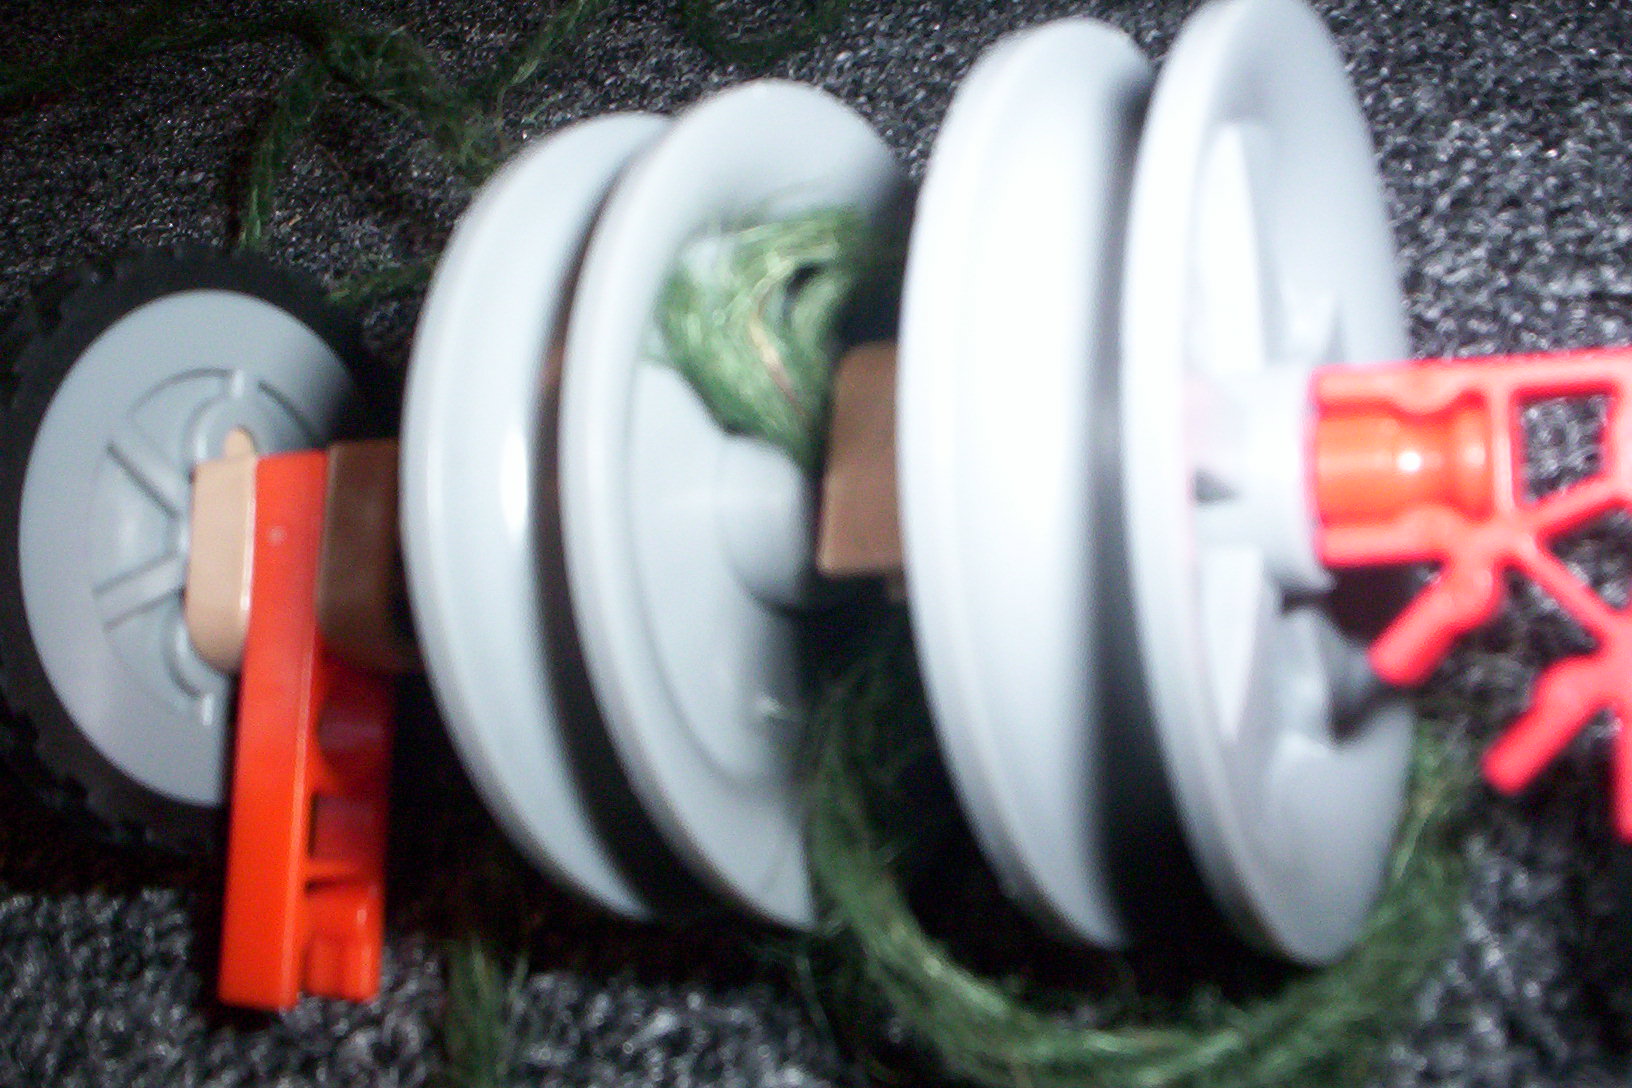
these are some details of the wheel, you should be able to understand it
The End of the Crossbow
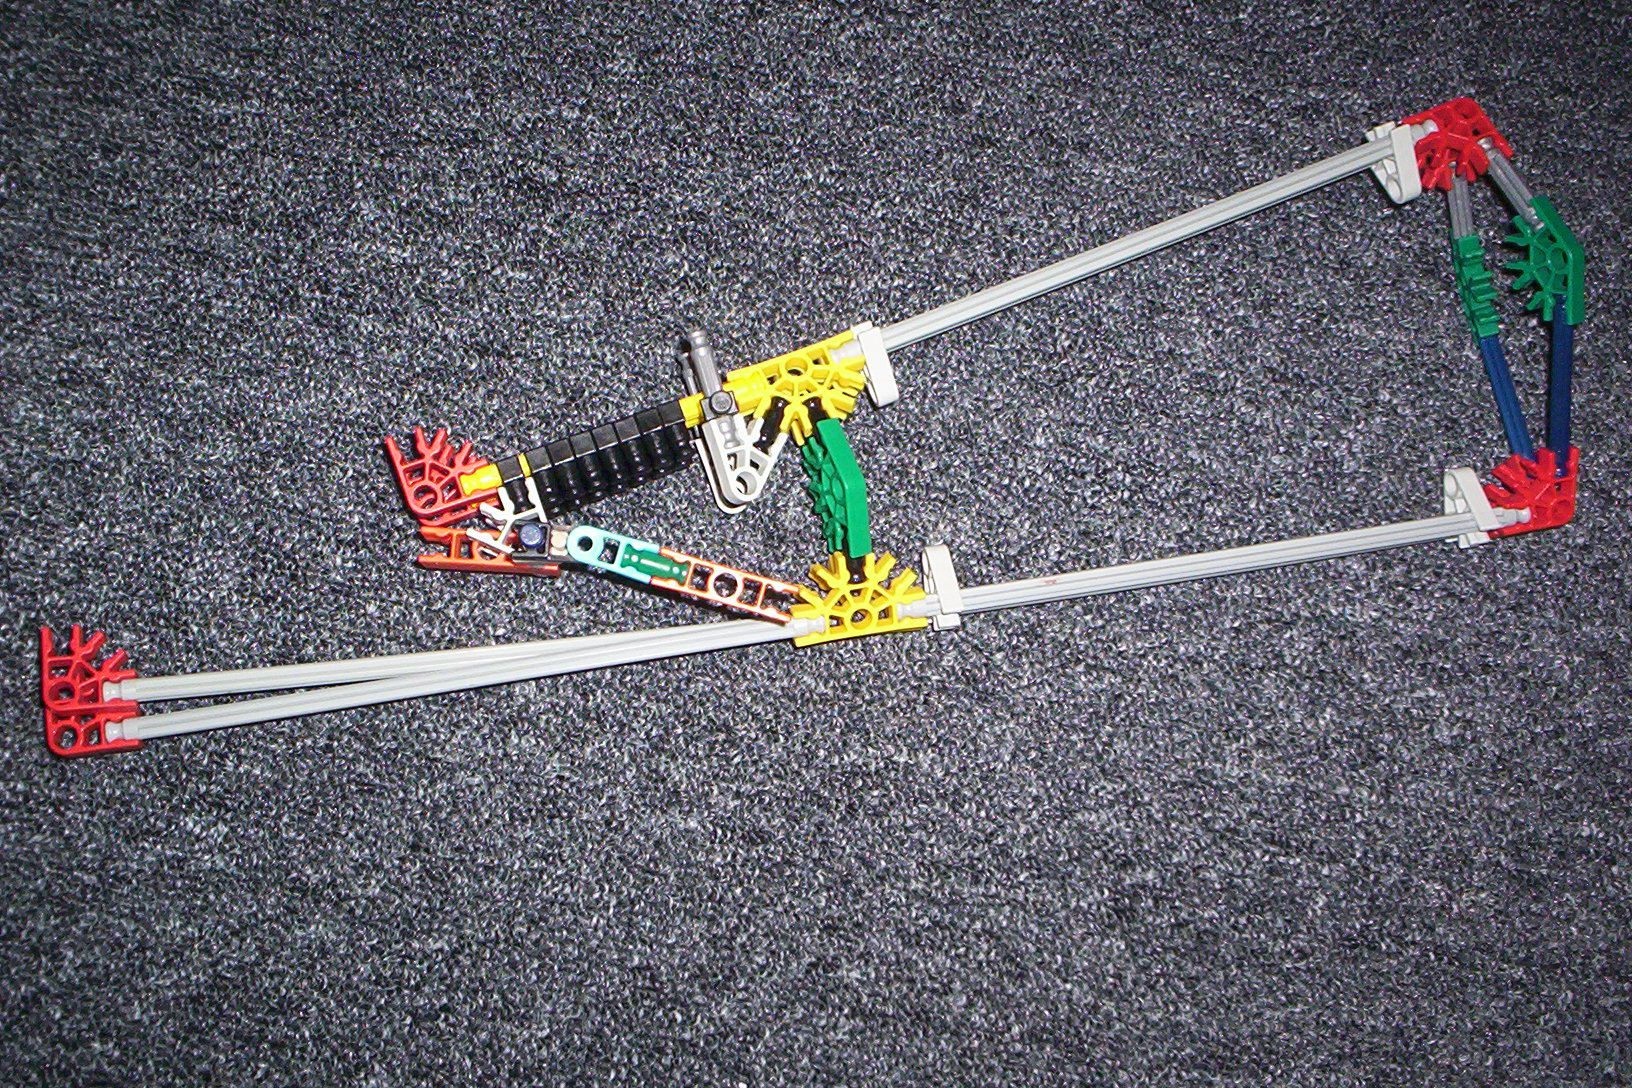
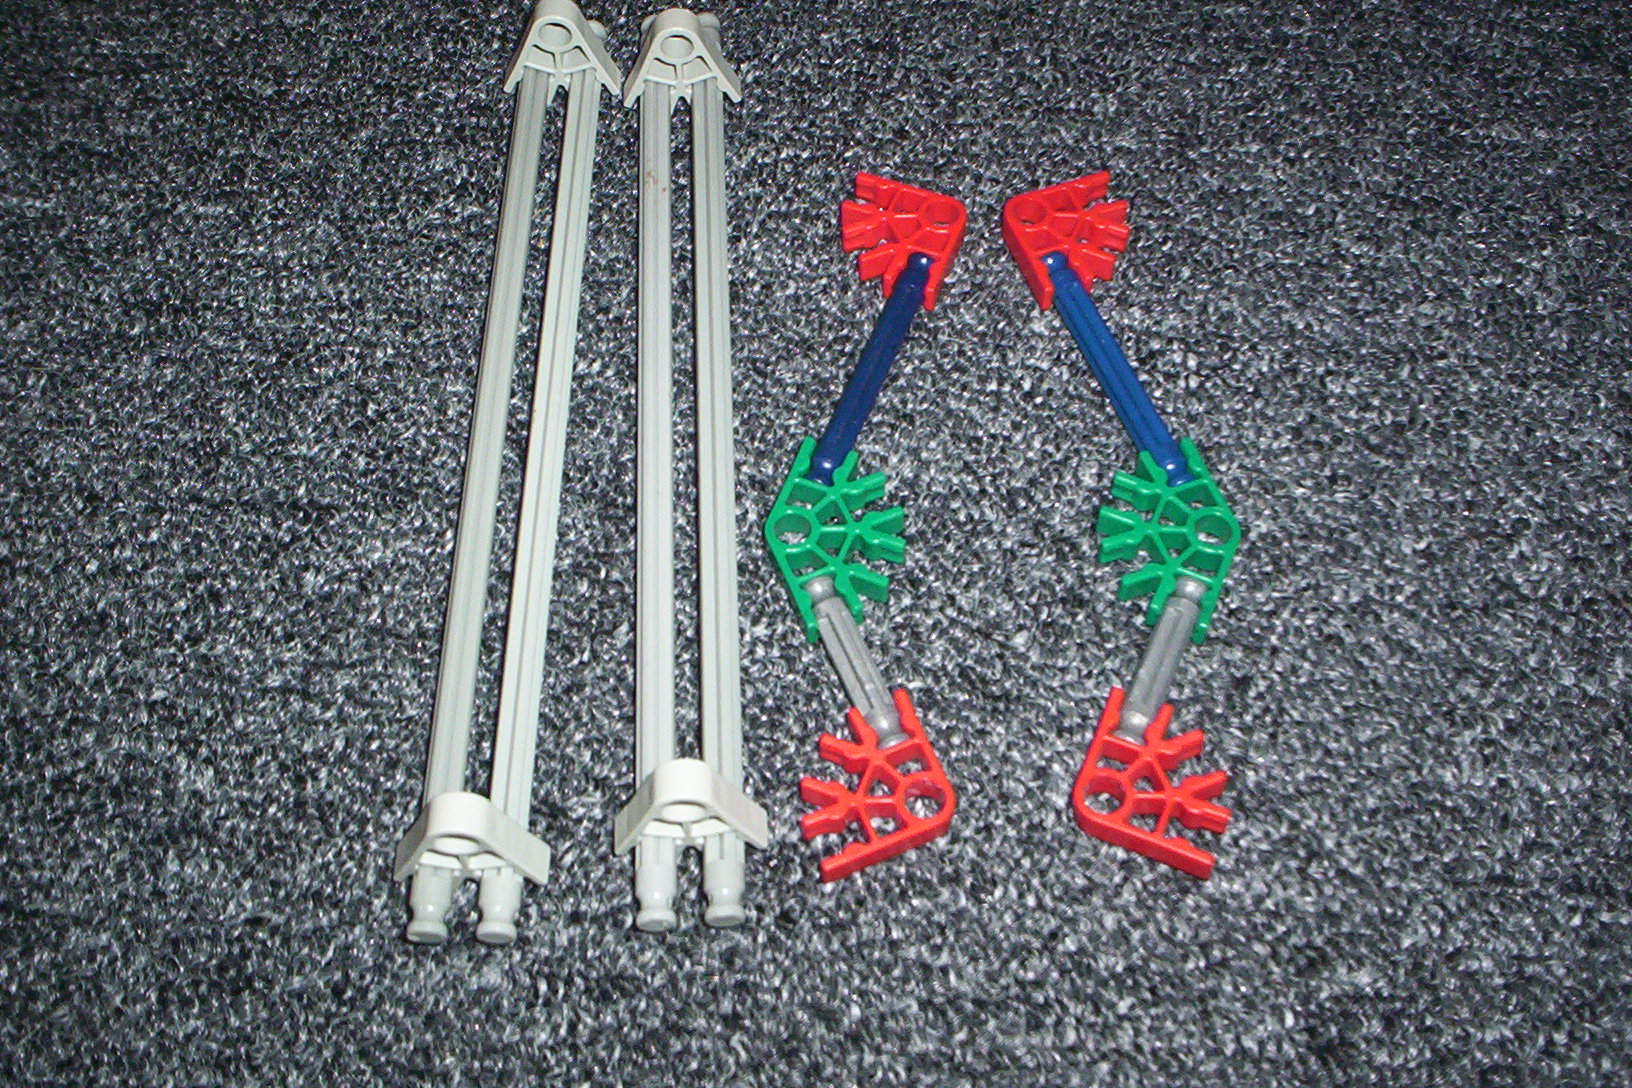
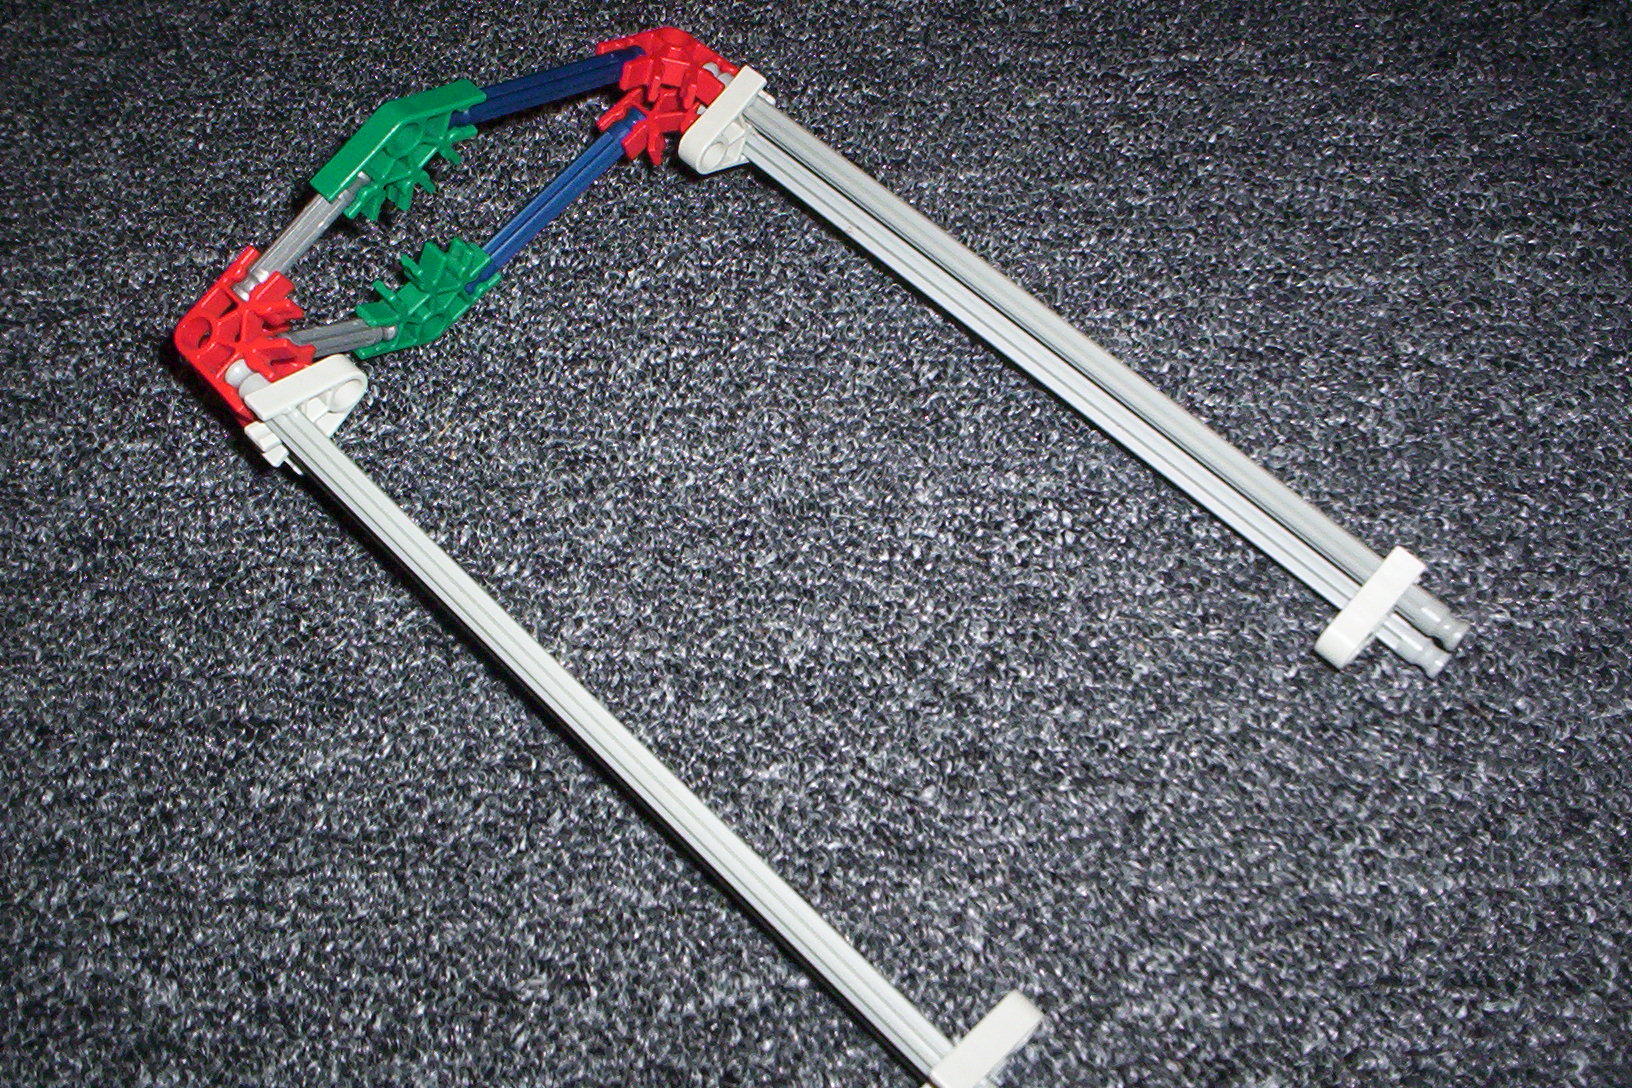
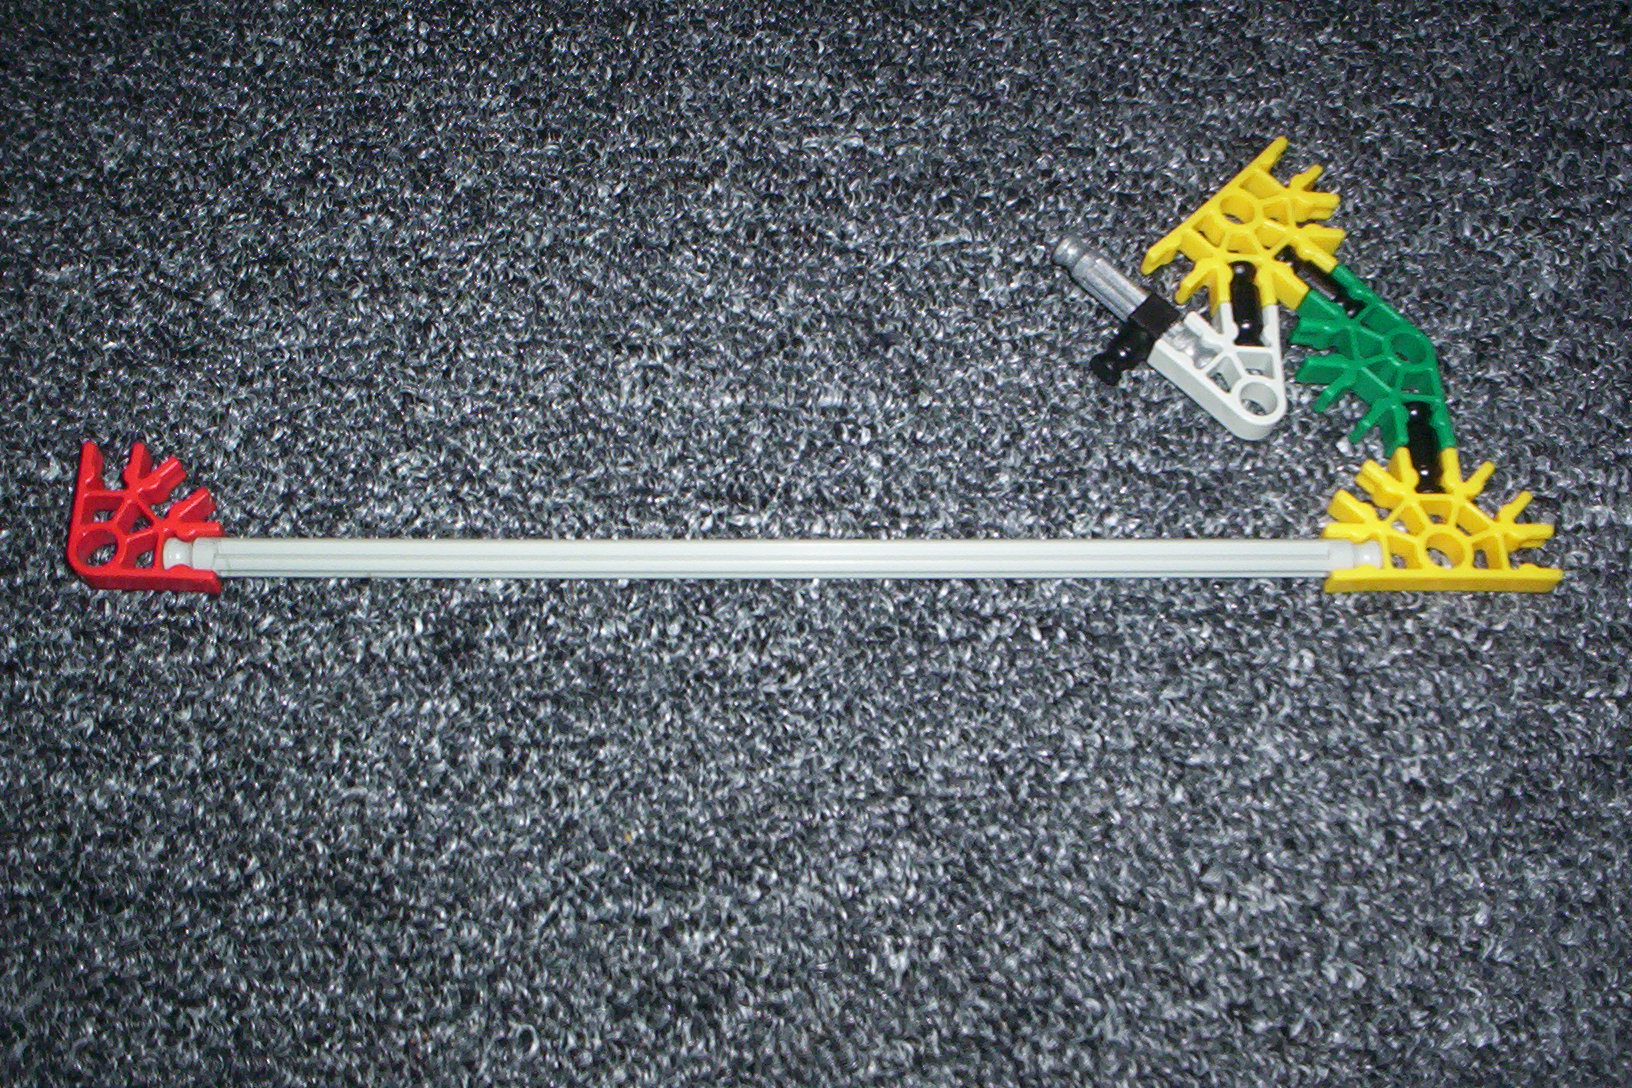
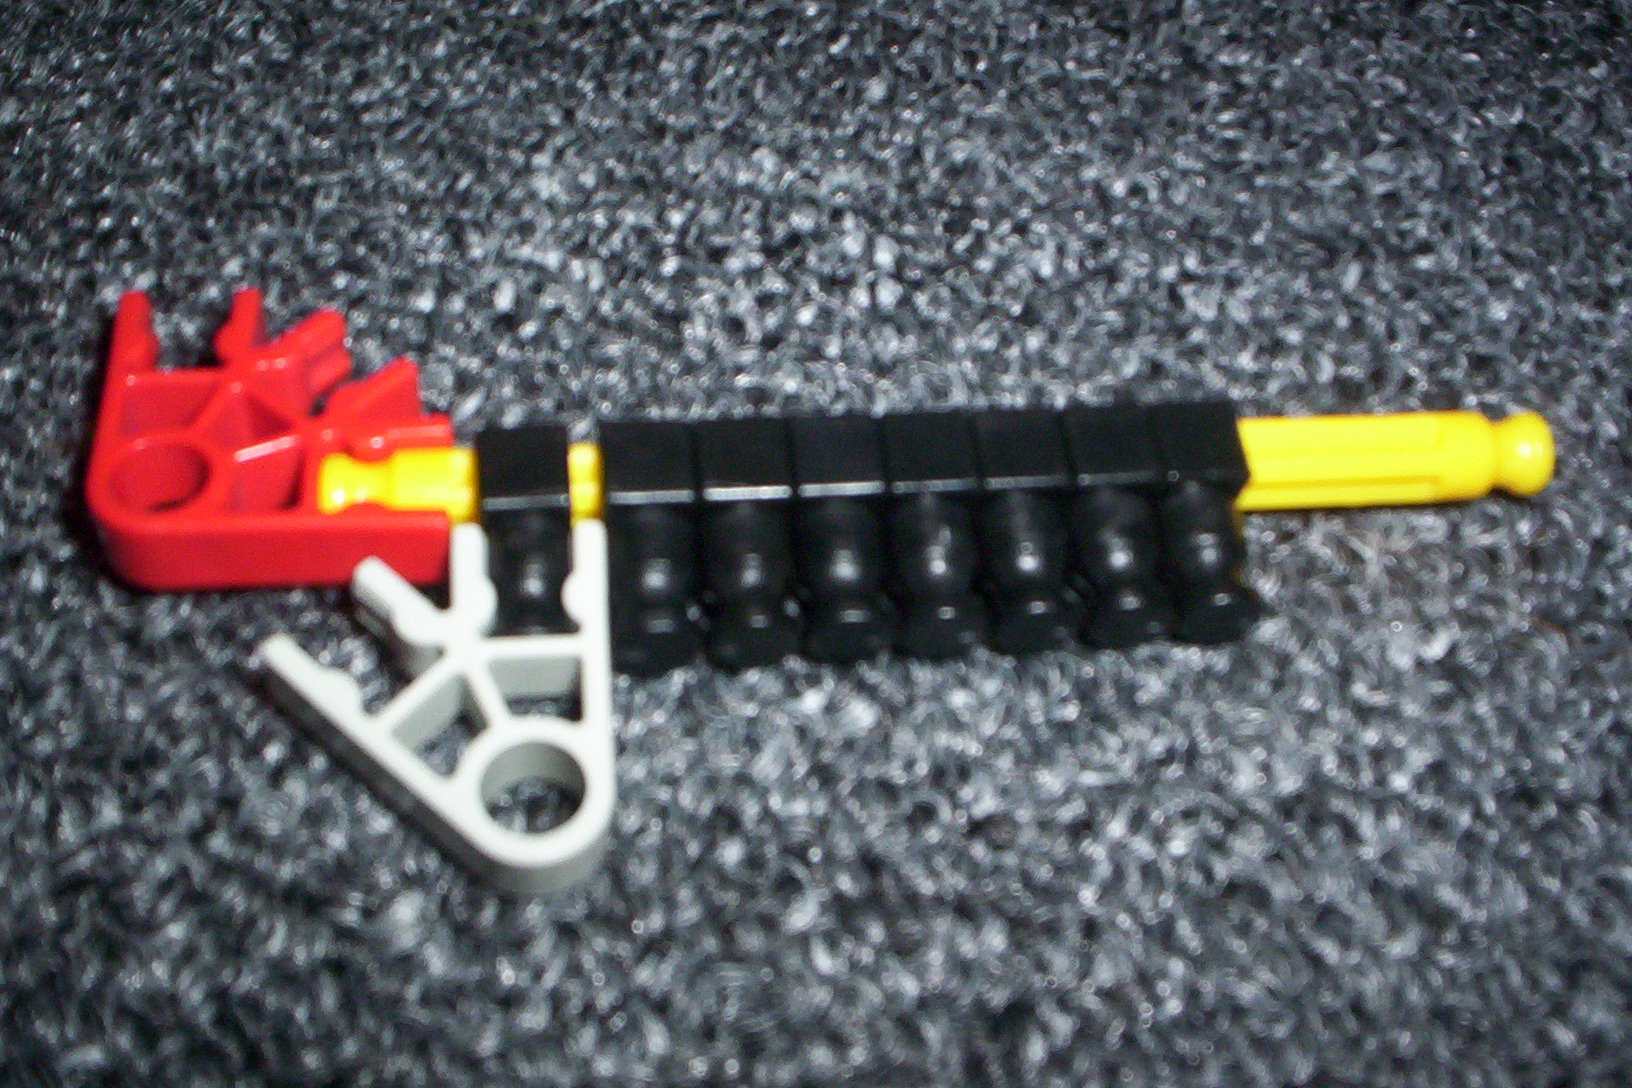
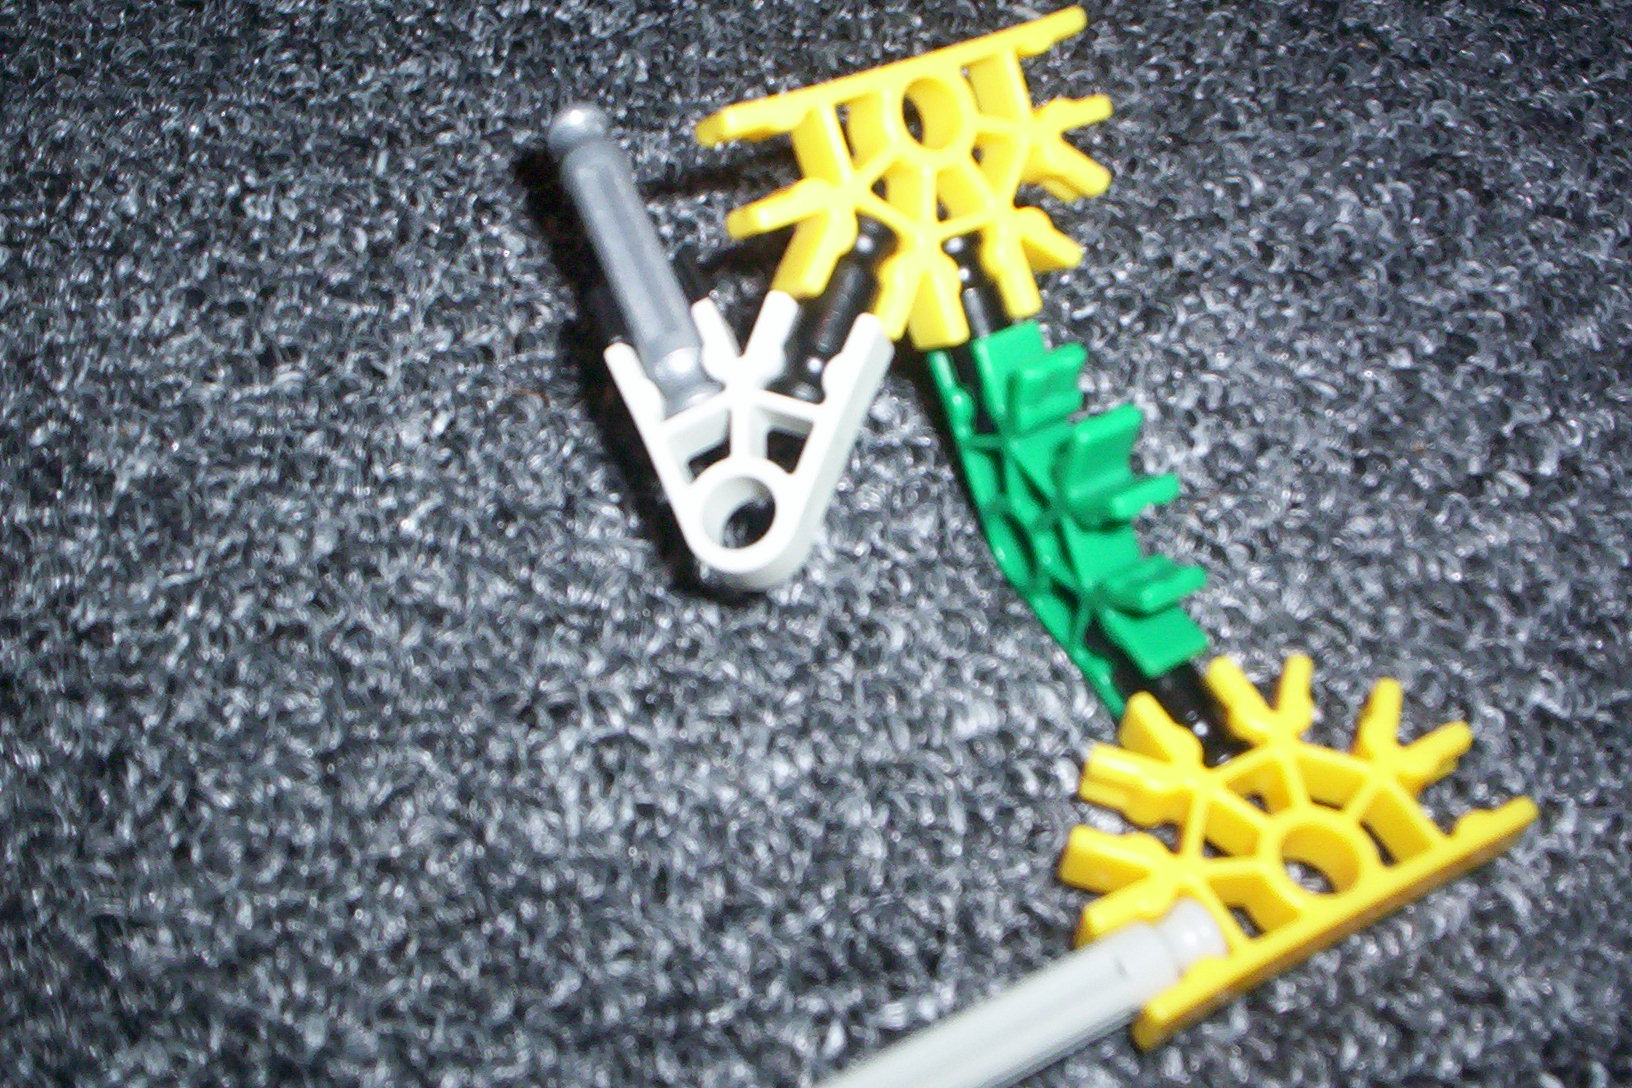
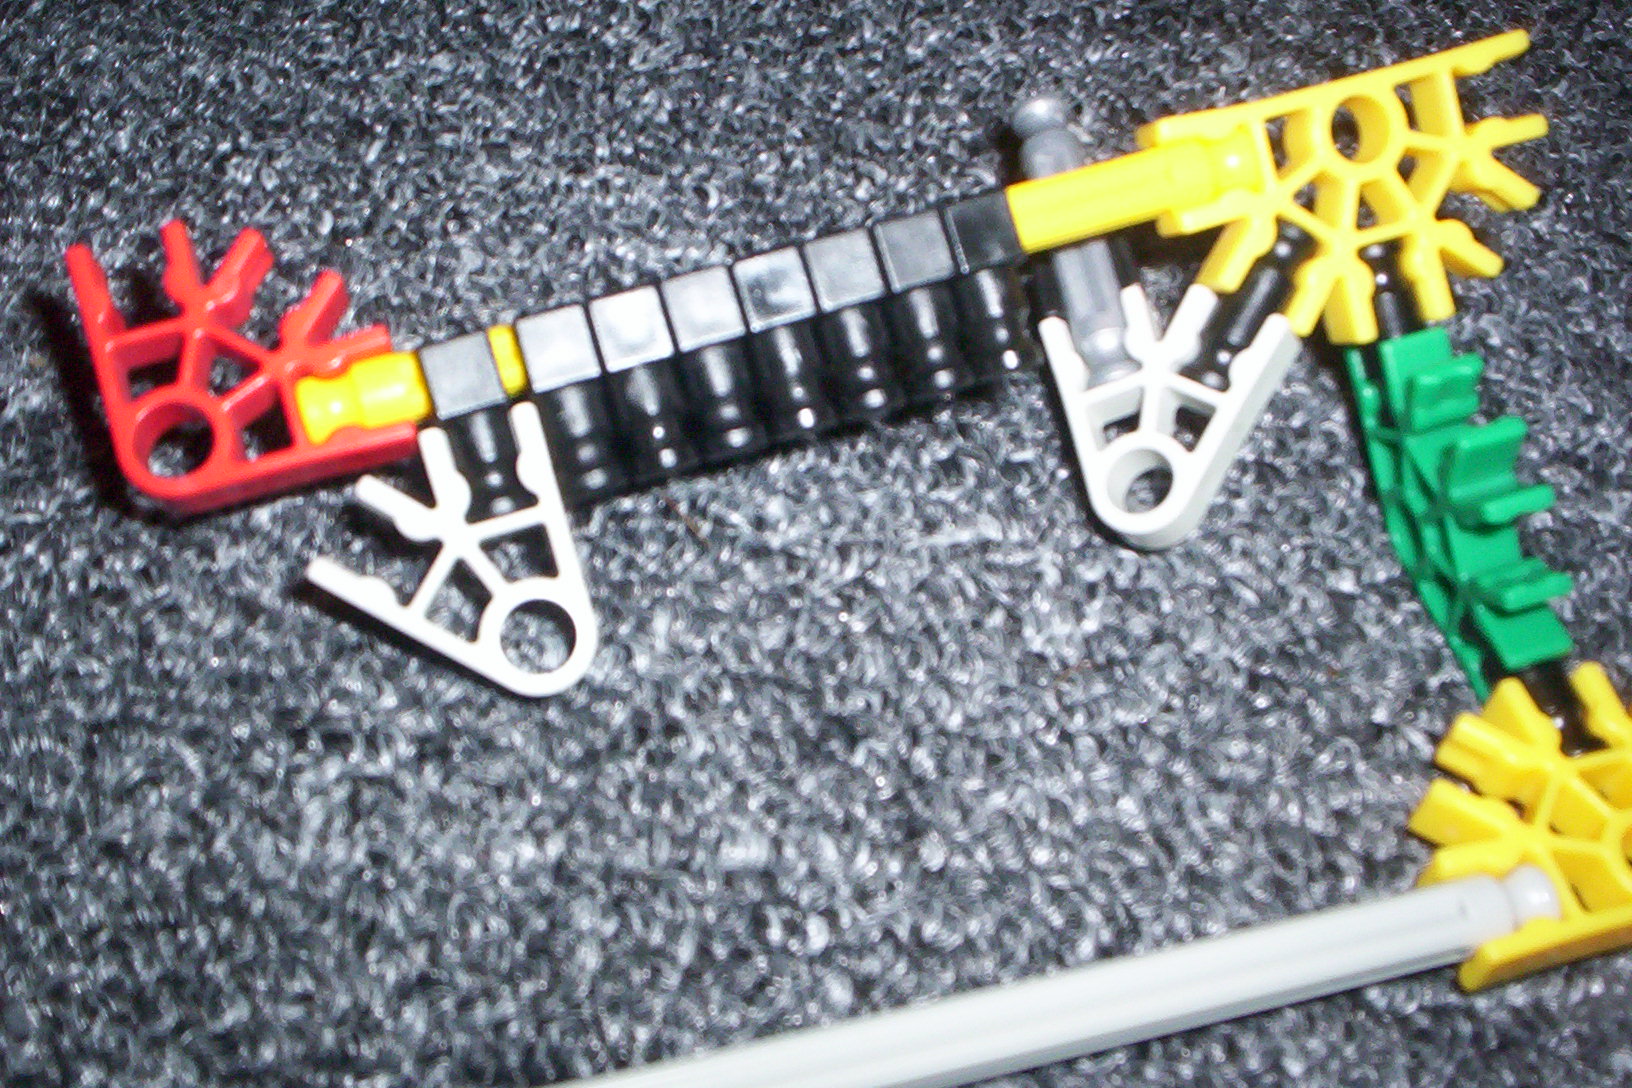
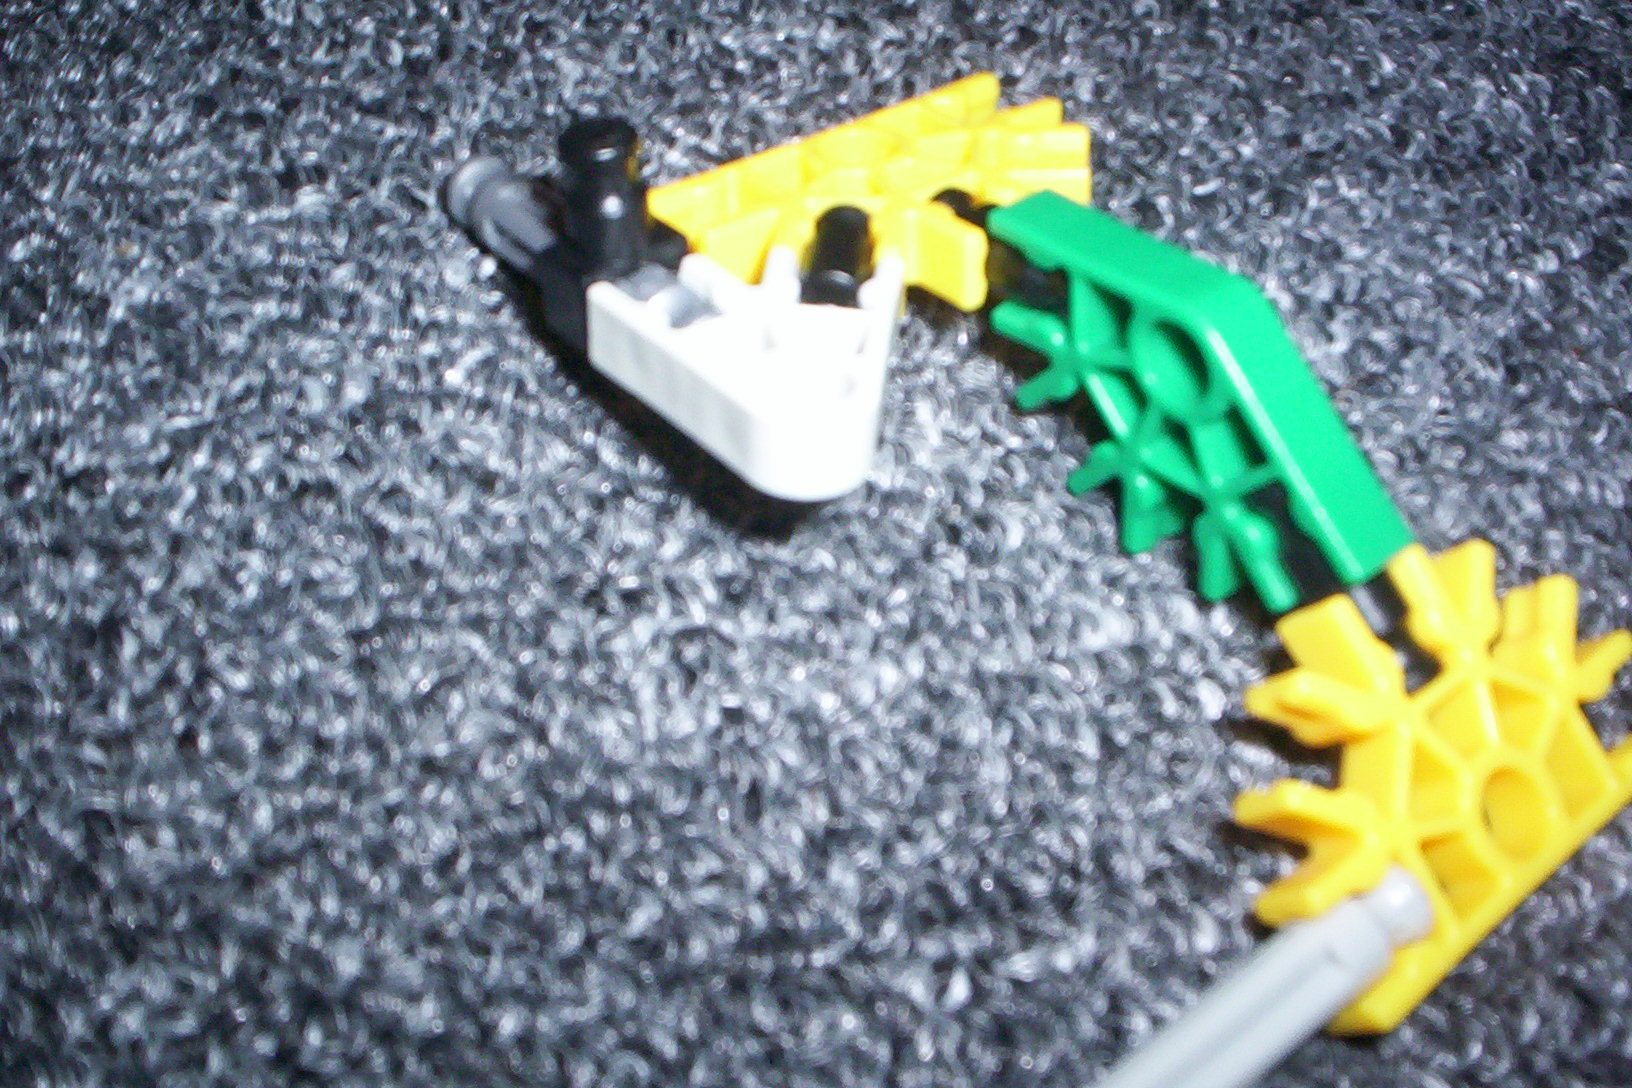
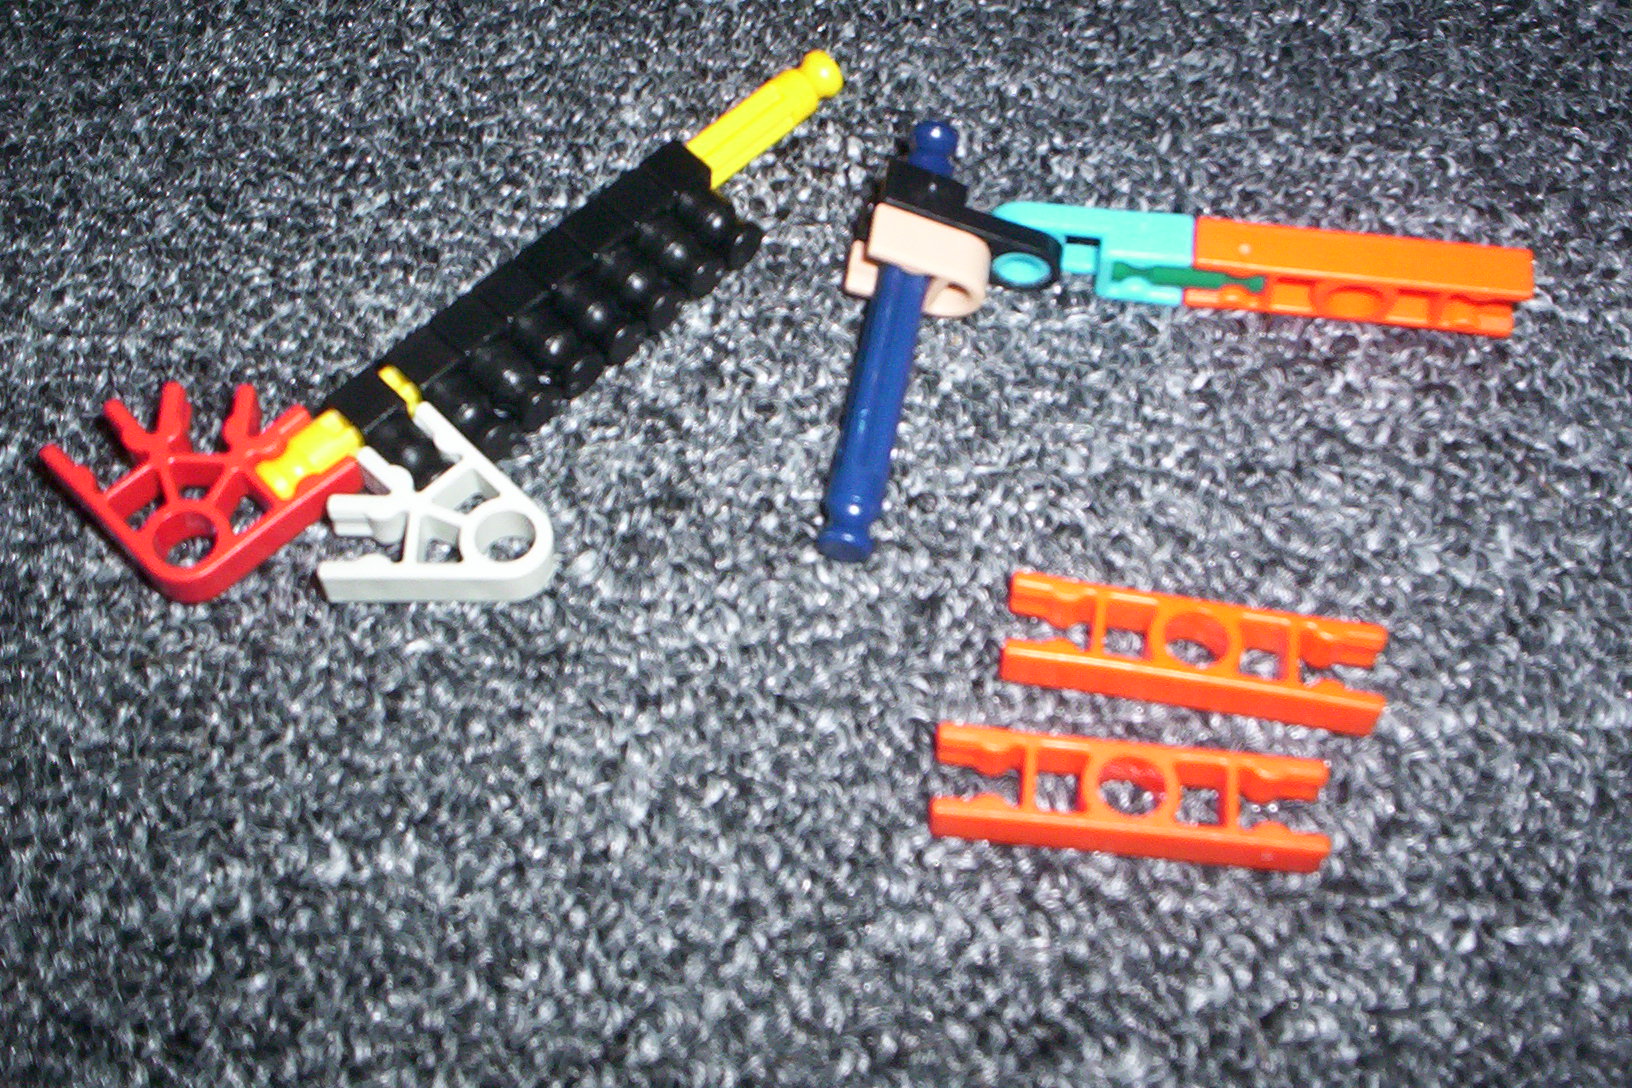
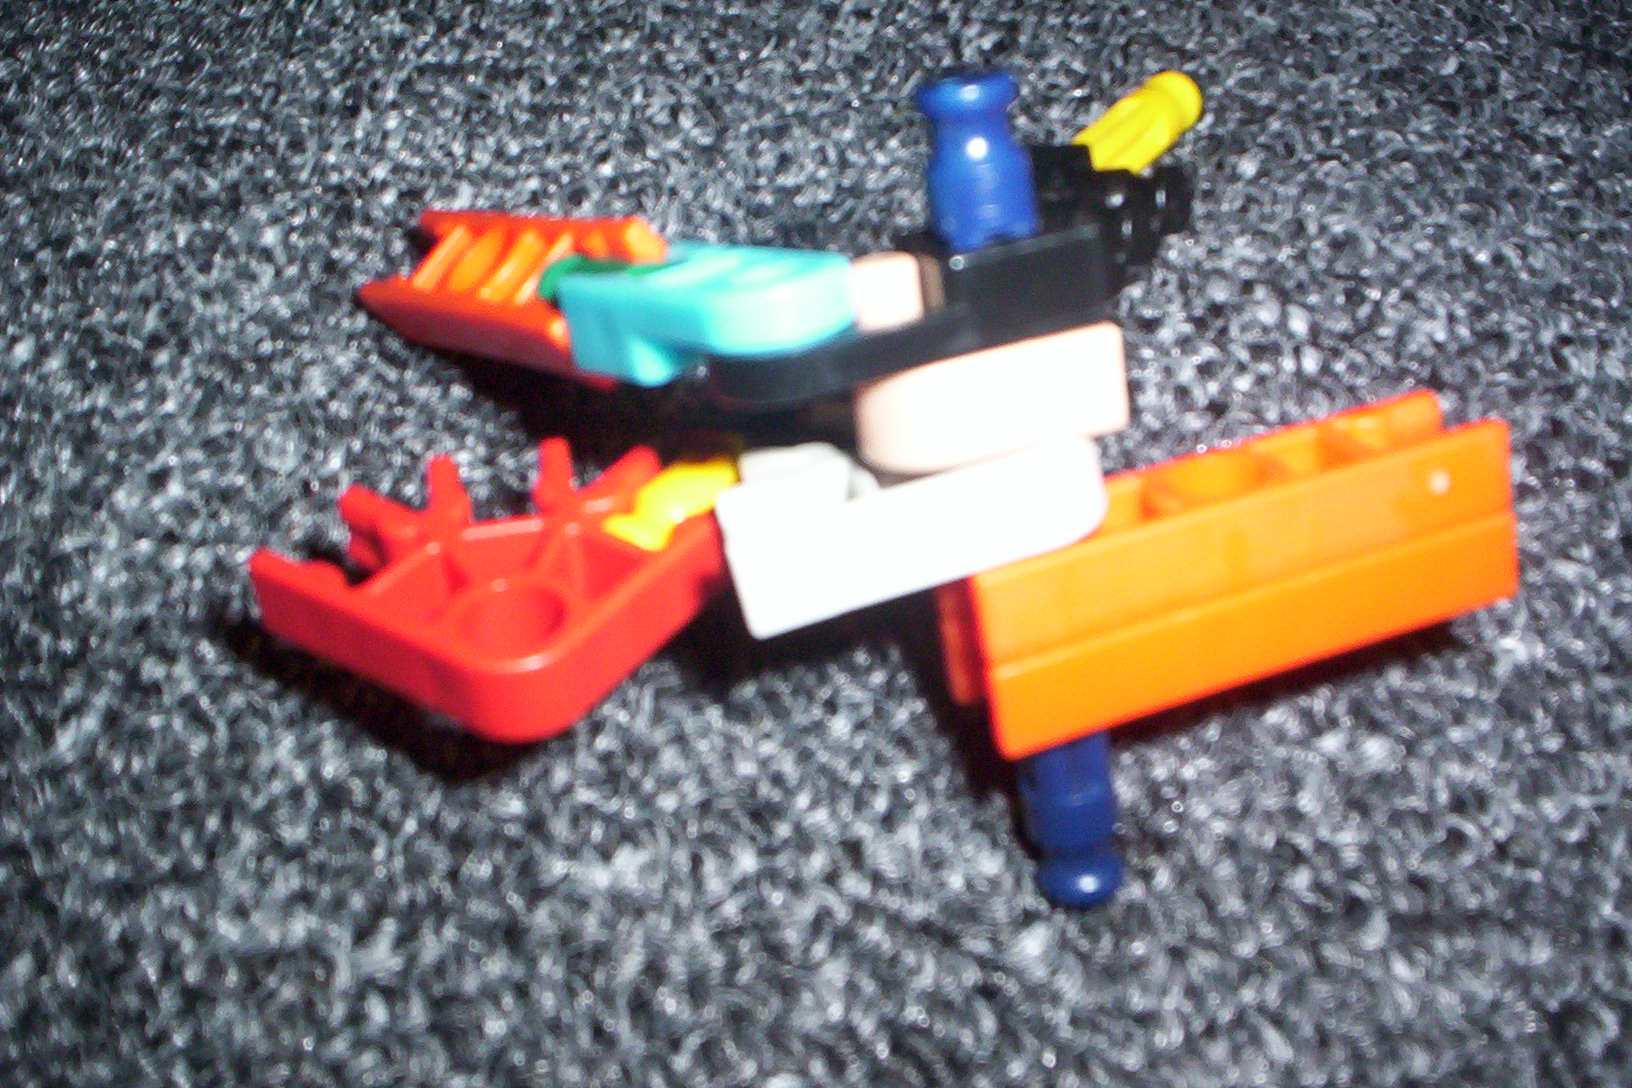
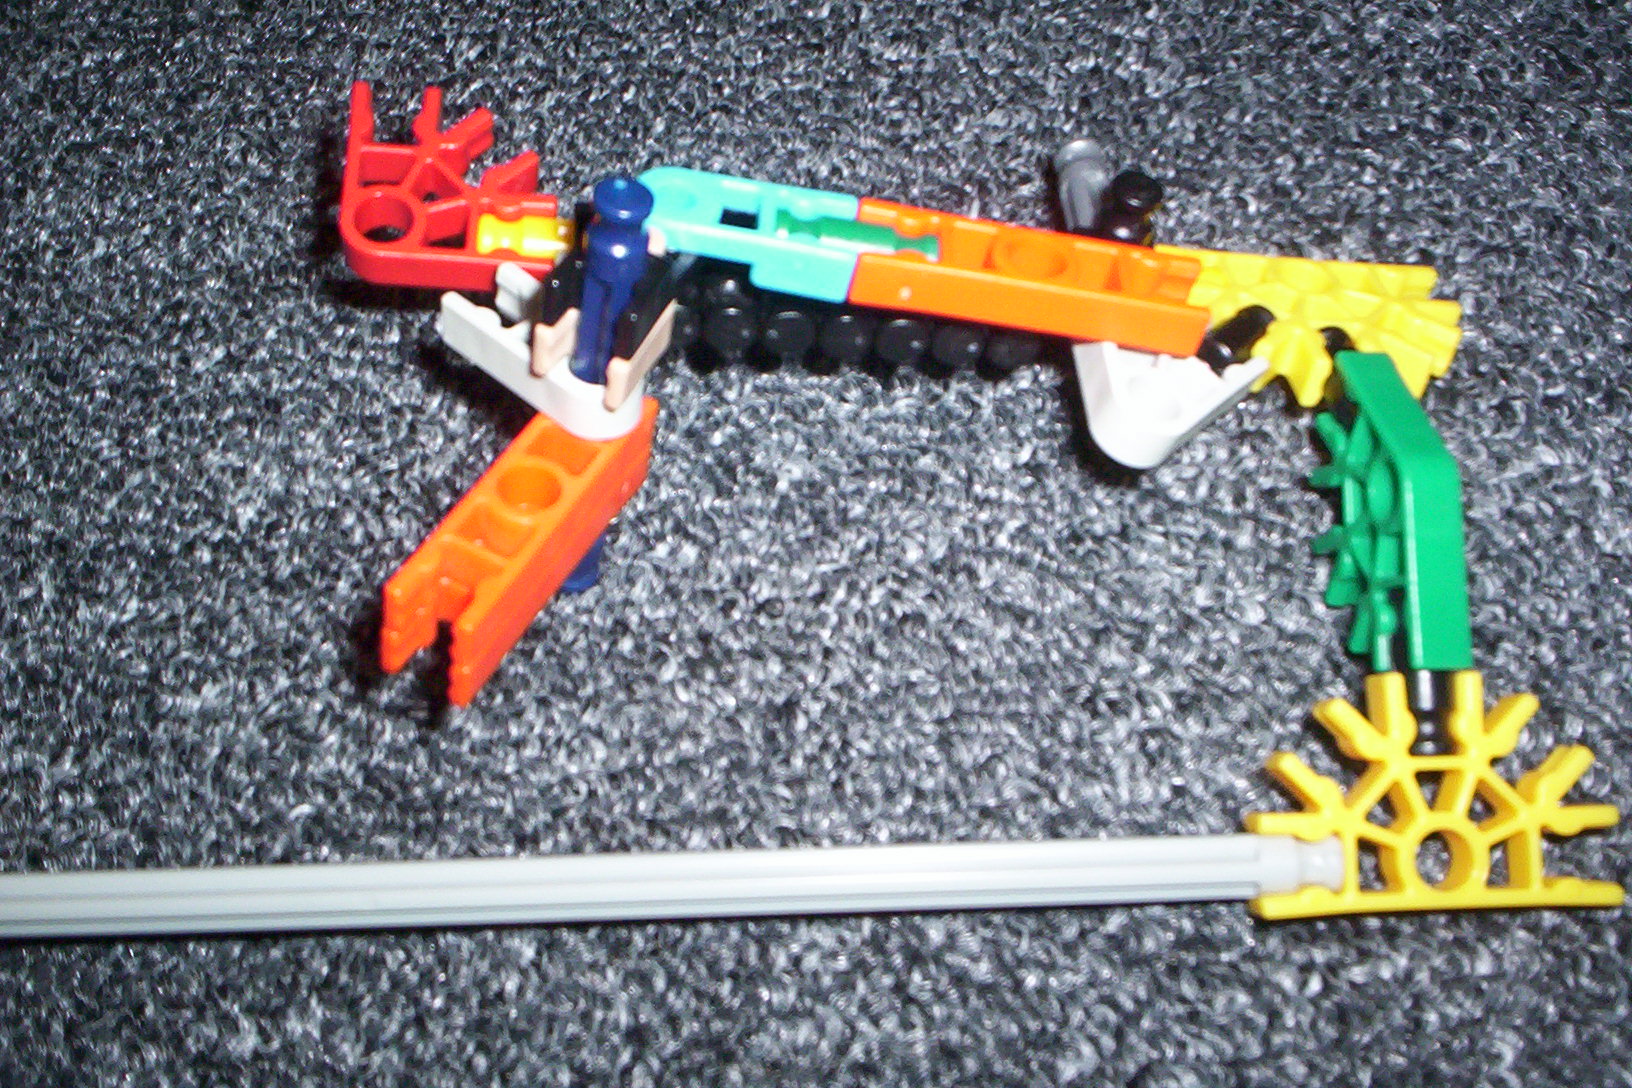
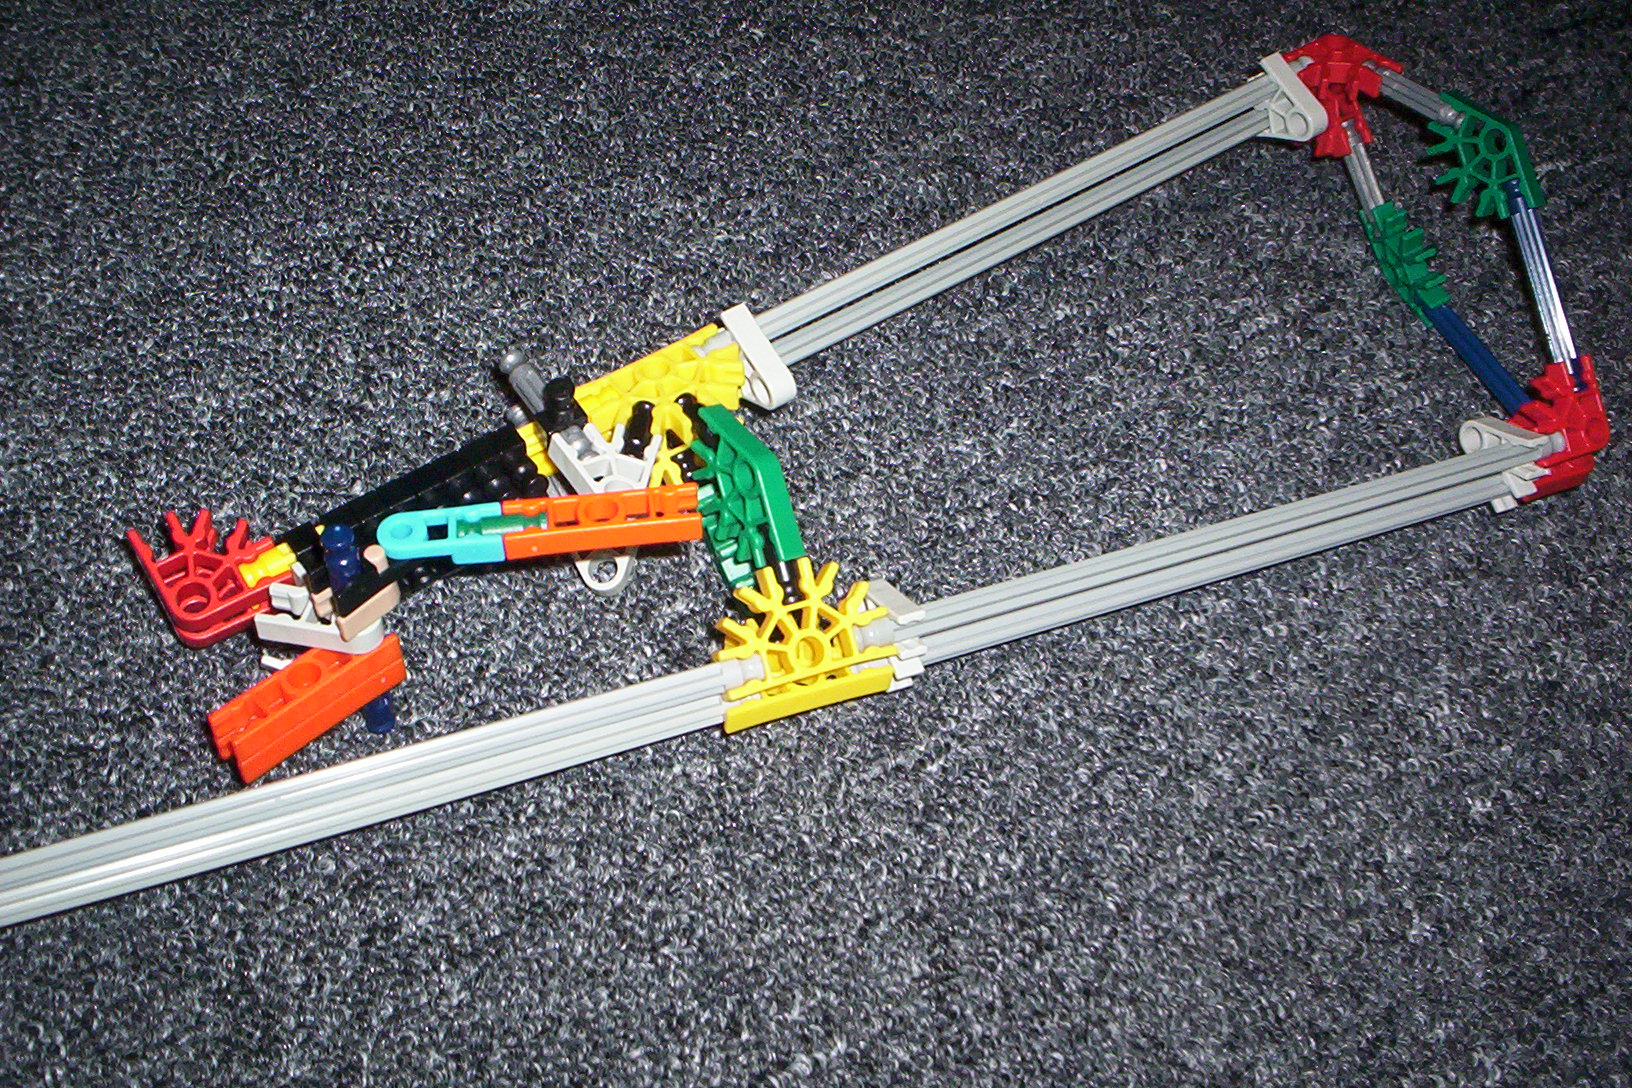
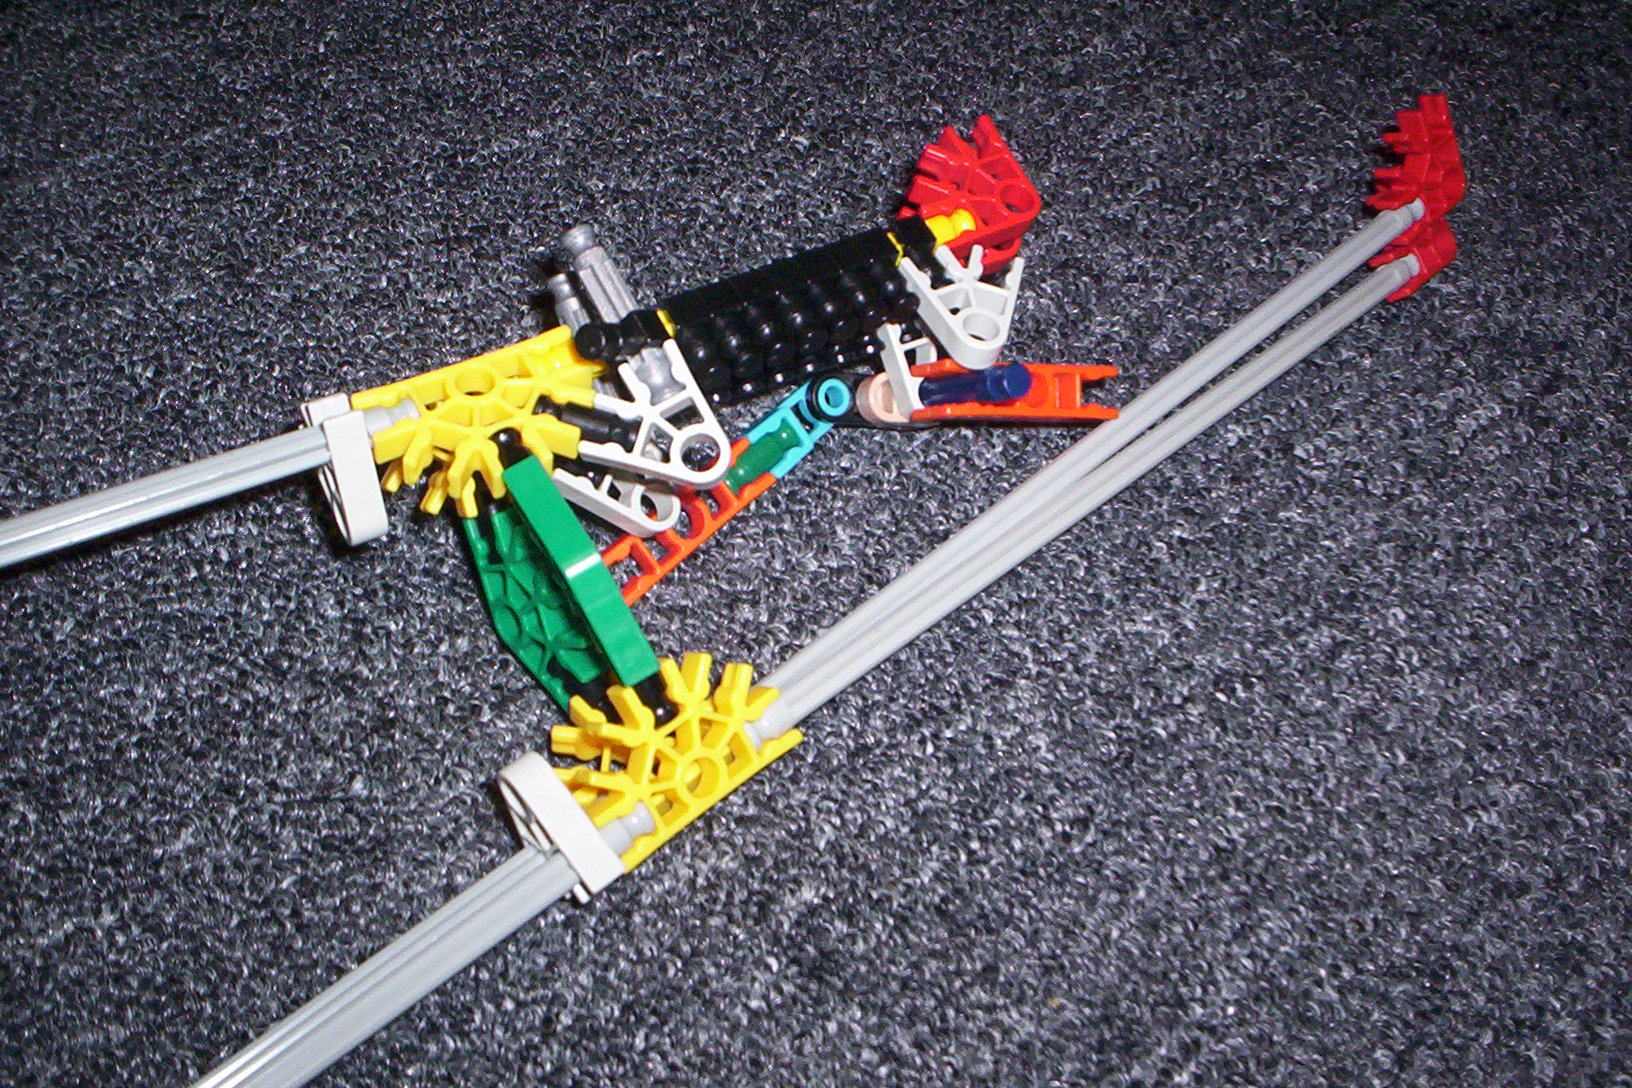
1. the end of the crossbow
2. make these
3. put them together
4. then make two of these
5. now make two of these
6. form the piece in picture #3 into this
7. put these two pieces together
8. form the other piece in picture #3 into this
9. you've already made the piece in the upper left corner, so just make the others
10. now put these together, just like this
11. put these together
12. & 13. put it all together
Installing the End of the Track
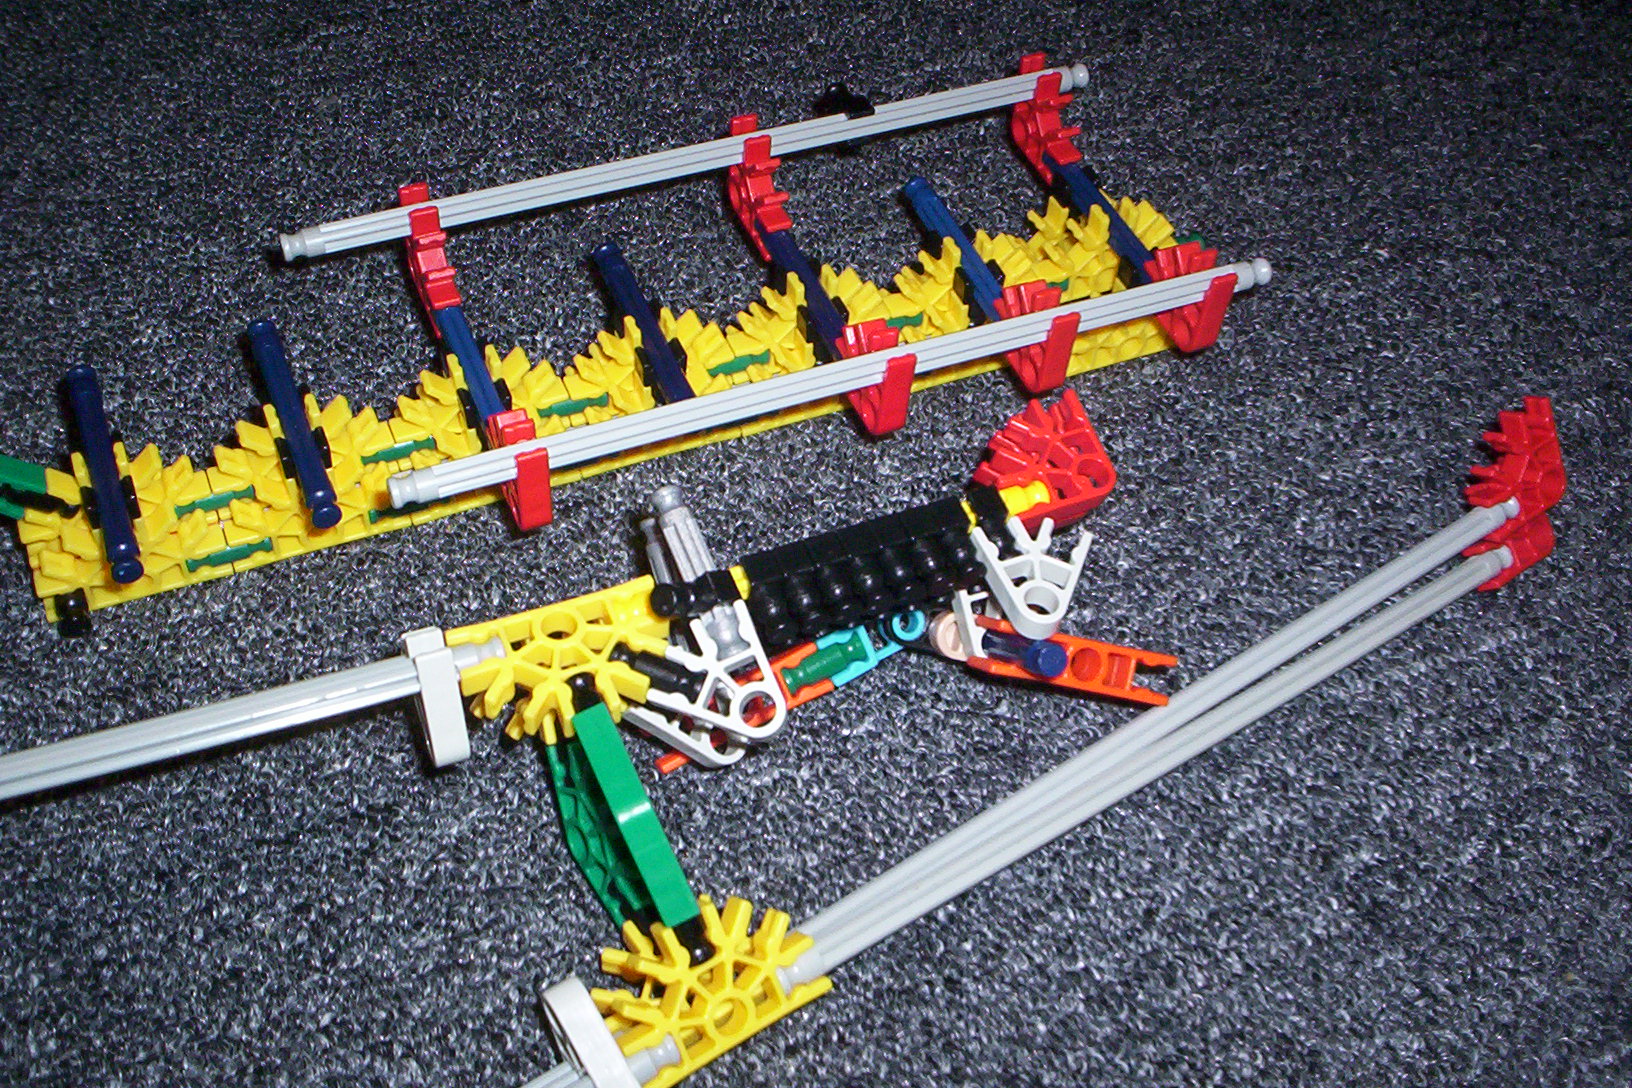
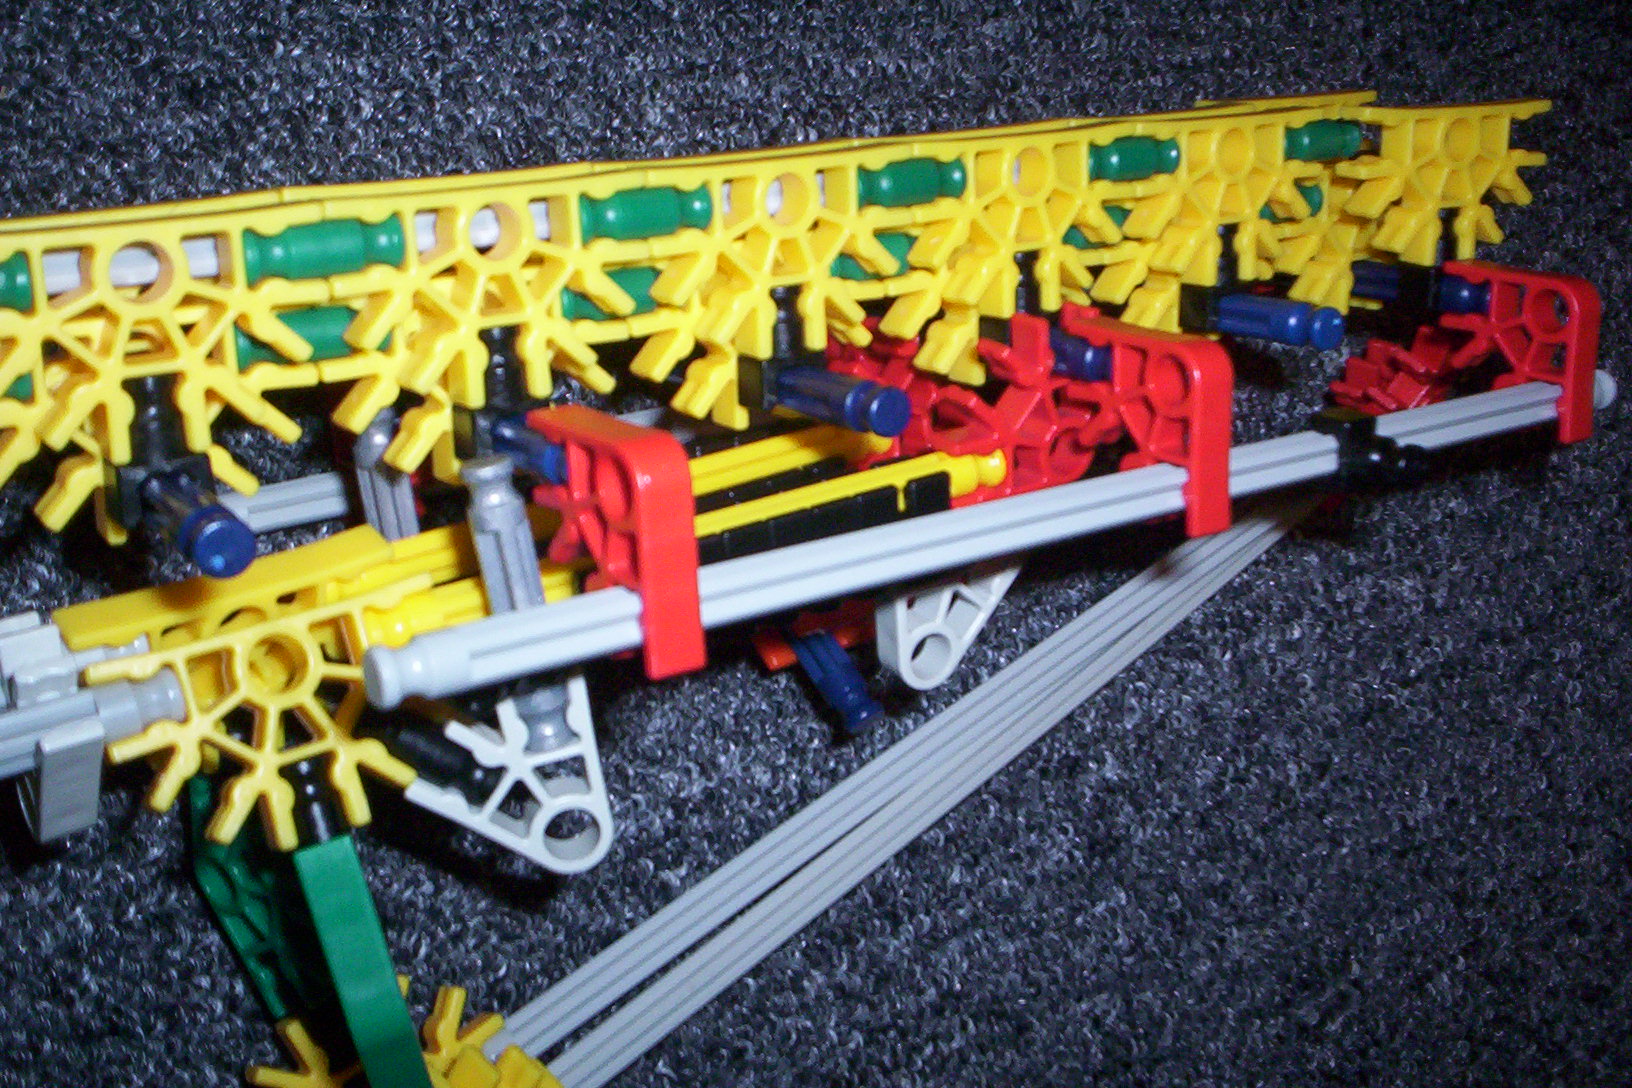
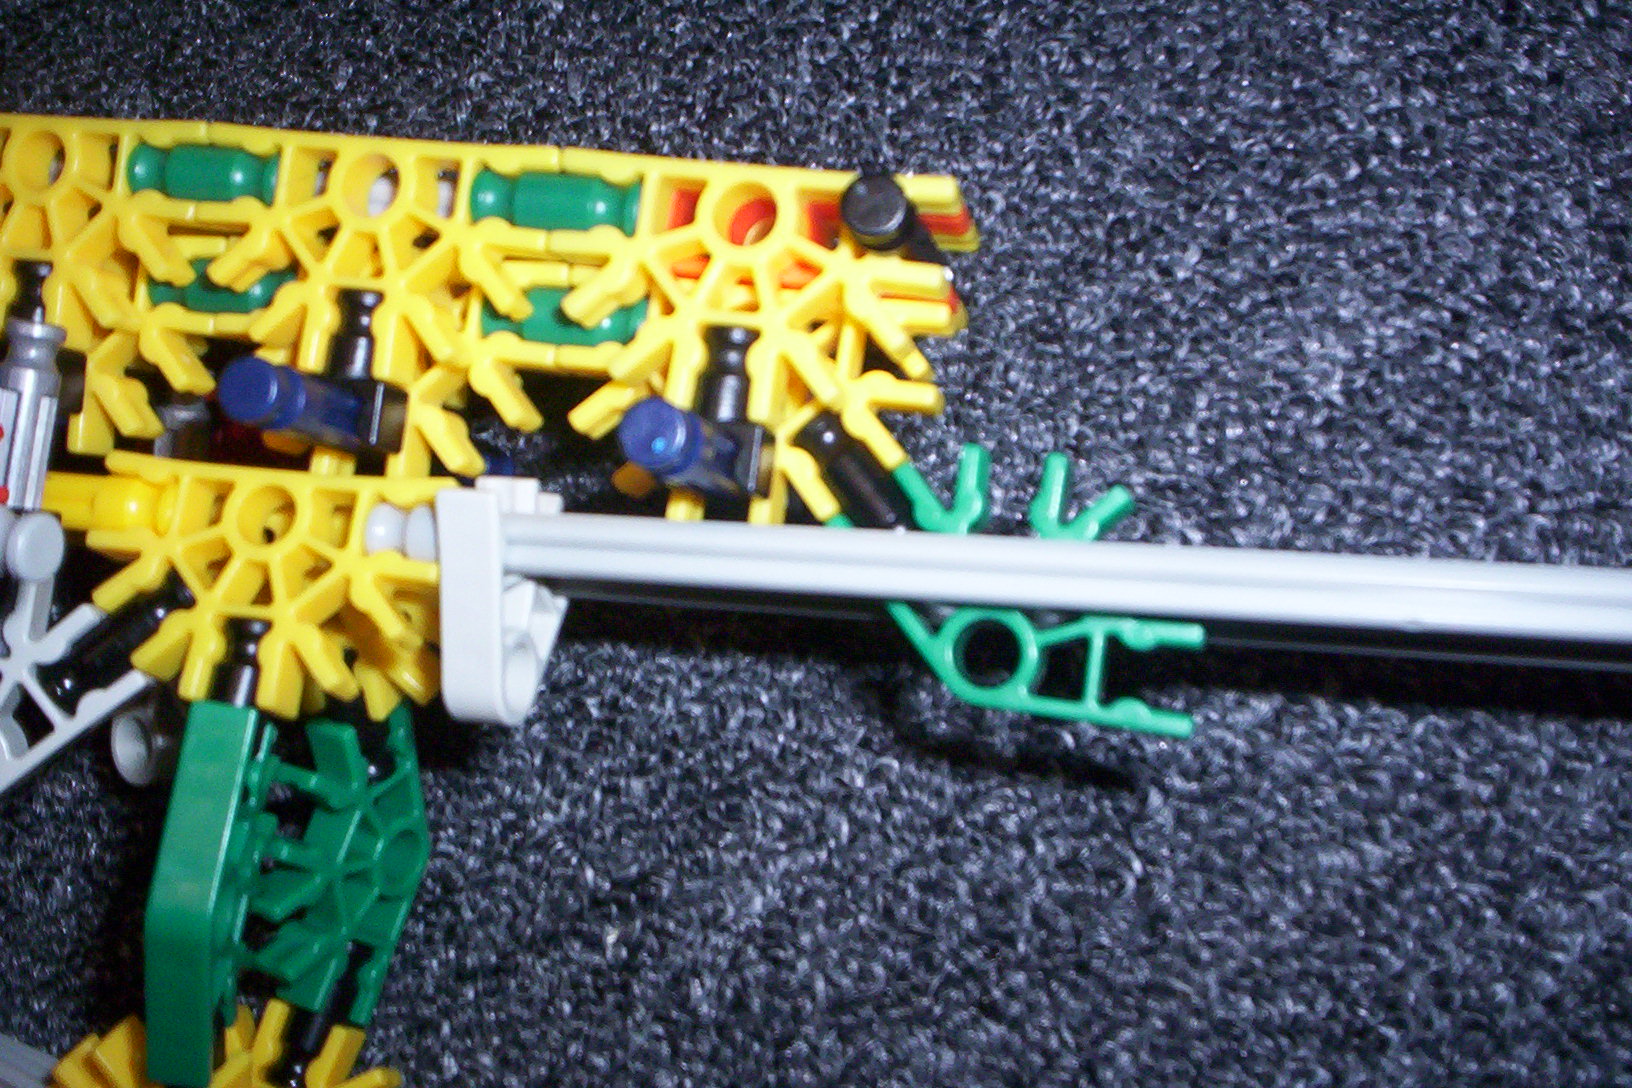
1. you'll put these together in this step
2. refer to picture
3. this is the connection point
4. pay attention to that black clip
5. do i really need an explanation for this?
6. connect to the black clip
7. " " " " "
8. put the green connector in between the two gray rods
2. refer to picture
3. this is the connection point
4. pay attention to that black clip
5. do i really need an explanation for this?
6. connect to the black clip
7. " " " " "
8. put the green connector in between the two gray rods
Making the Trigger Mechanism
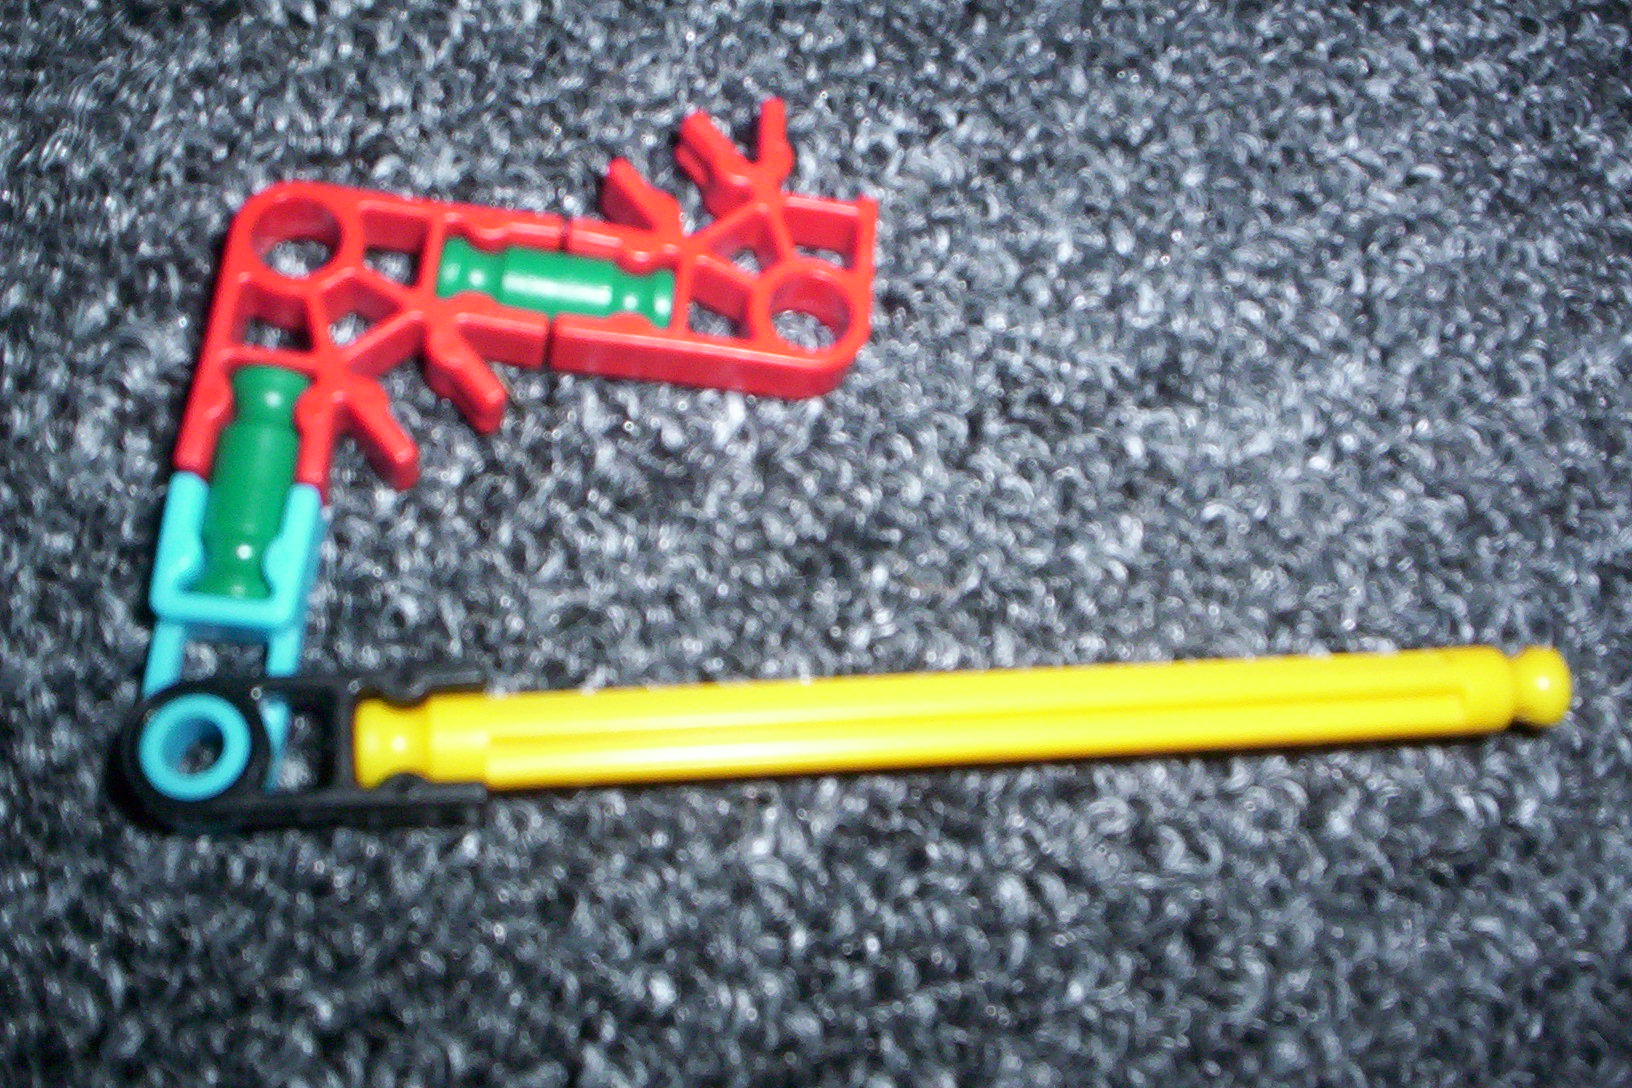
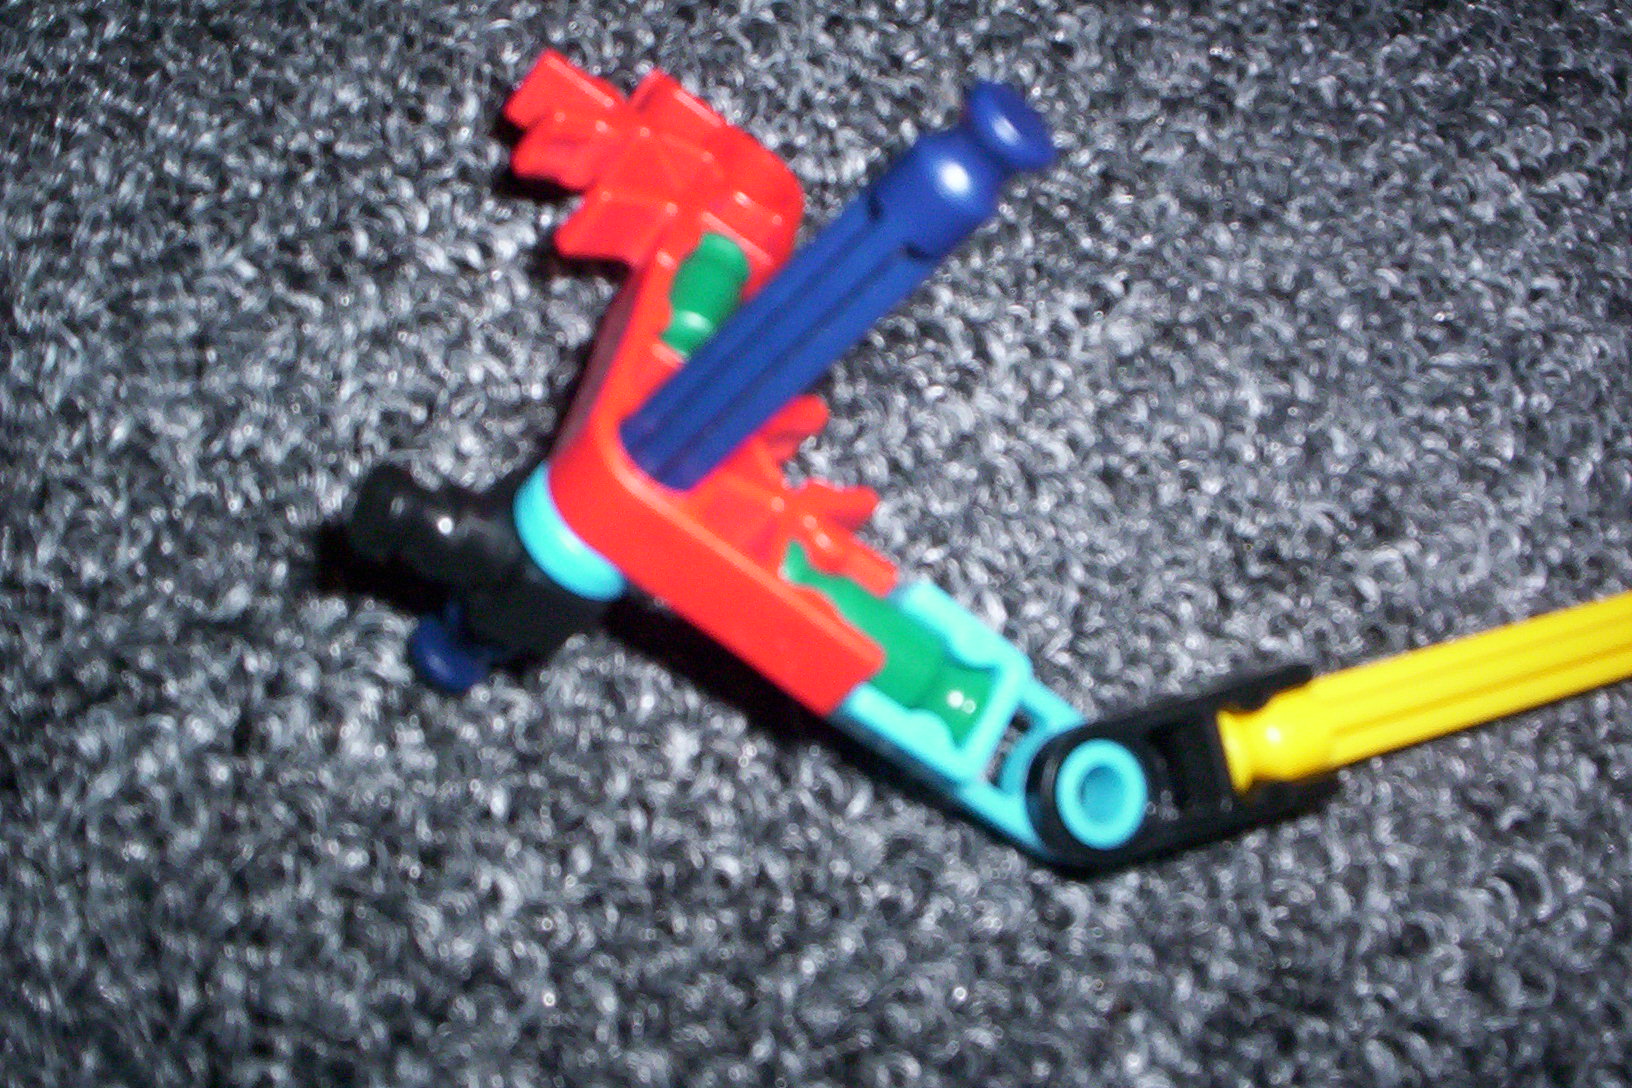
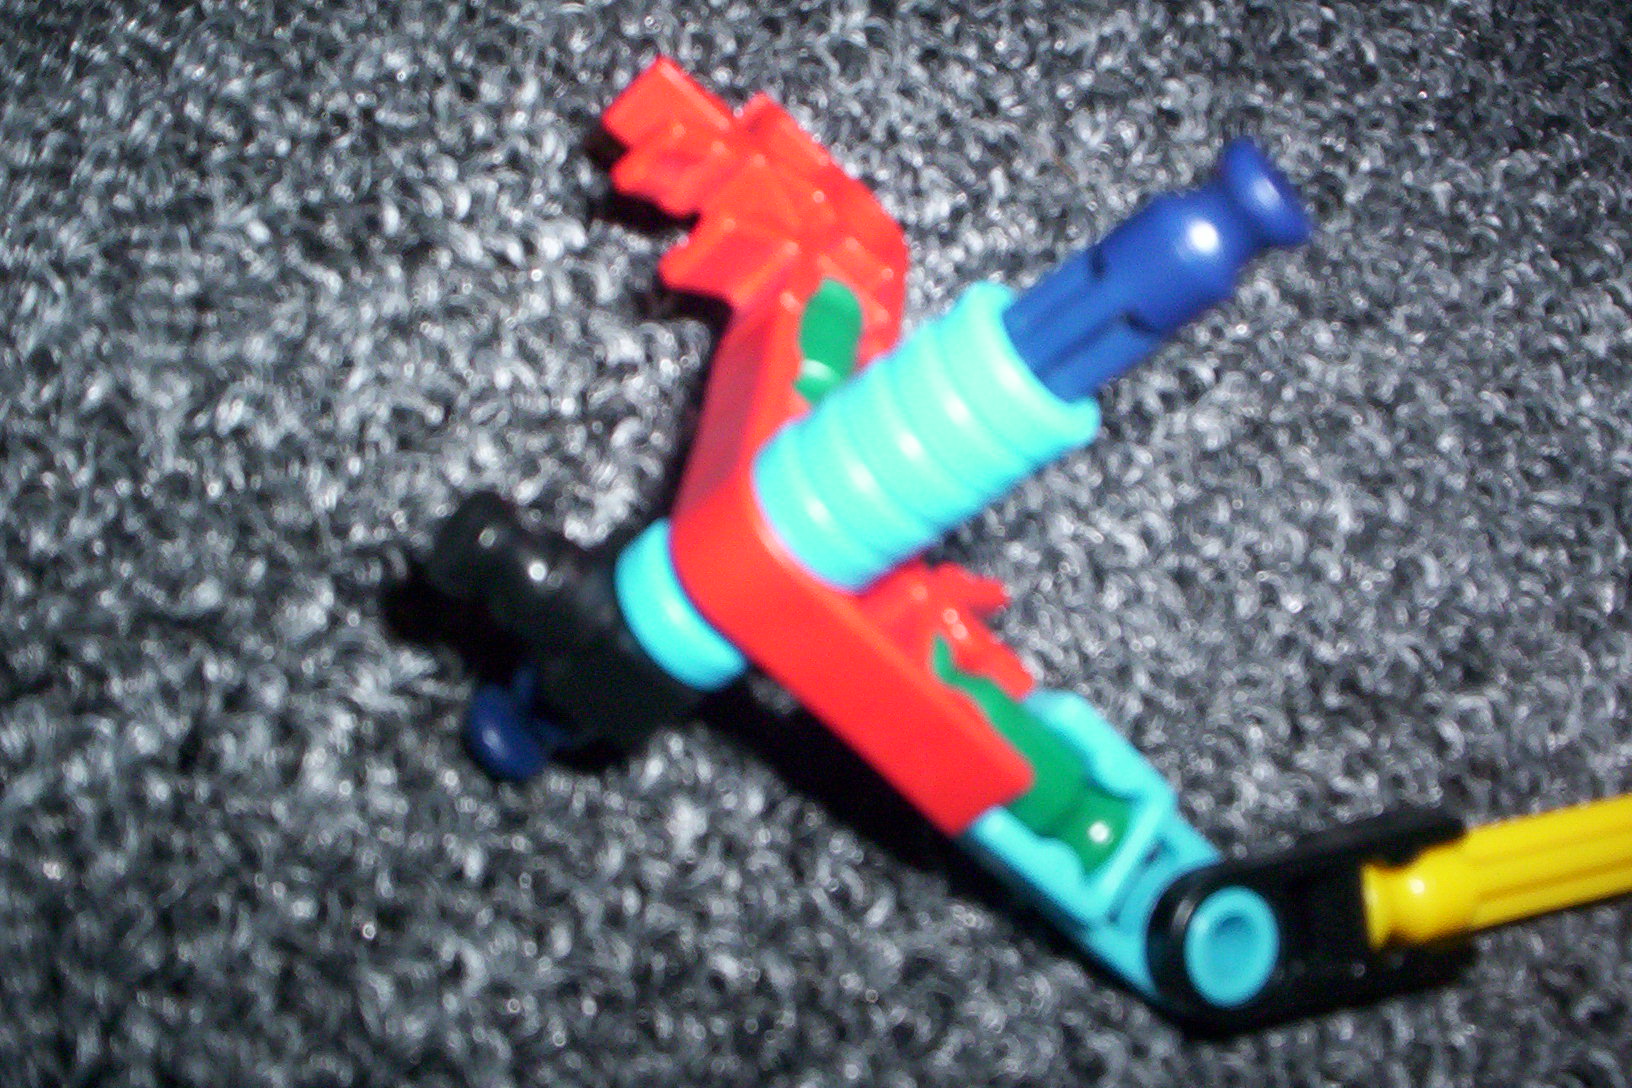
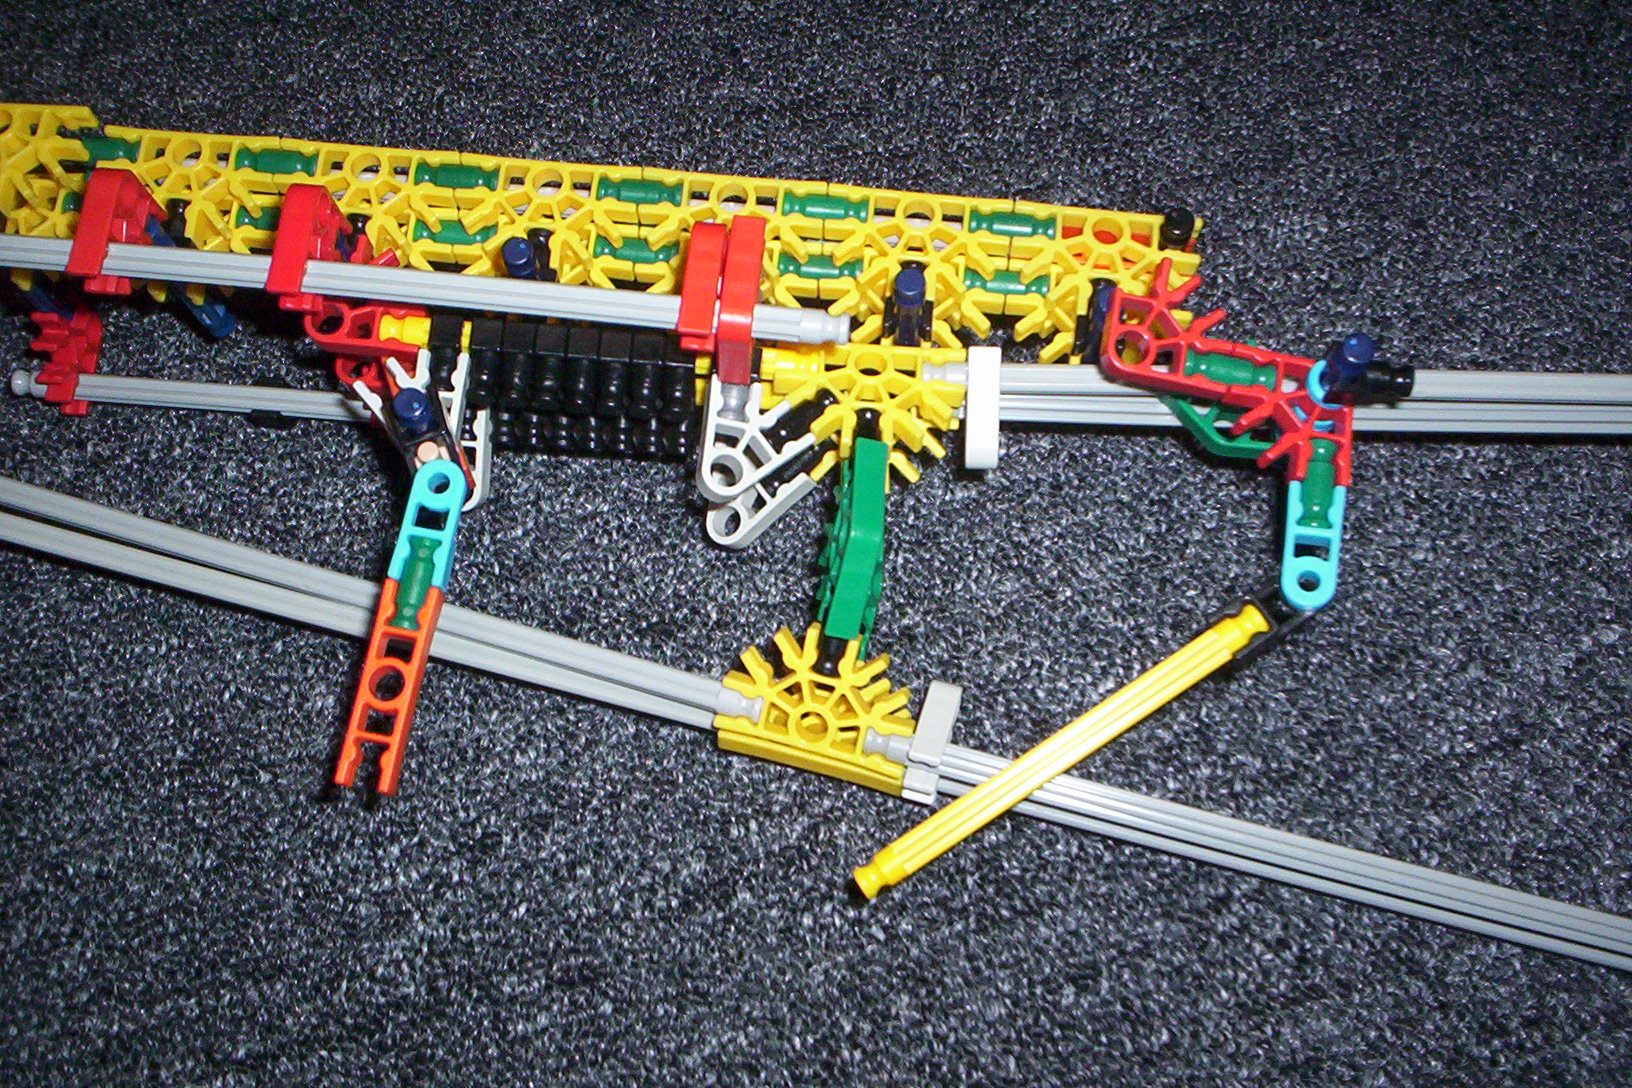
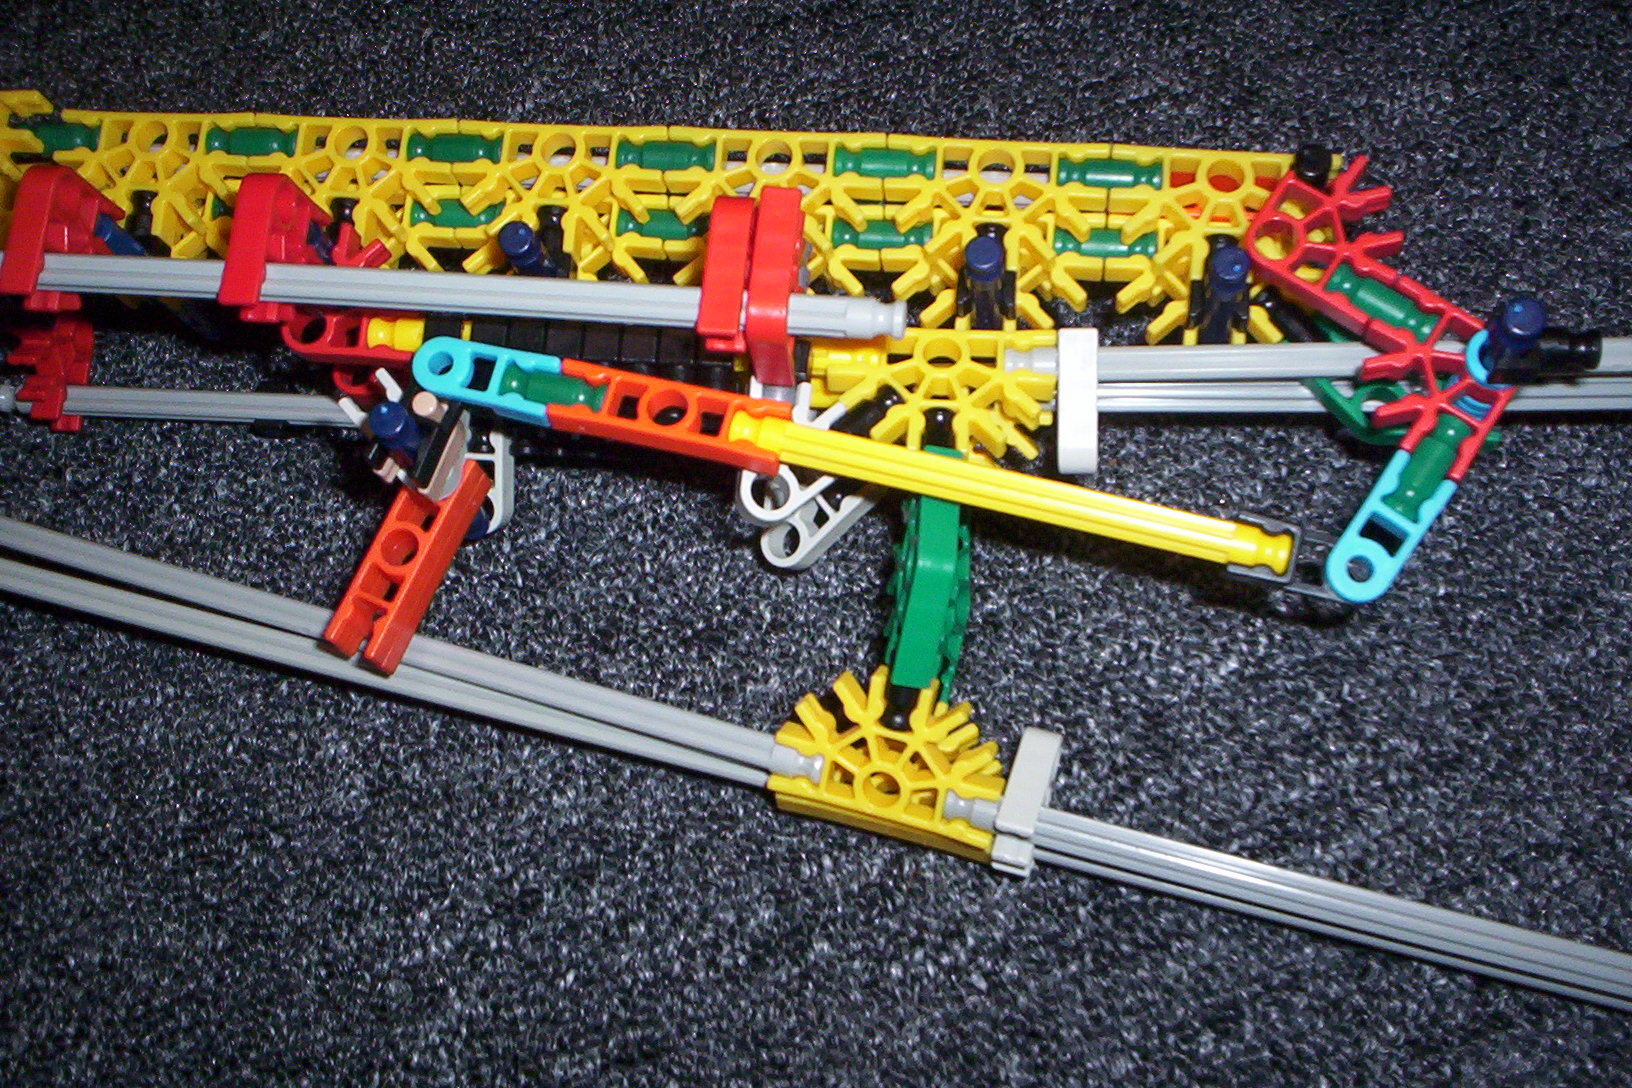
these pictures are pretty easy to follow
Rubber Band Instalation
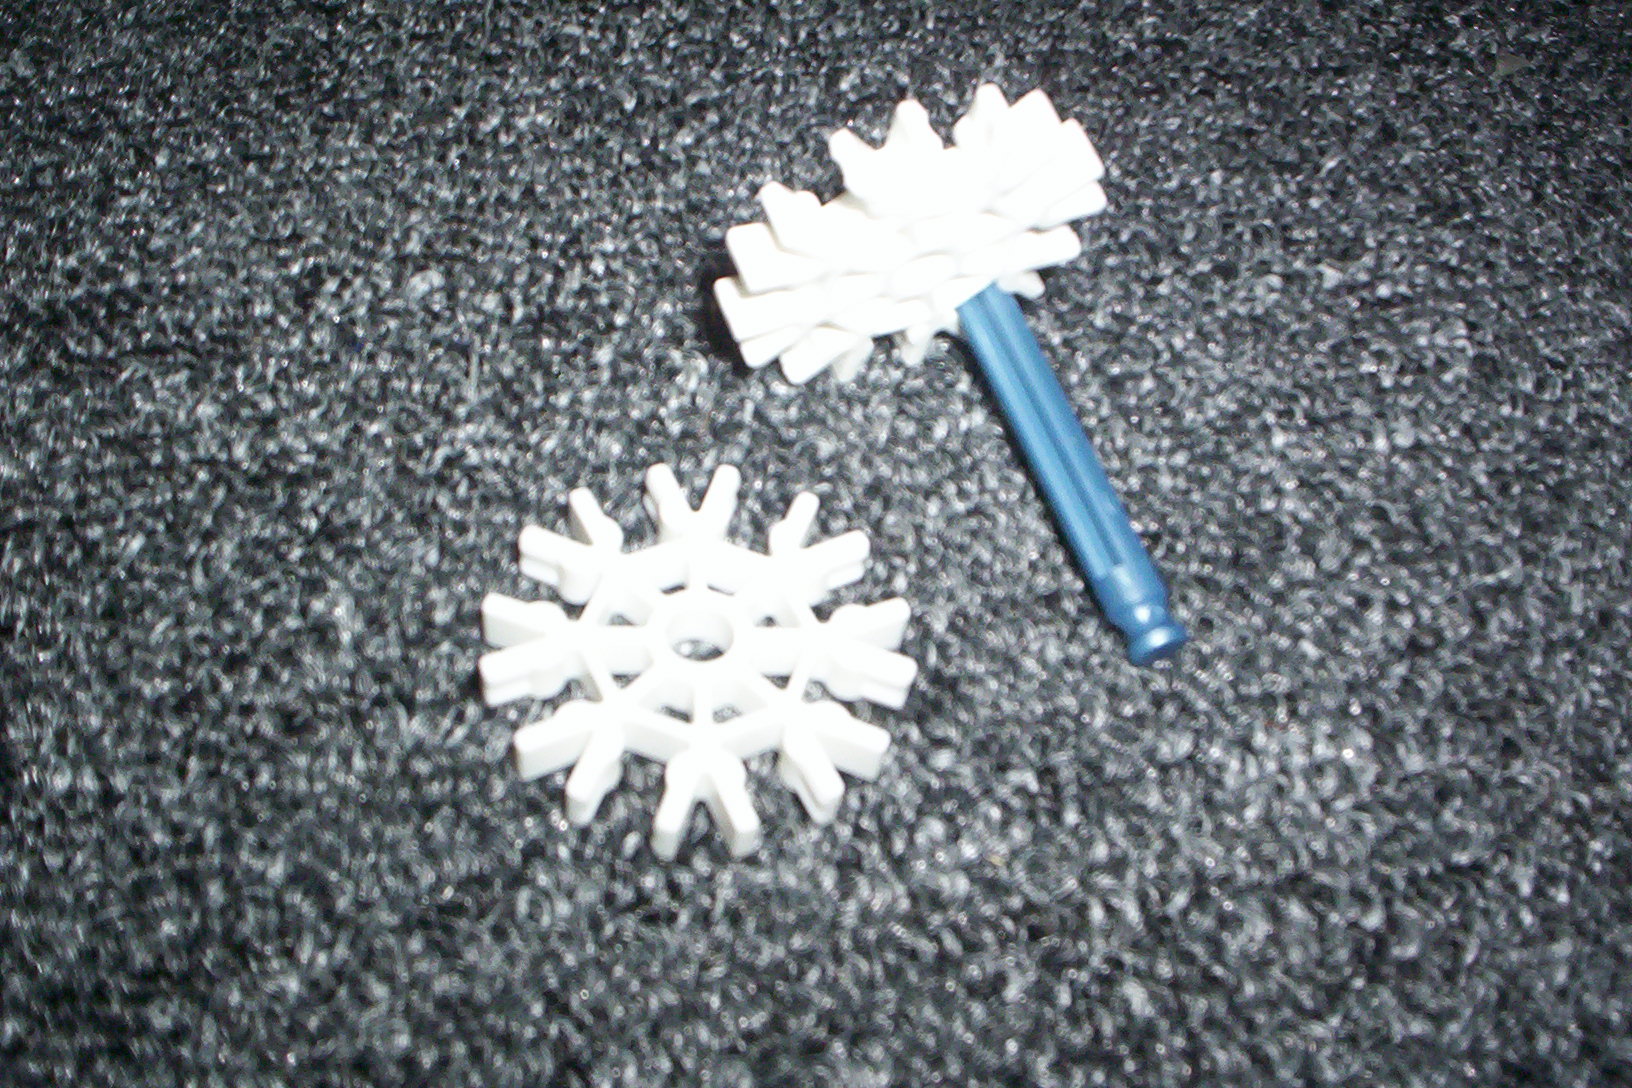
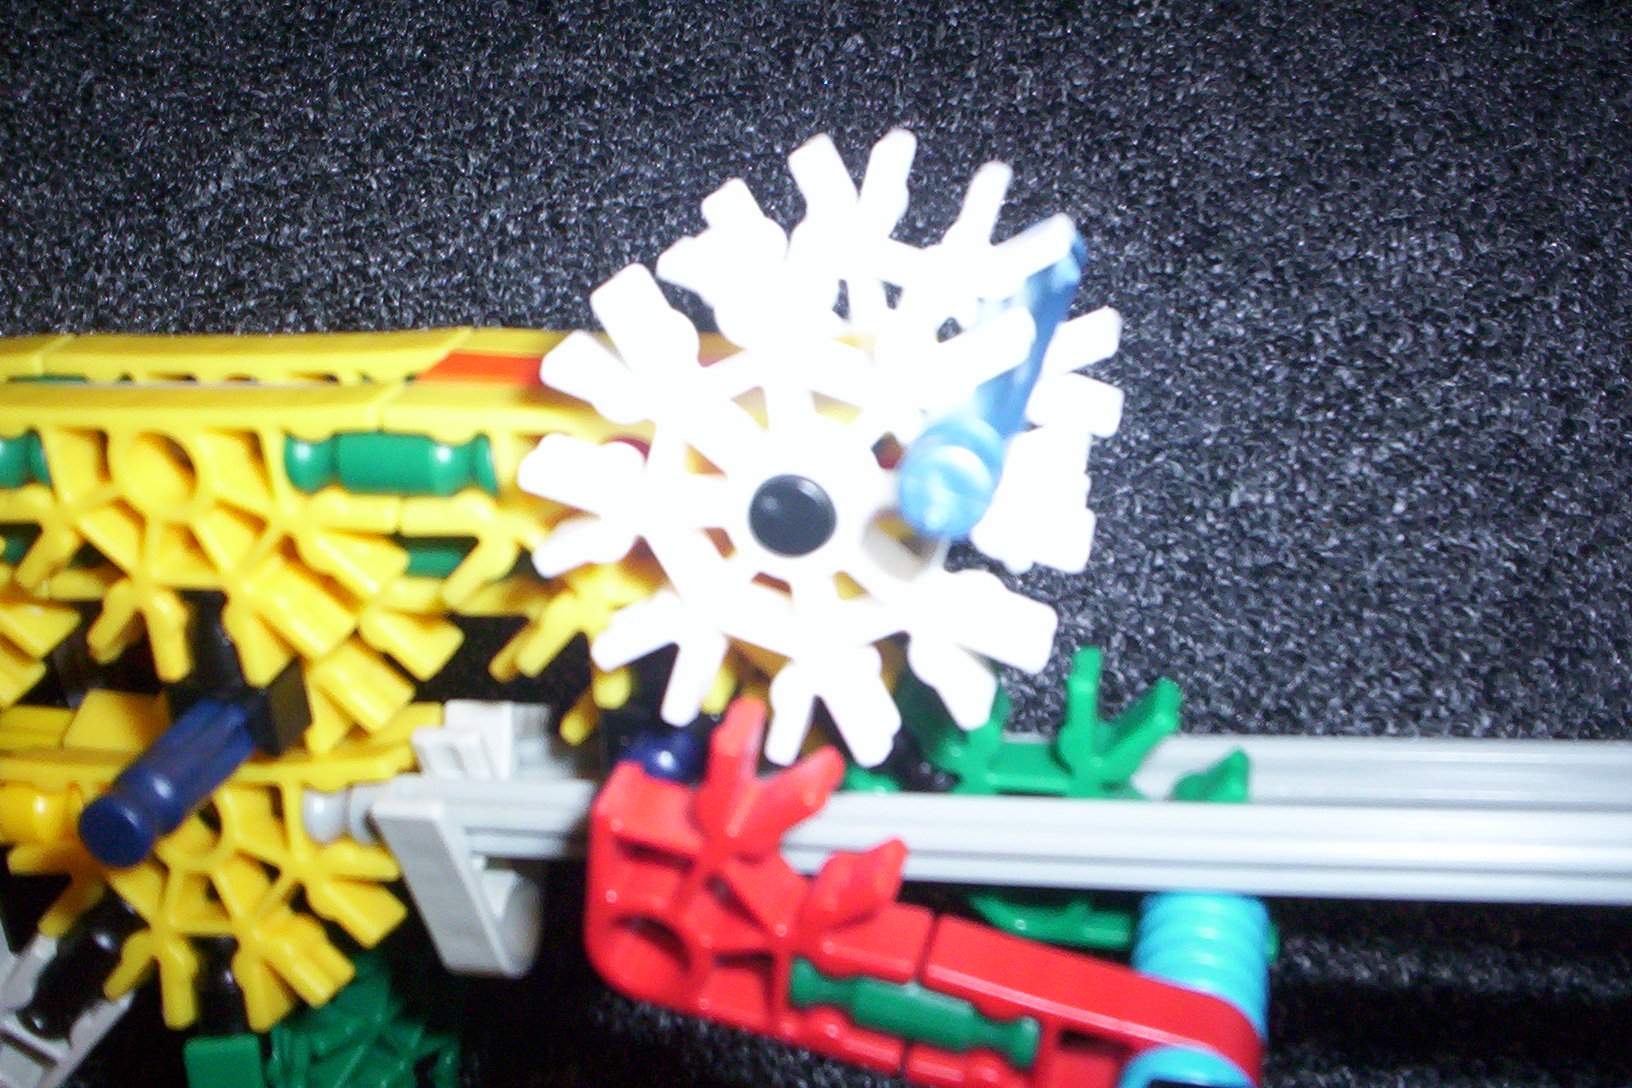

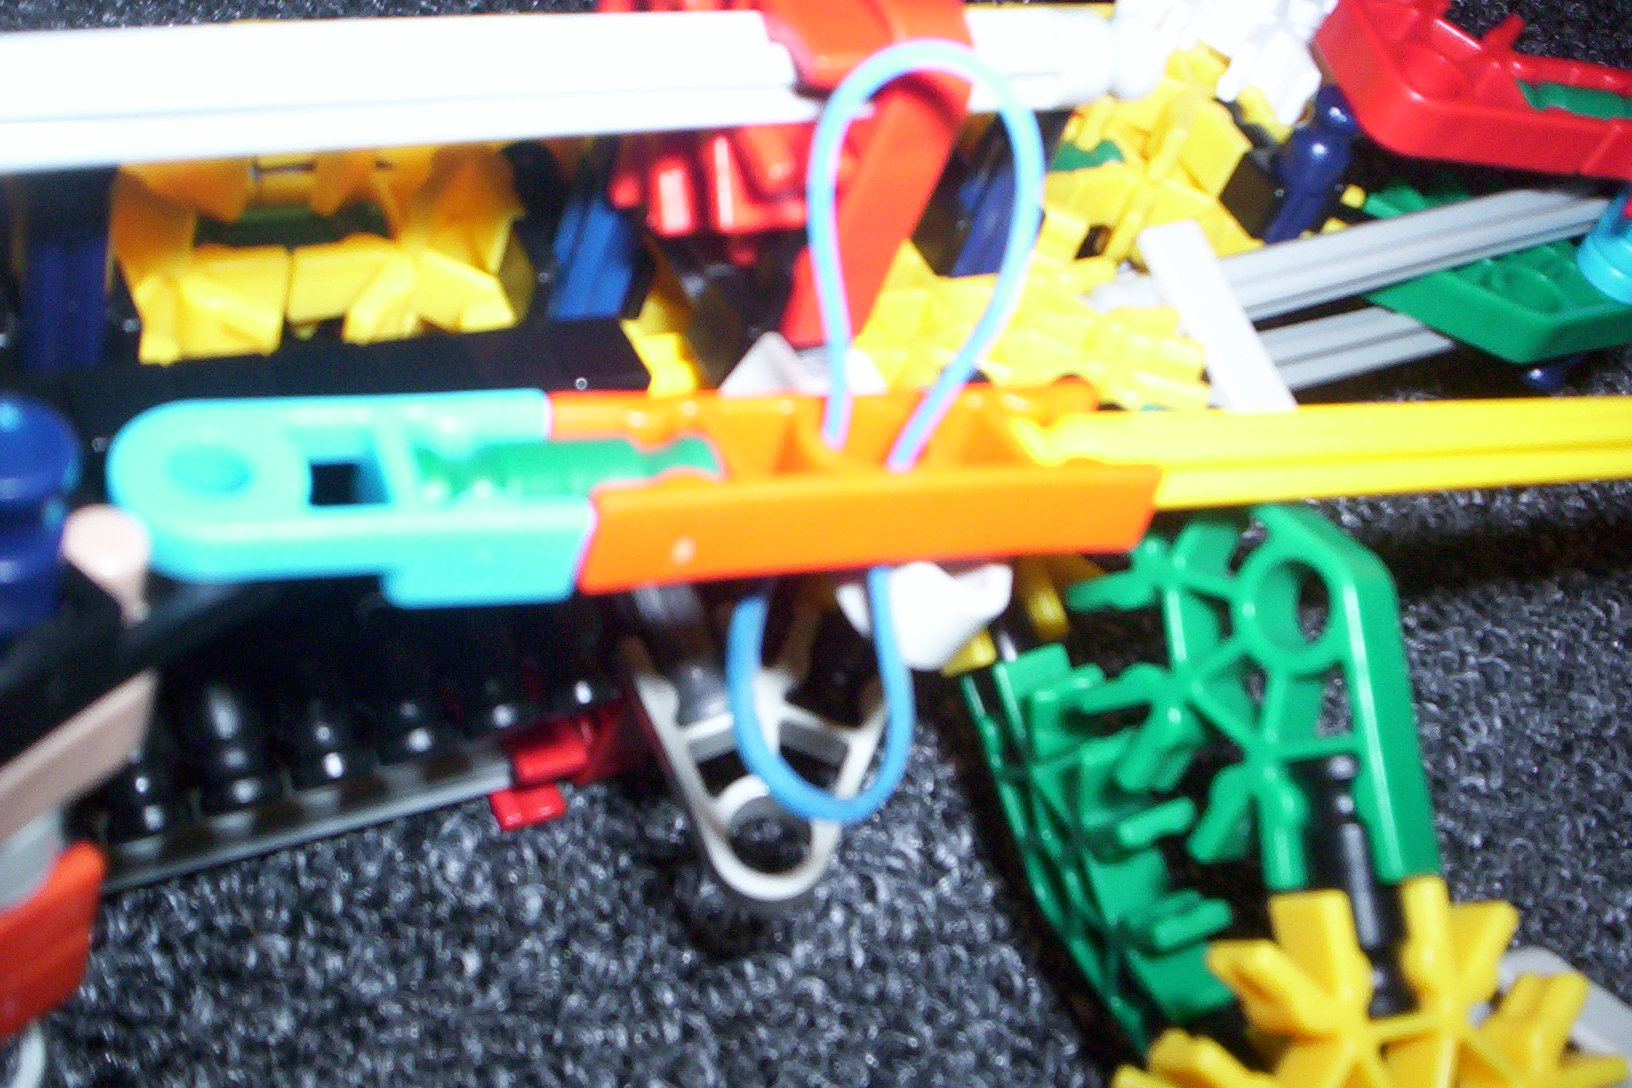
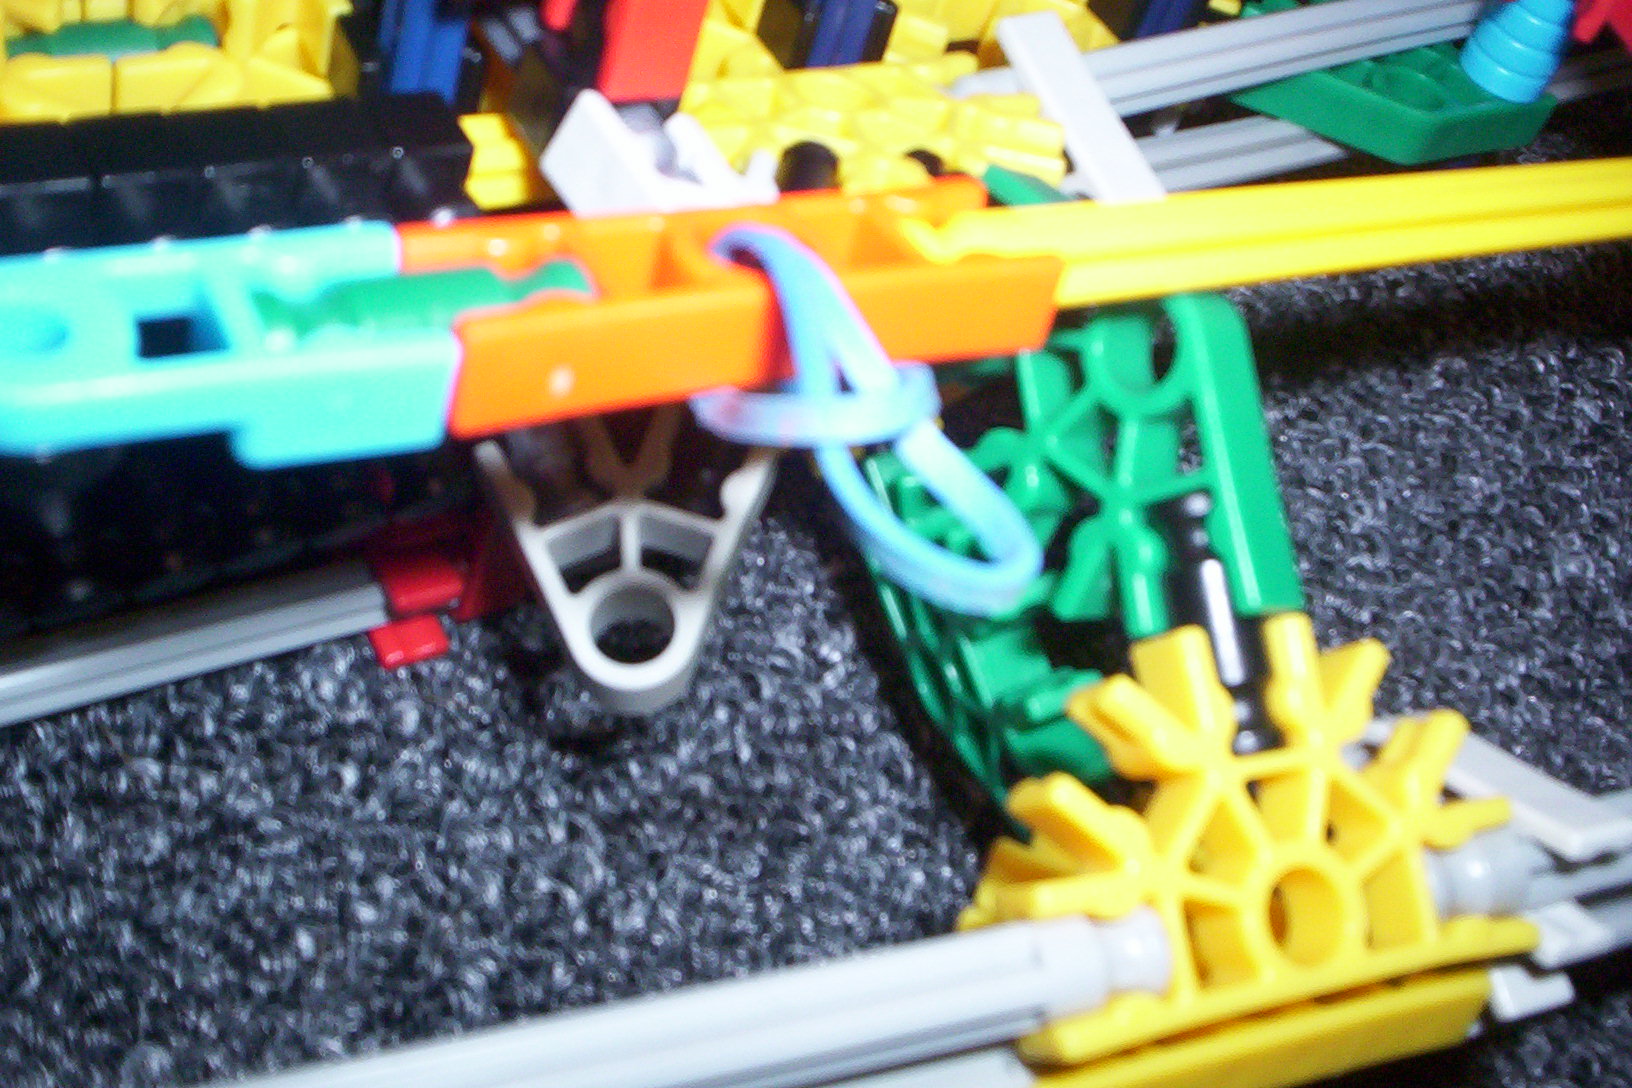
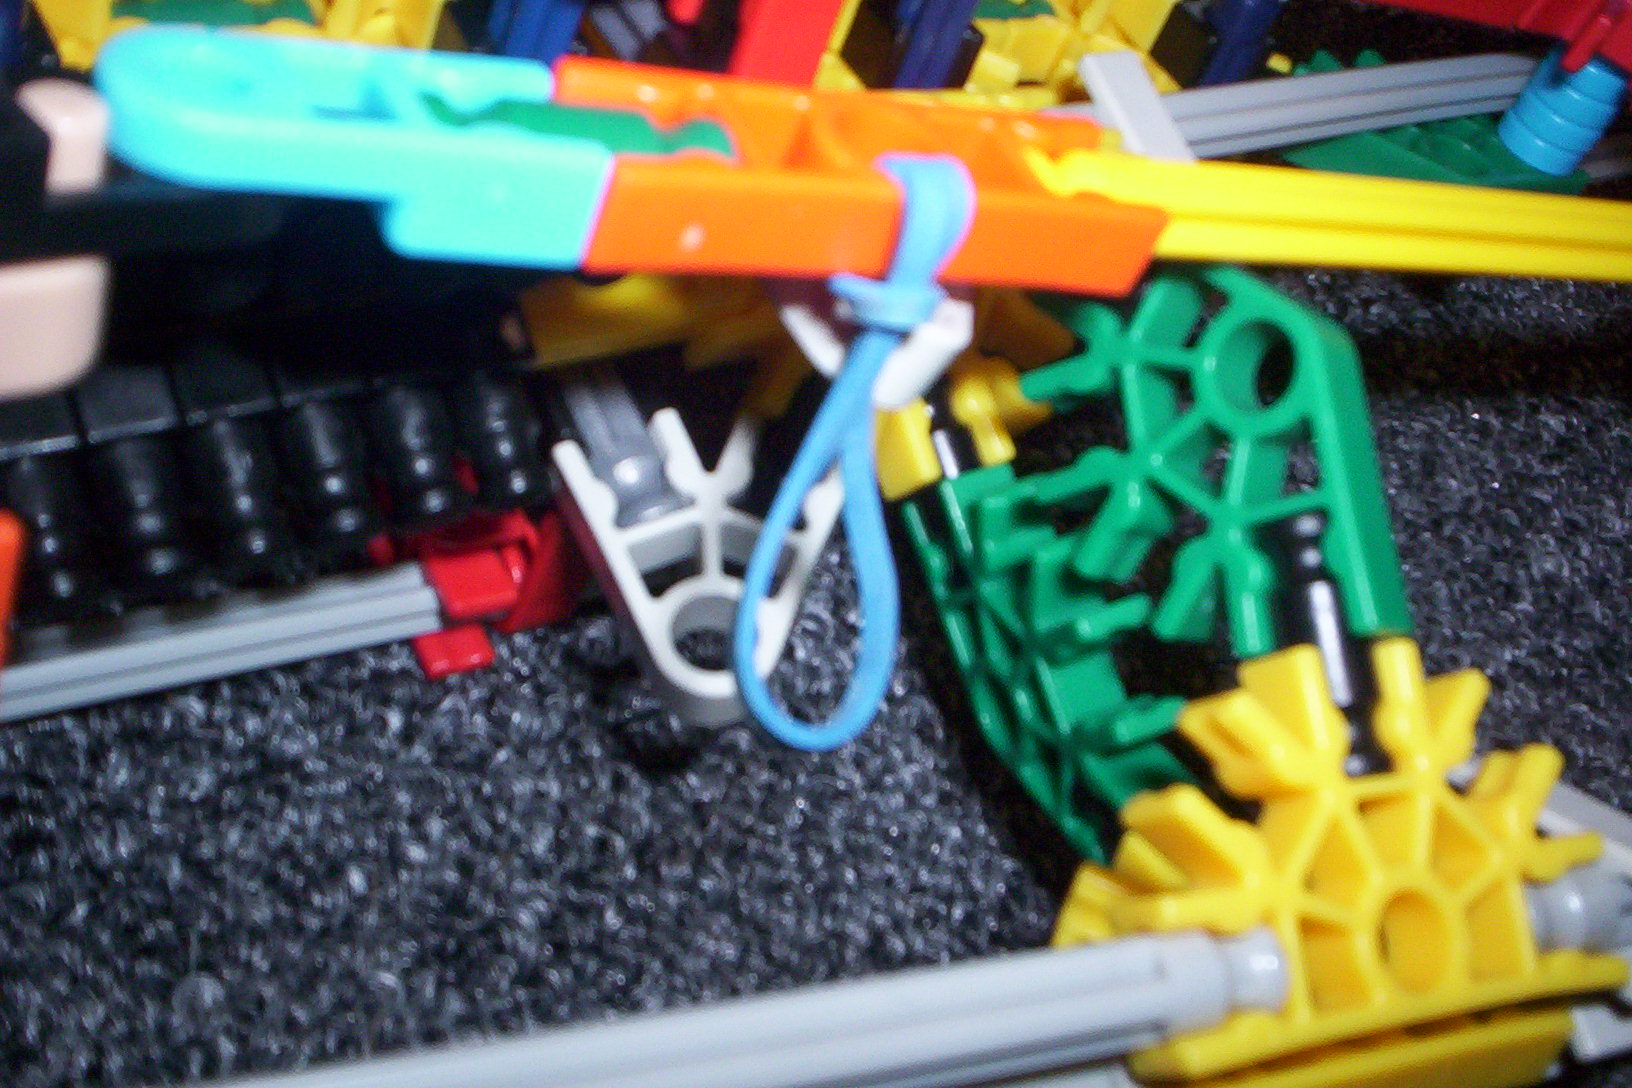
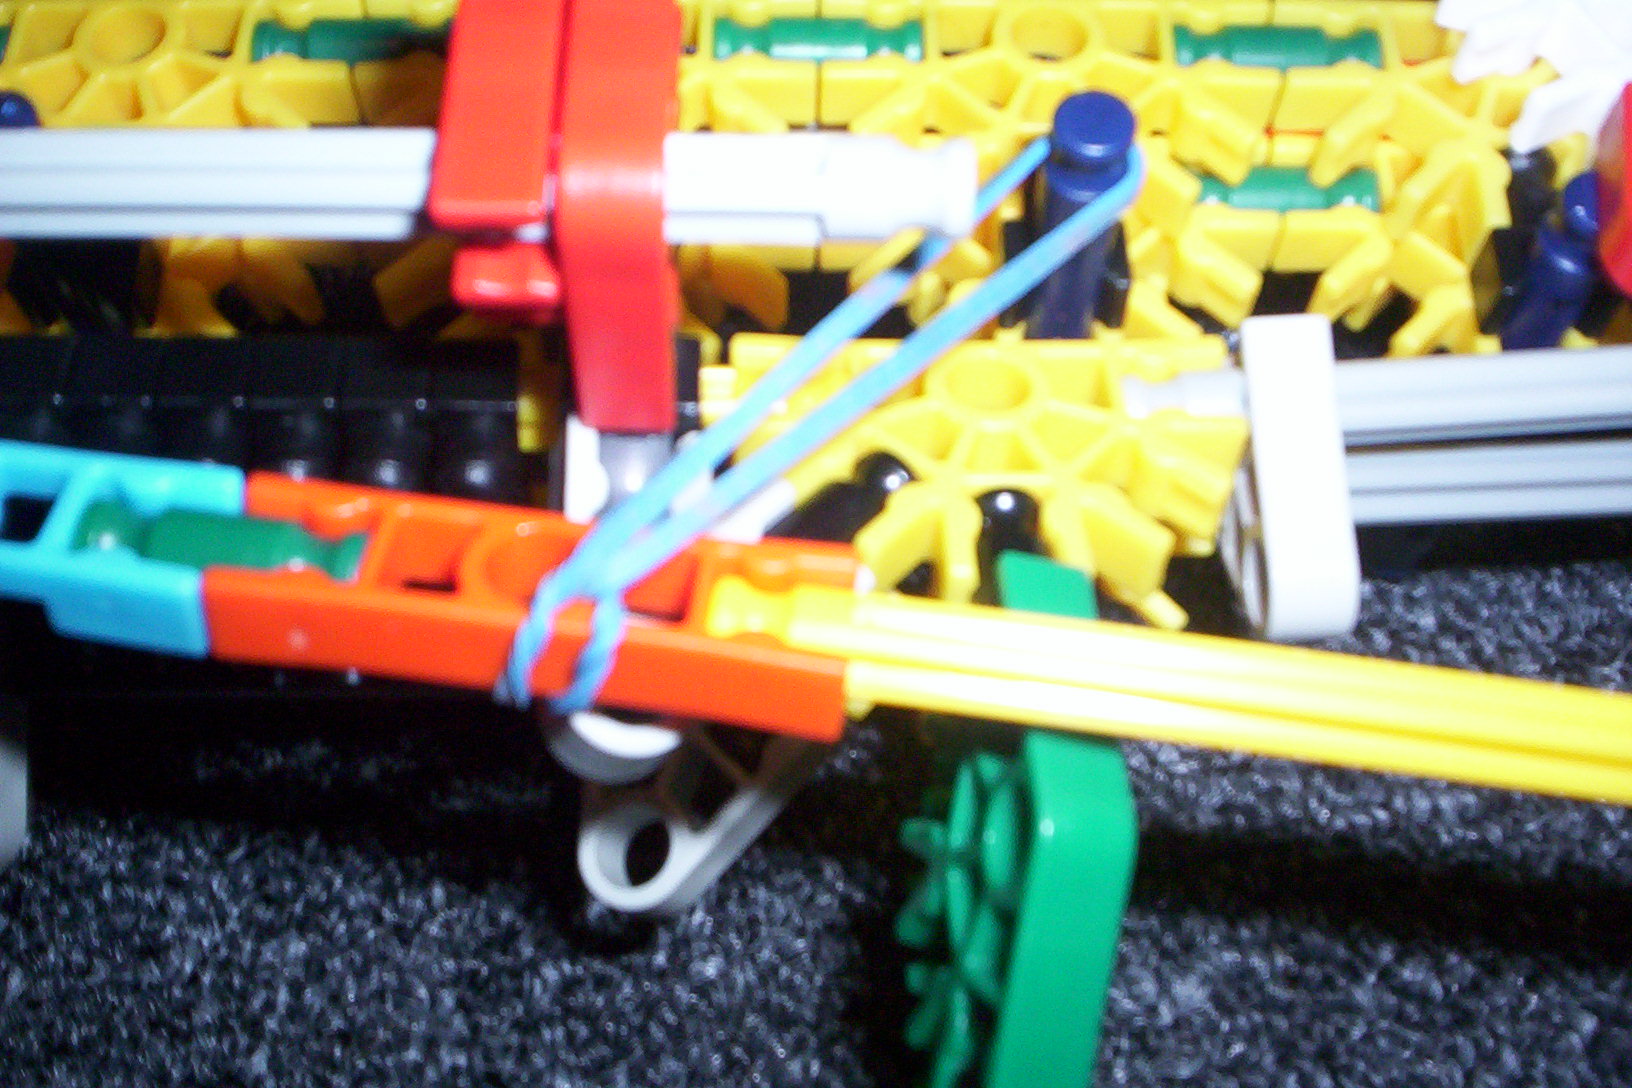
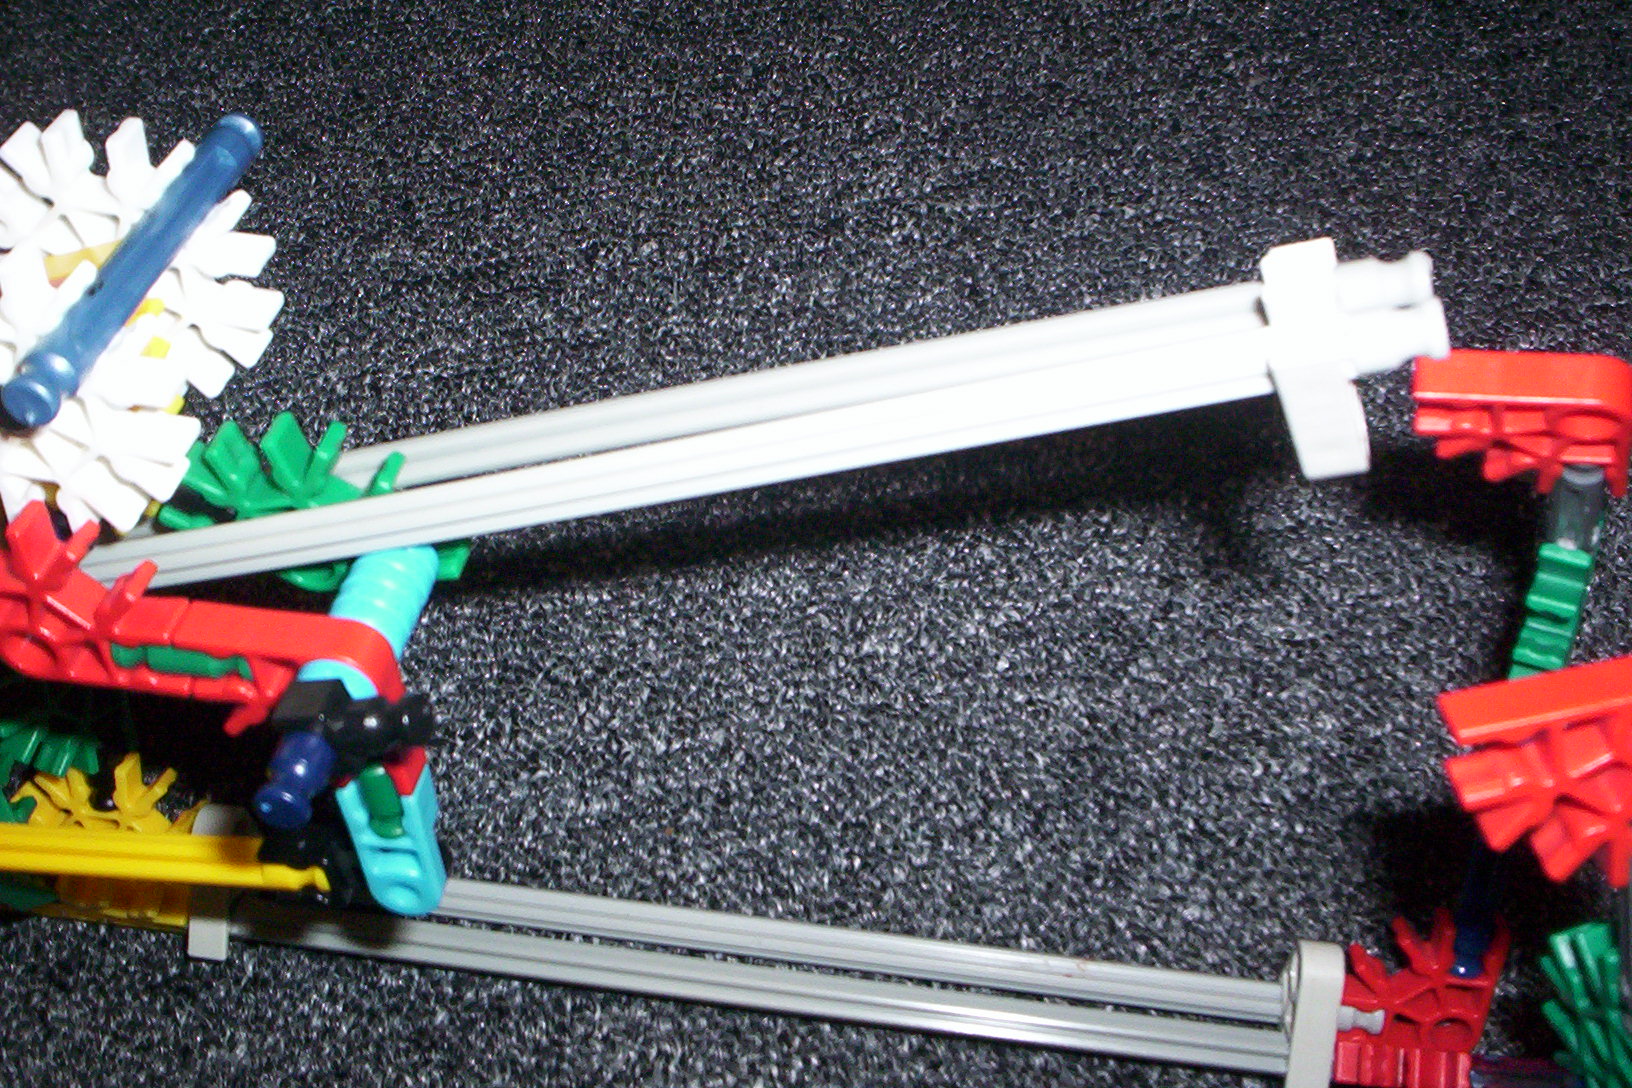
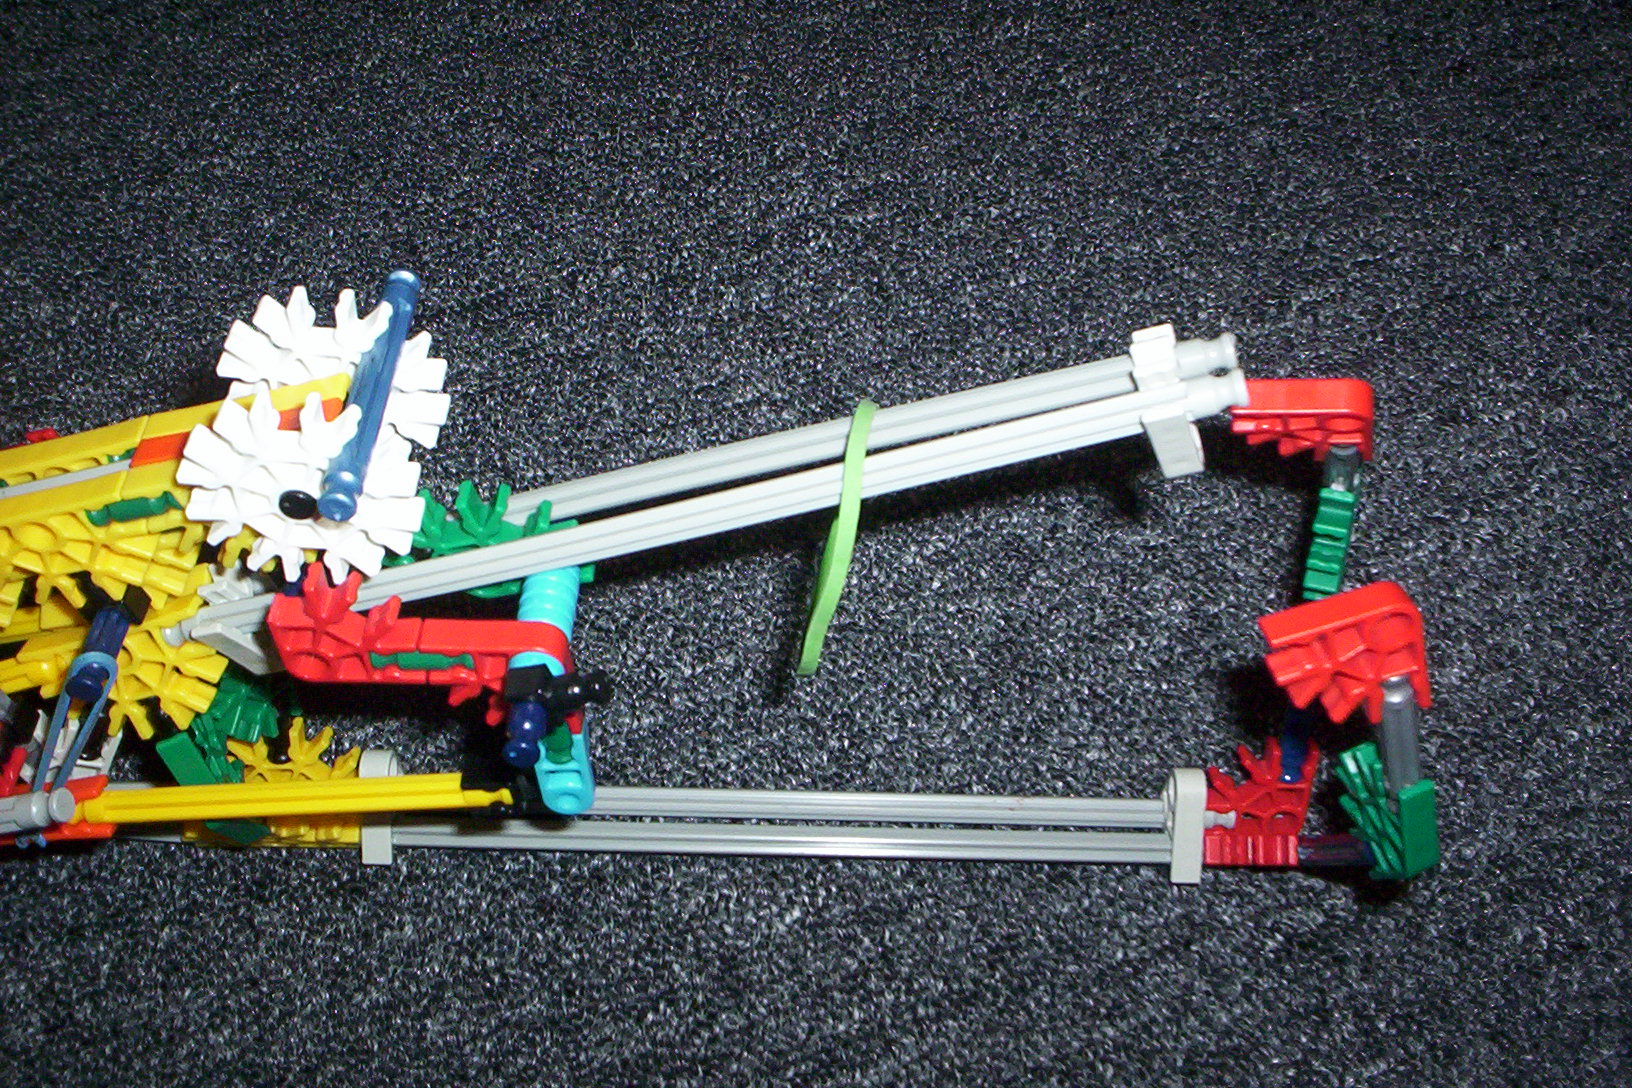
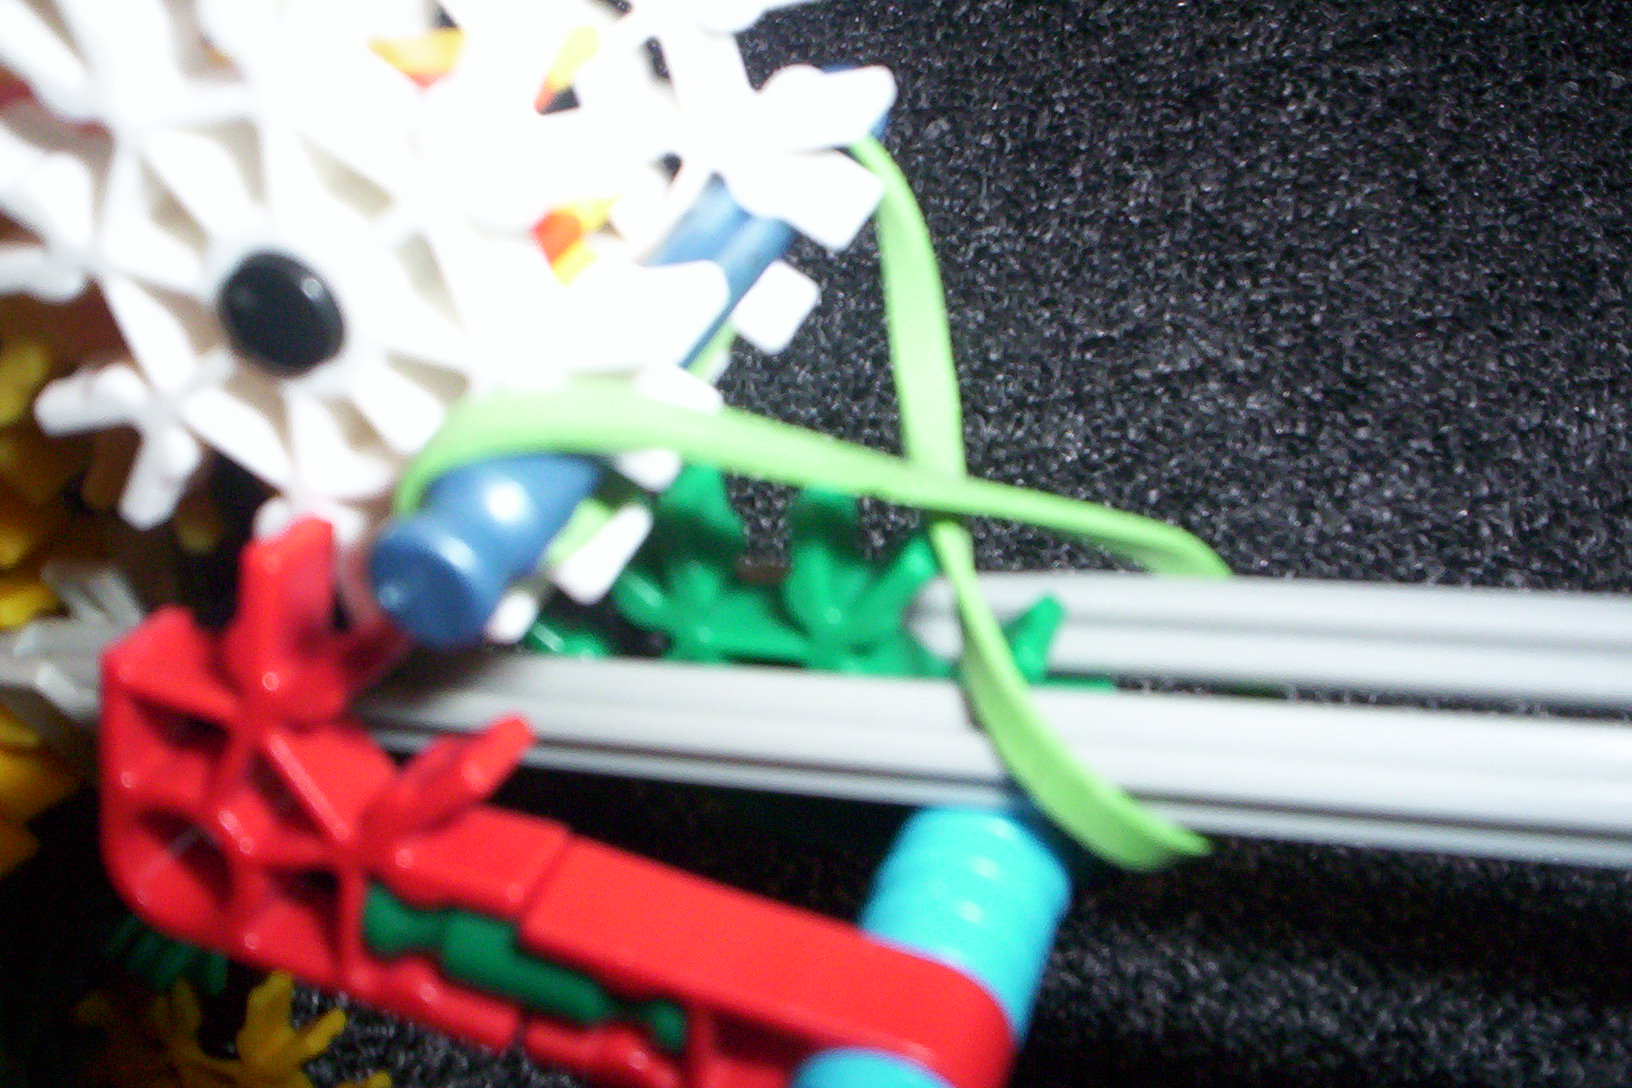
this crossbow uses the same rubber bands as my small gun.
Adding the Spindle Wheel
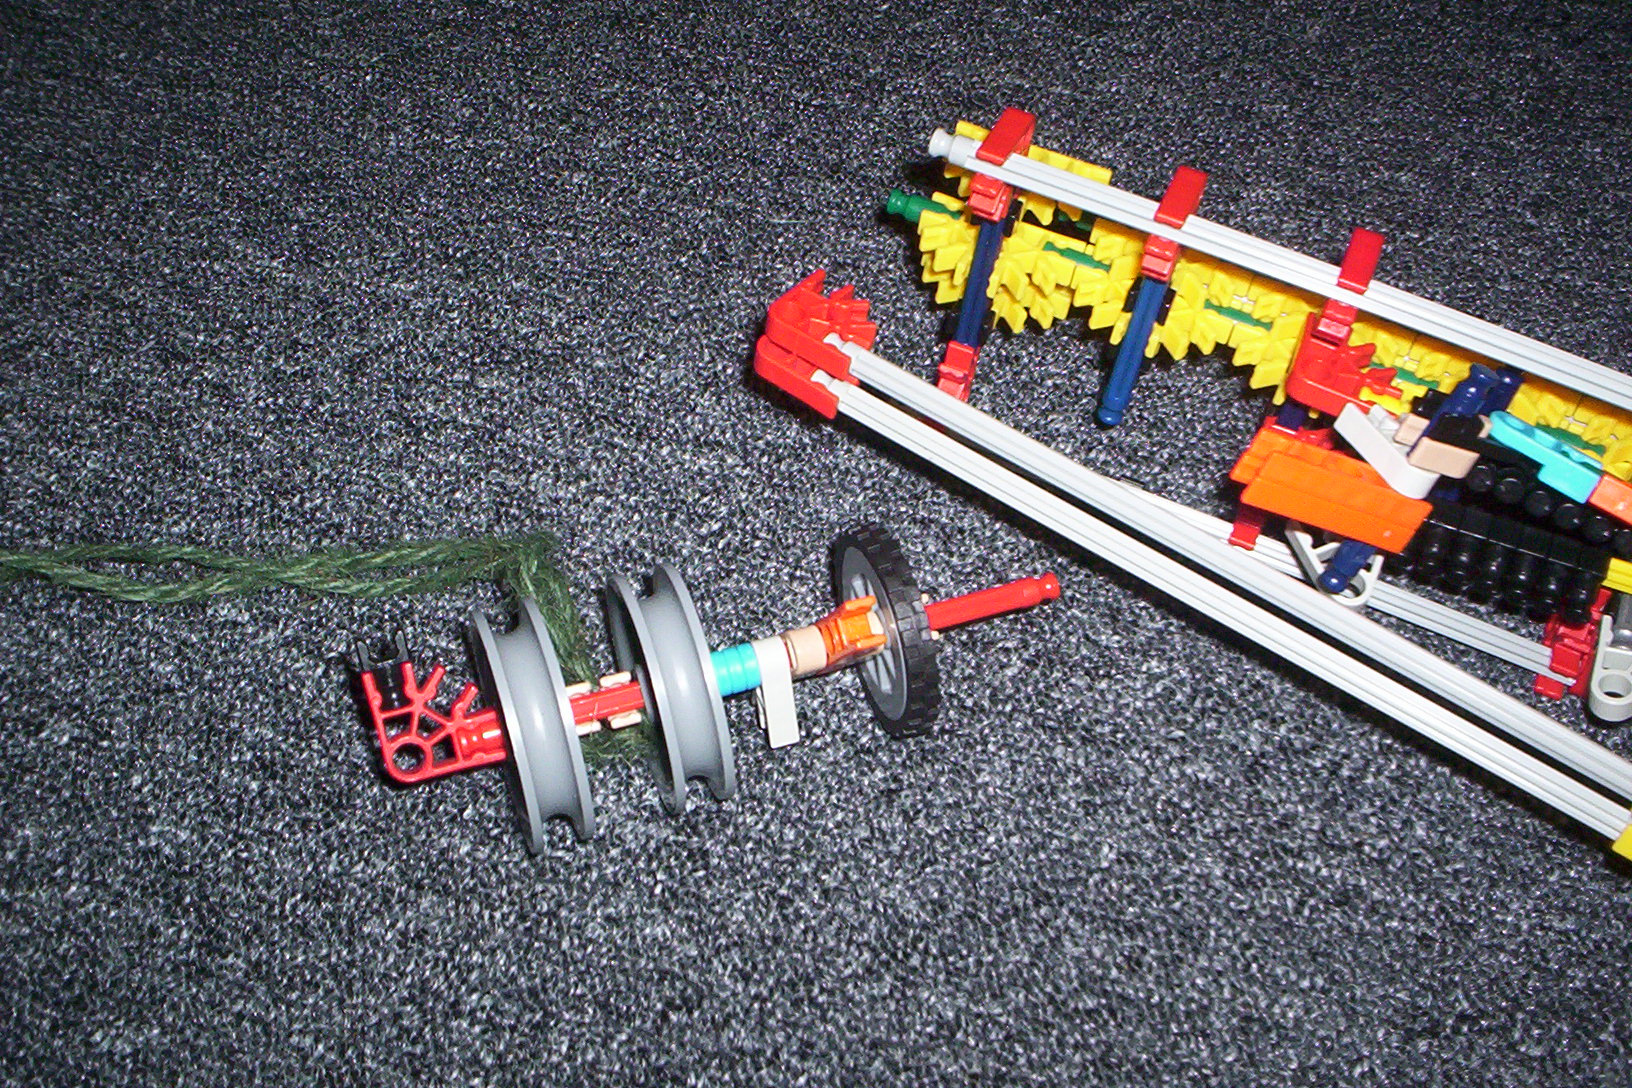
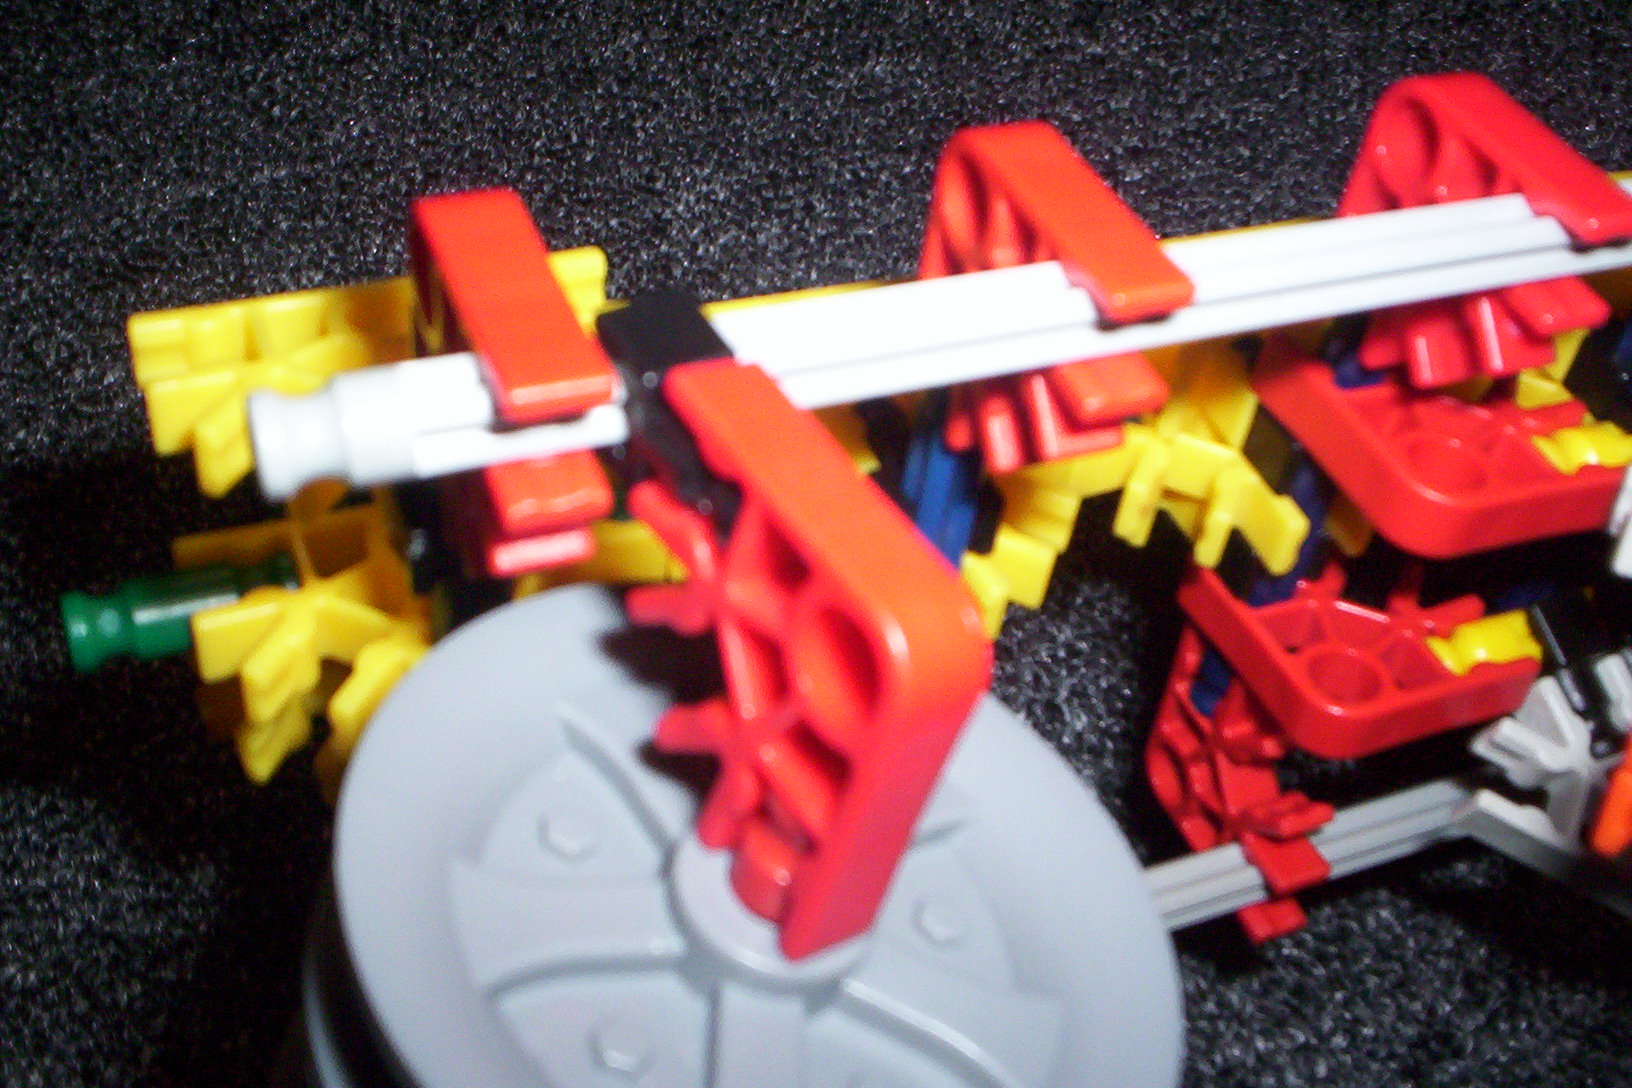
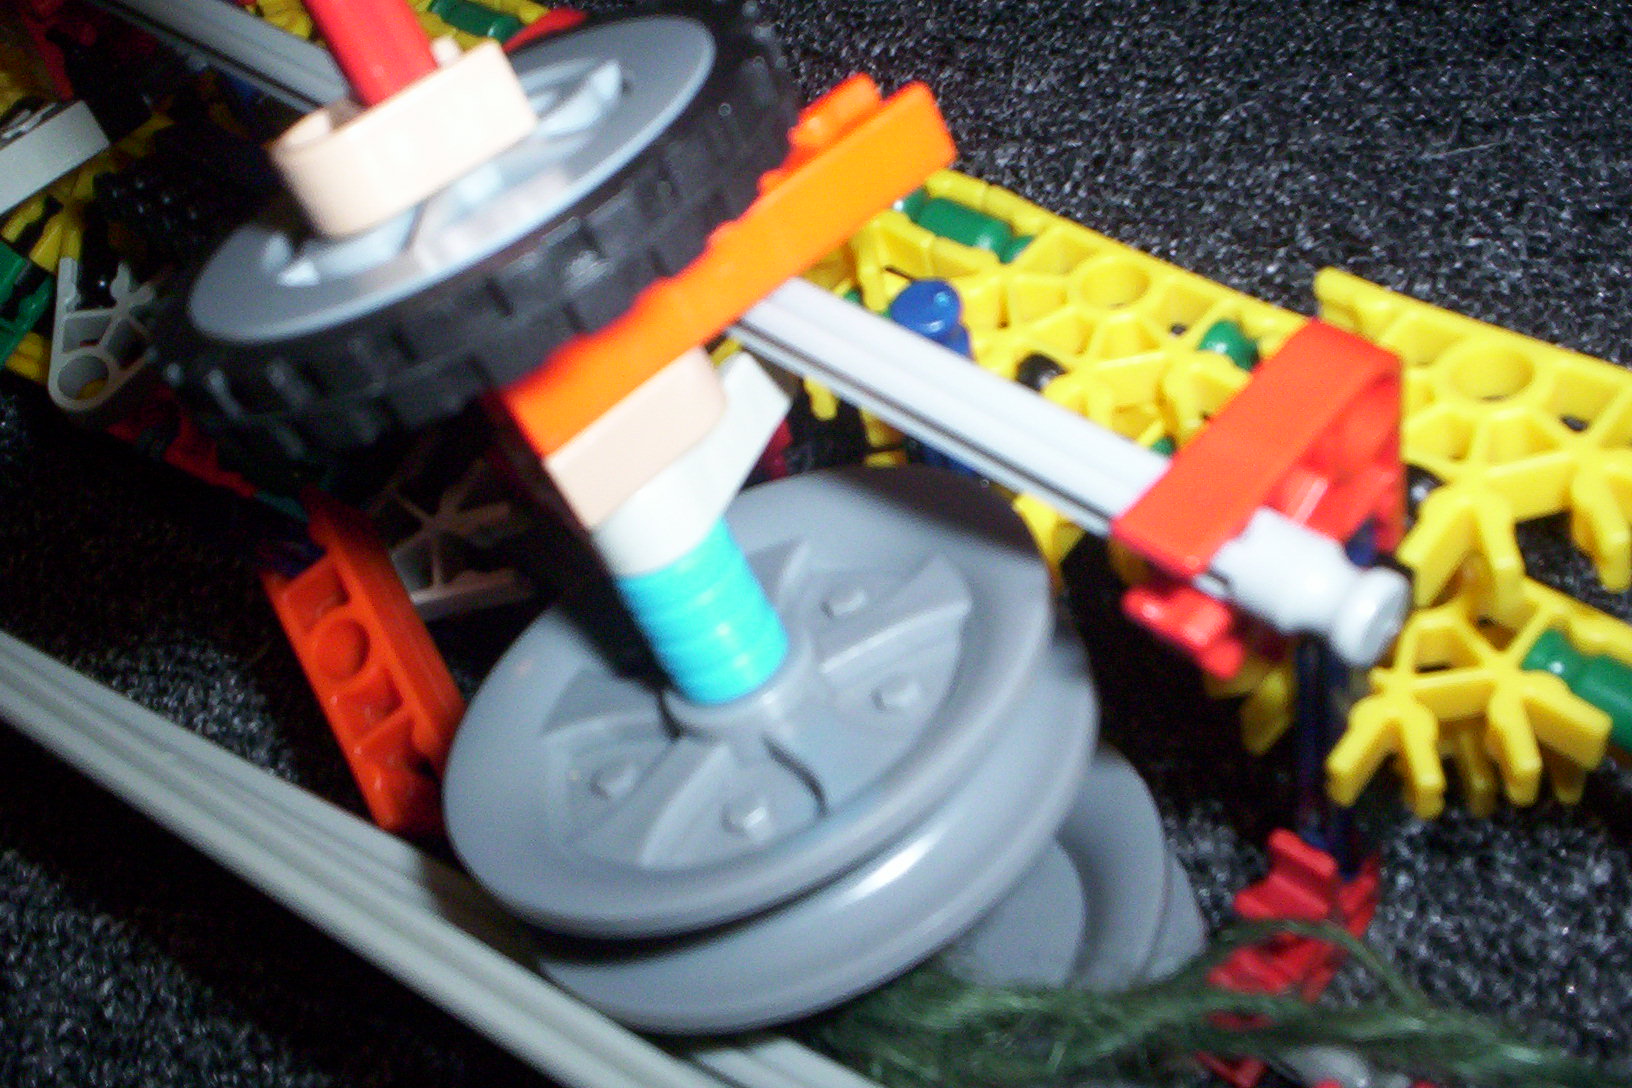
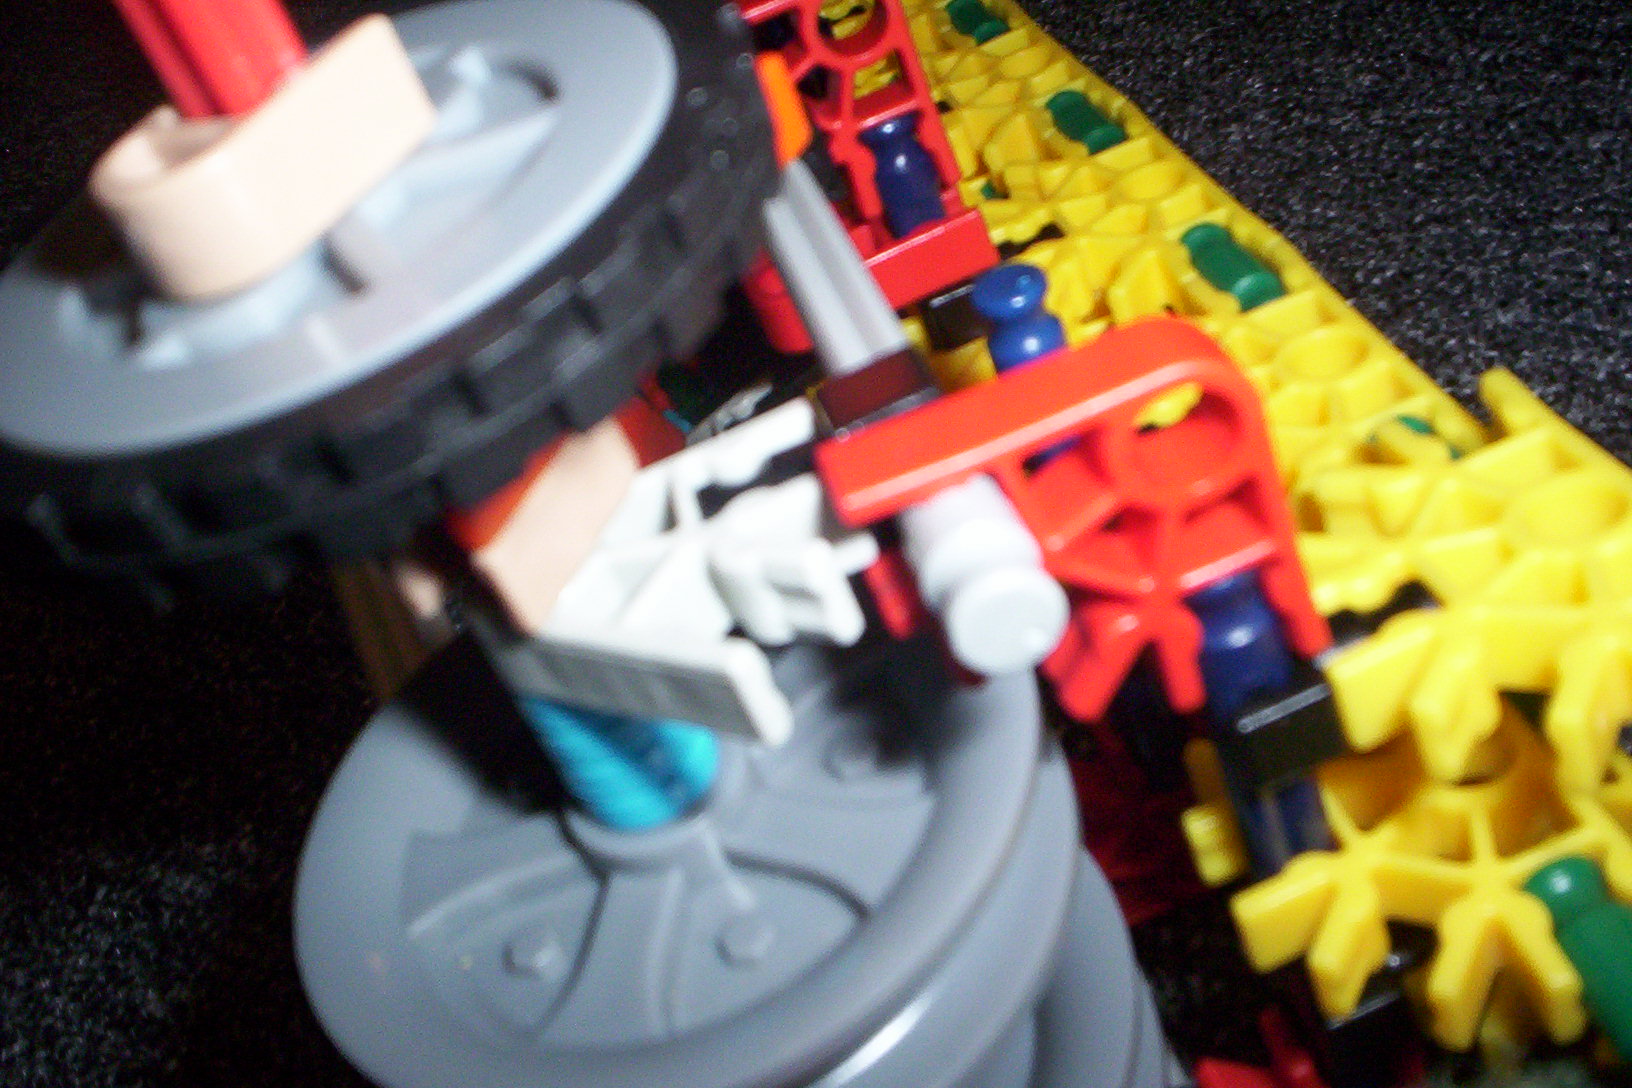
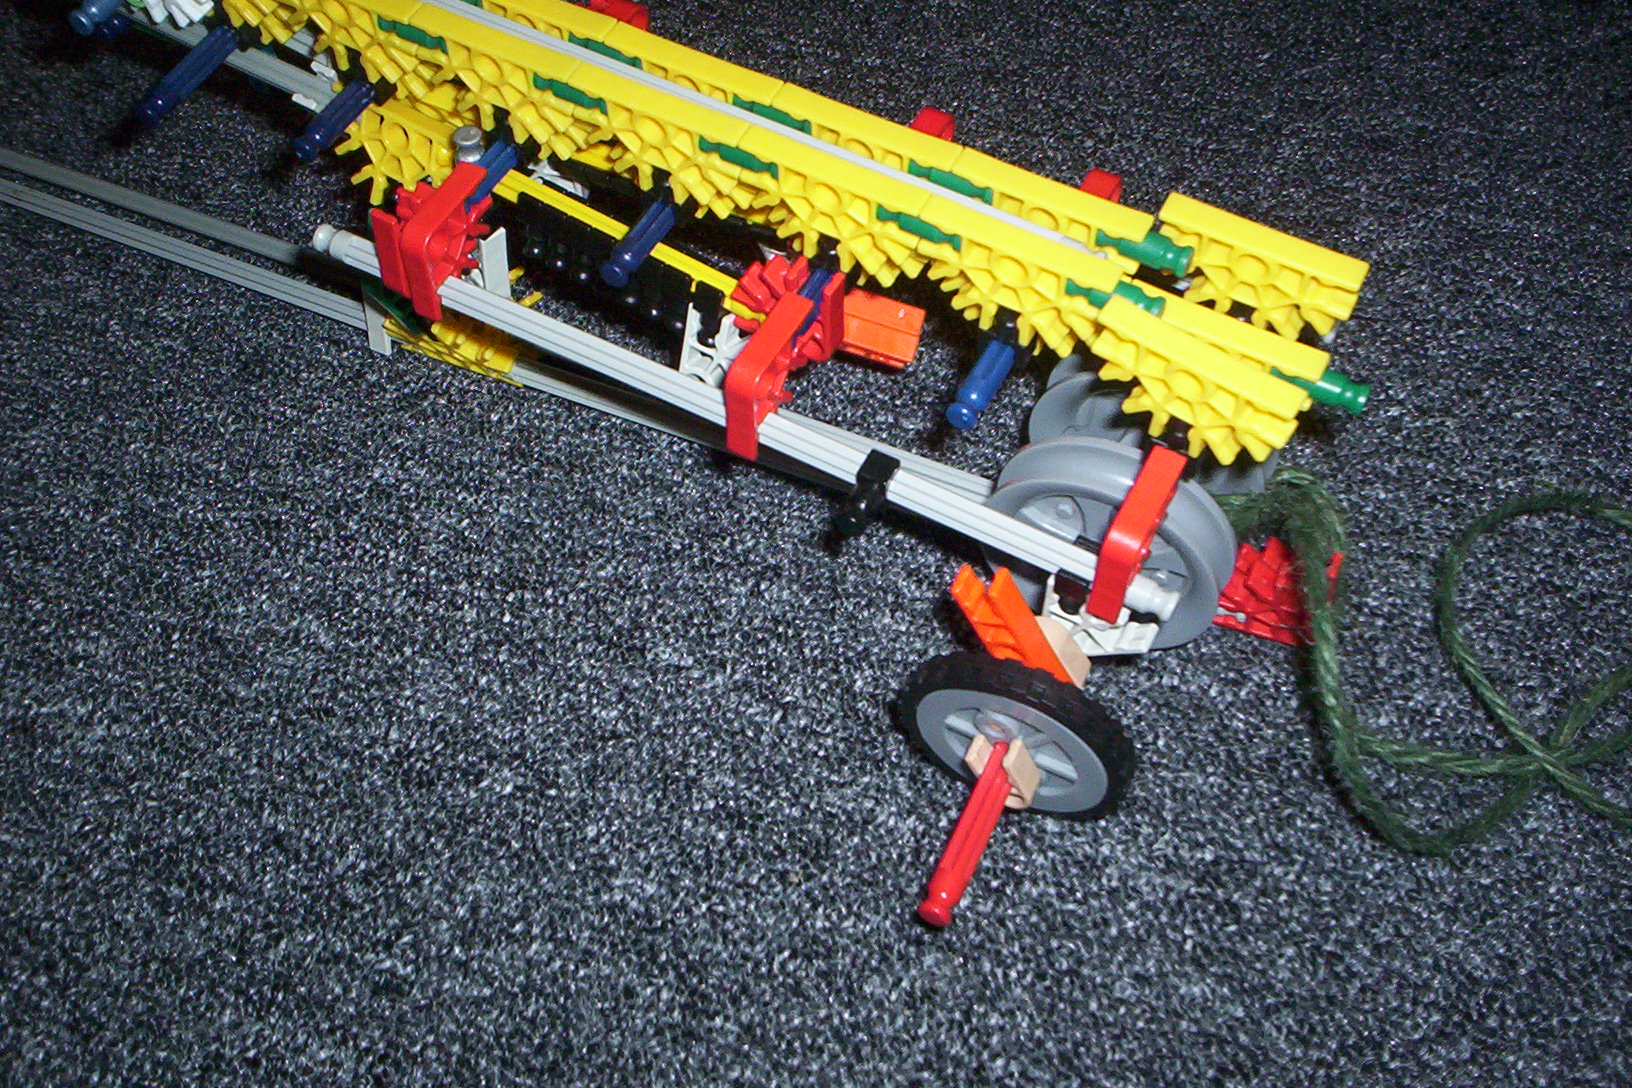
add the spindal wheel
Putting It All Together
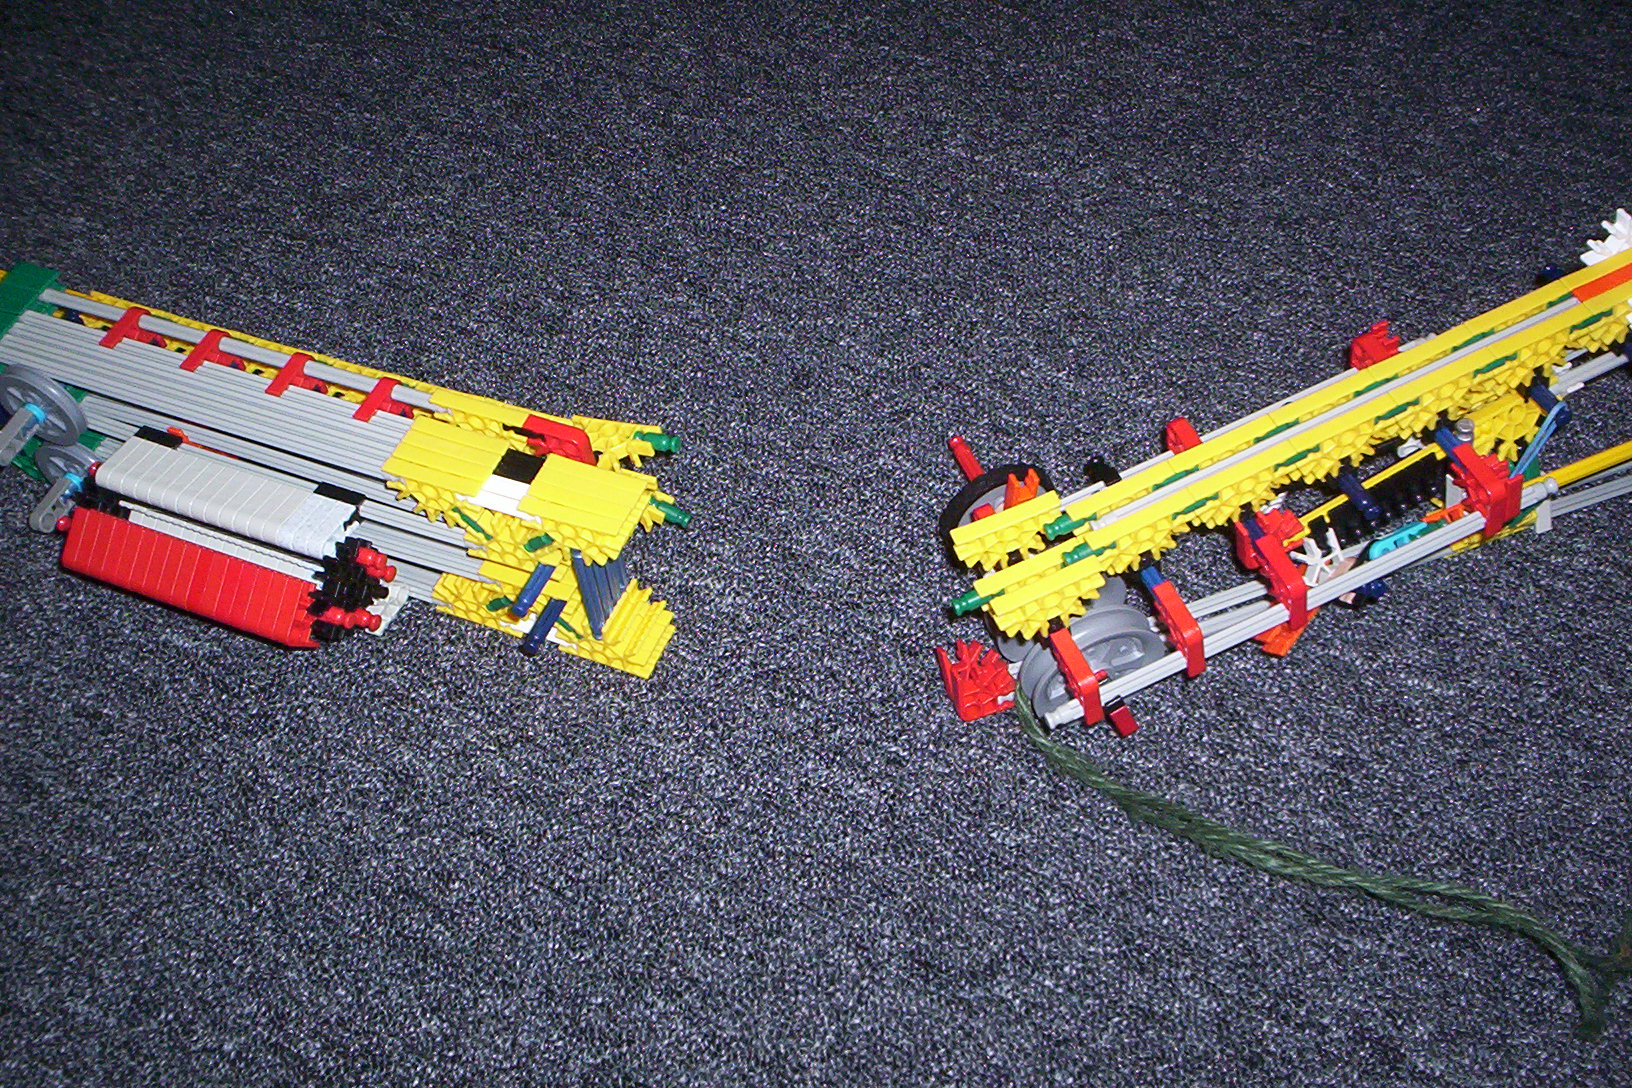
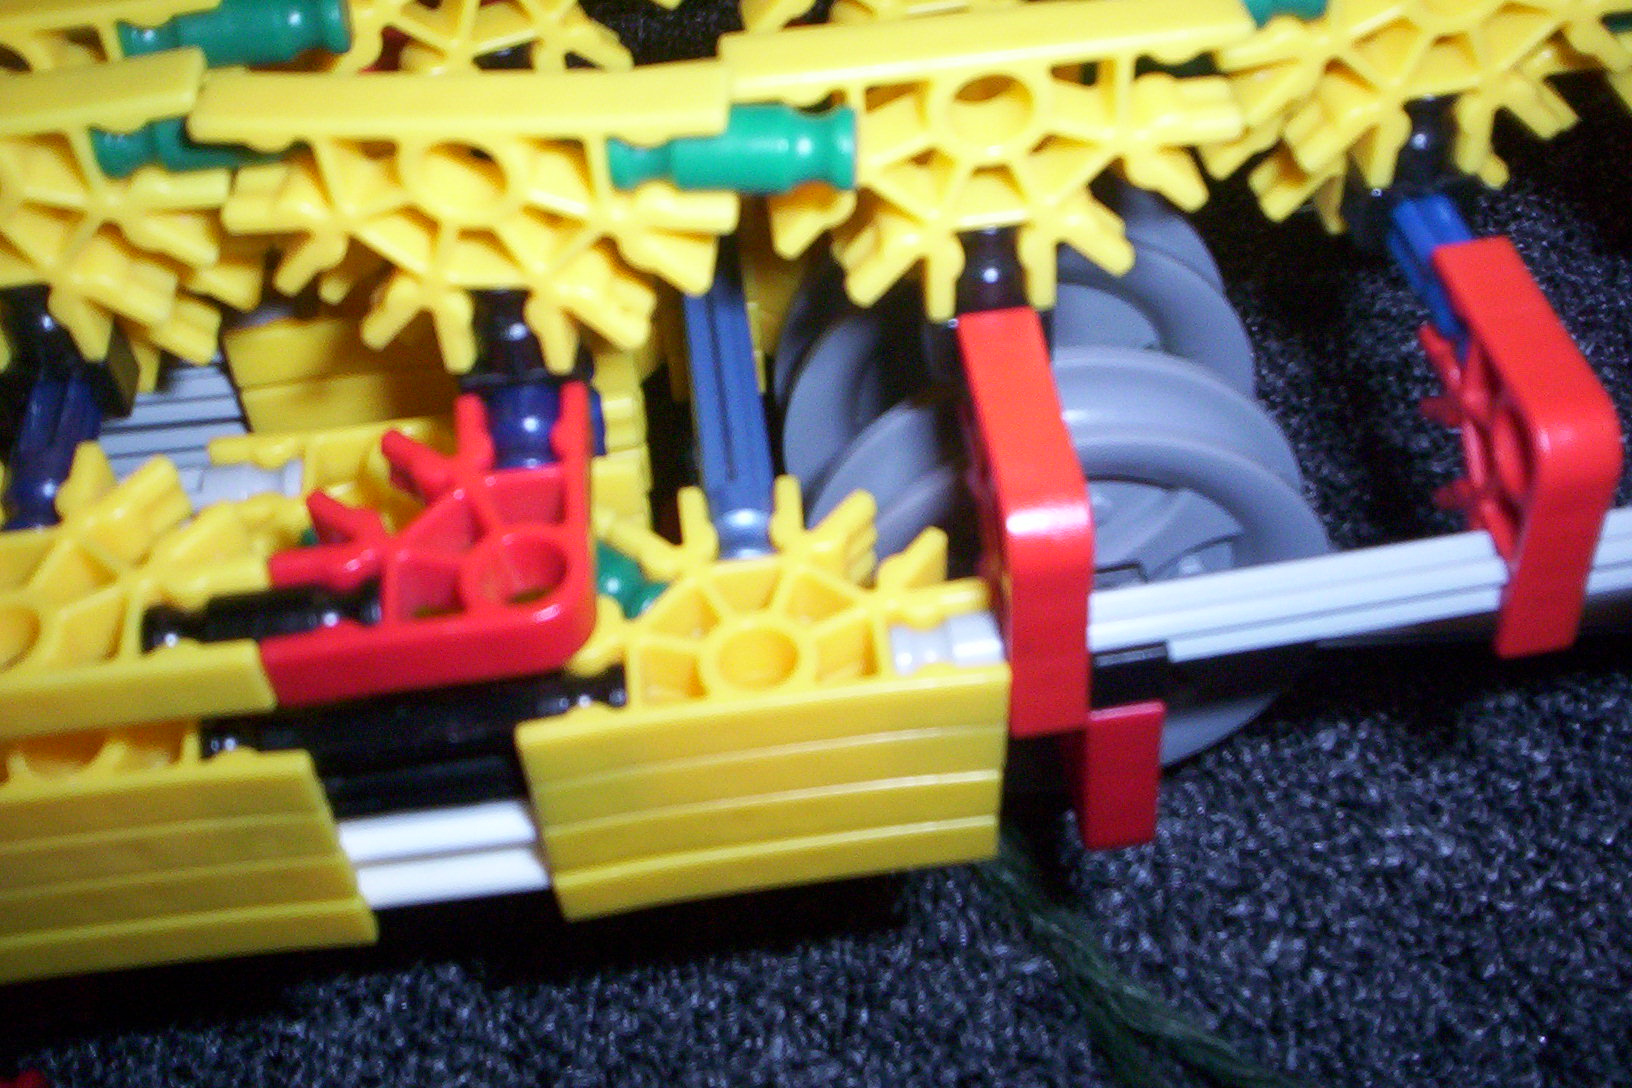
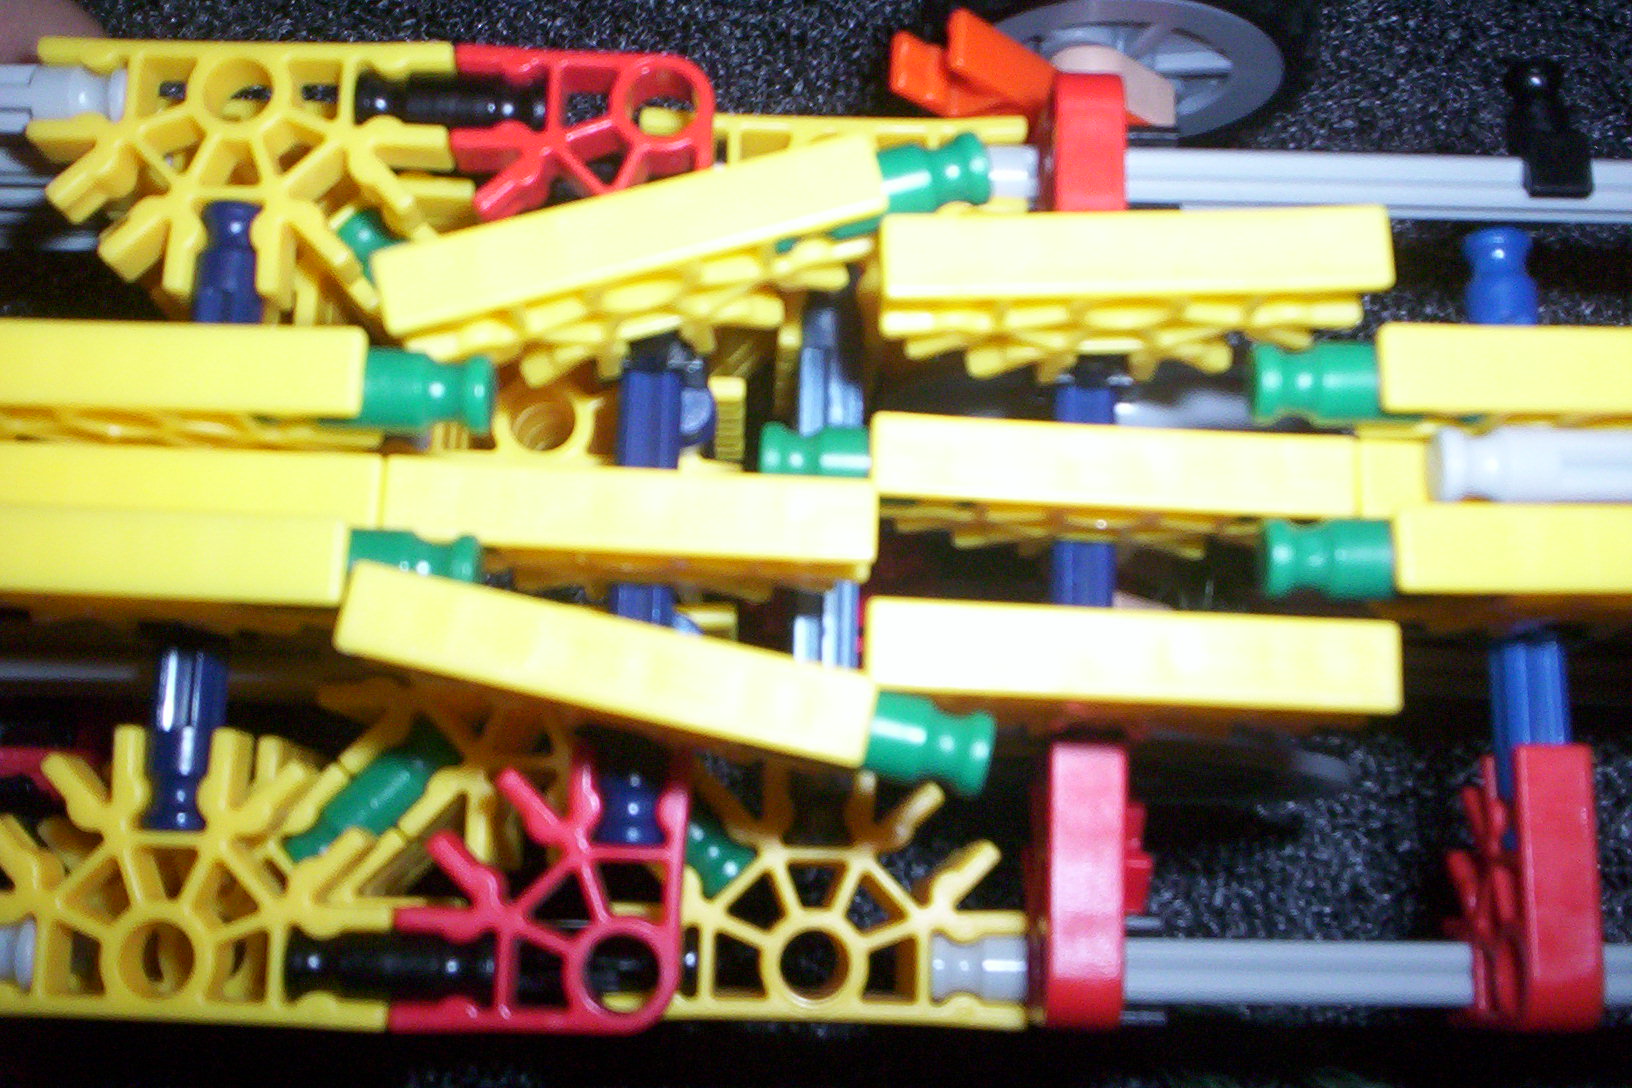
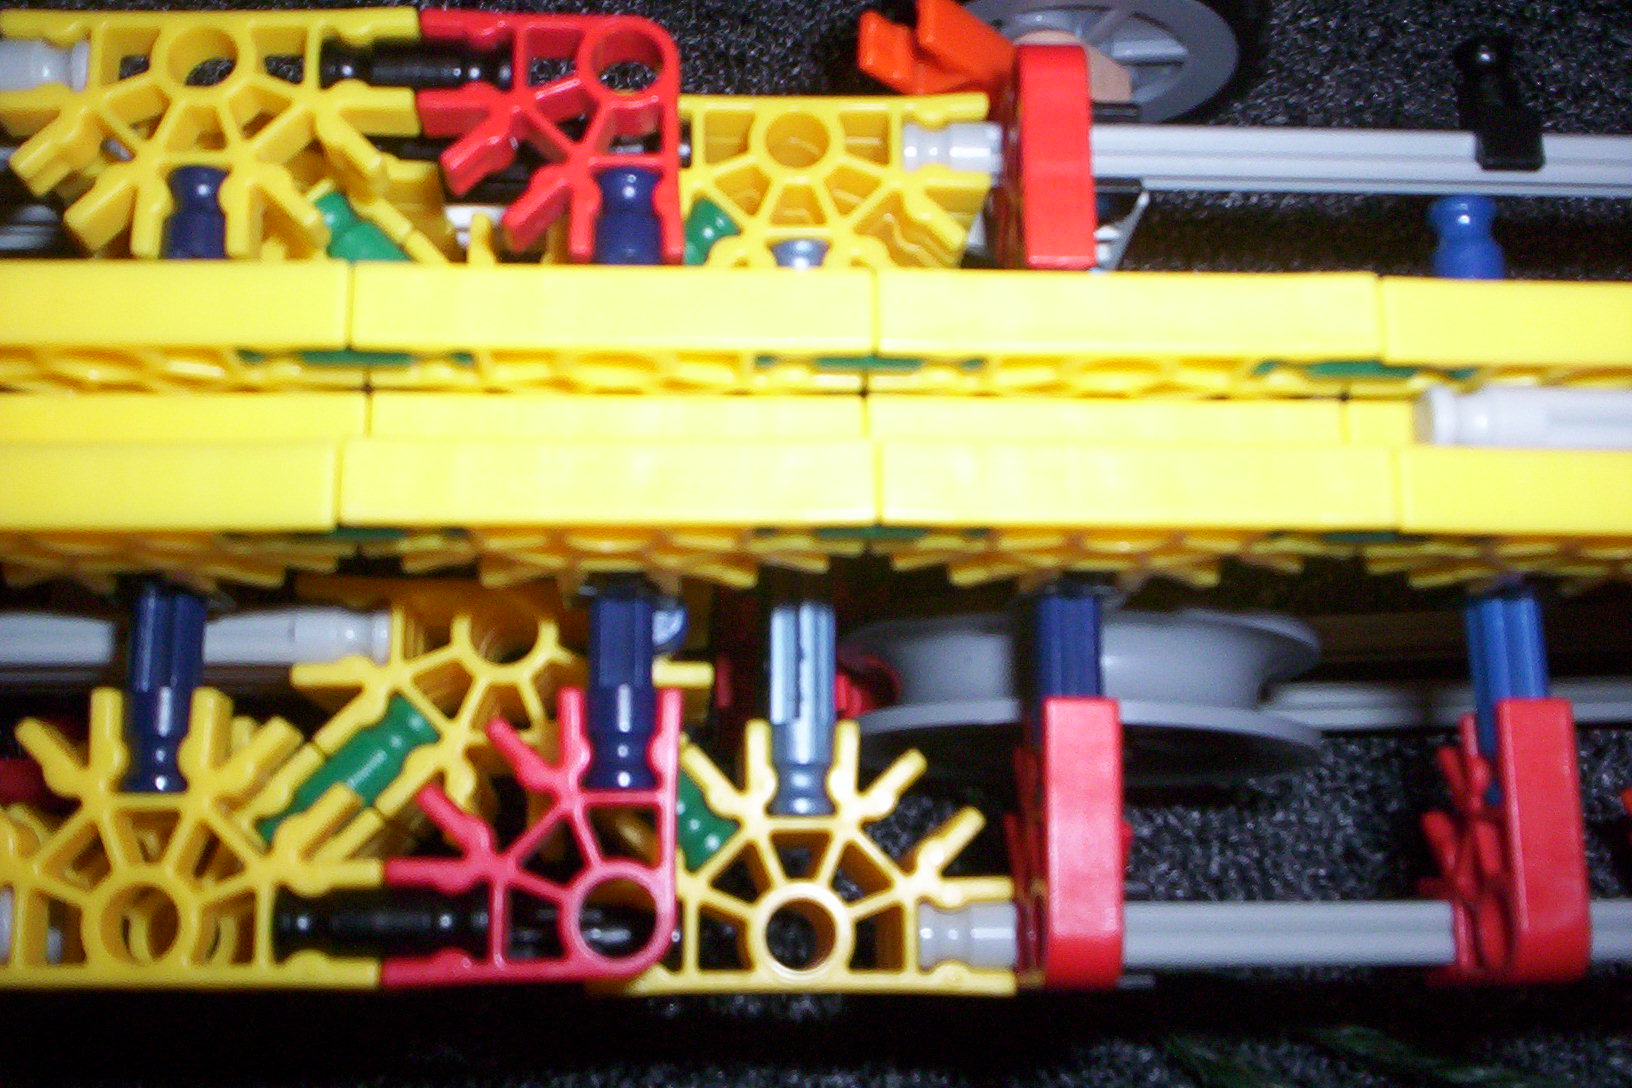
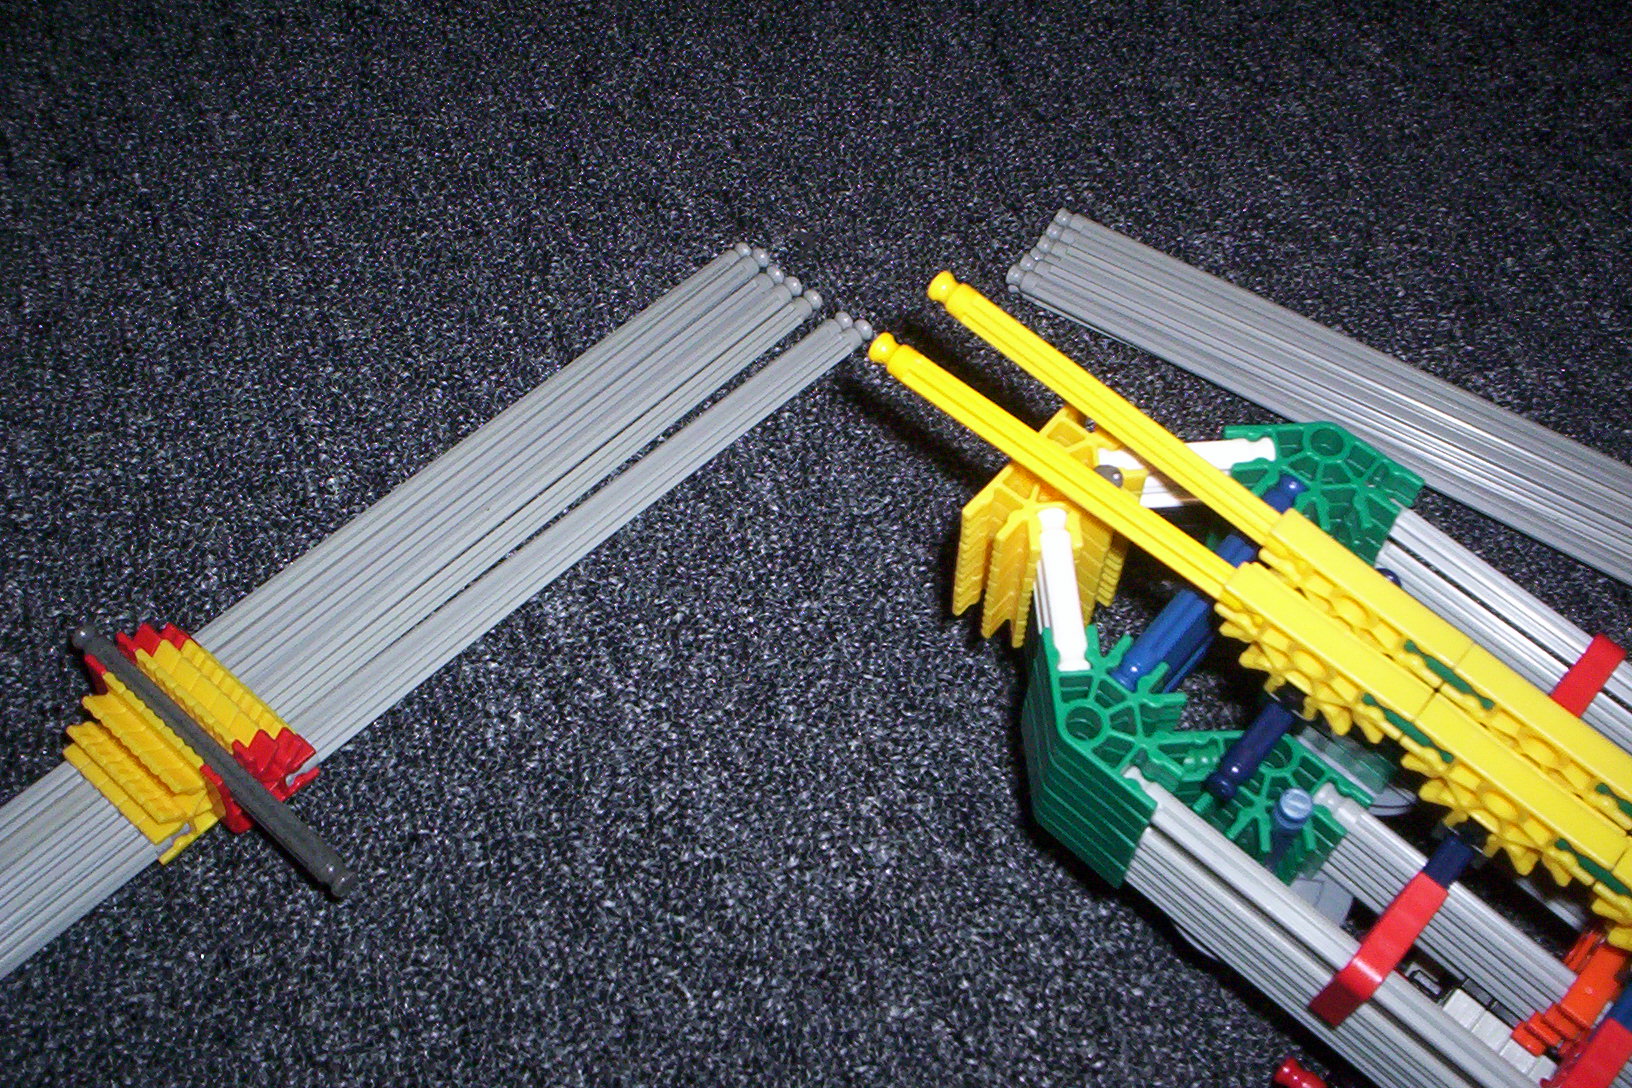
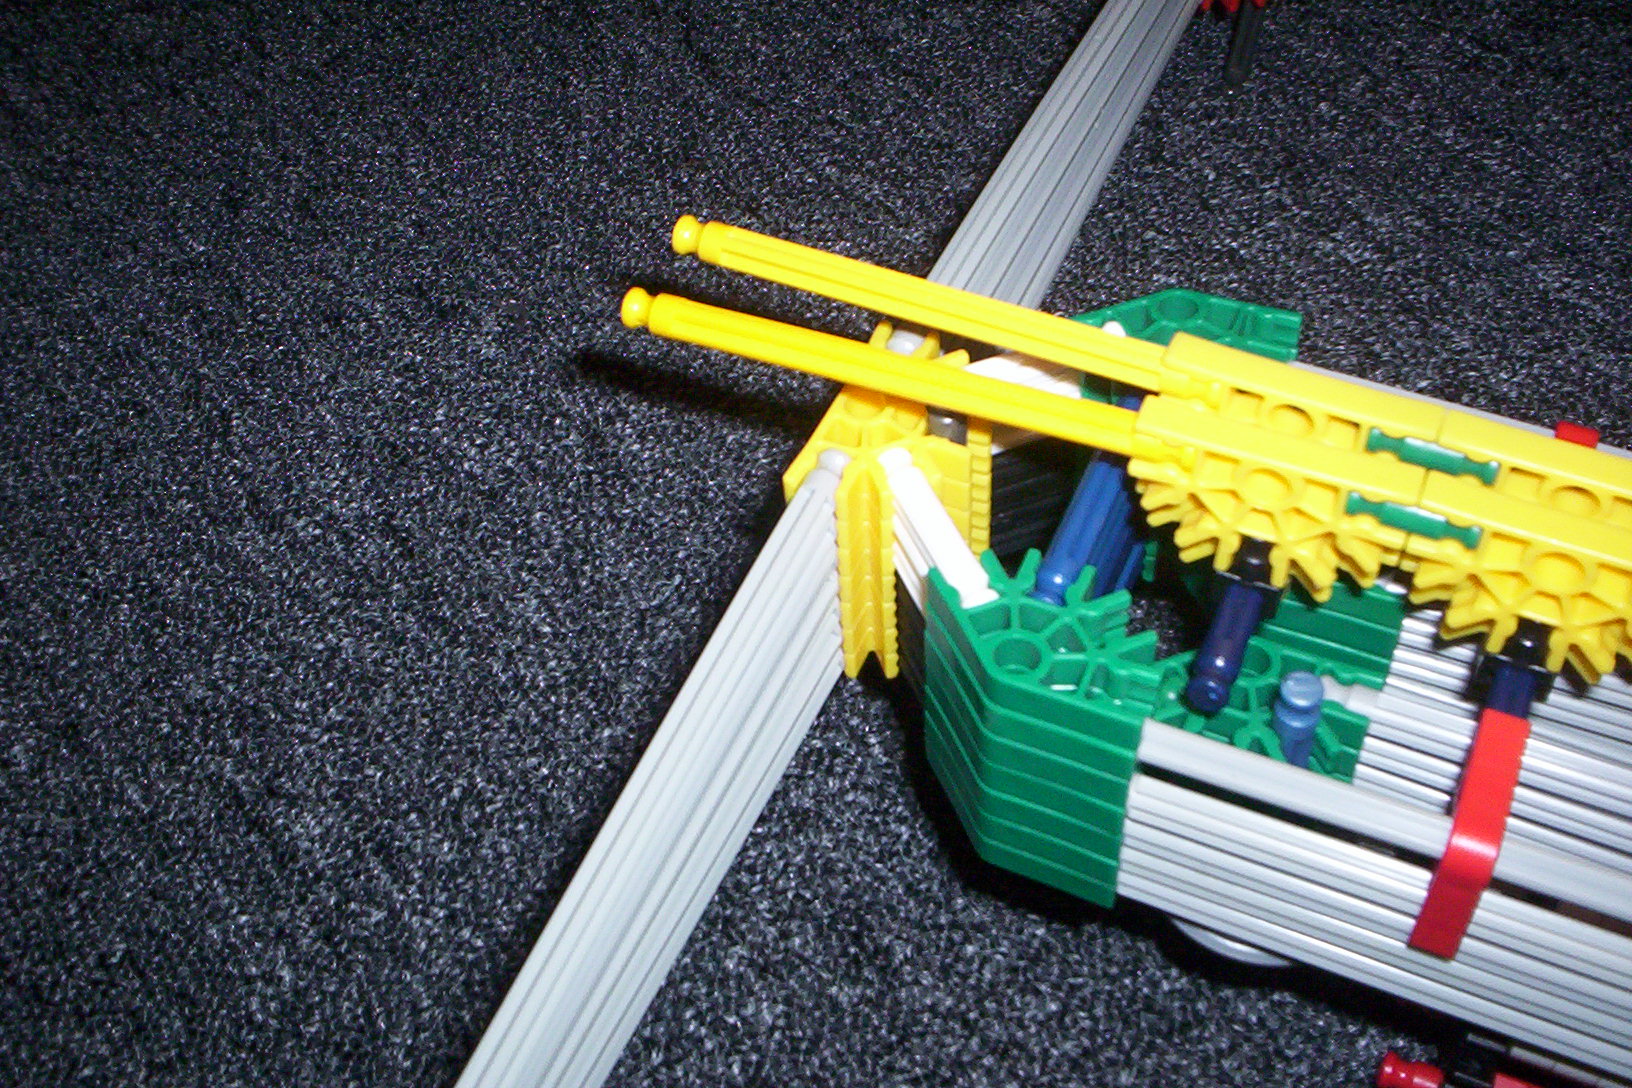
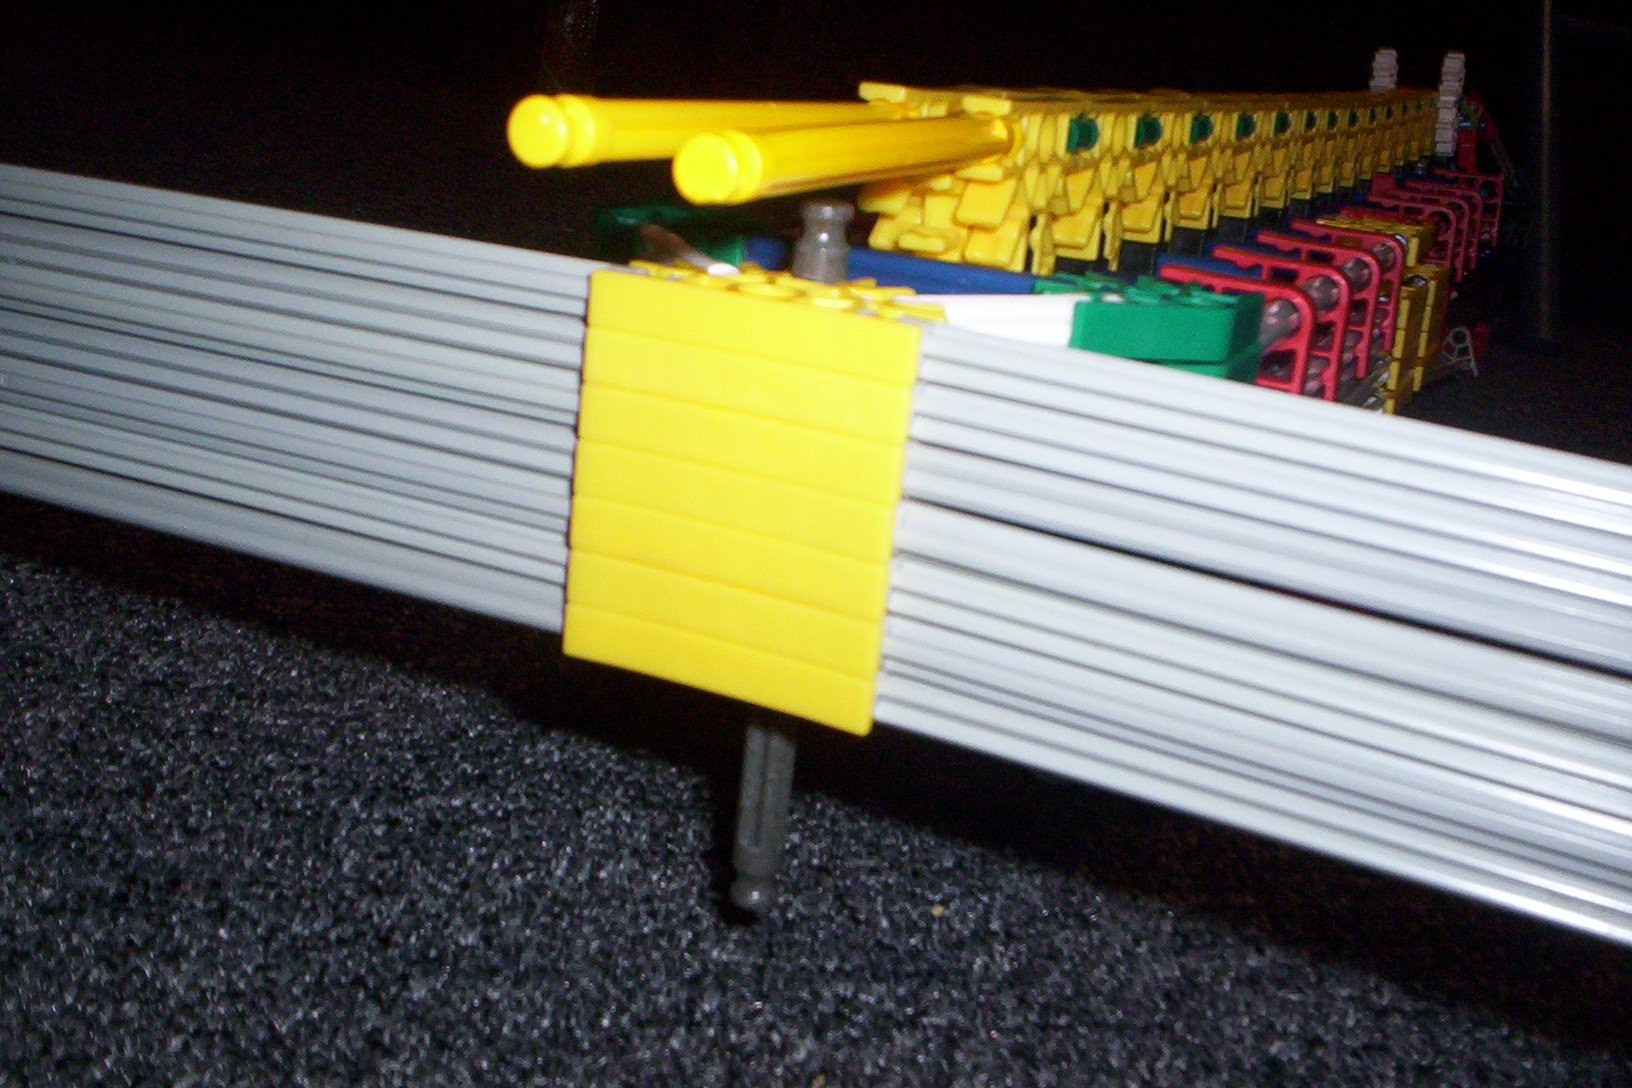
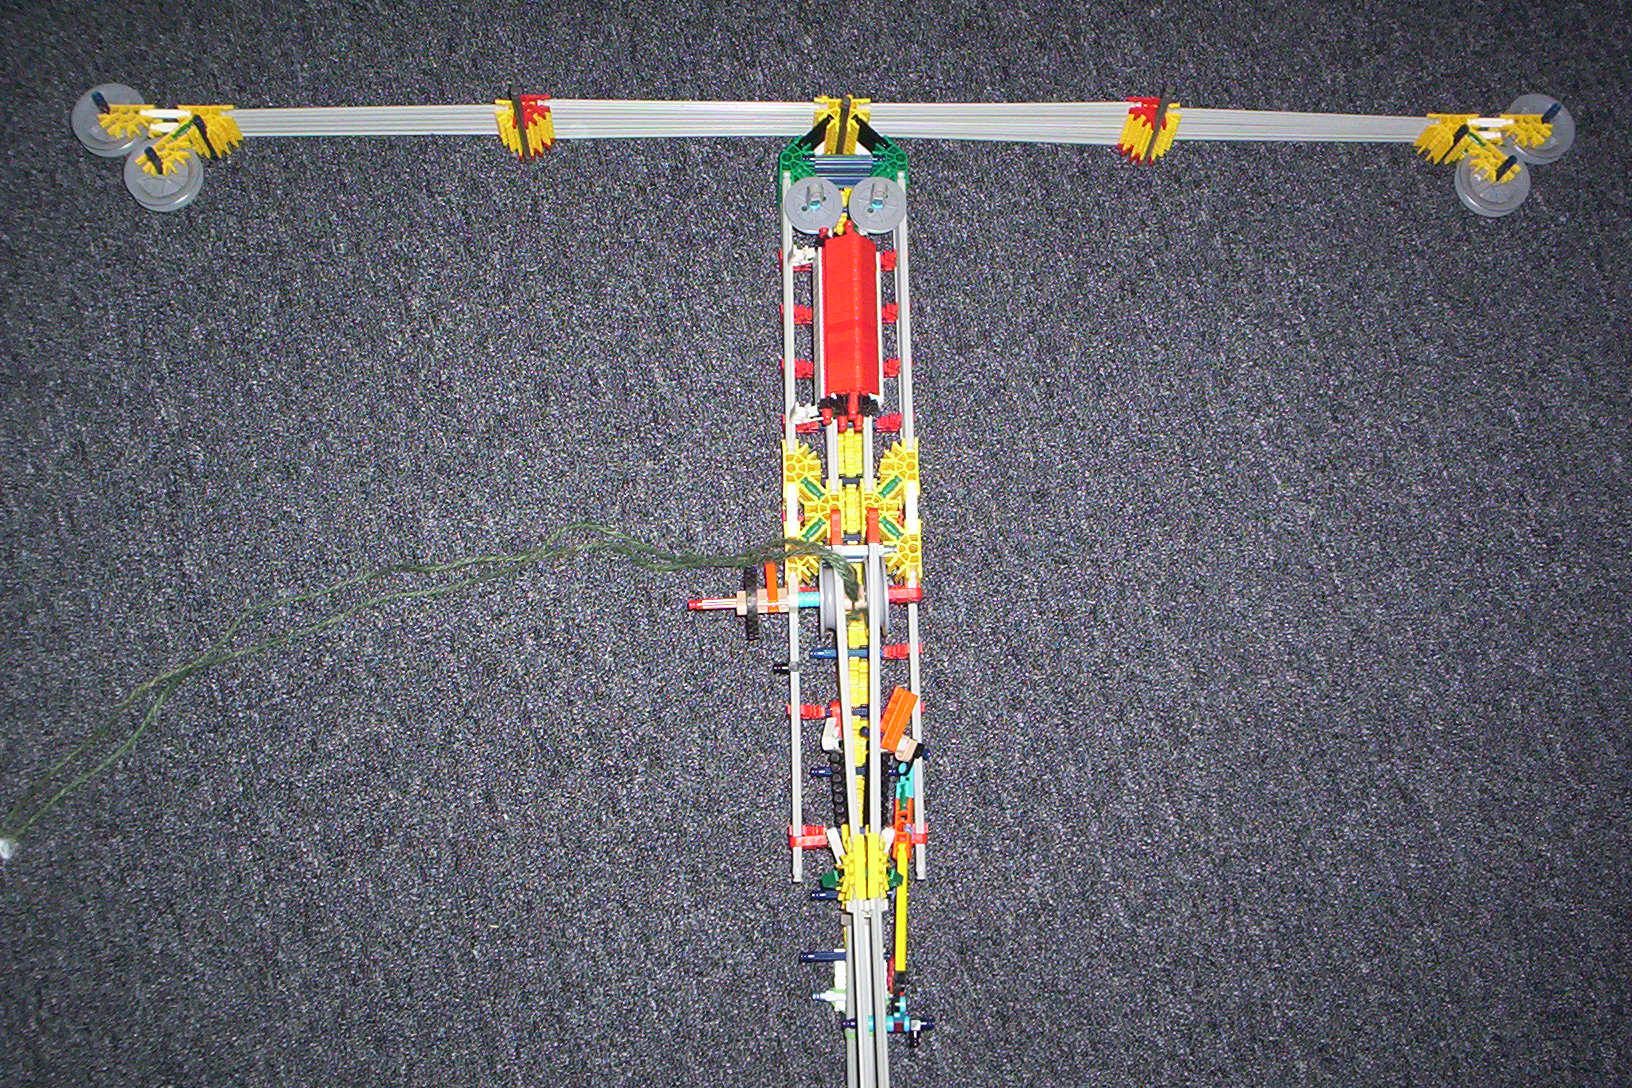
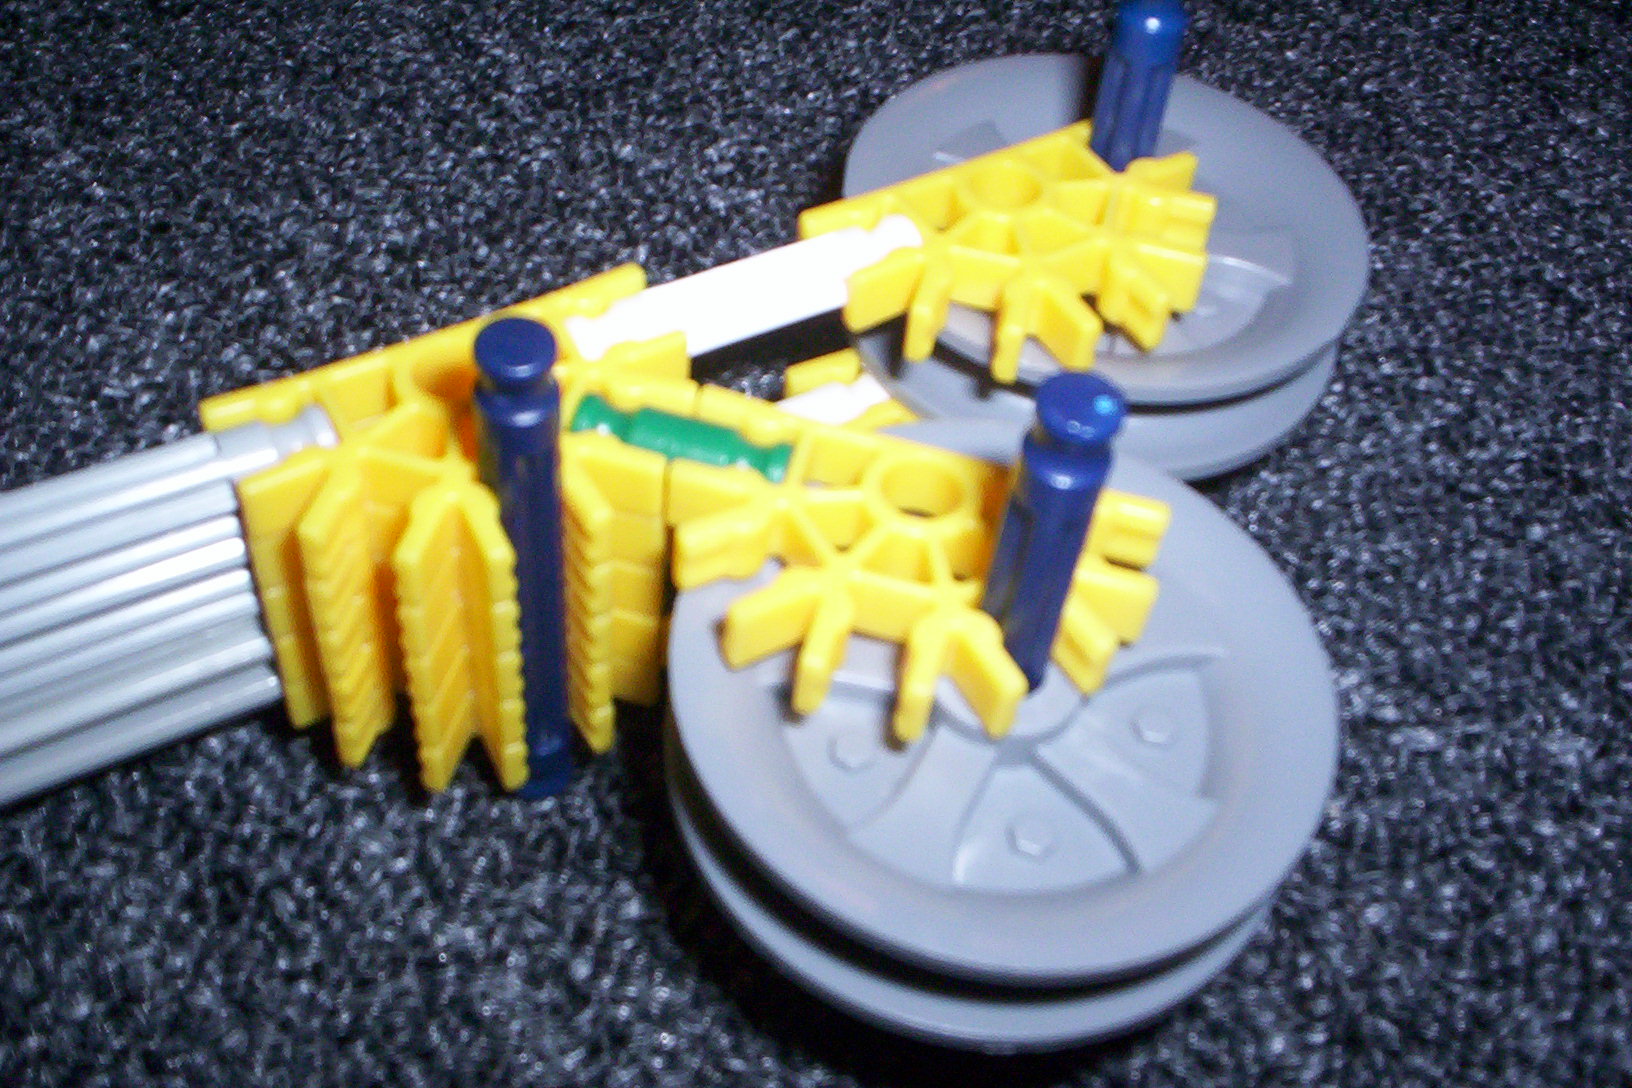
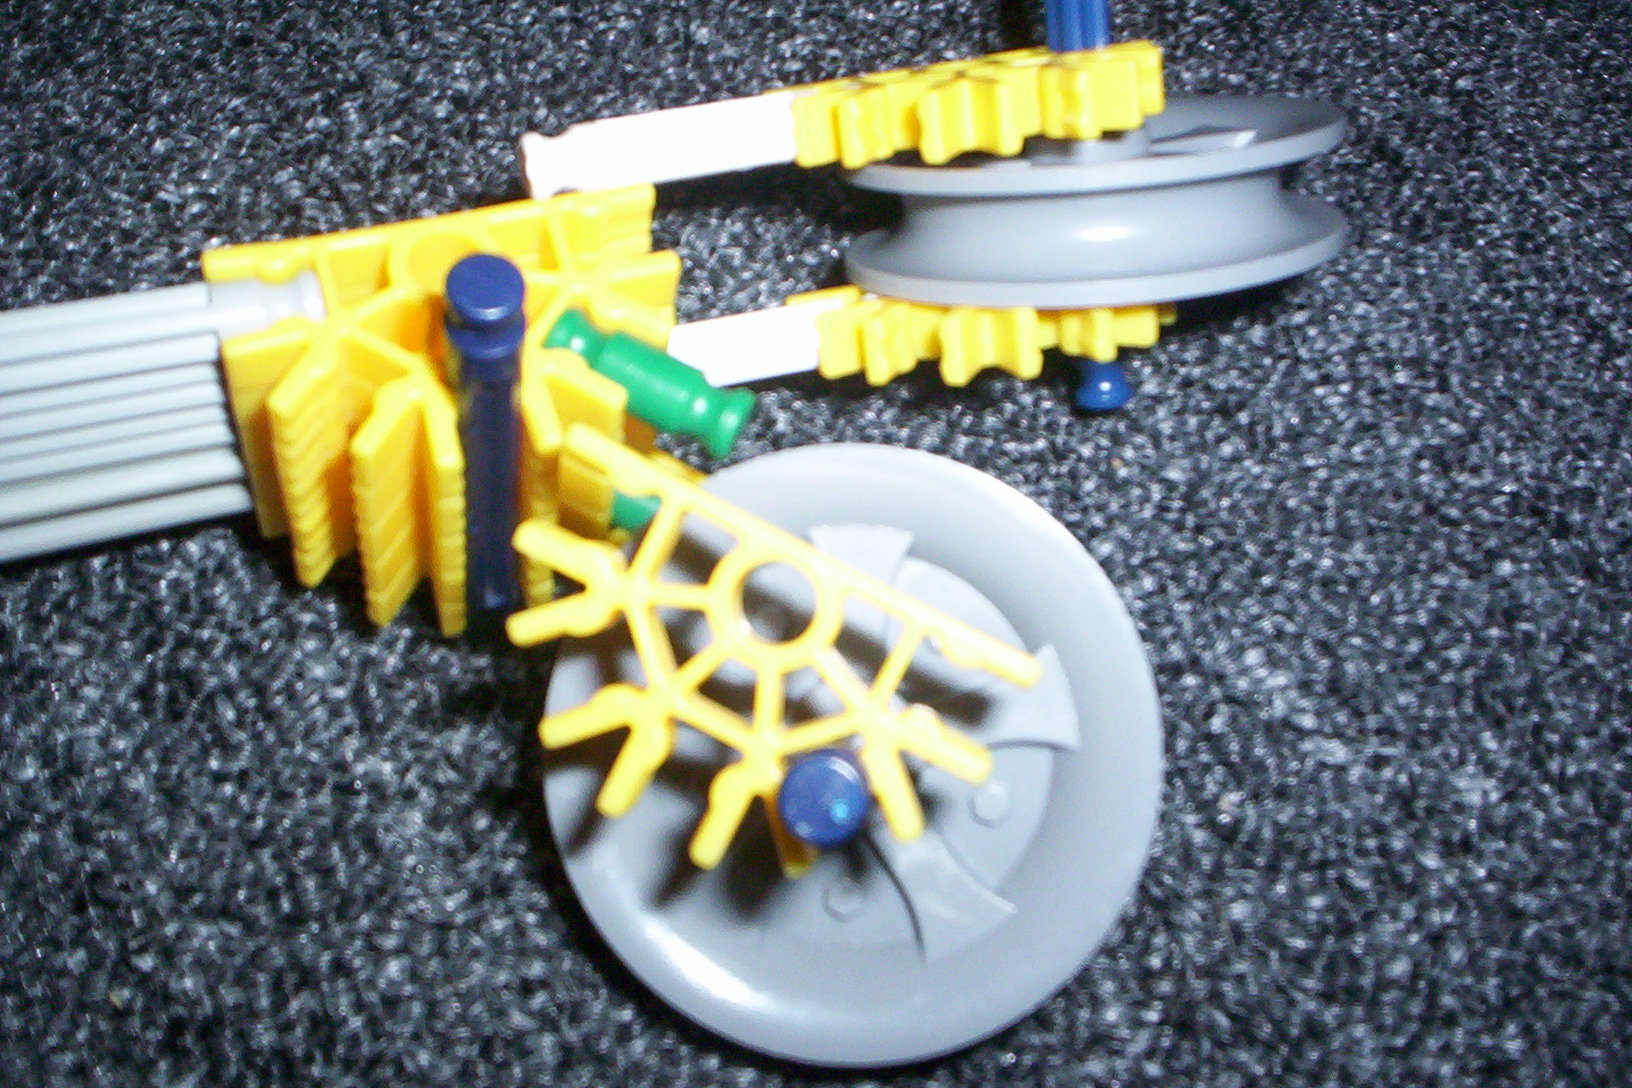
refer to pictures
Positioning the String
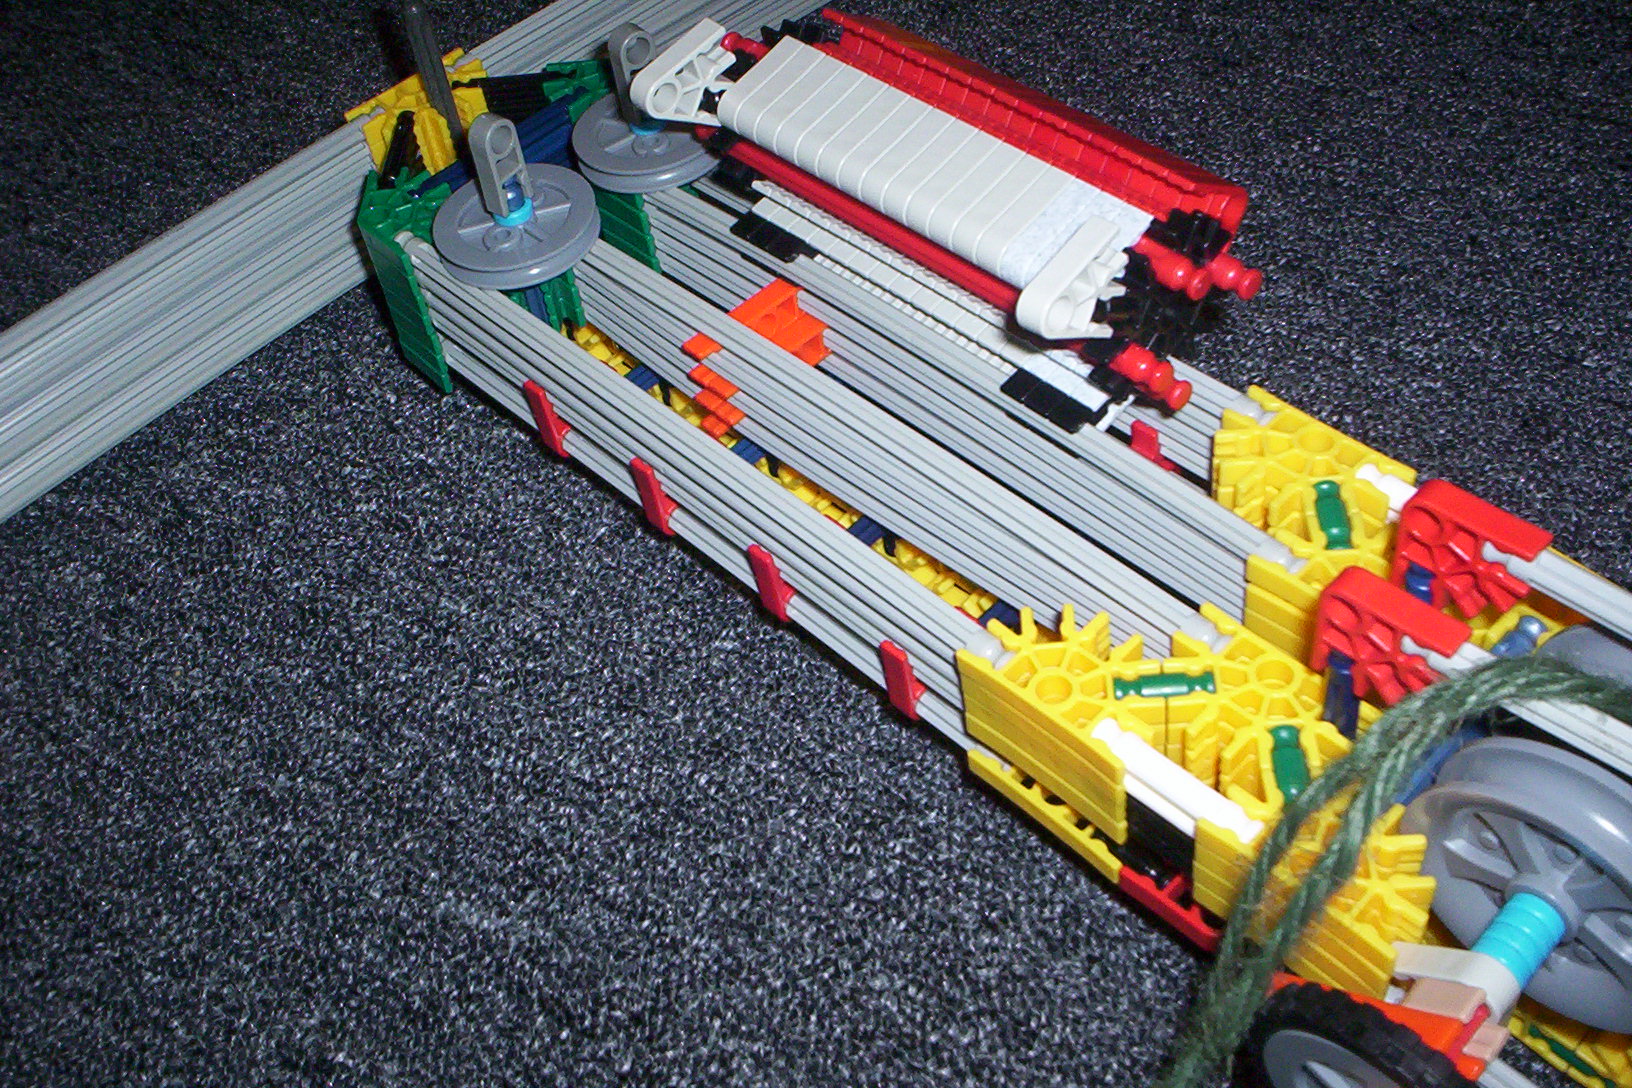
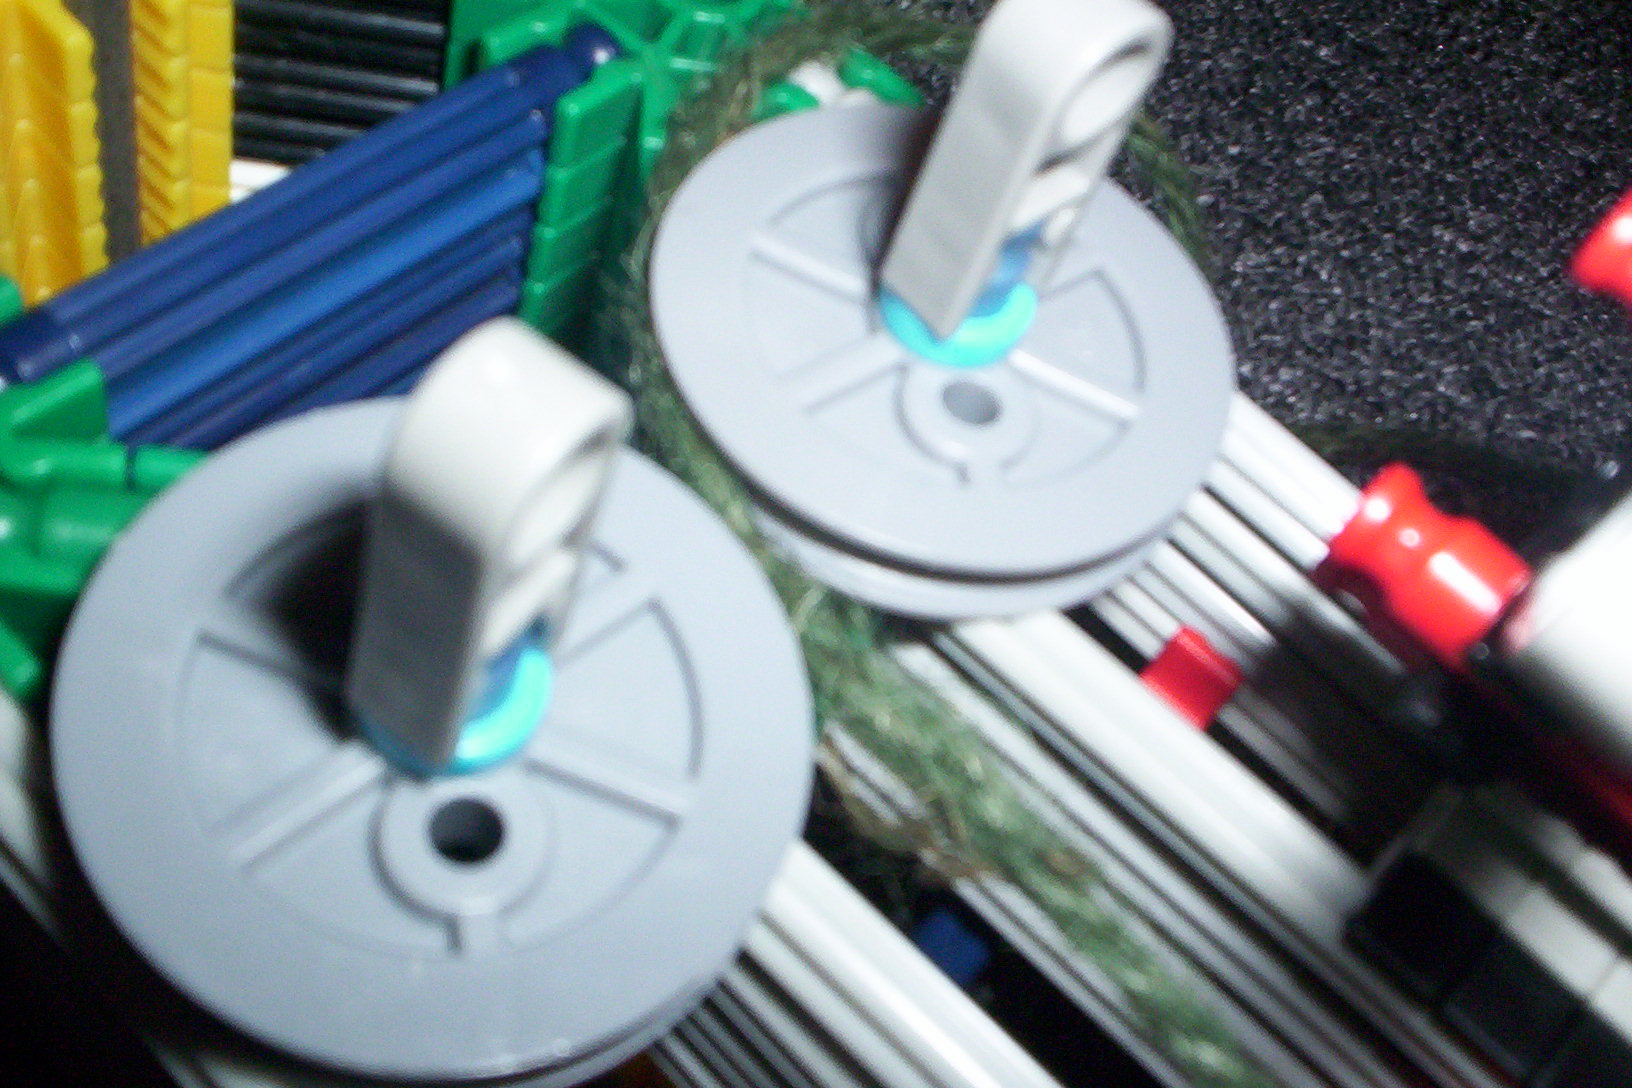
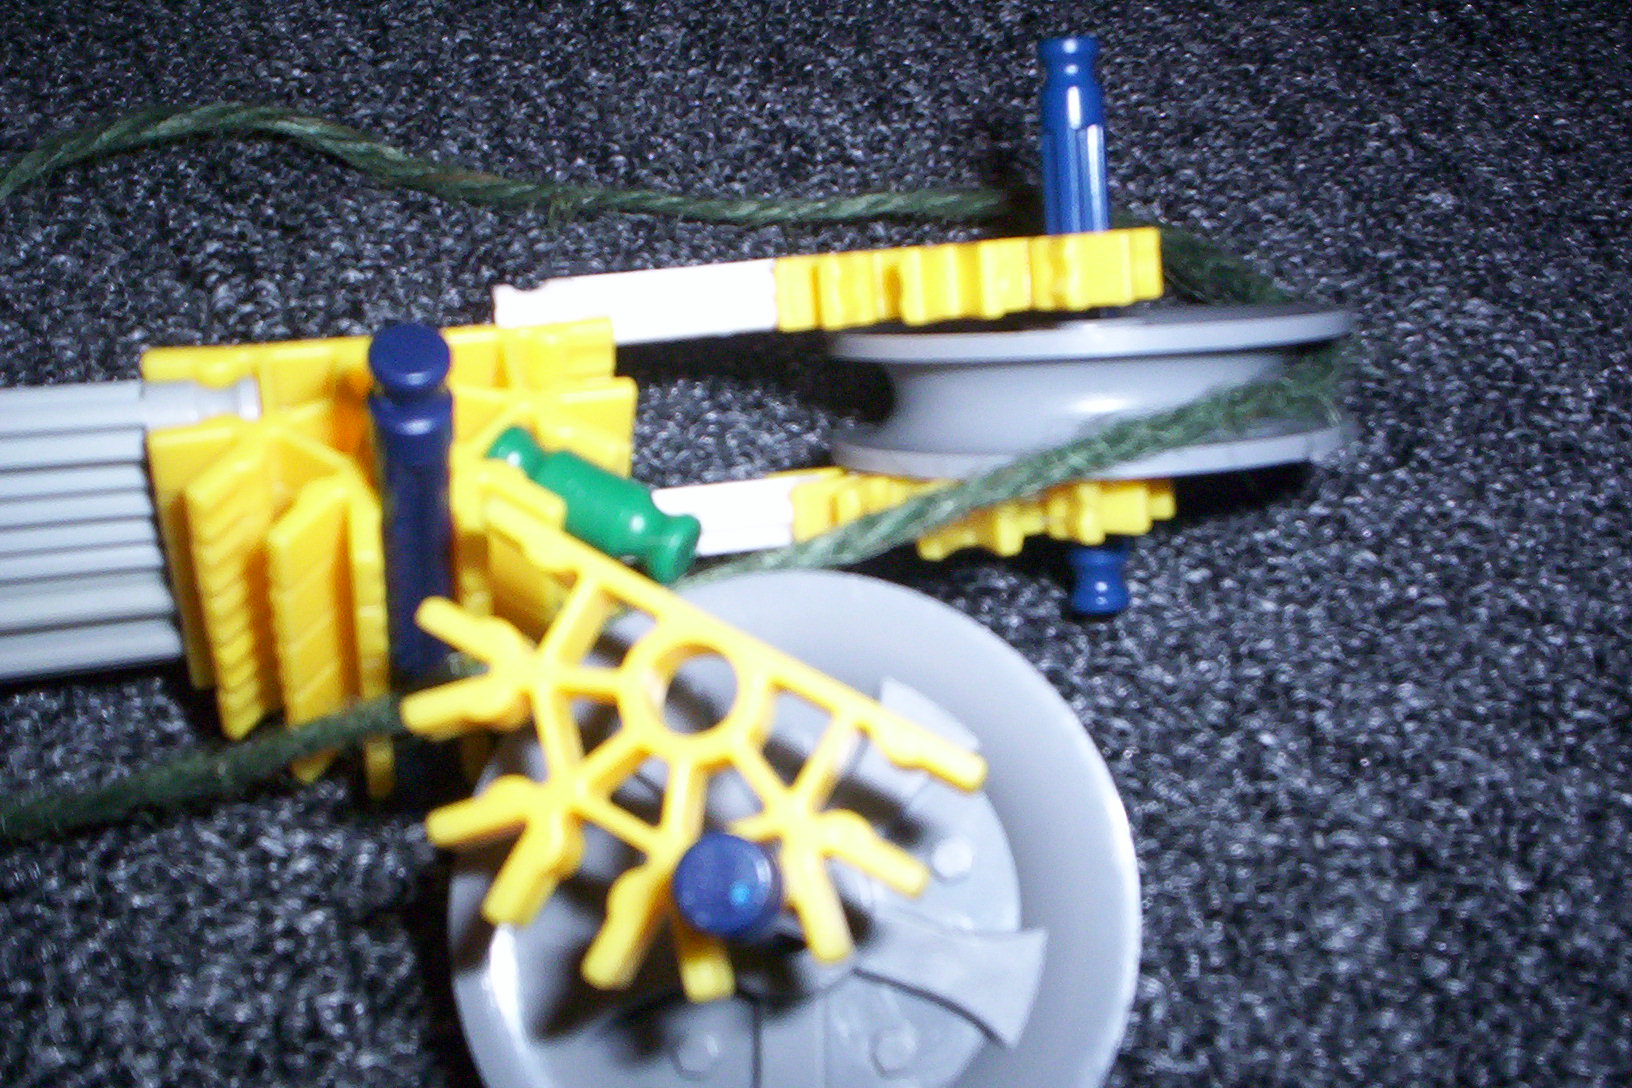
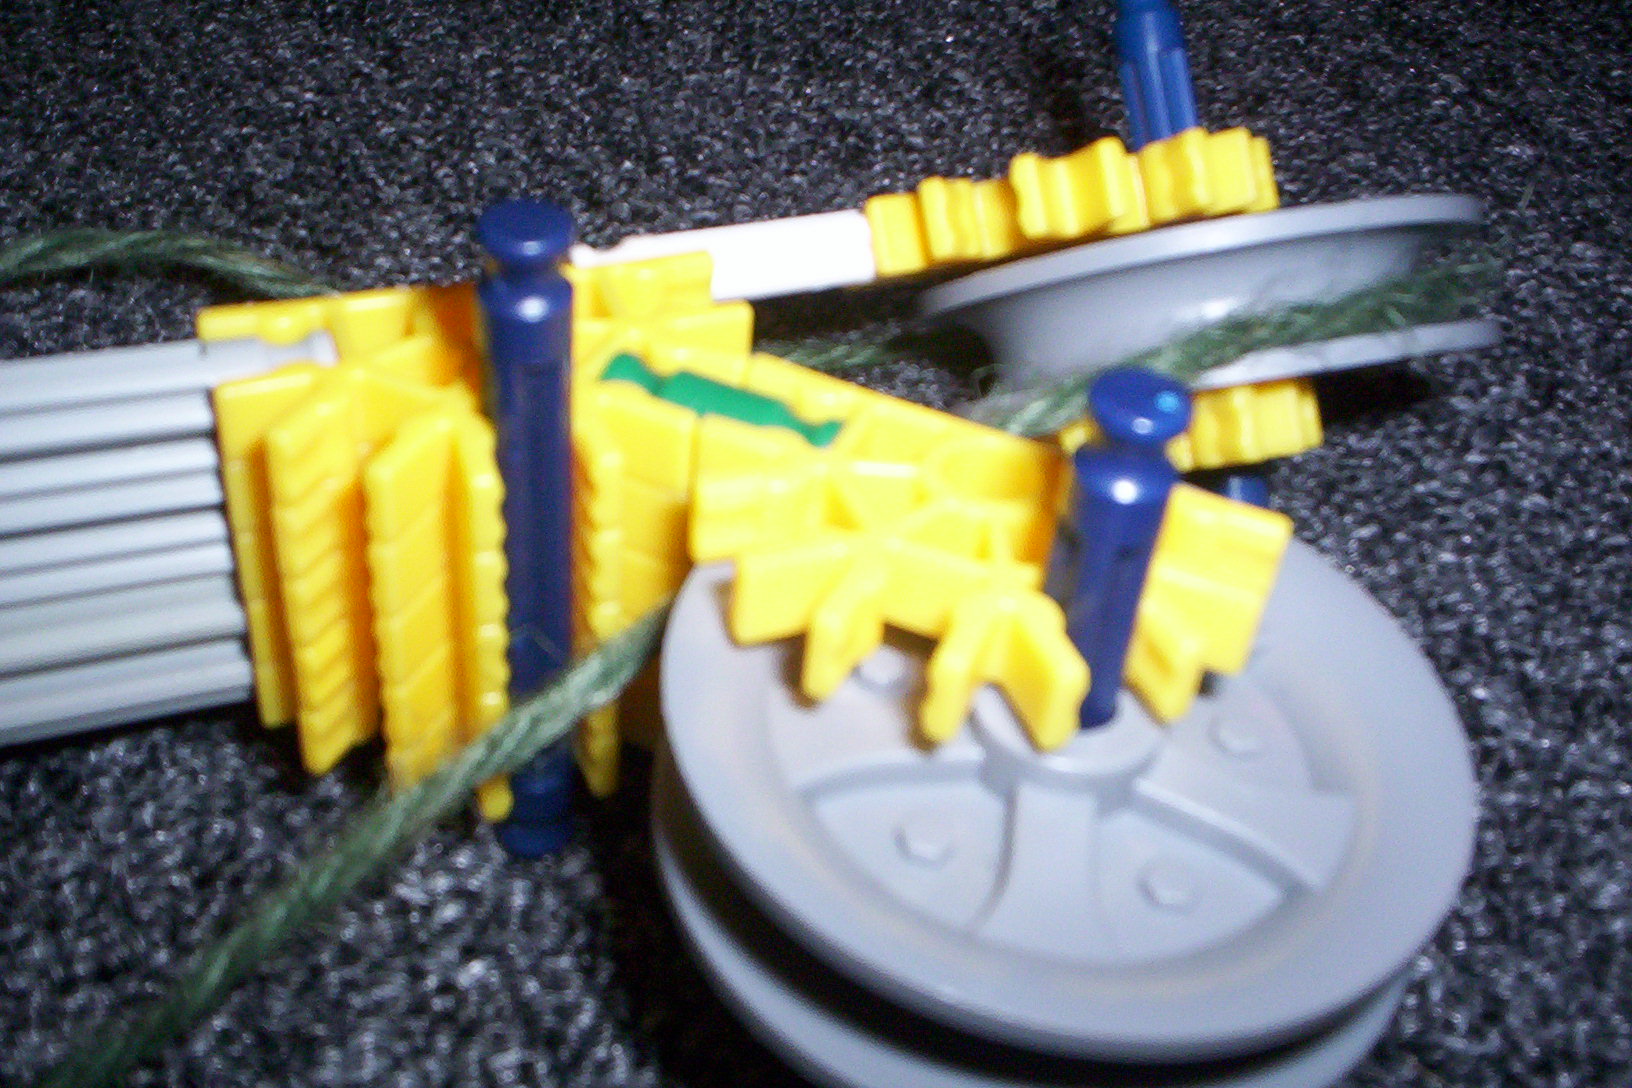
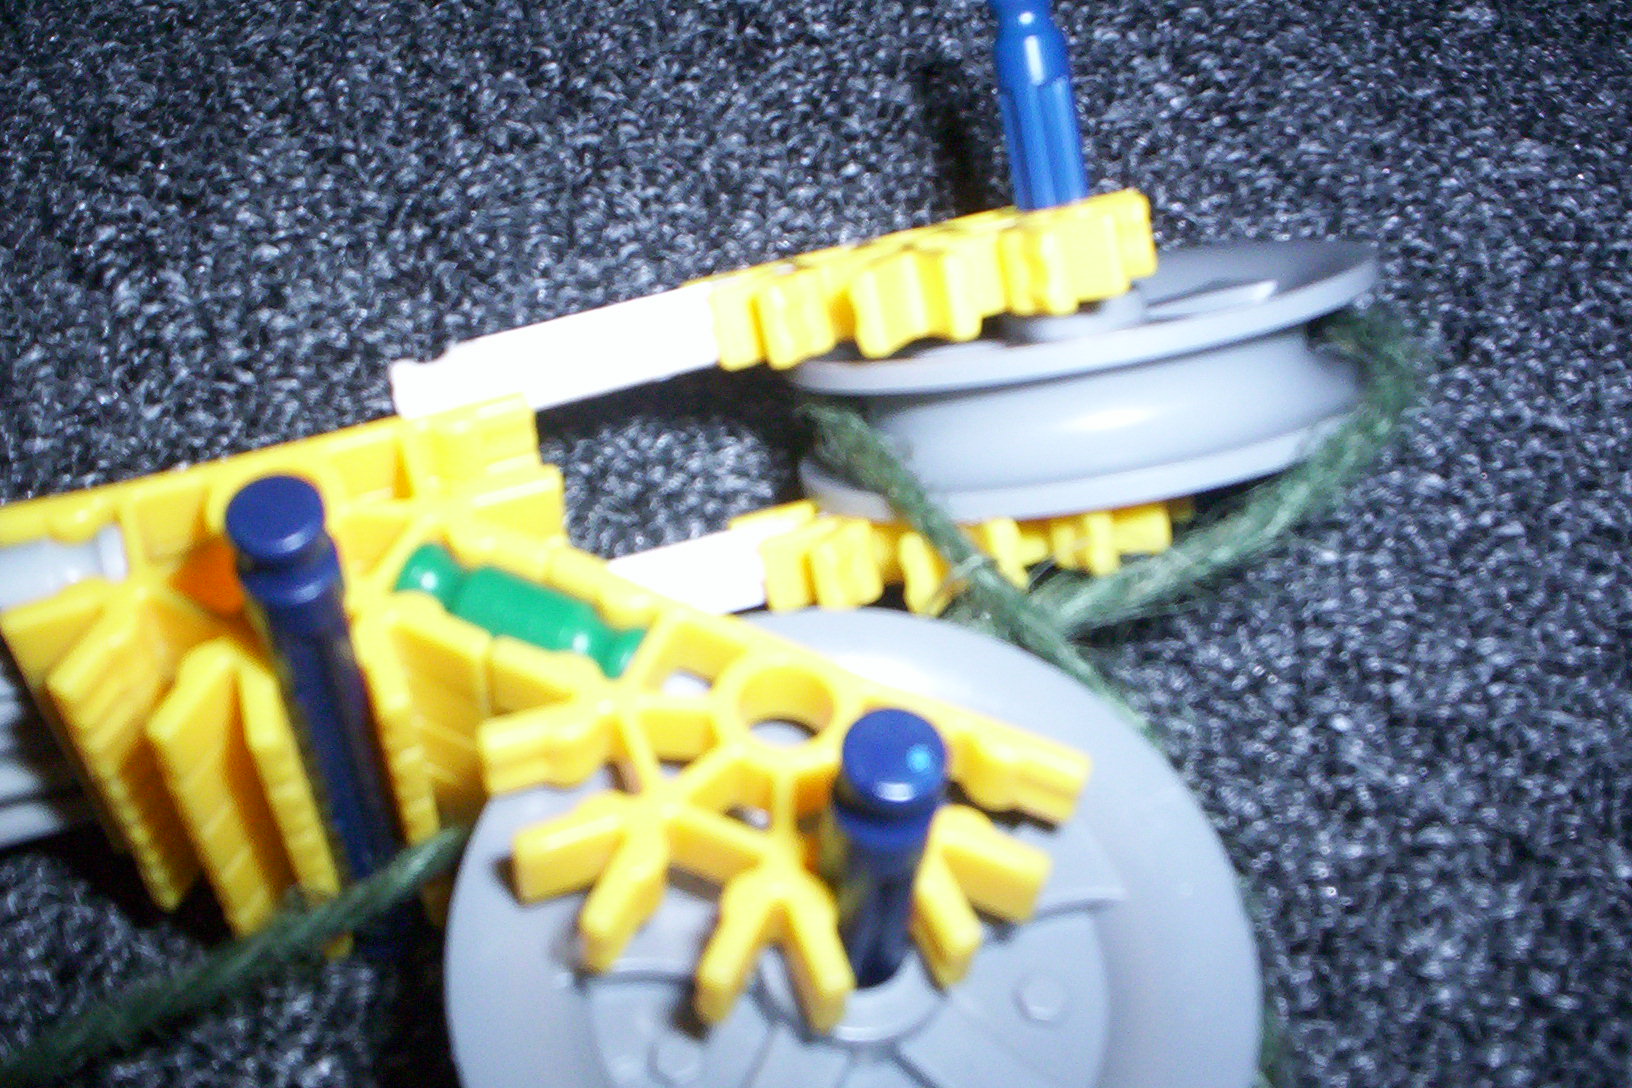
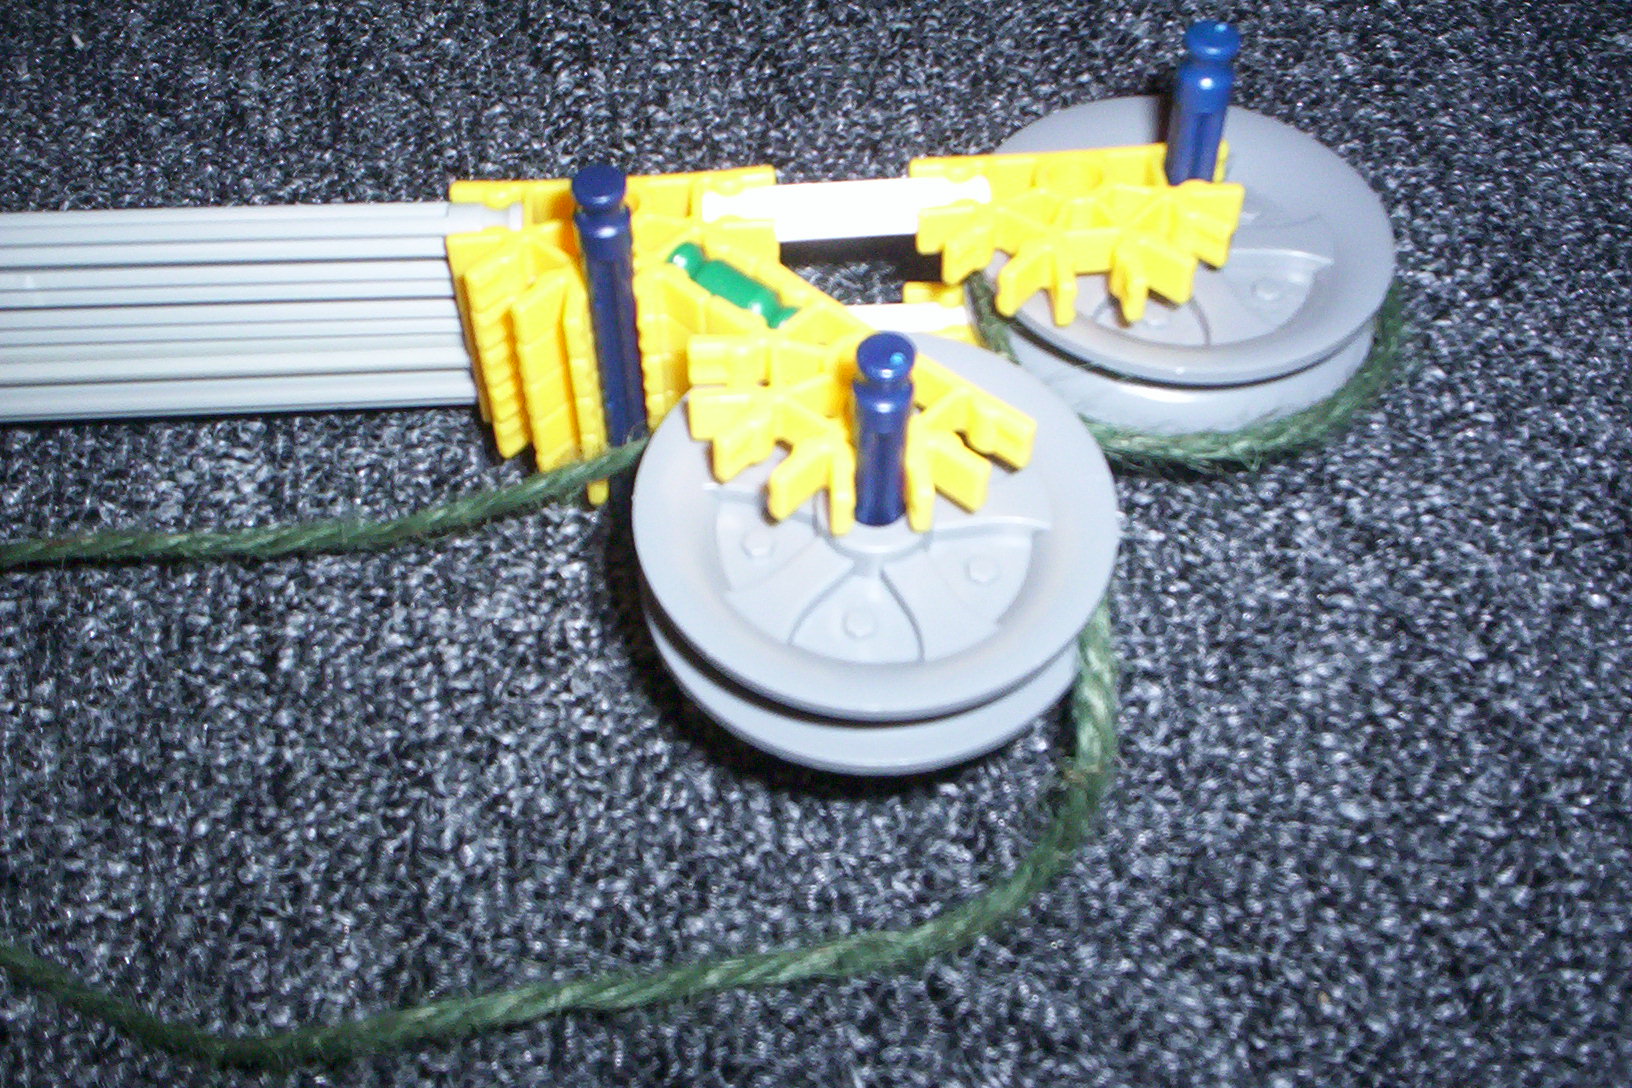
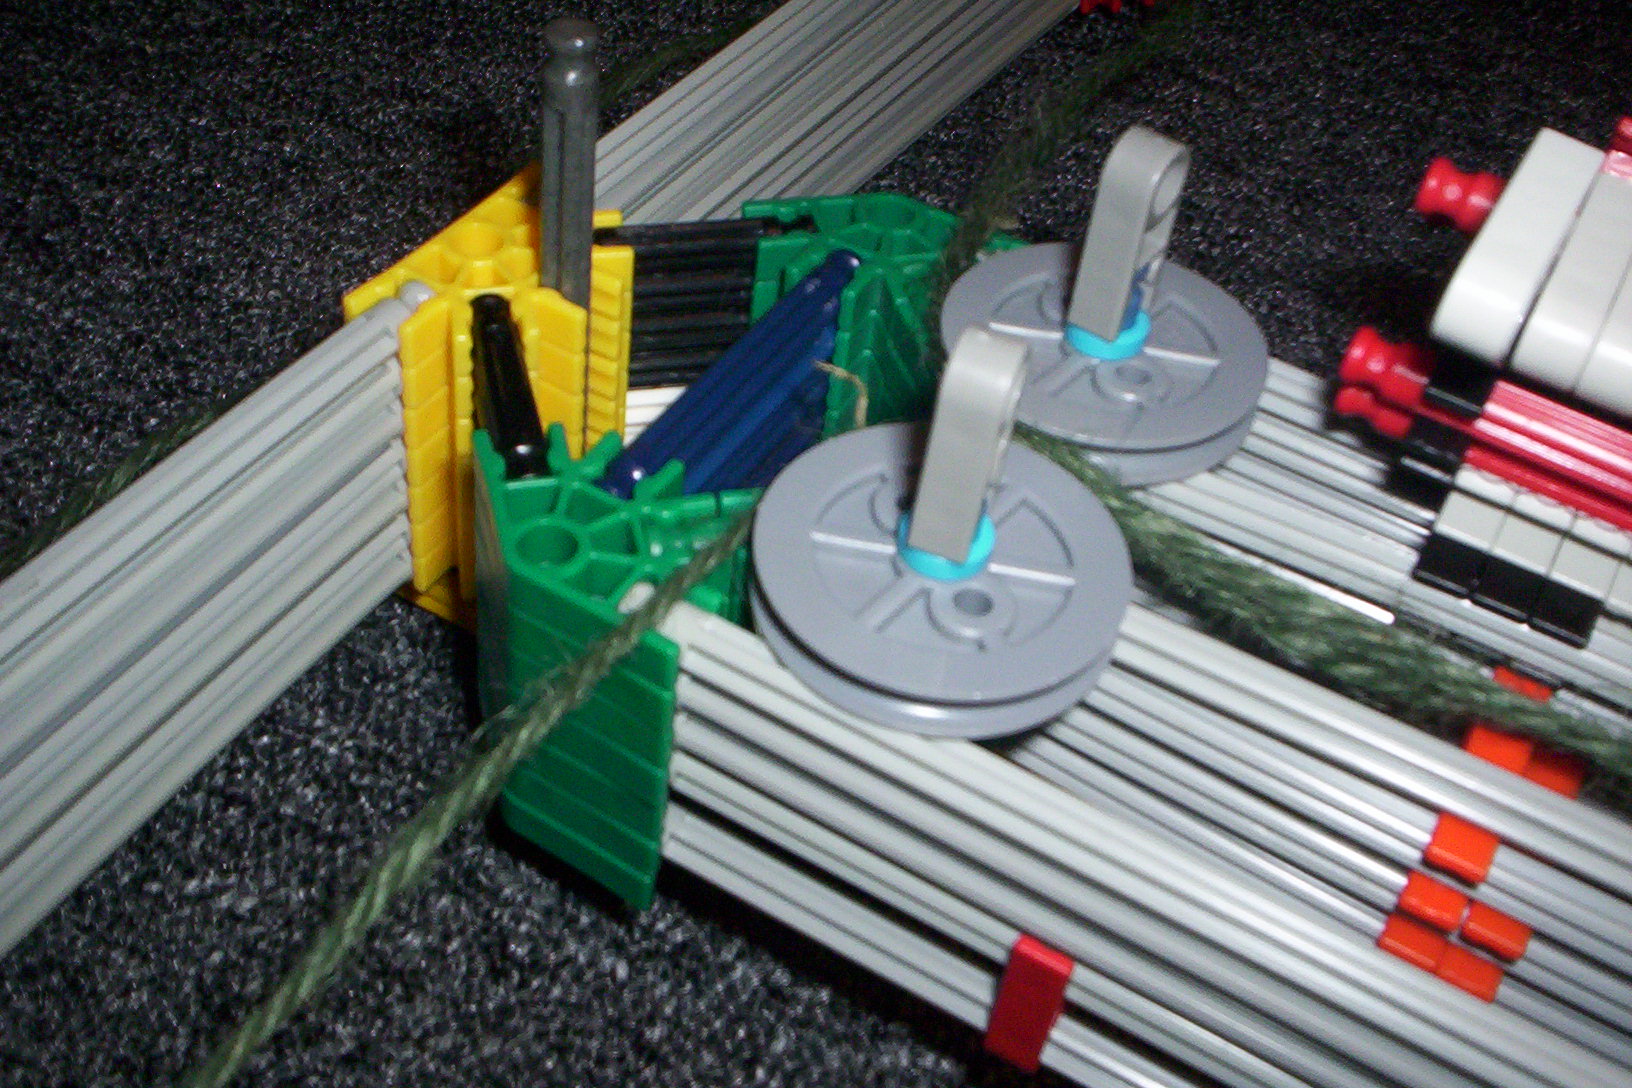
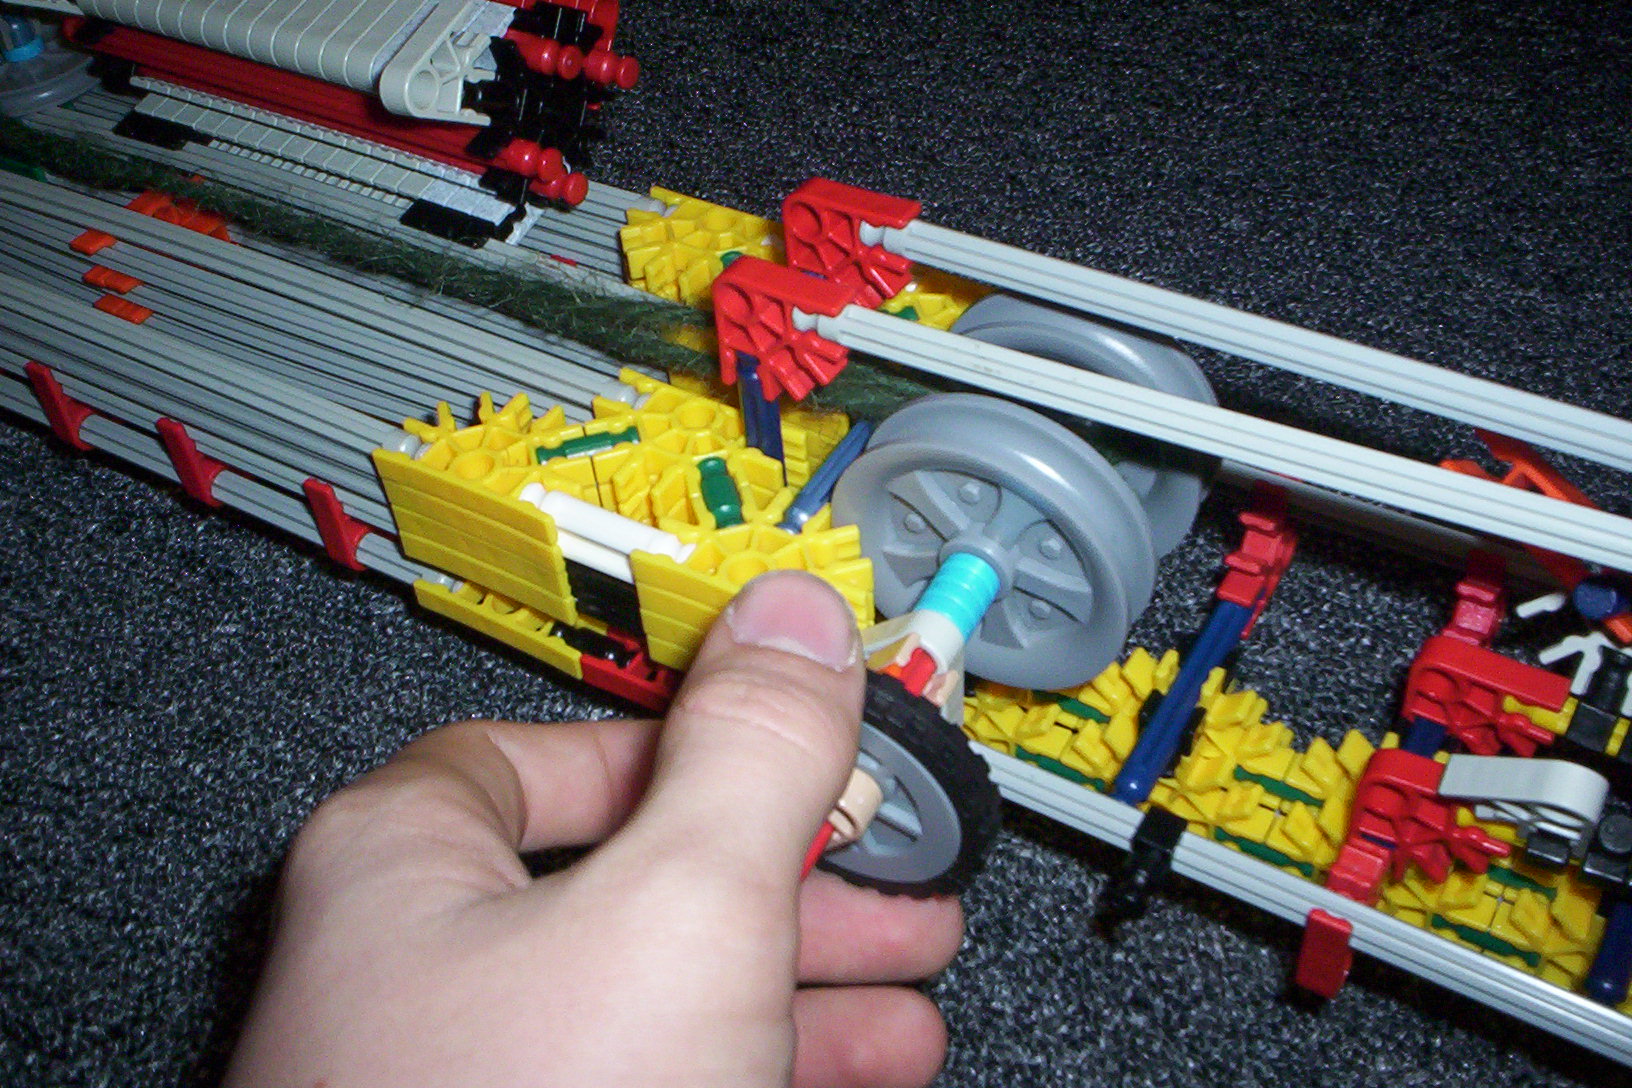
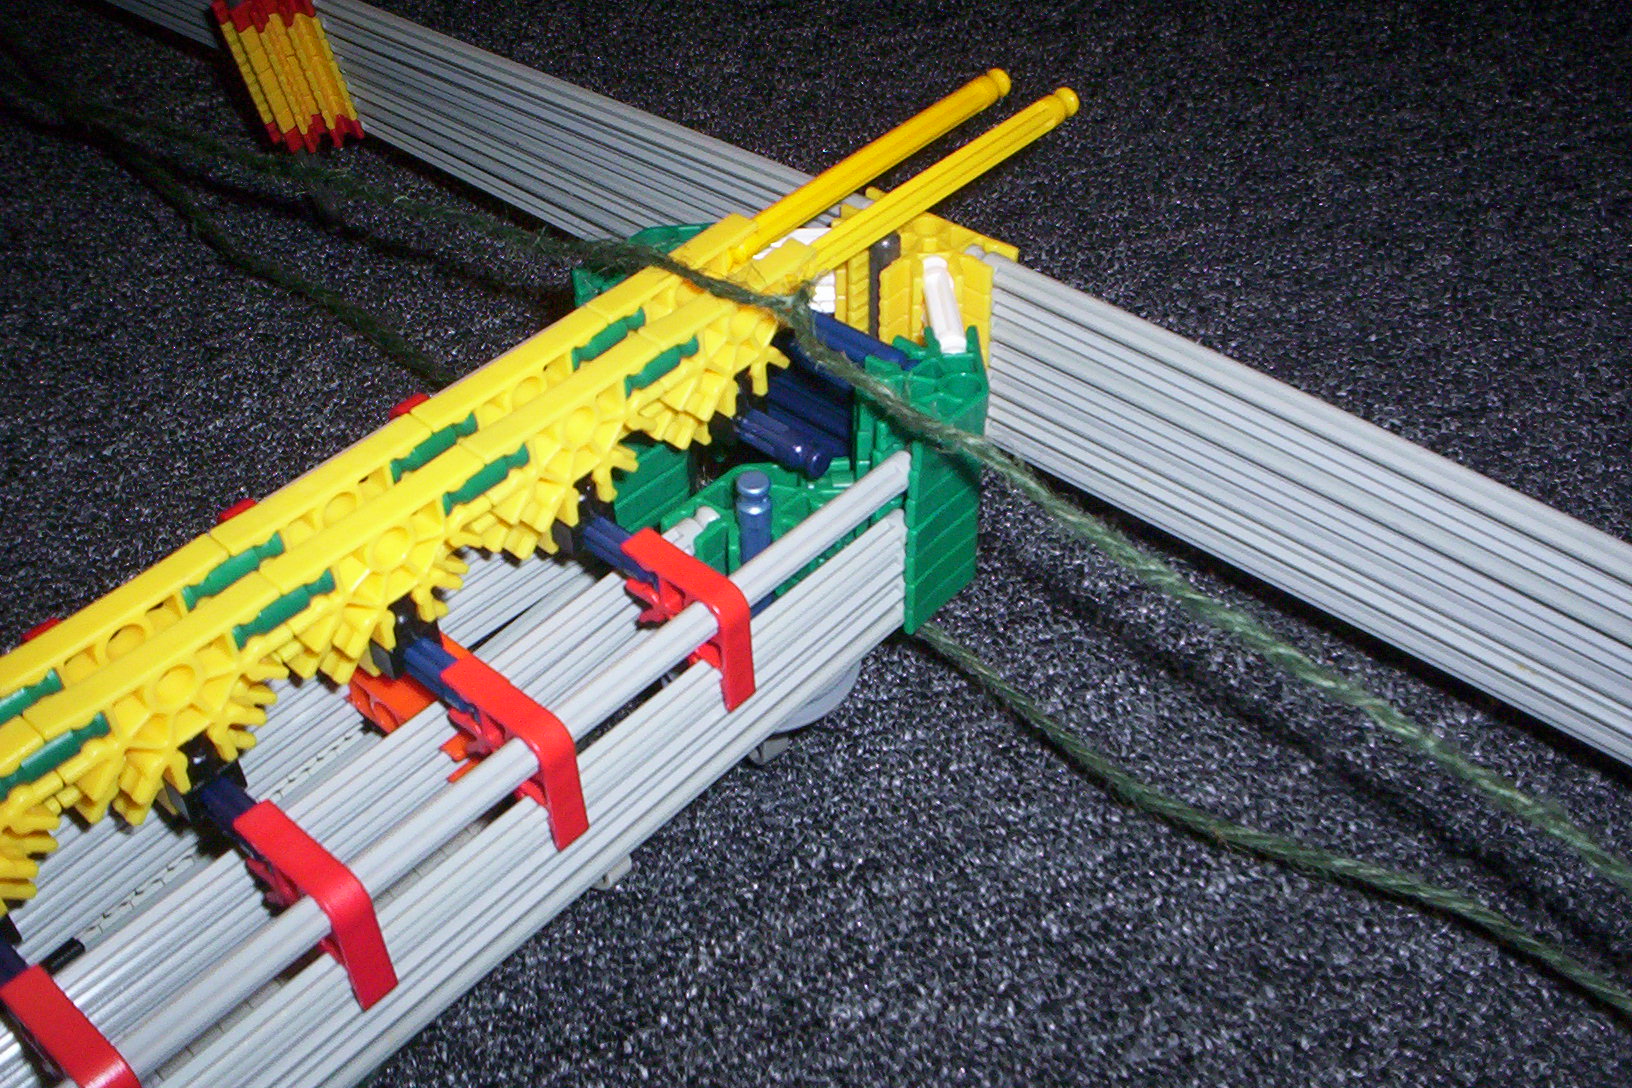
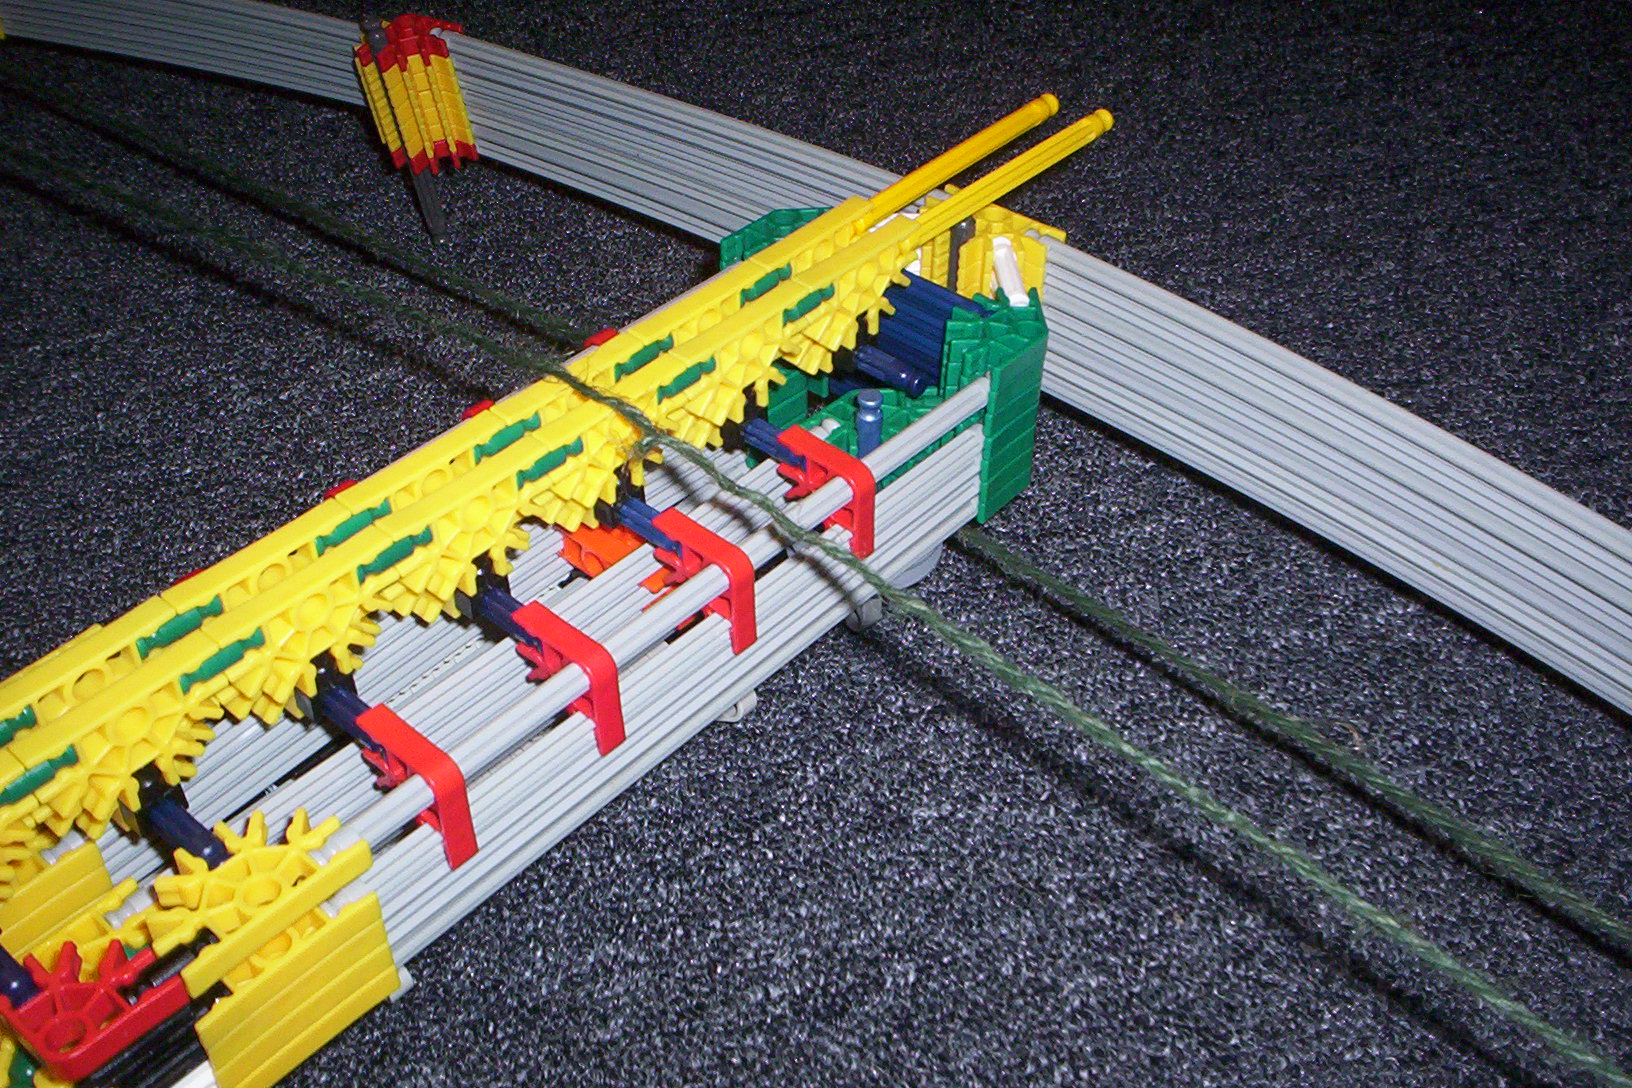
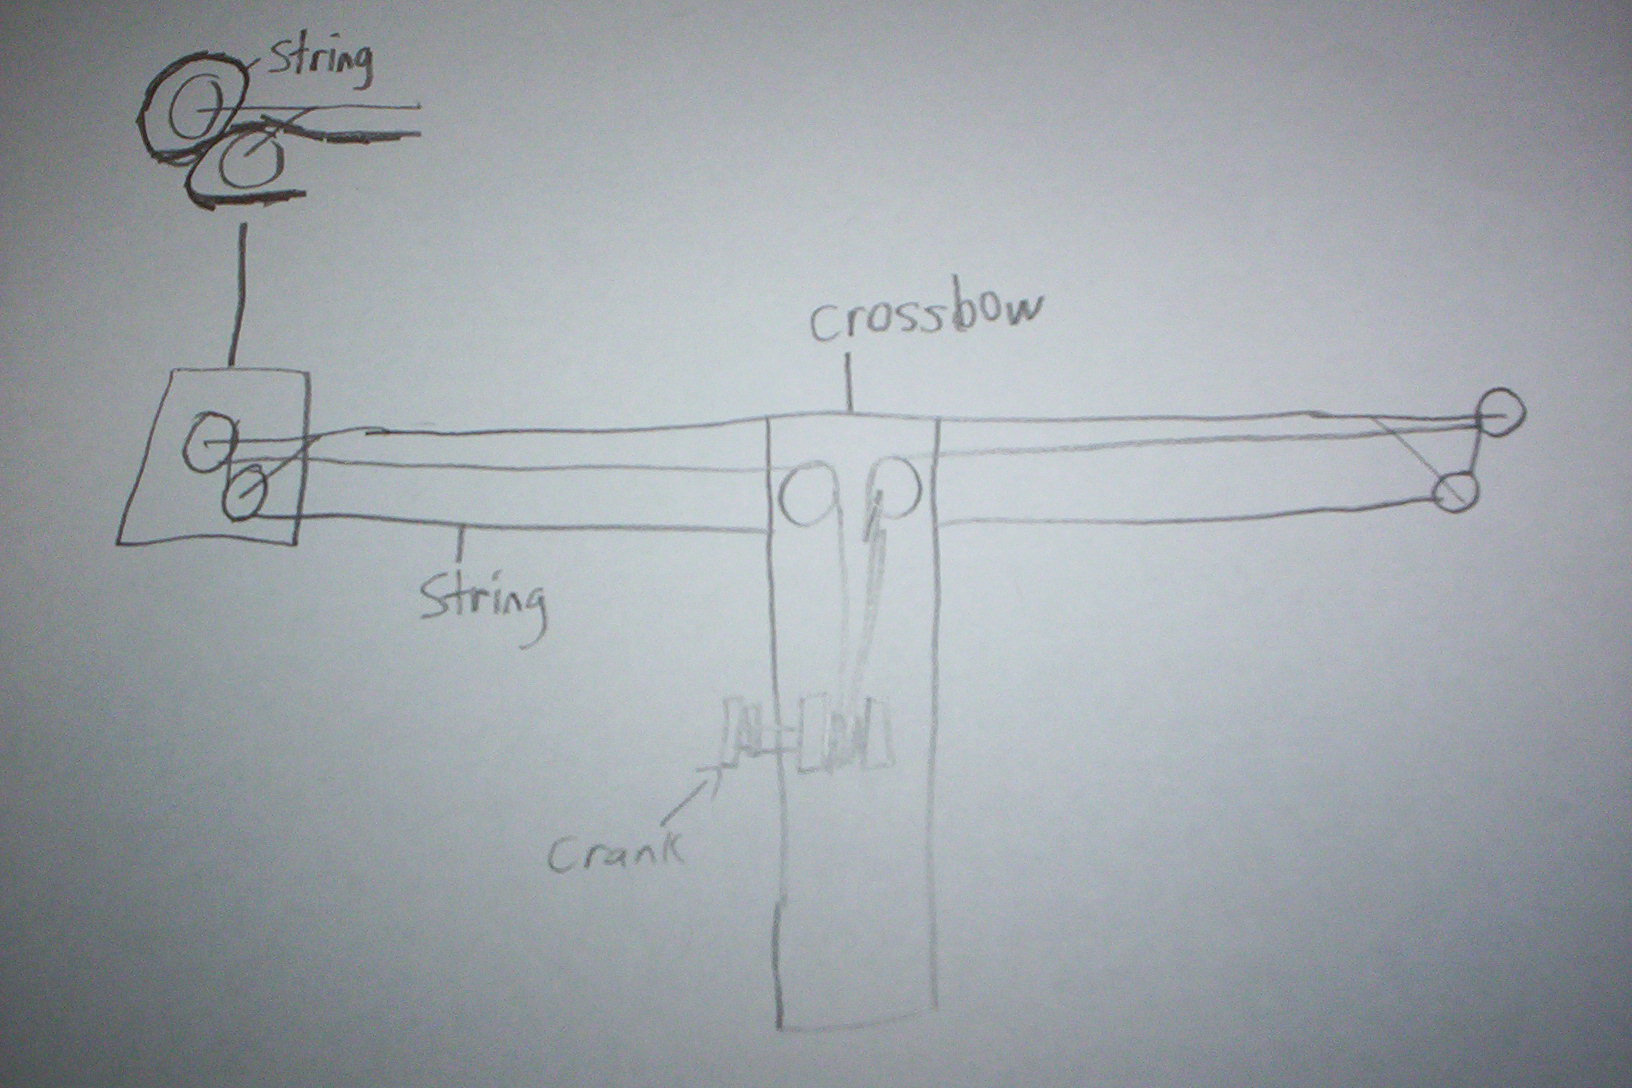
this is kind of hard to follow, so if you're confused, refer to the last picture, whitch shows the path of the string
Loading


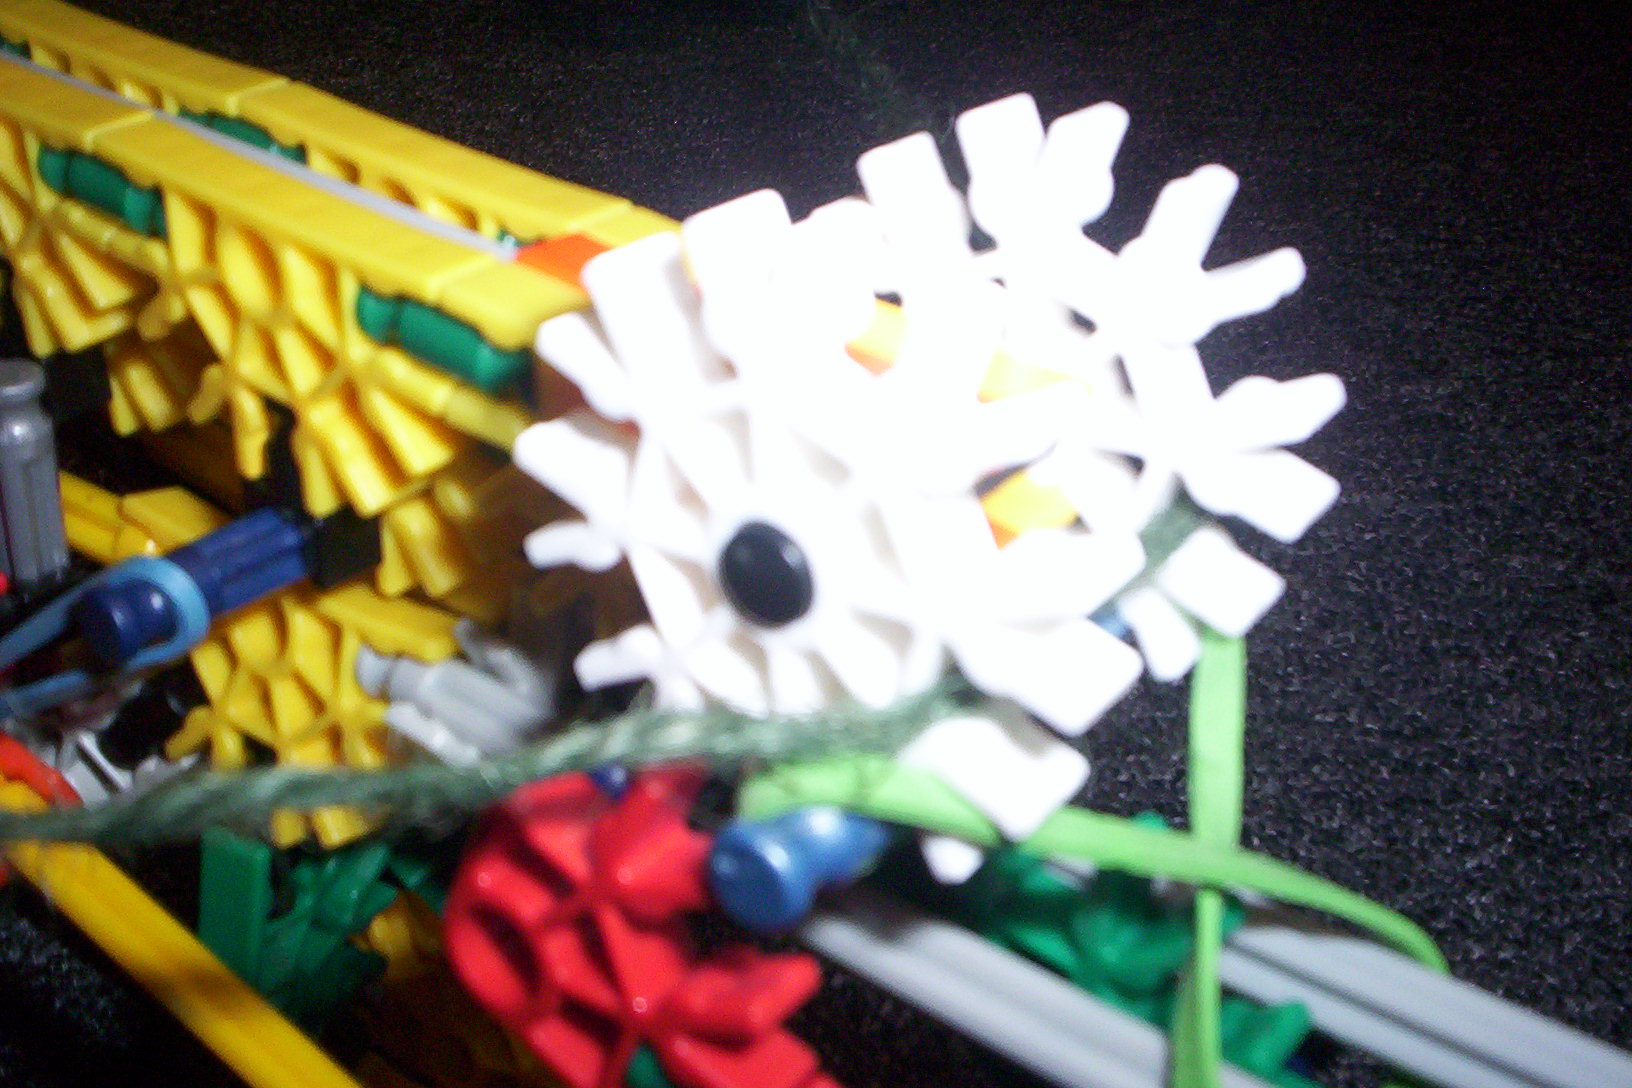
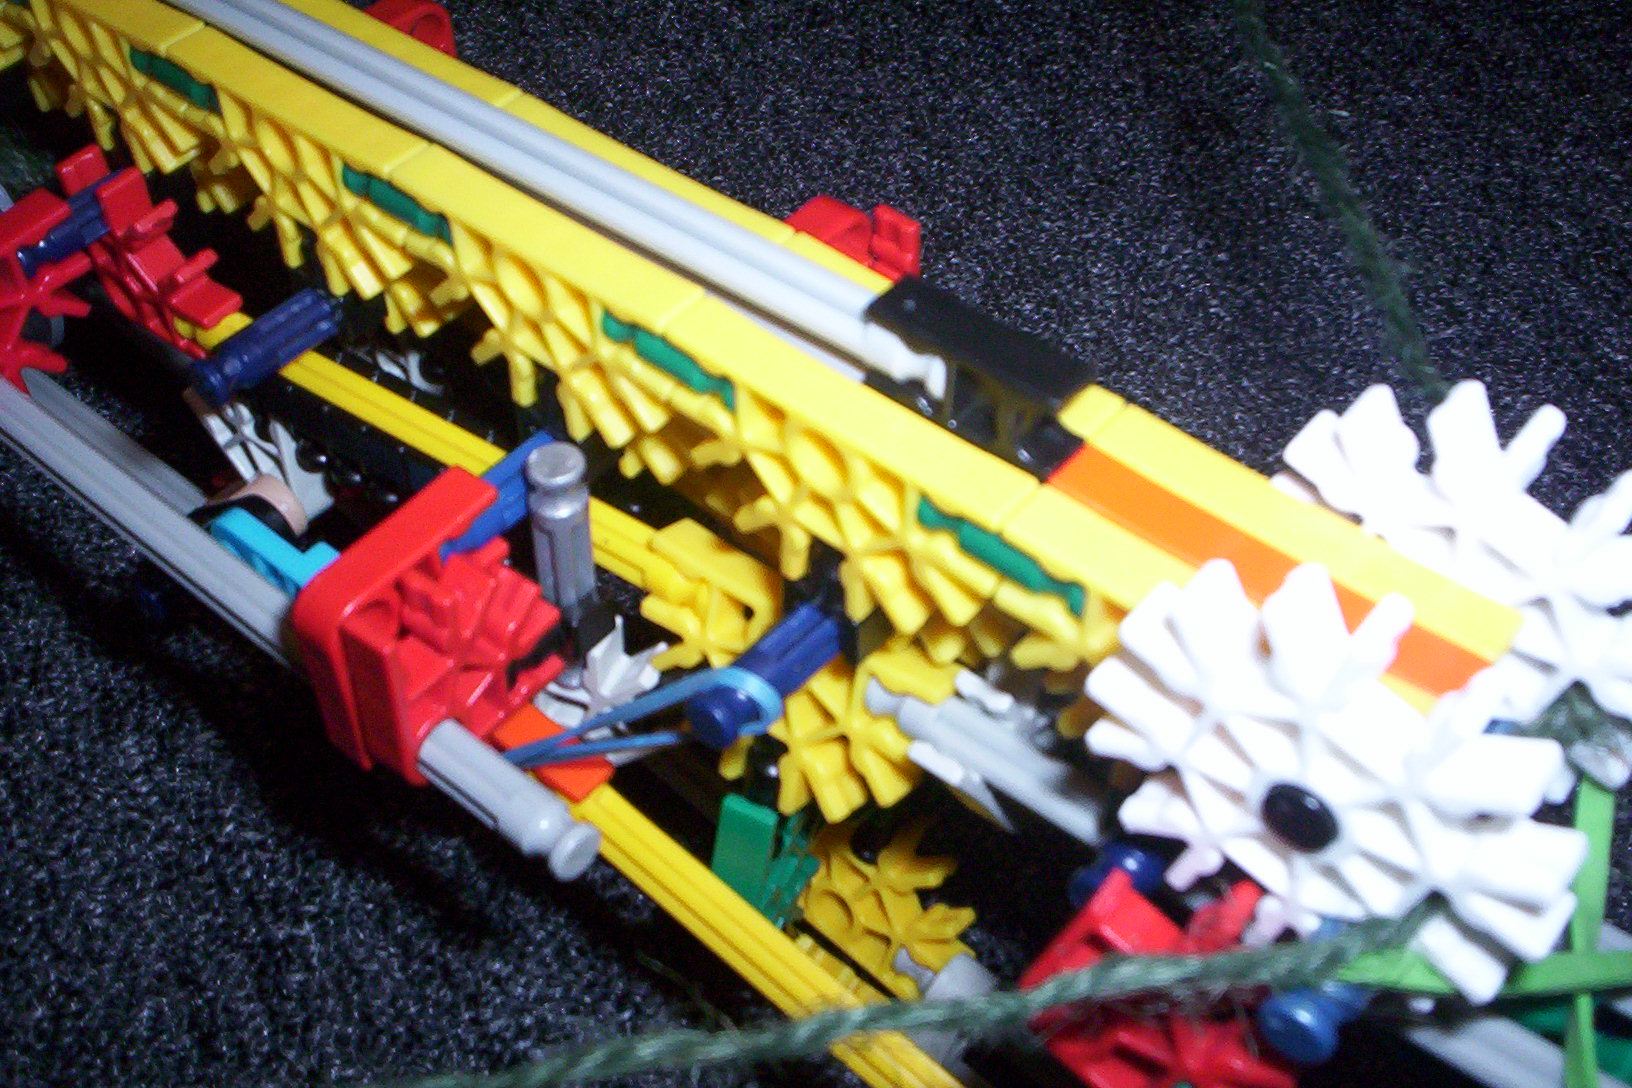
self-explanetory, but i also have a video for it.
Downloads
Modifications
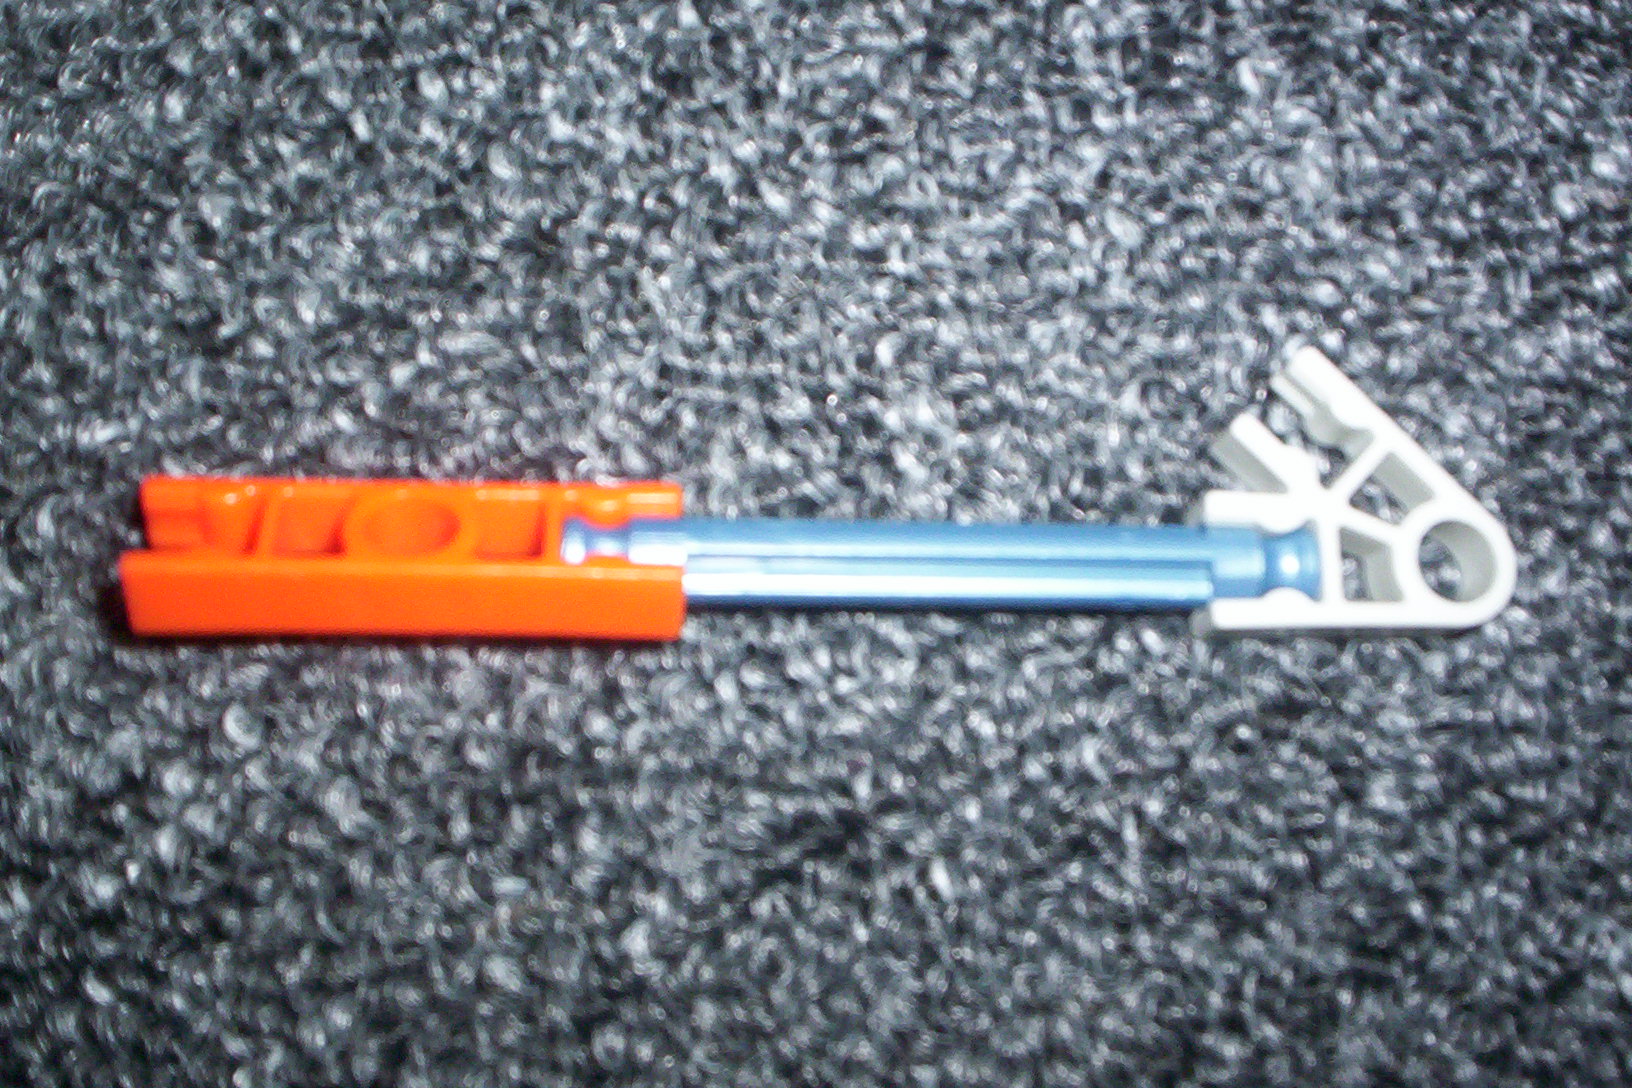
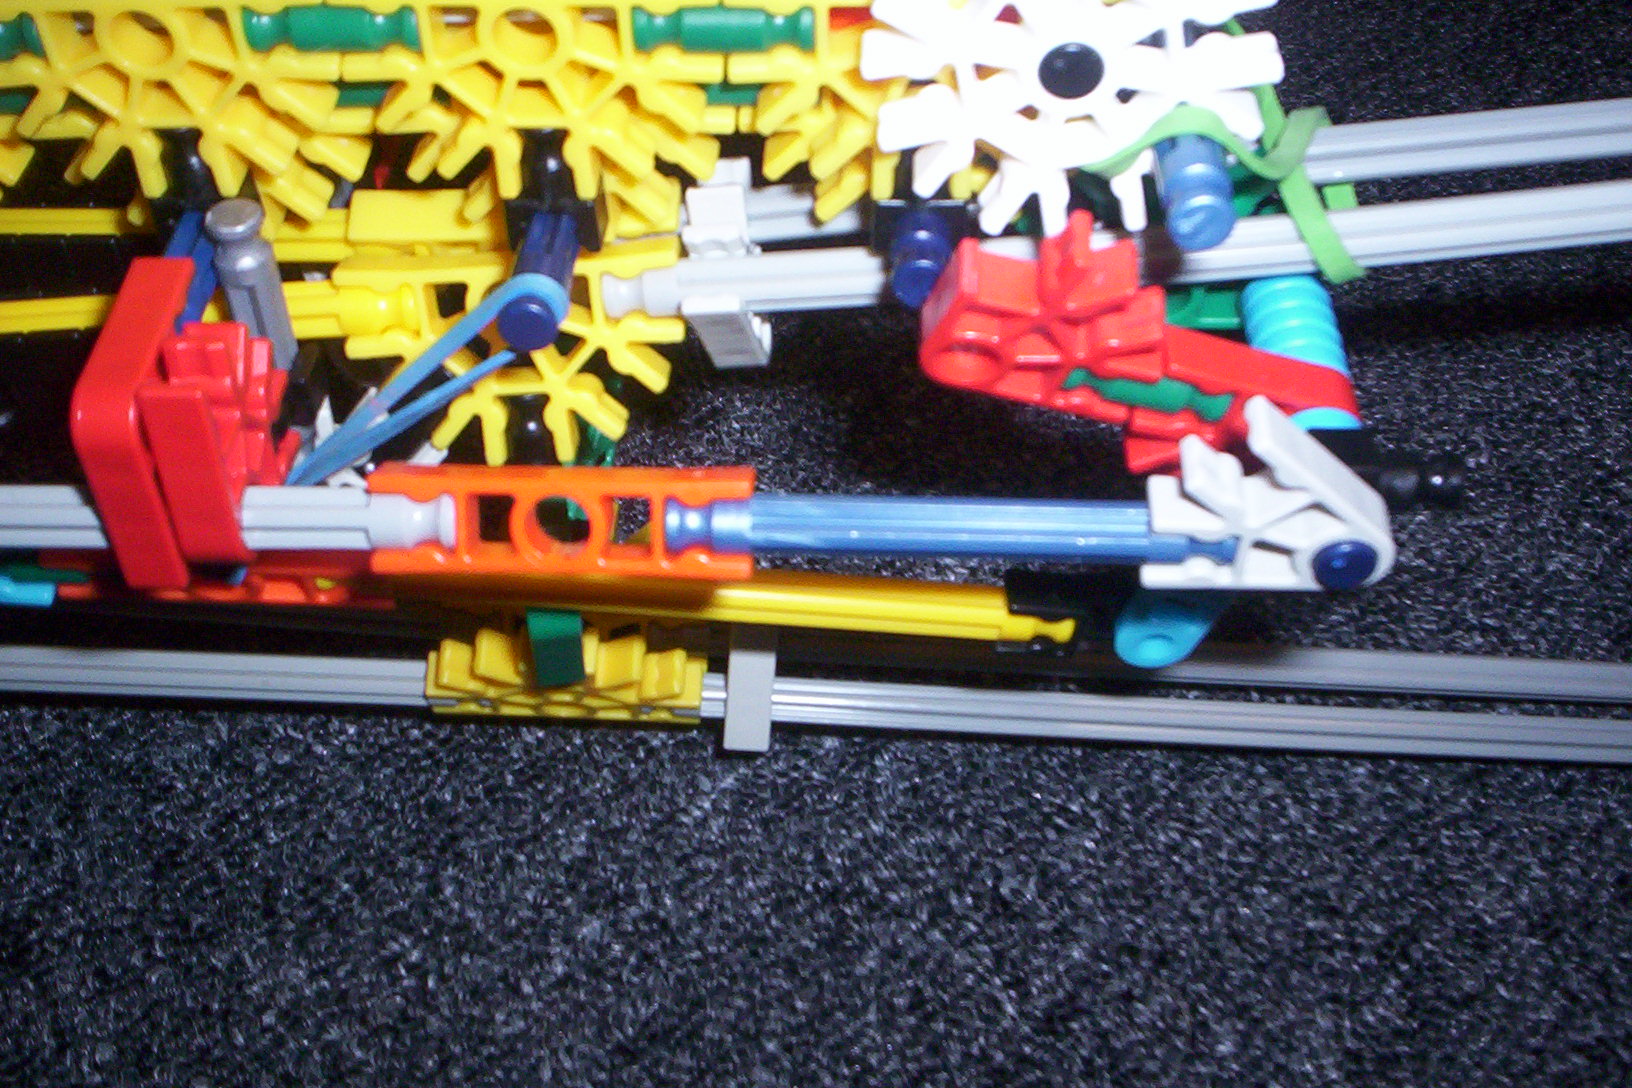
this step is for modifications that i found out about after i posted the gun.
1.addition to trigger
2.this makes the end of the trigger mechanism less flimsy
1.addition to trigger
2.this makes the end of the trigger mechanism less flimsy